We add new 3D SCANS every week

Shop Now
Search
Cart
Sign in
  • offerCustomer zone
  • offerYour special offers
  • offerYour orders
  • offerEdit account

  • offerAdd project
  • offerLiked projects
  • offerView your artist profile

  • Dark mode

We care about your privacy

We use cookies to provide you with the best possible experience. They also allow us to analyze user behavior in order to constantly improve the website for you. The consent is voluntary. You can withdraw it at any time or renew it in Cookie settings on the home page. Withdrawal of your consent does not affect the lawfulness of processing performed before the withdrawal. Privacy Protection Policy
Accept all
Accept selection
Reject all

Making of "Home is wherever I'm with you"

Konstantinos Anninos 2018-02-19 12:38 tutorial  > 3ds MAX  > modeling

Making of one of the winning works of Evermotion Challenge 2017.

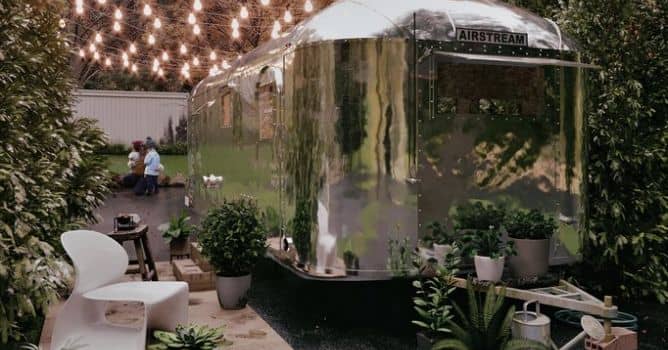
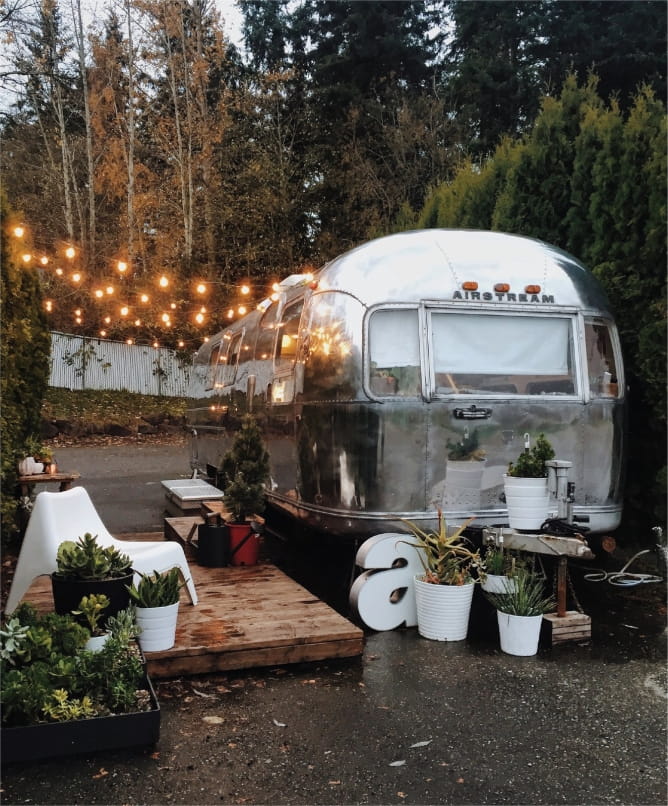
Hi i am Konstantinos Anninos and i would like to present you my tutorial for the project " Home is wherever i 'm with you" that took the 3rd place in Evermotions competition "Perfect getaway" . First, i would like to thanks Evermotion for the award and to congratulate everyone that took part to the competition! My idea was to present the camping, nature and freedom feeling that i have from my younger years. I looked for a reference i found the renovated vintage airstream from the book " Tin Can homestead" and immediately loved it!

reference_image


Geometry assets

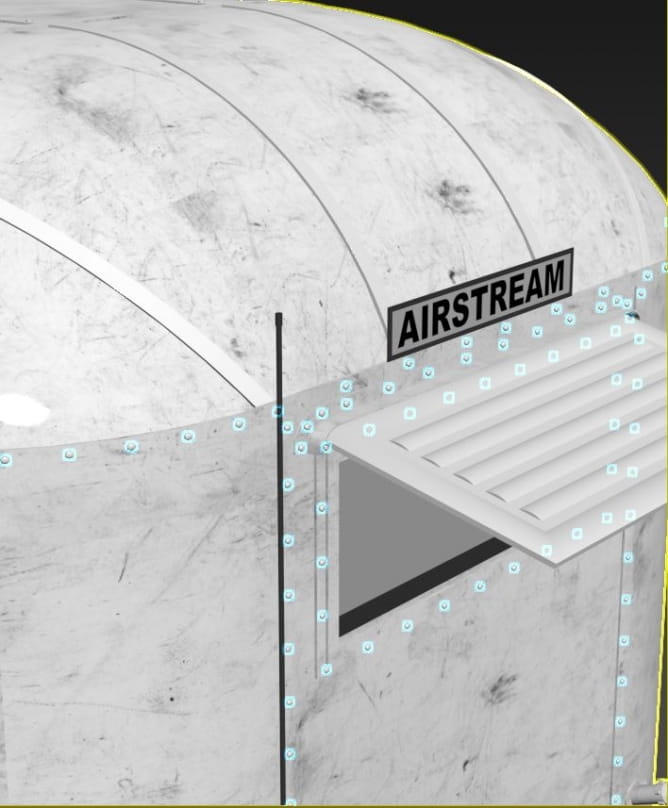
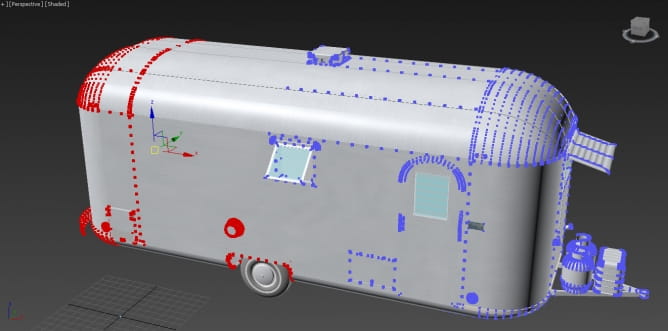
I always try to focus on material creation, lighting and post work more than modelling work so I start with a basic surrounding modelling and adding assets including the road, surrounding trees, grass etc and in that process i use mainly Archmodels (volumes 66 and 100) , some plants from 3dsky and grass from Daniel Pantelimon but almost in all of them i did changes in the materials to fit my needs..the airstream model is coming from google warehouse but i had to correct the geometry and adding some screws details etc.

modelling1


modelling2


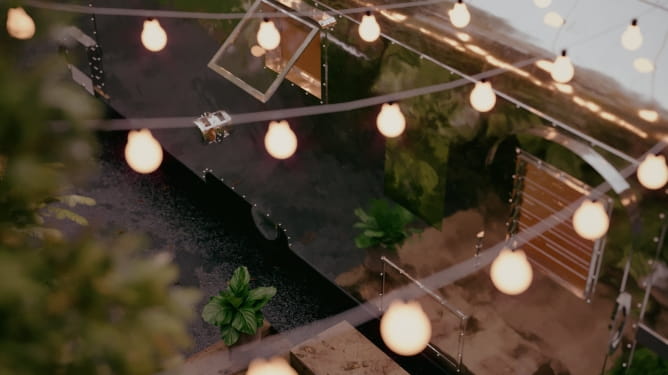
Also the bulbs are coming from google warehouse and again i had to make some modelling corrections in order to work better.

nr_00004_bulbs_render


Materials

The material creation was the fun part, I really enjoyed it! I always try not go very deep in materials and keep them as simple as possible. I will focus to 3 materials for the tutorial, the airstream material, the road material and the wooden floor material.

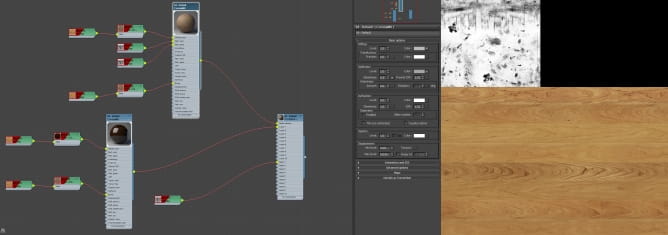
wooden_floor

For the wooden floor material i use a layer with a mask to make it look wet in some areas.


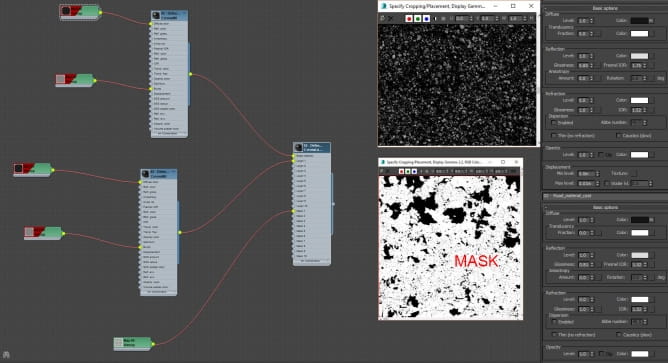
road_material

Pretty much i did the same to the road material.


airstream_material

For the airstream material i use a smoke texture for bump and 2 layers with imperfections to make it look more life like.


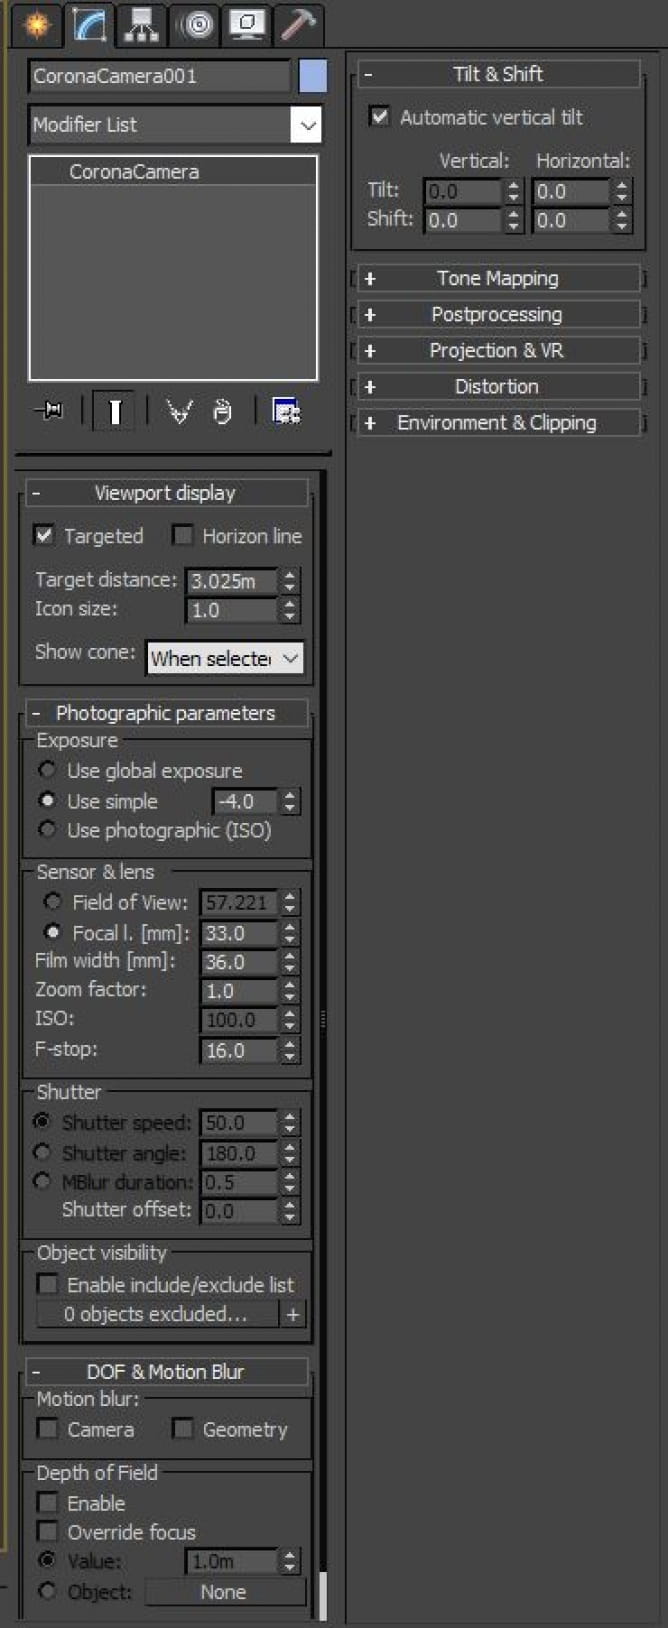
camera

I use  Corona Camera with basic settings.


Lighting

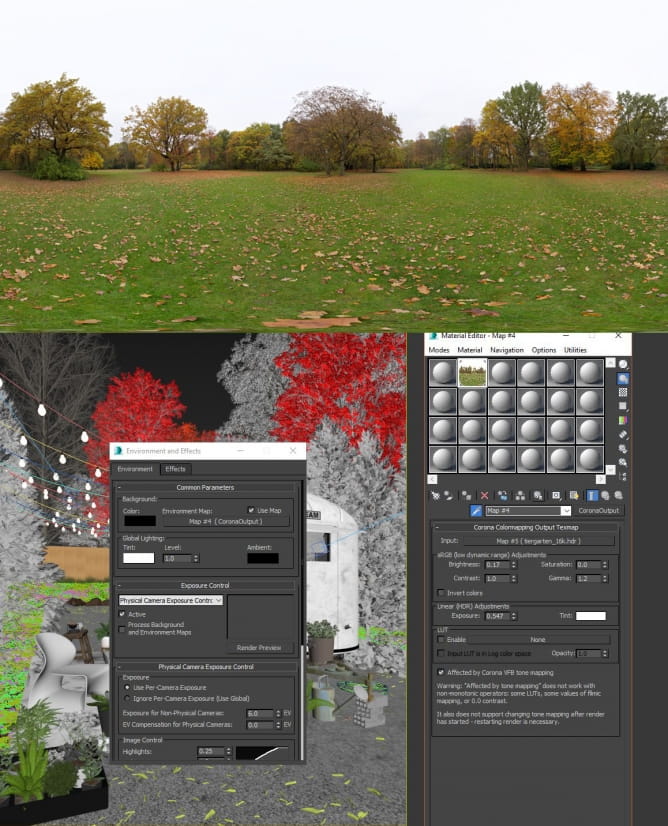
For the lighting i used an hdri from hdri heaven because it was matching exactly the mood i had in my mind and also to match better the reference image.

hdri


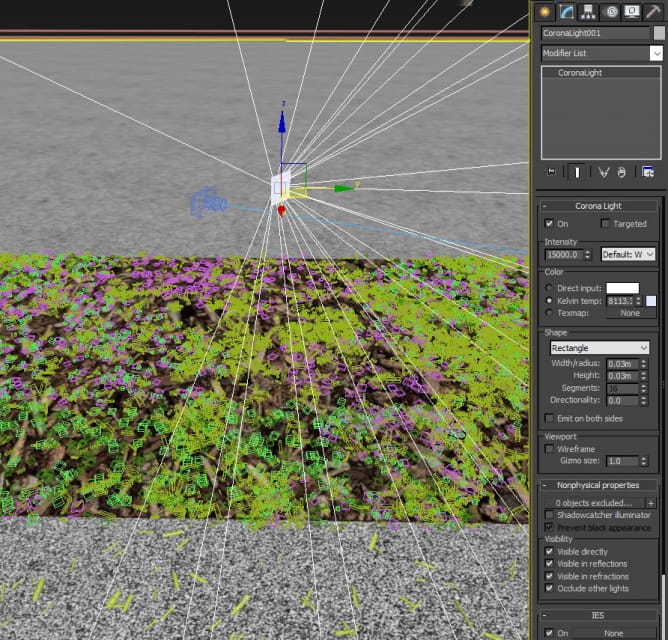
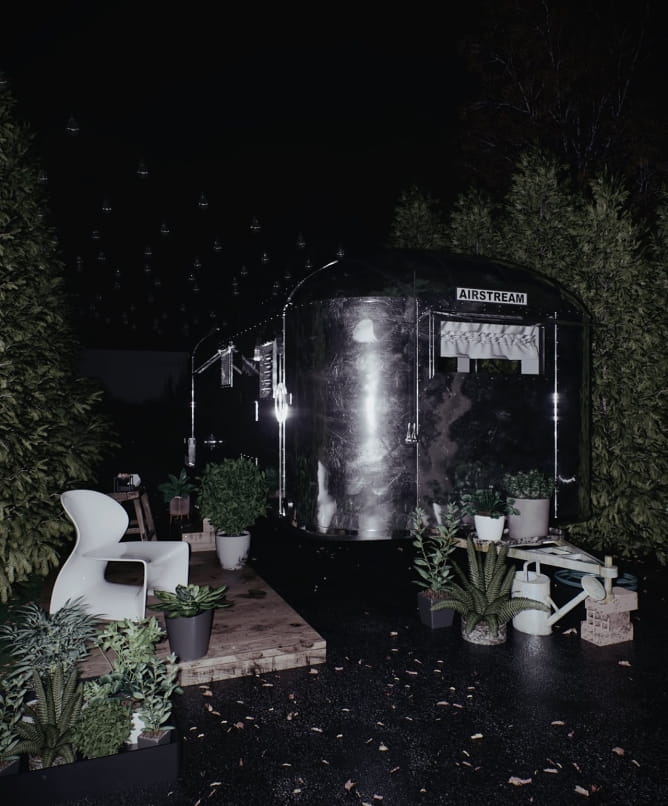
Apart from the main render for the competition, I used also a flashlight version that seems to work really nice to that scene. For that lighting I used a very small light source with very high intensity to mimic the real life flashlight.

flashlight_settings


Two key things to keep in mind are that the light source needs to be in the same position where the camera is and the flashlight colour should have a slight blue tint.


Rendering

Since i used Corona Renderer for that project, the settings are the default. The only thing i have to mention here is that i use an LUT (Adanmq_Fuji_Vivid_8543).

Post process

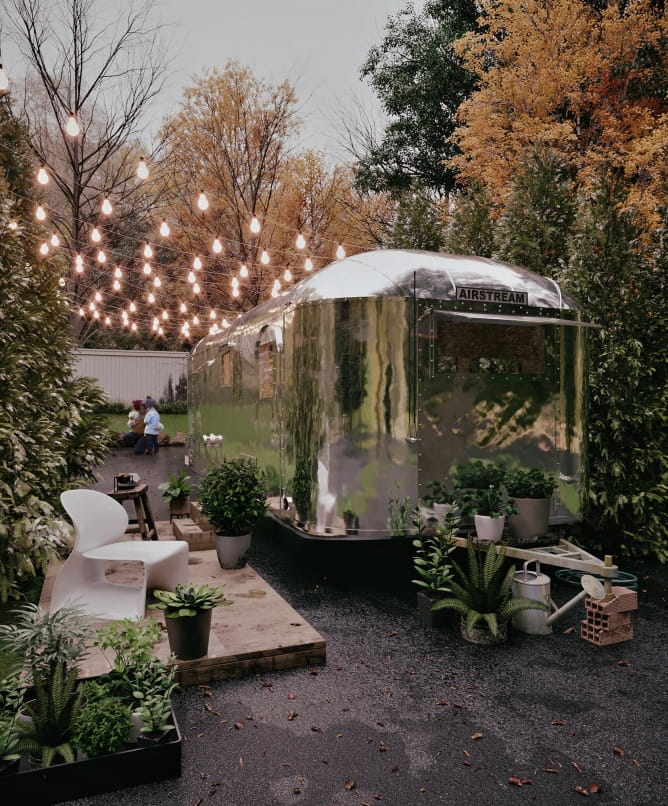
For the post process again i tried to keep it simple as i prefer to make the most into the render..so i use levels, curves, selective colour, colour balance as you can see in the photos:


airstream_post.gif


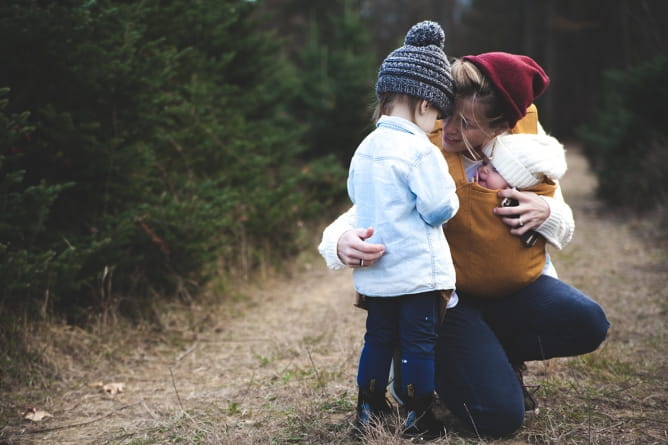
... also for the people i use one photo i found from pexels.com and the photographer is Josh Willink.


people


Pretty much i think i cover the key parts as simple as i could but If you have any other questions please let me know in the comments, thanks!


airstream.gif


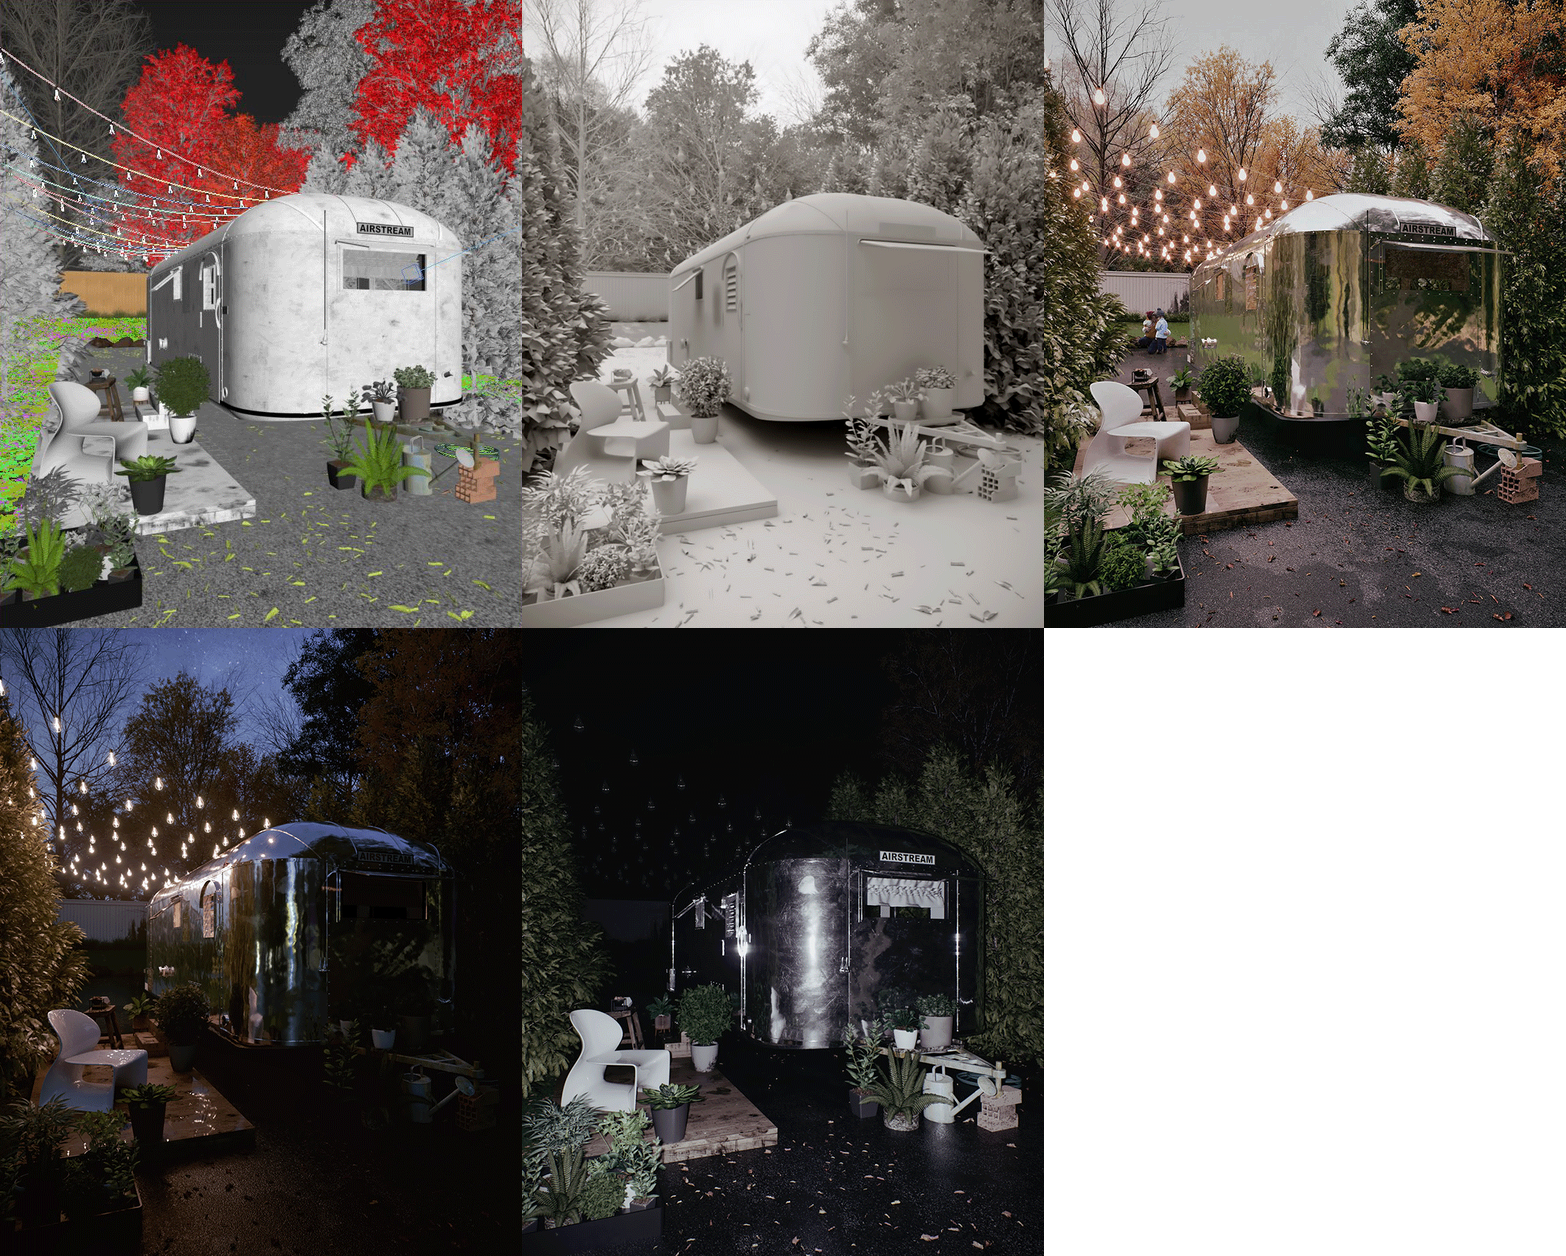
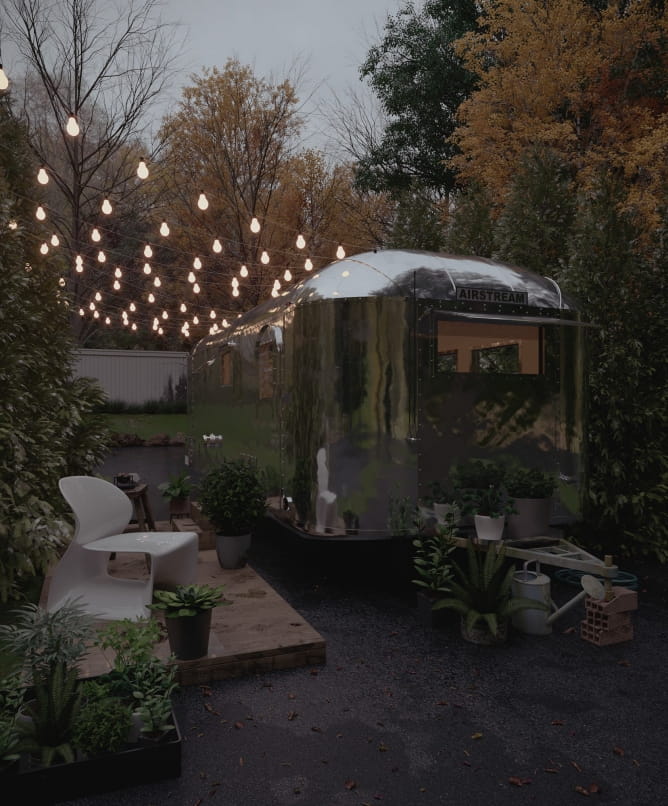
nr_00007_raw_render

Raw render


nr_00005_home_trailer_main_Hd3

Final image


nr_00006_home_trailer_main_Hd3_flashlight

Final image with flashlight

Visit author's page: www.annkos.com

Author: Konstantinos Anninos Editor: Michał Franczak
Tags: airstream challenge2017
You may also like...
Enhancing realism in 3D designs: Tips for using models of children, men, and women

Enhancing realism in 3D designs: Tips for using models of children, men, and women

When crafting a 3D environment, realism breathes life into your scenes, making them more relatable and engaging.
×

LEAVE A COMMENT

You need to be logged in to leave a comment. Don't have account? Register now.

Neil Cross 11:02:55  |  22-02-2018
Hi Konstantinos congrats on coming 3rd! Would be awesome if you could tell us a bit more in depth on how you did your post. Raw image looks flat but your final looks amazing.
annkos1980 01:13:08  |  23-02-2018
Thanks a lot CMAster! The depth came mostly from Levels, Curves and adding a bit of Contrast... also i toned the blacks in selective colour tool if that helps you a little bit more. Cheers
anime222 22:12:28  |  02-09-2018
Great work
annkos1980 12:40:08  |  10-09-2018
Thanks anime222!