How To Make Your CGI Walls More Realistic
Realistic walls with noise modifier.
Total: € 0
Continue Shopping
In accordance with the art. 13 section 1 and 2 of the European Parliament and Council Regulation 2016/679 of the 27th April, 2016 on the protection of natural persons, with regard to the processing of personal data and on the free movement of such data, and repealing Directive 95/46/EC (General Data Protection Regulation), hereafter RODO, I hereby inform that:
1. EVERMOTION S.C., 8 Przędzalniana Str., 15-688 Białystok, Poland is the Administrator of your Personal Data (APD)
2. Data Protection Inspector can be reached through e-mail: iod@evermotion.org
3. Your personal data are to be processed on the basis of art. 6 section 1 letter a, b and f of RODO in order to:
a) prepare, conclude and execute the agreement and for other purposes approved by you,
b) to execute the legitimate interest like marketing of products and the agreement, claim assertion or defence against claims resulting from the law regulations.
4. Entities entitled to the reception of your personal data may be the authorised public bodies; mail providers; providers of the services covered by the agreement; responsible for debt recovery, keeping the archives, document utilization, legal consulting, technical services, IT services and accountancy.
5. Your personal data shall not be transferred to the third country, nor to the international bodies.
6. Your personal data shall be processed within the period of the agreement and upon your additional consent until you withdraw it. APD shall keep the data for the period of any civil law claim execution connected with the agreement.
7. You have the right to demand an access to your personal data, to correct or to delete the data if there is no other basis for the processing or any other purpose of such processing or to limit the processing of the data, to transfer the data to another administrator and to raise objections to the further data processing if there is no legal basis for further processing and to withdraw any previous consent.
8. You provide the personal data voluntarily, however they are necessary to conclude the agreement. The refusal of providing such data may result in the refusal of the agreement conclusion.
9. You have the right to lodge a complaint to the Personal Data Protection Office when in your opinion the data processing violates the regulations of General Data Protection Regulation of the 27 April, 2016 (RODO).
10. Your data will be automatically processed, including the form of profiling.
11. You are obligated to forward above mentioned information to your representative, especially if you appointed this person in the agreement as the contact person or as the representative for the agreement execution.

This scene is huge - we have a complete house with surroundings, other buildings (textured), foliage, roads, etc. There are many assets here, the scene comes with two versions - one based on Forest Pack and the other utilizing VrayProxies. We crafted this scene to be as complete as possible so you can tweak cameras positions and sill get industry standard arch-viz image.
The scene main actor is modern suburbian house with all interiors and props. If you want to see all camera views, check them out on Archexteriors vol. 31 Evermotion Shop product page.
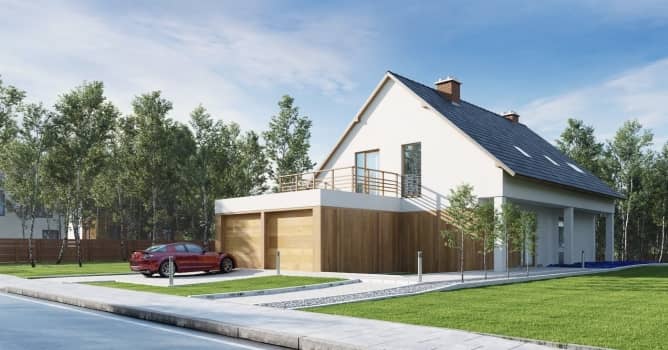
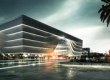
This is a view from camera 1, rendered and post-produced in Photoshop.
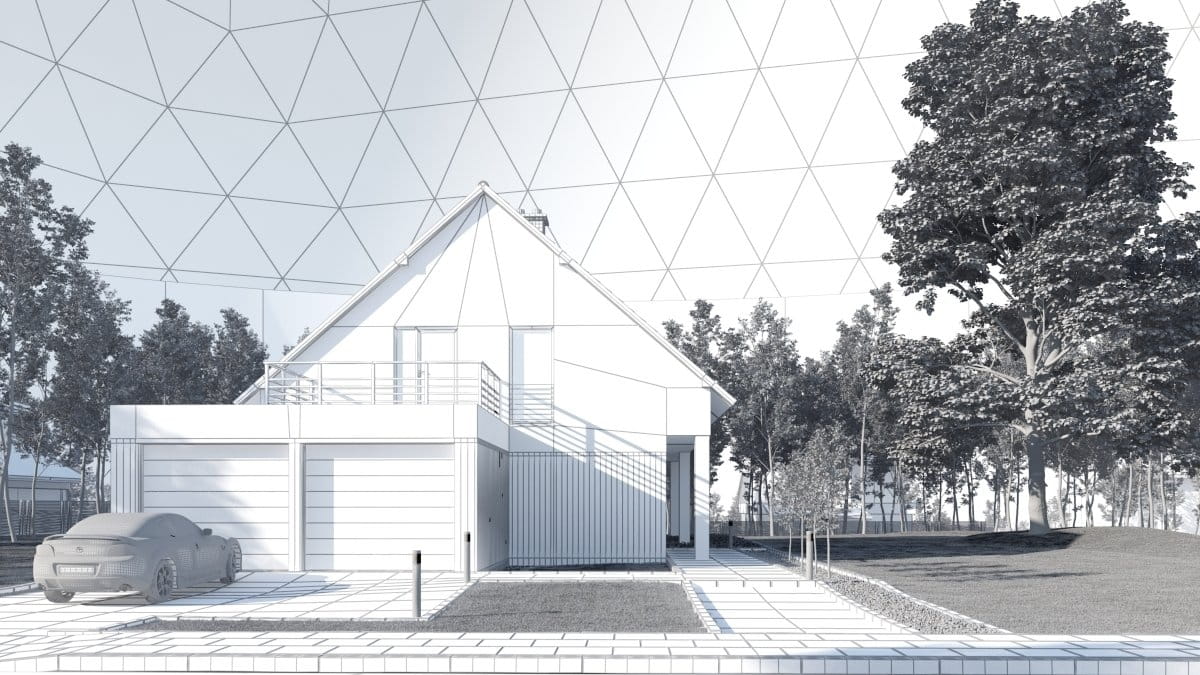
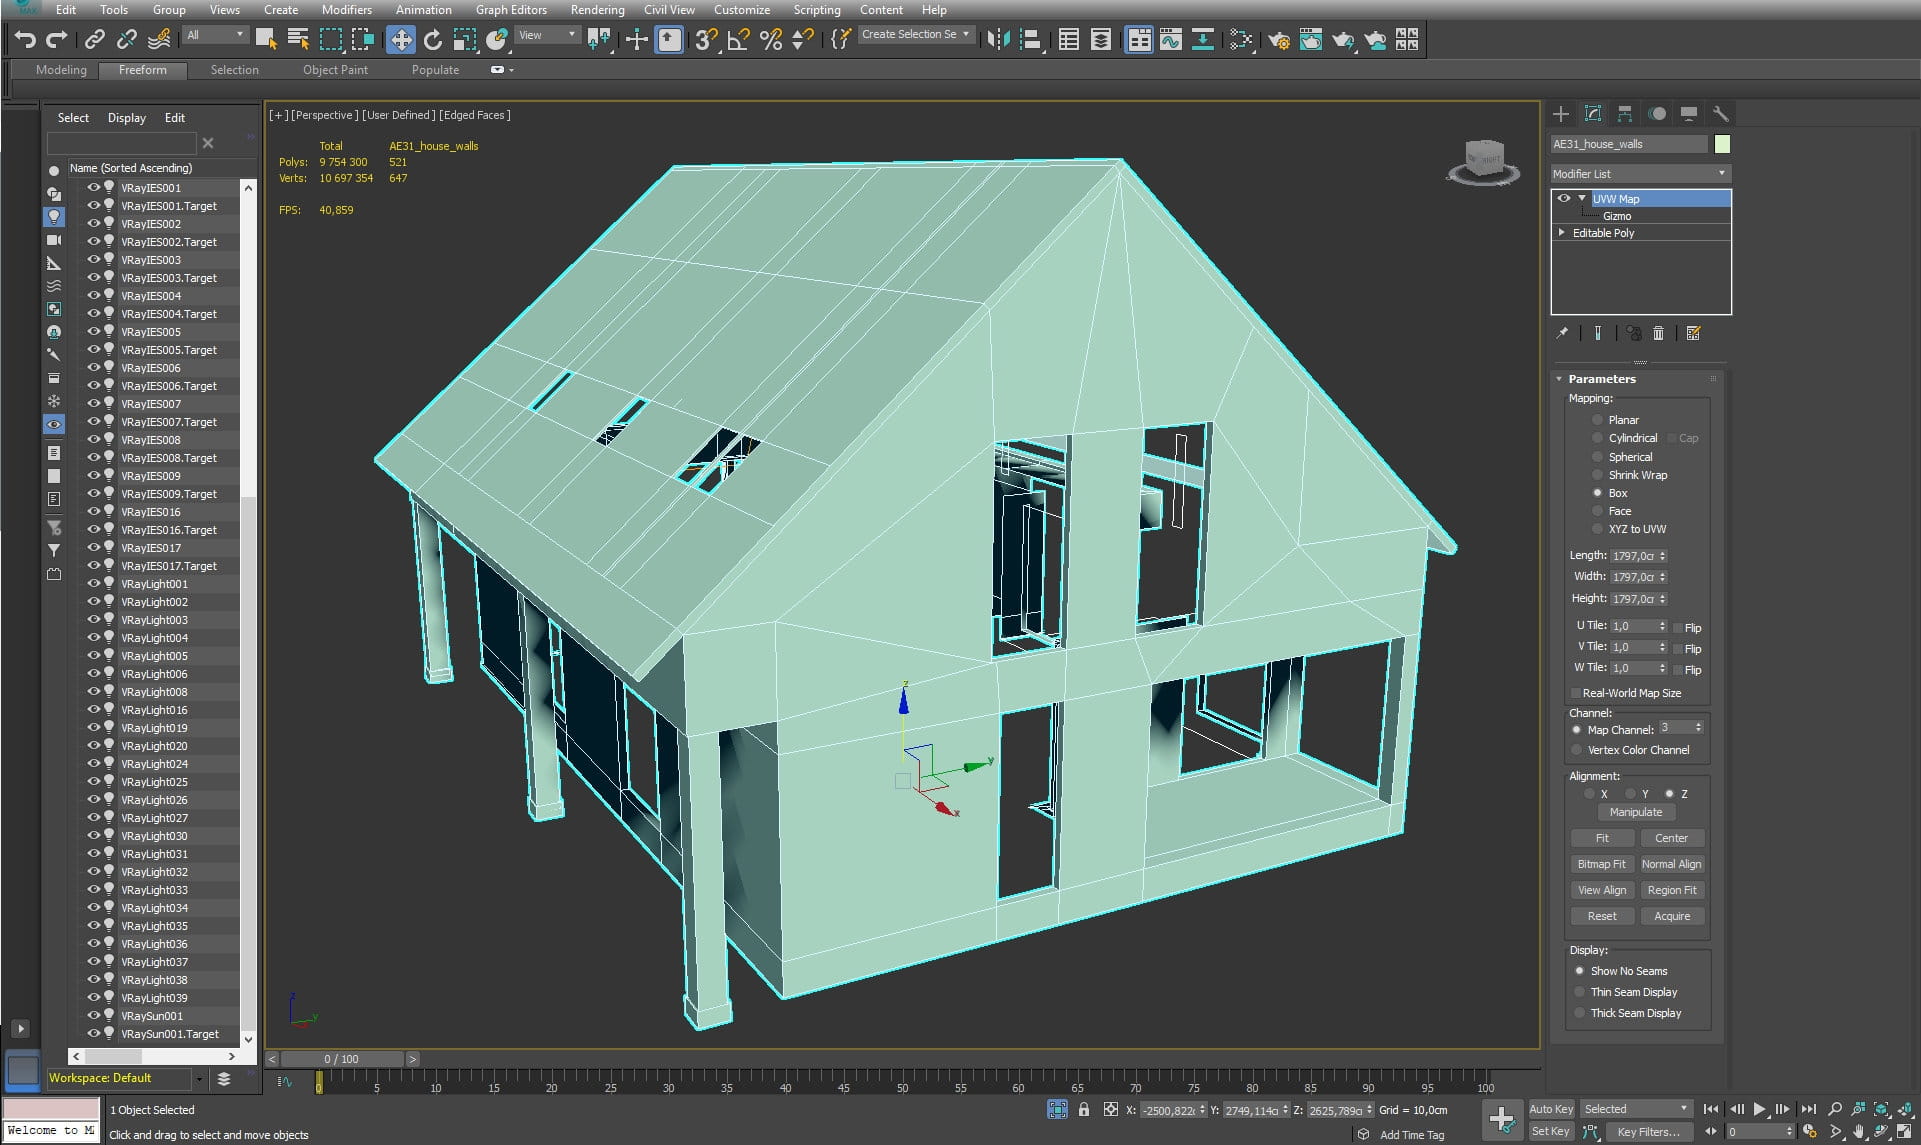
This is wireframe view from camera 1.
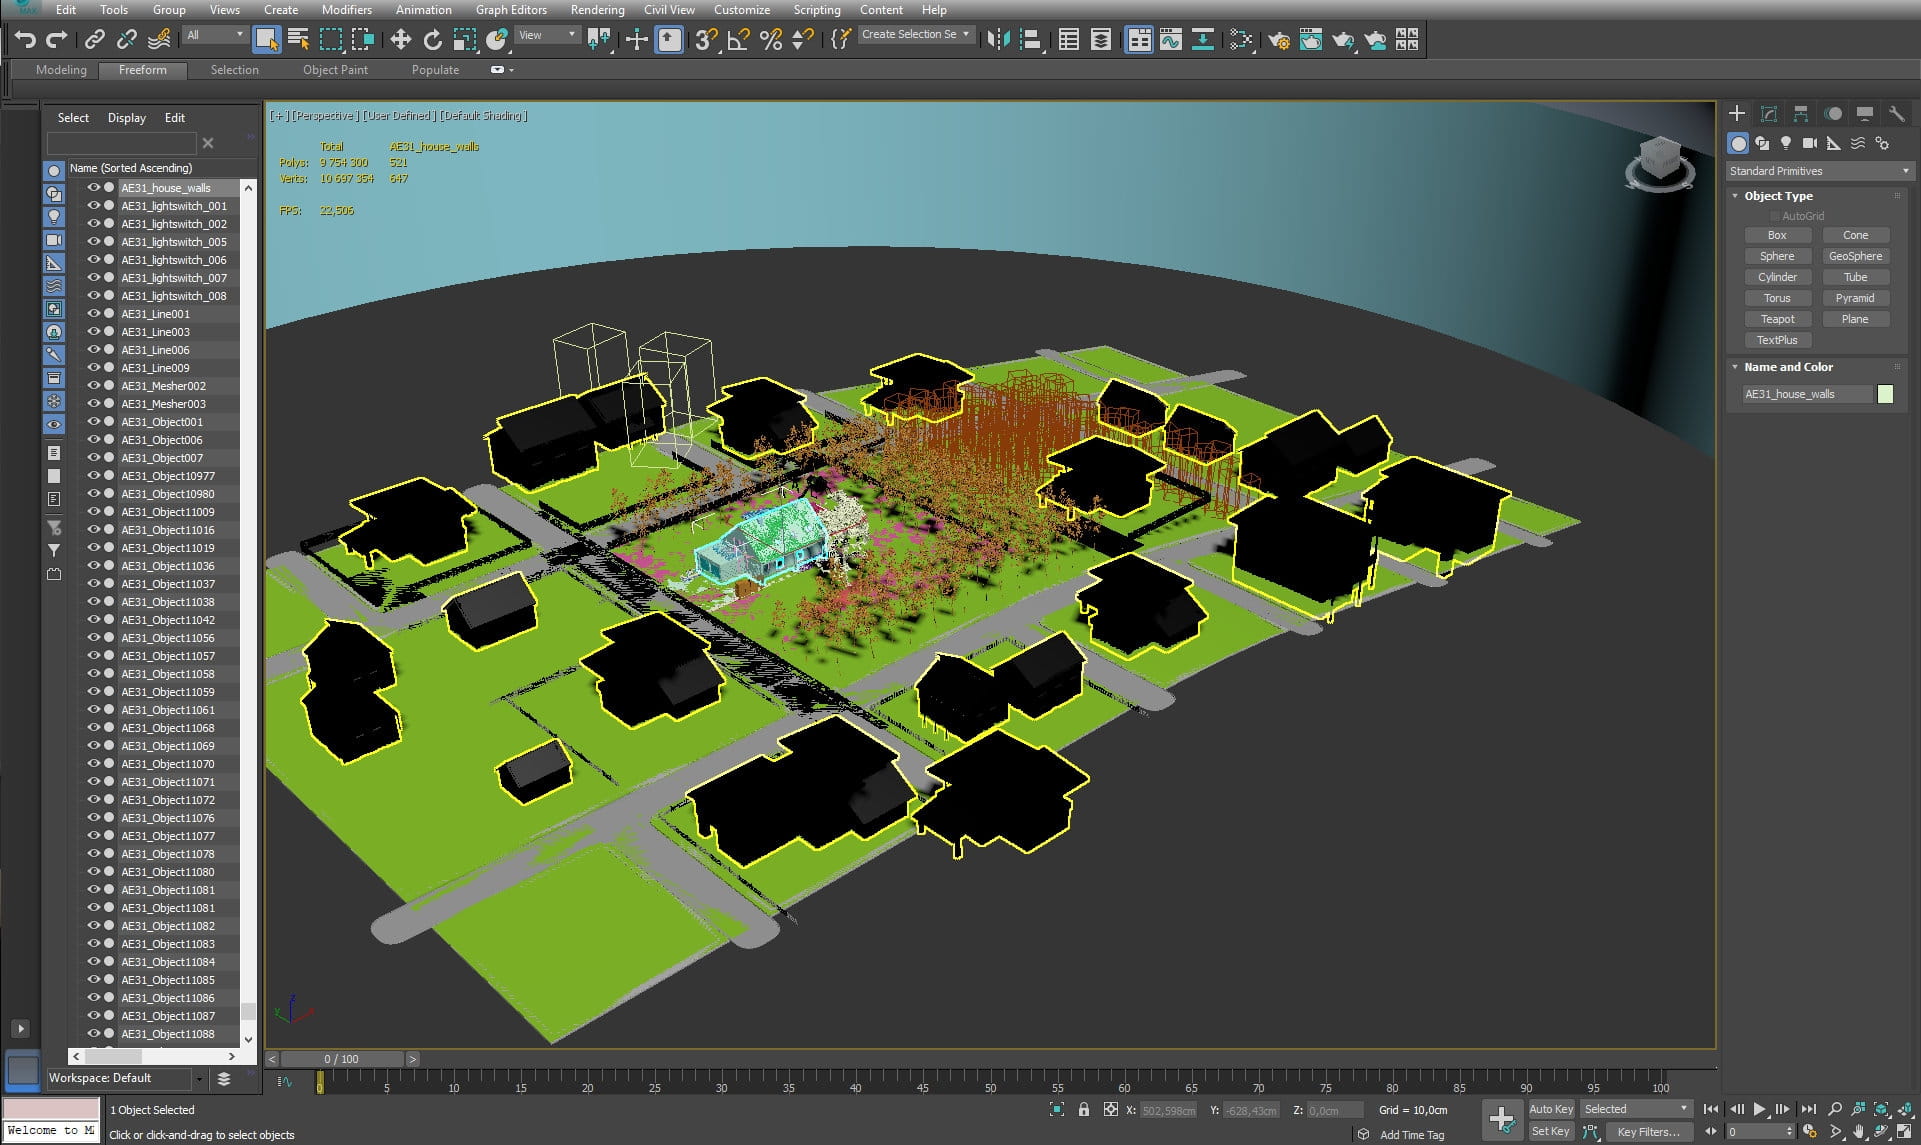
Here you have a scene overview - you can see that we placed many buildings surrounding main building. They are obviously not as detailed as the main building, but detailed enough to look good as secondary elements.
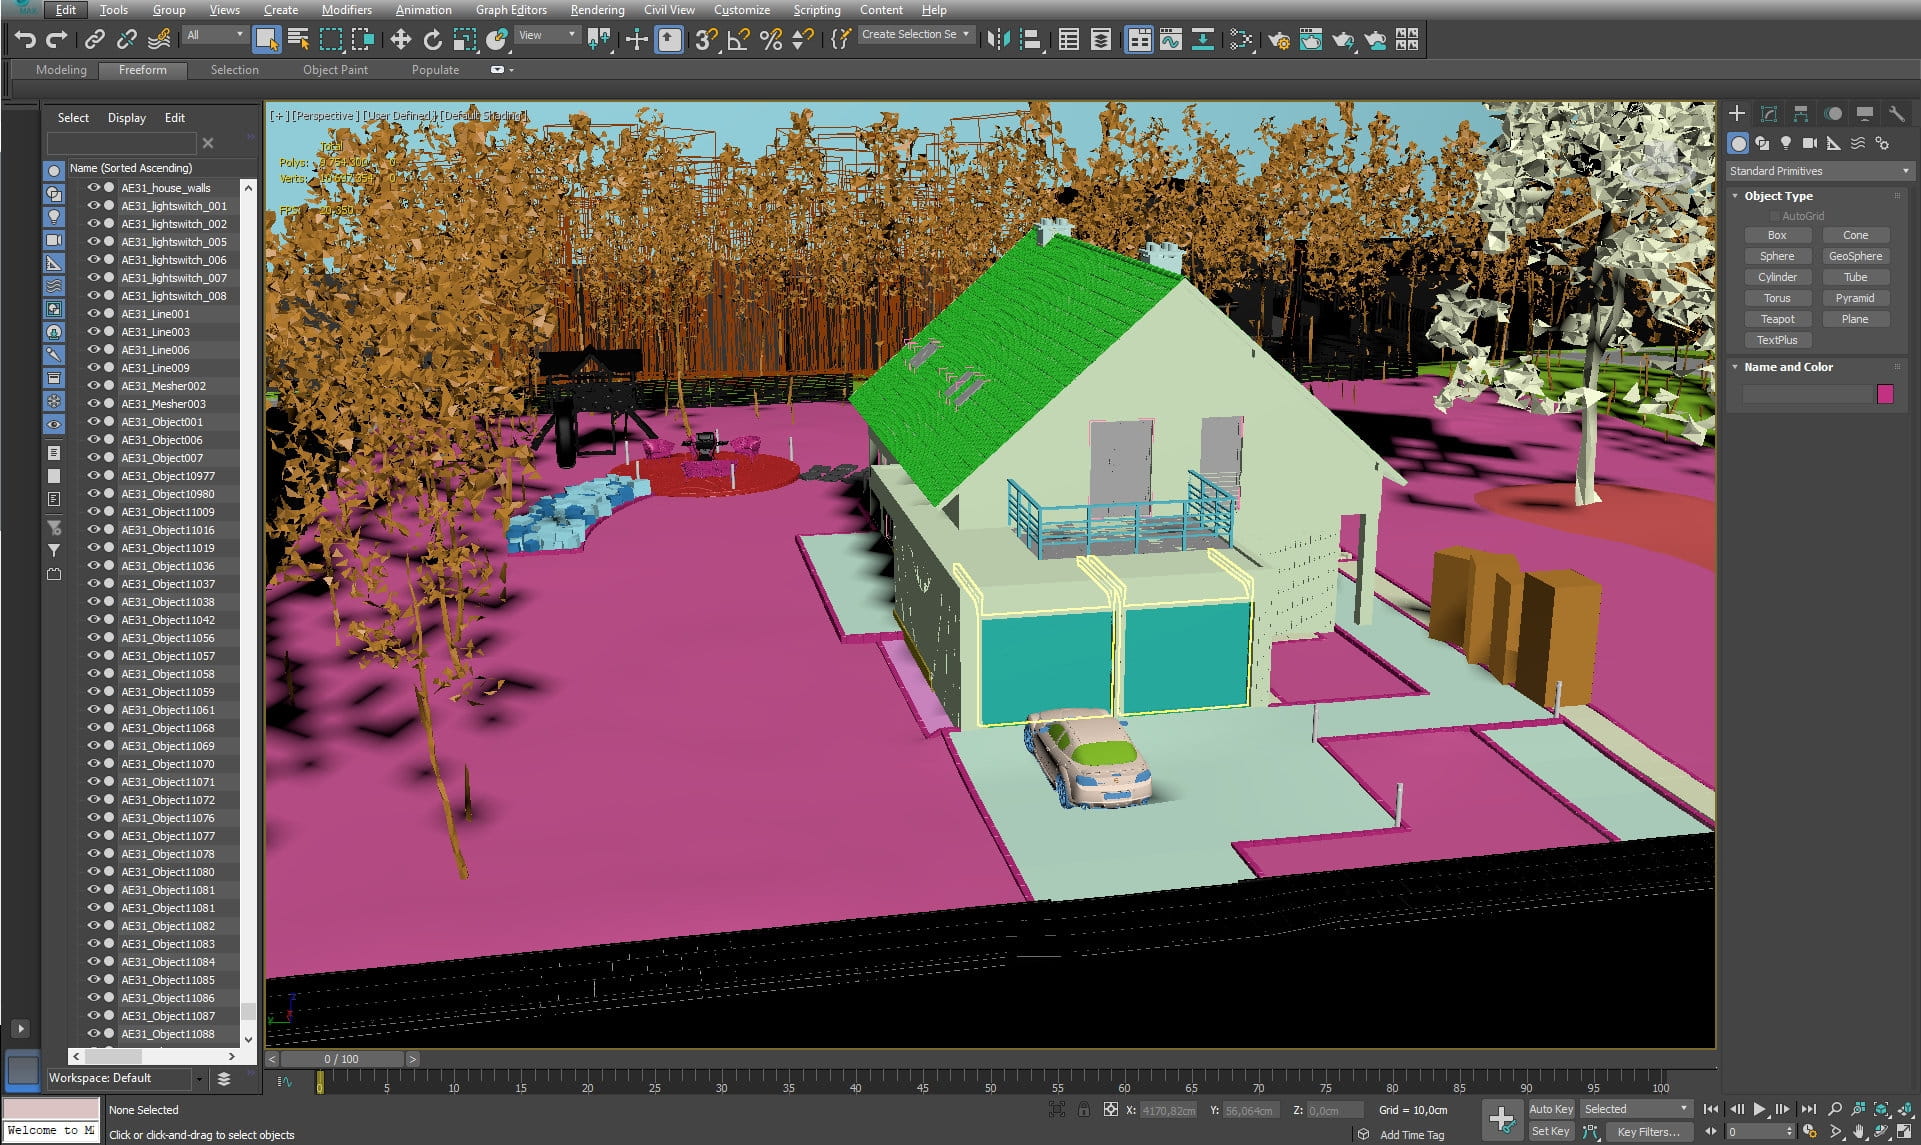
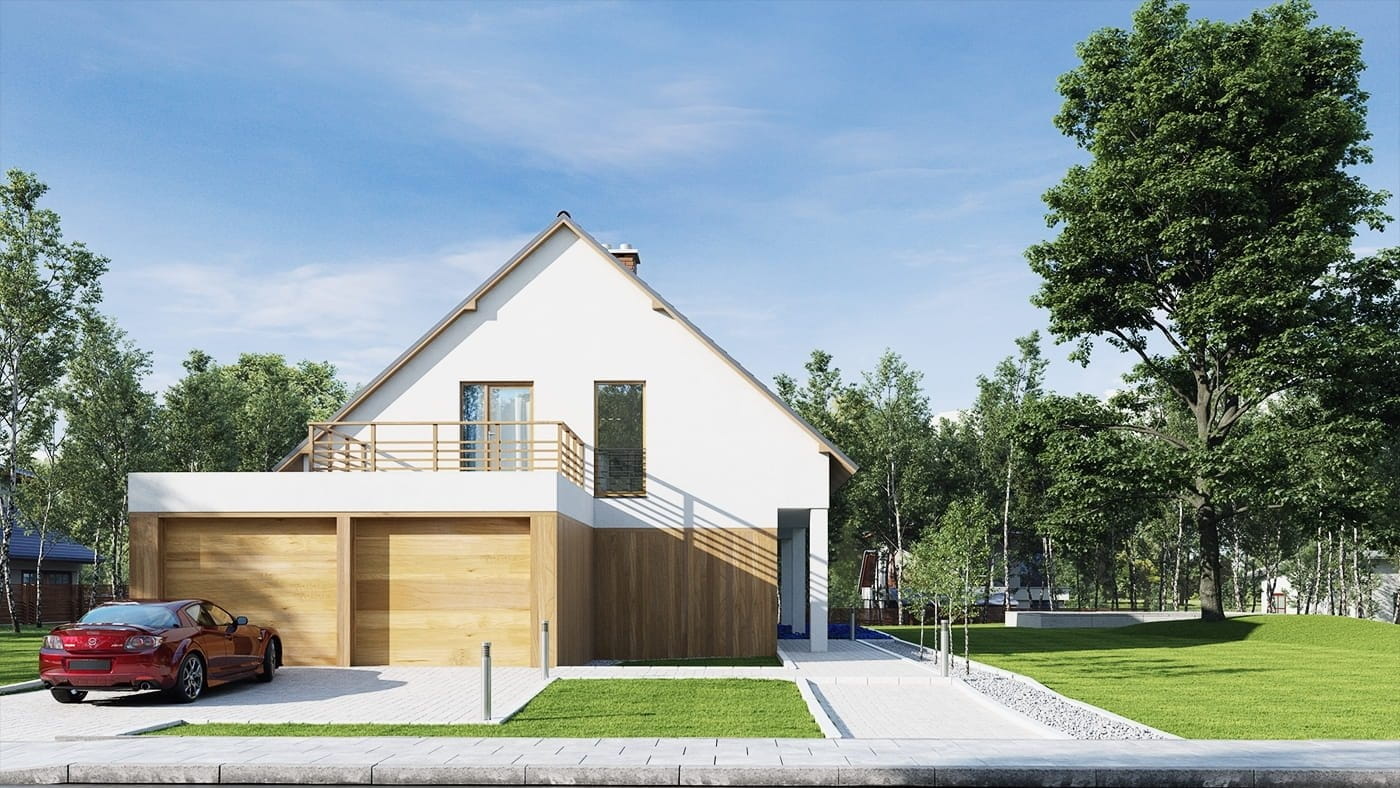
Building mesh, with a car on a driveway. This scene is a version with VrayProxies, we have proxy vegetation behind the house. Building was made using typical polymodeling tools, nothing very complicated.

Another view of the house

The whole scene is surrounded by a dome and a plane with trees bitmap.
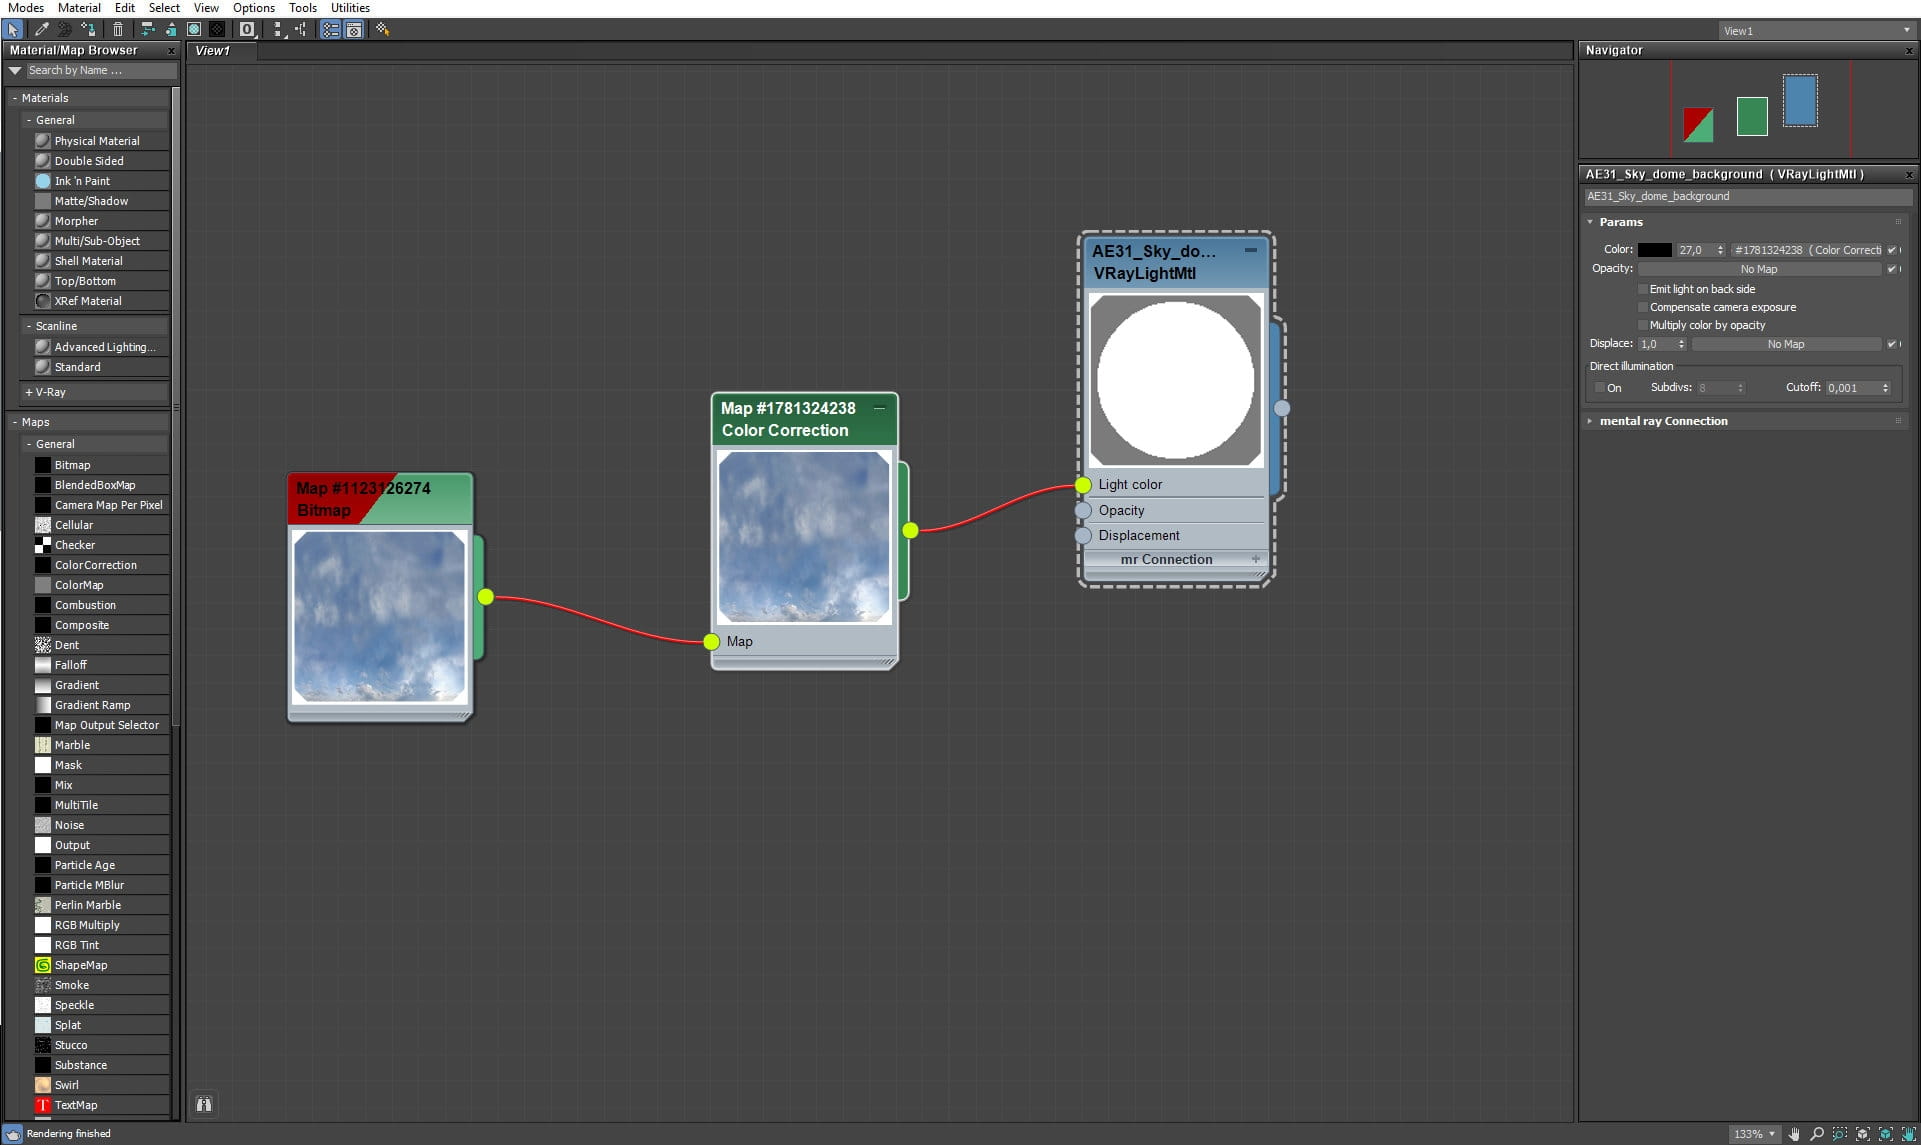
Dome mesh contains sky texture - typical method for rendering photorealistic sky in camera view.
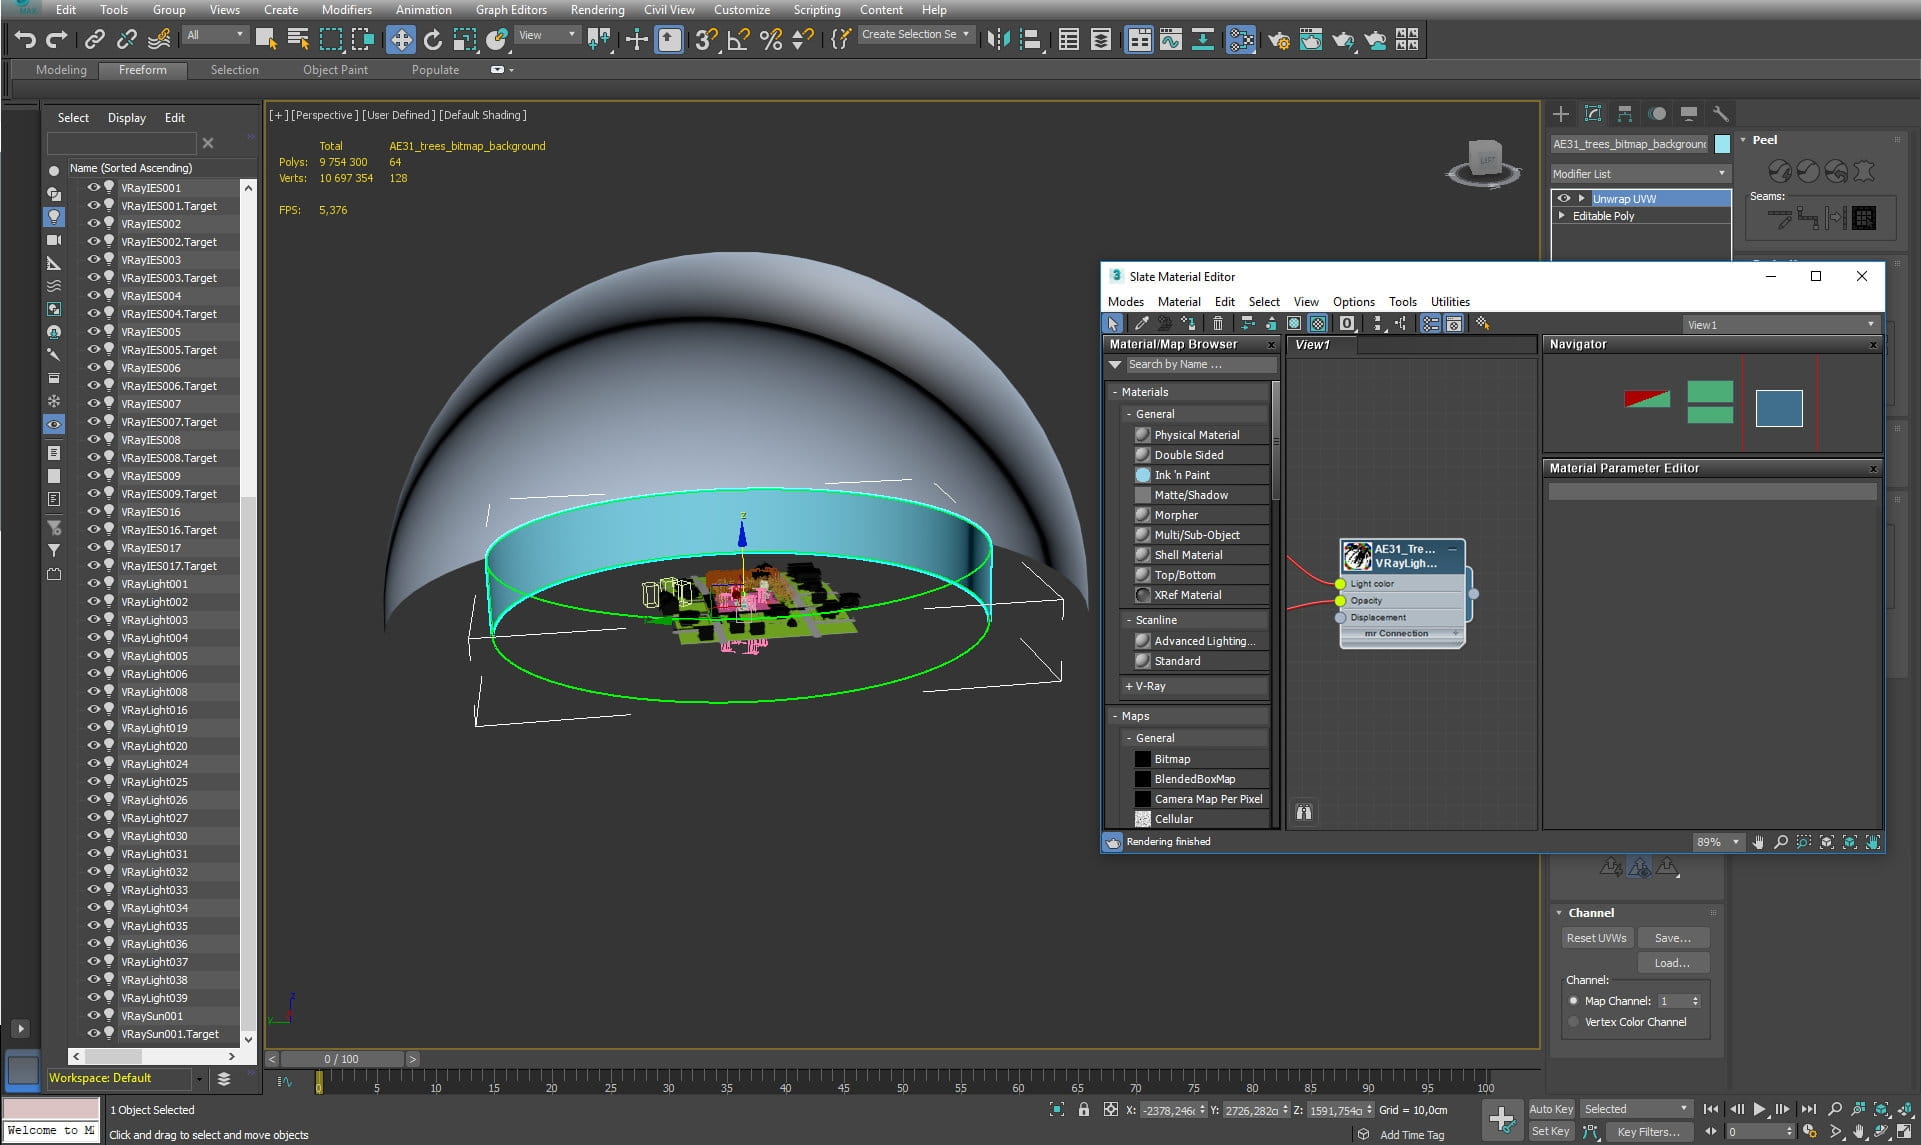
The cylinder without caps is containing trees map.
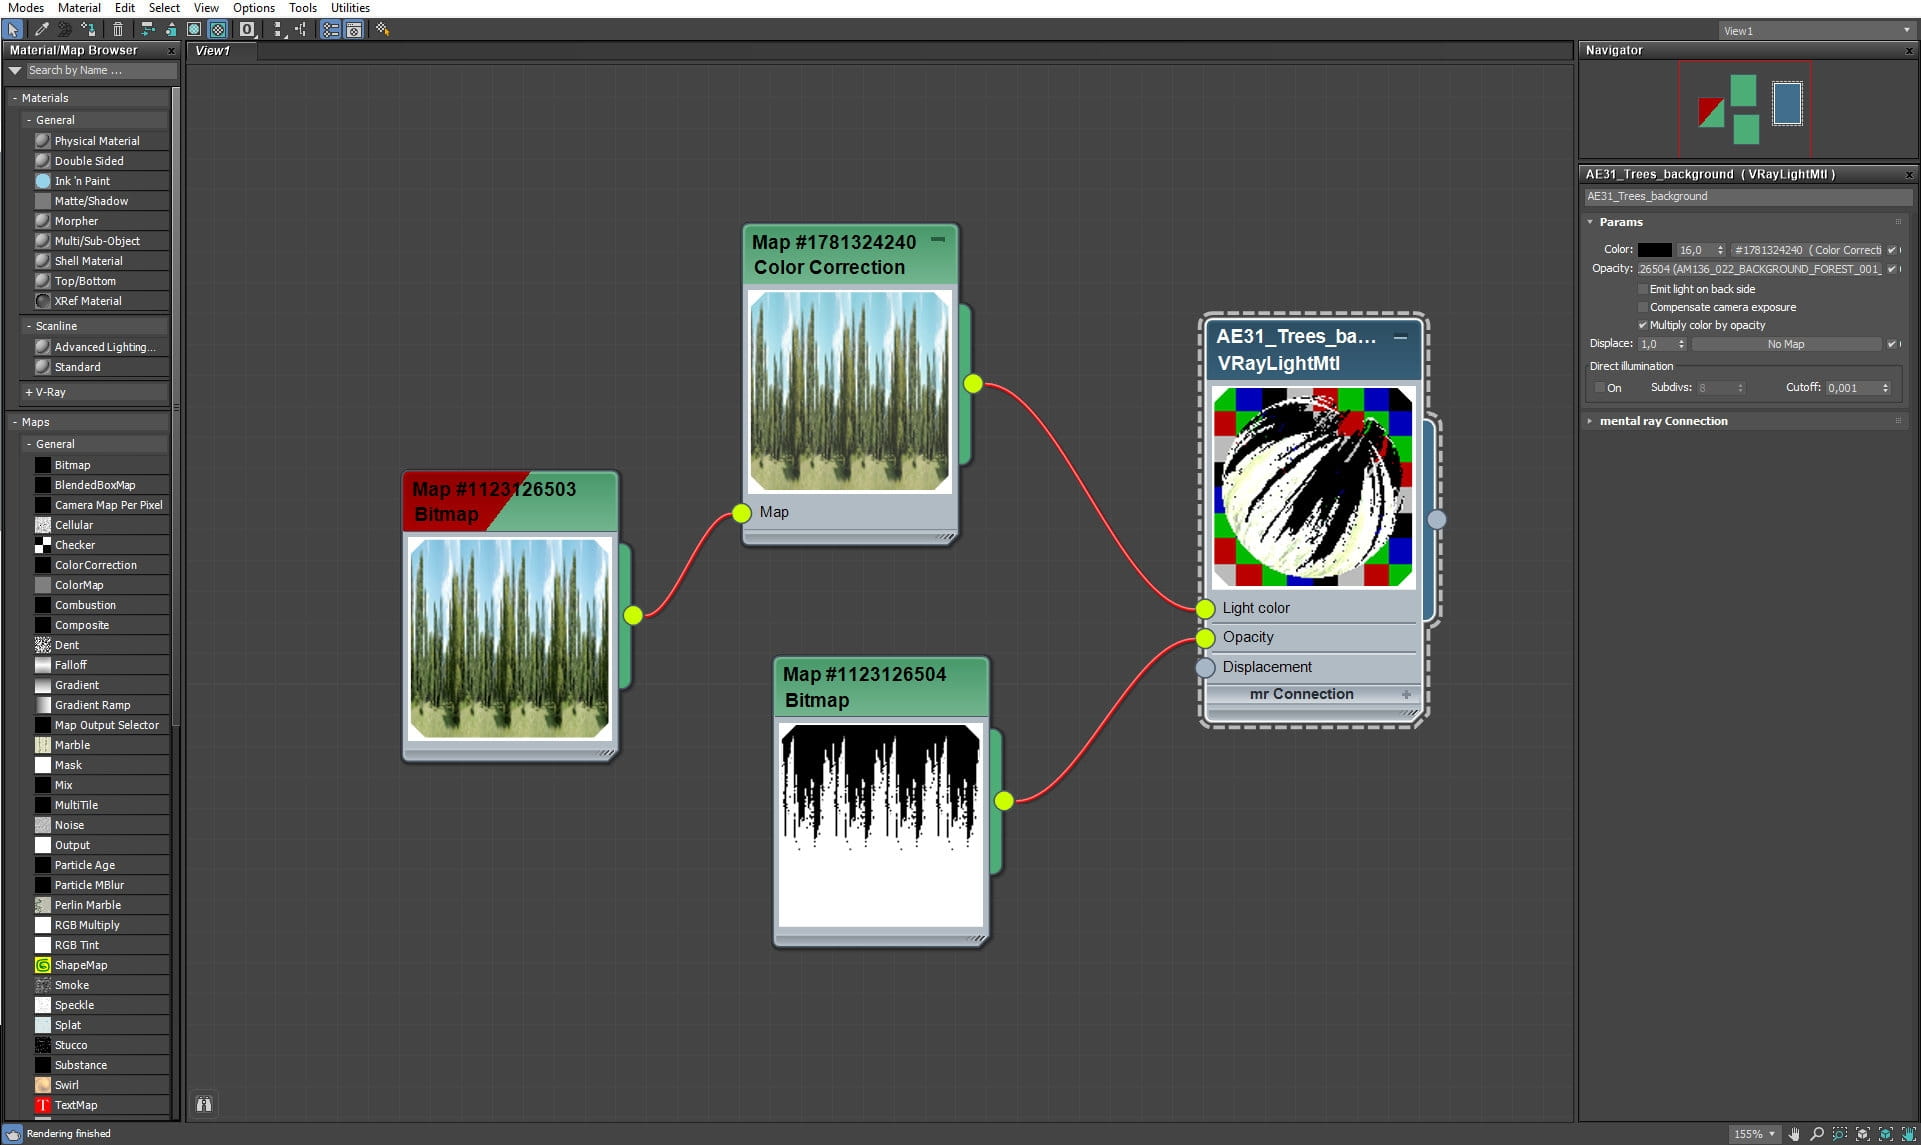
This map has an alpha channel, so we don't see the sky above trees in the camera, only greenery. The image is prepared in Photoshop and then imported to 3ds Max.

Road mesh. - it's 2d, there is no extrusion here.

Road material. we mixed several maps together for diffuse slot and then re-used black and white map in other slots to give bumpiness and roughness to the material

All maps unfolded.
.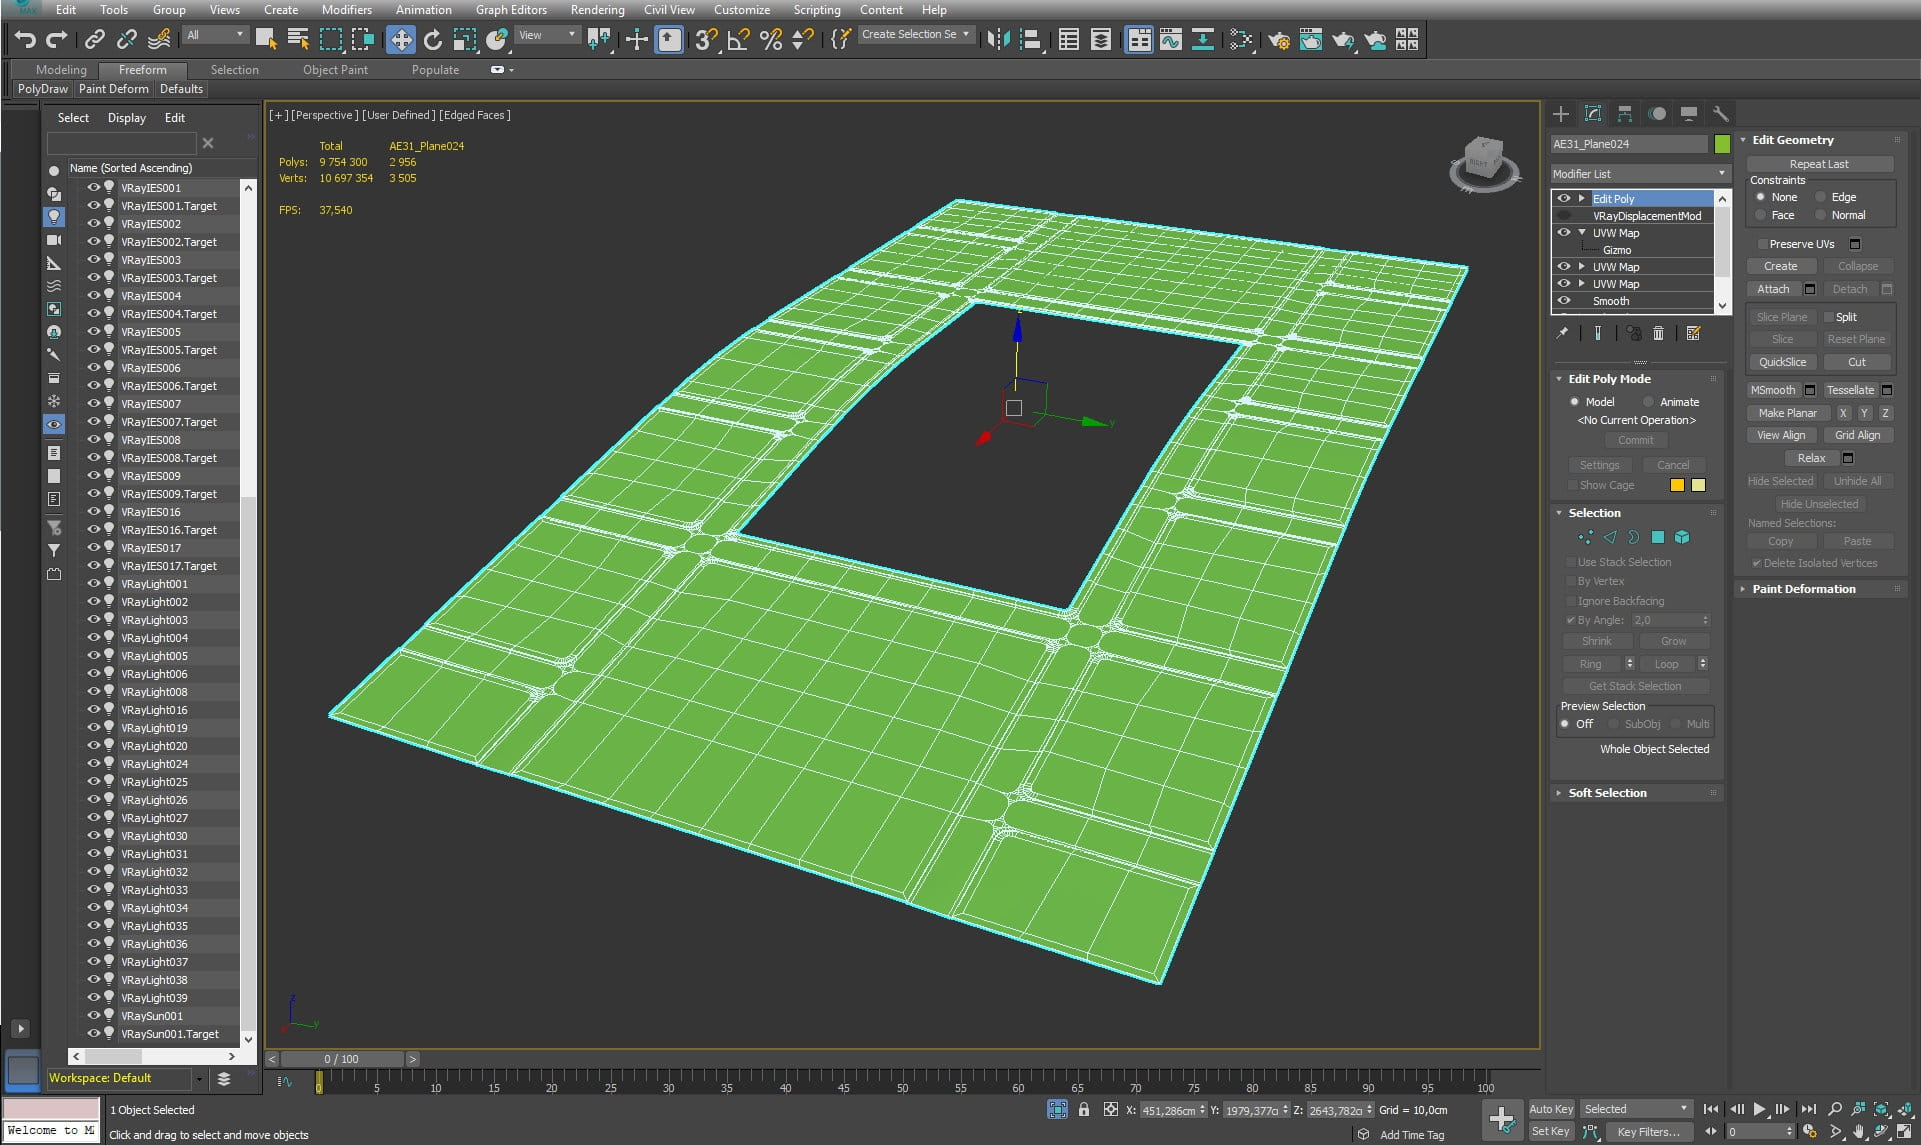
Main plane that holds all meshes (except main building). as you can see, it is rather simple mesh, but we used VrayDisplaceModifier to make some varieties in height.

Main plane material. It's a standard VrayMaterial, but we made some compositing when it comes to maps.

As you can see, we have mixed many color maps with noise textures to achieve better variety in our grouind texture. And it's all for diffuse slot only!
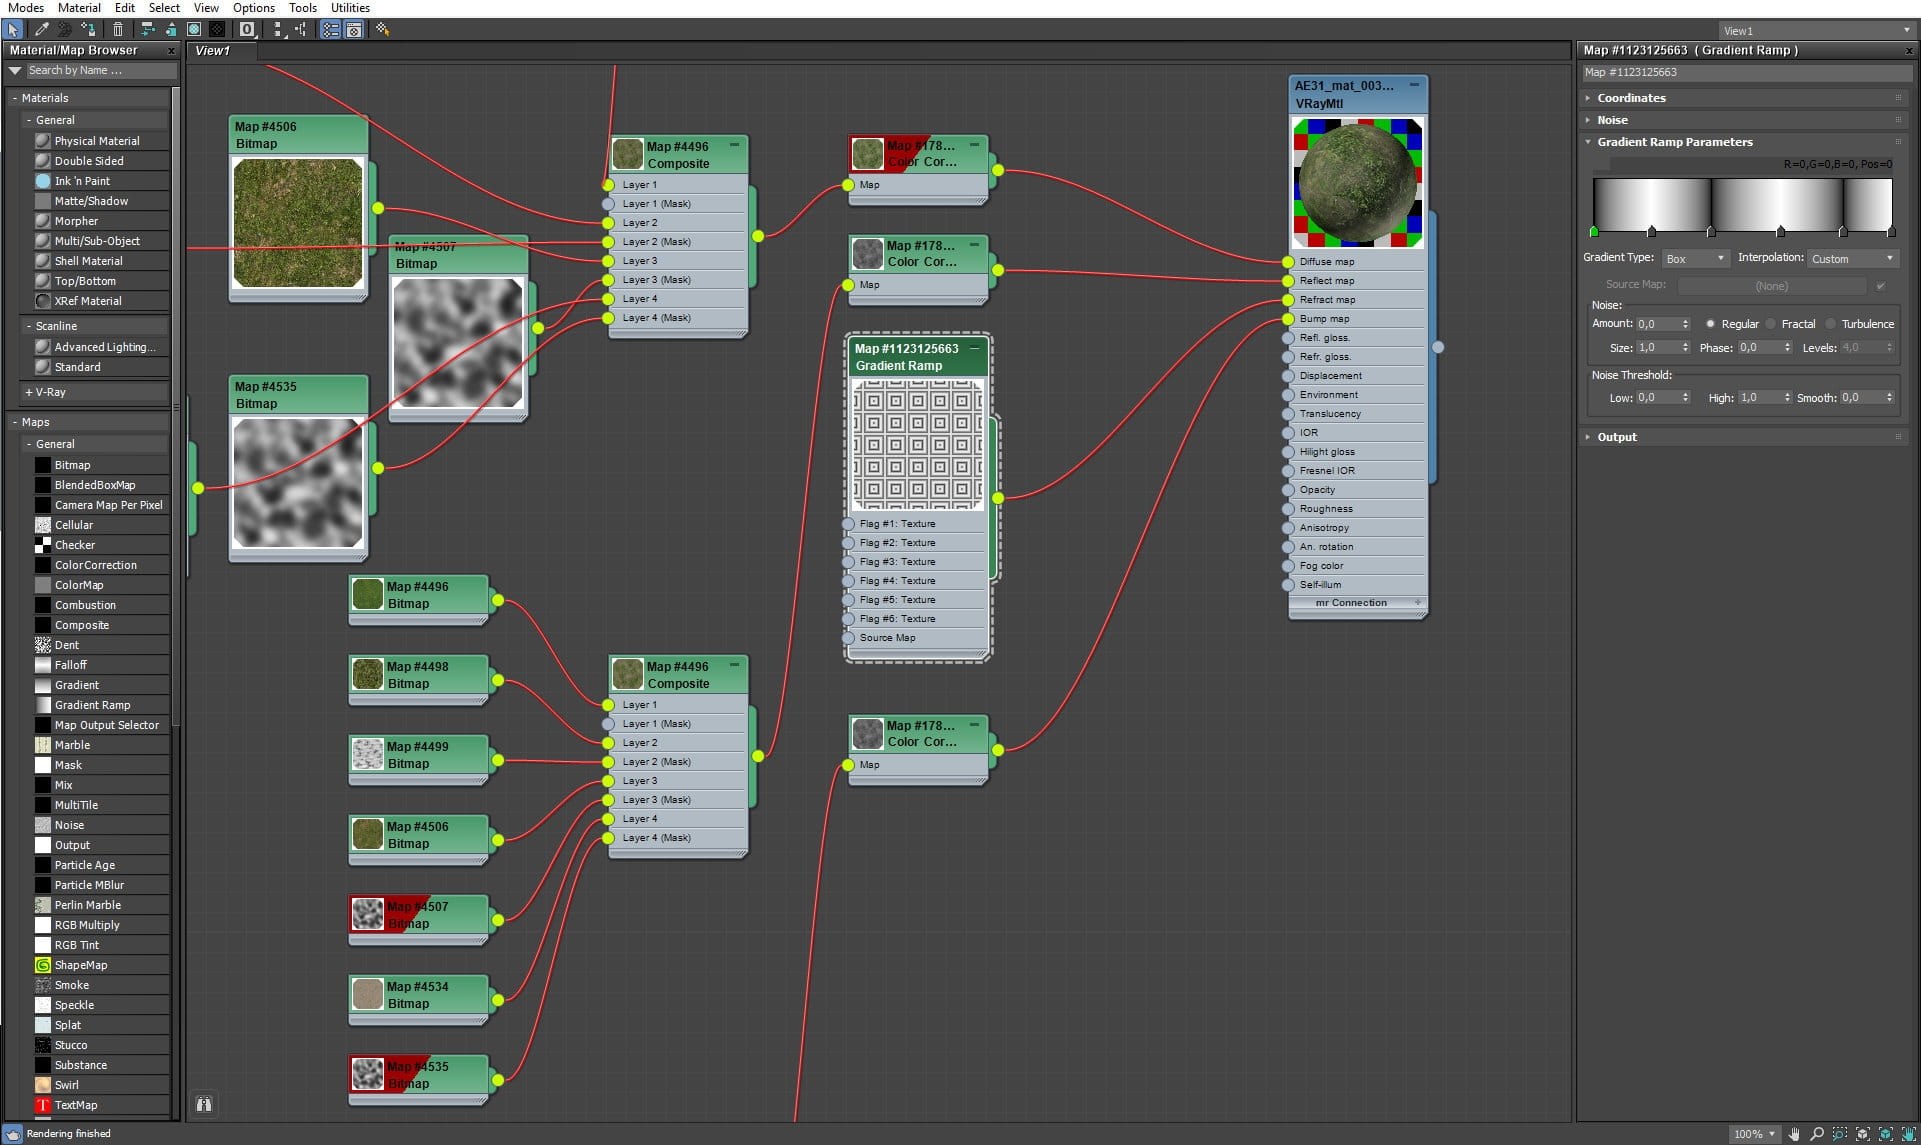
For the reflect slot we reused all maps, but mixed them differently and as b&w version.
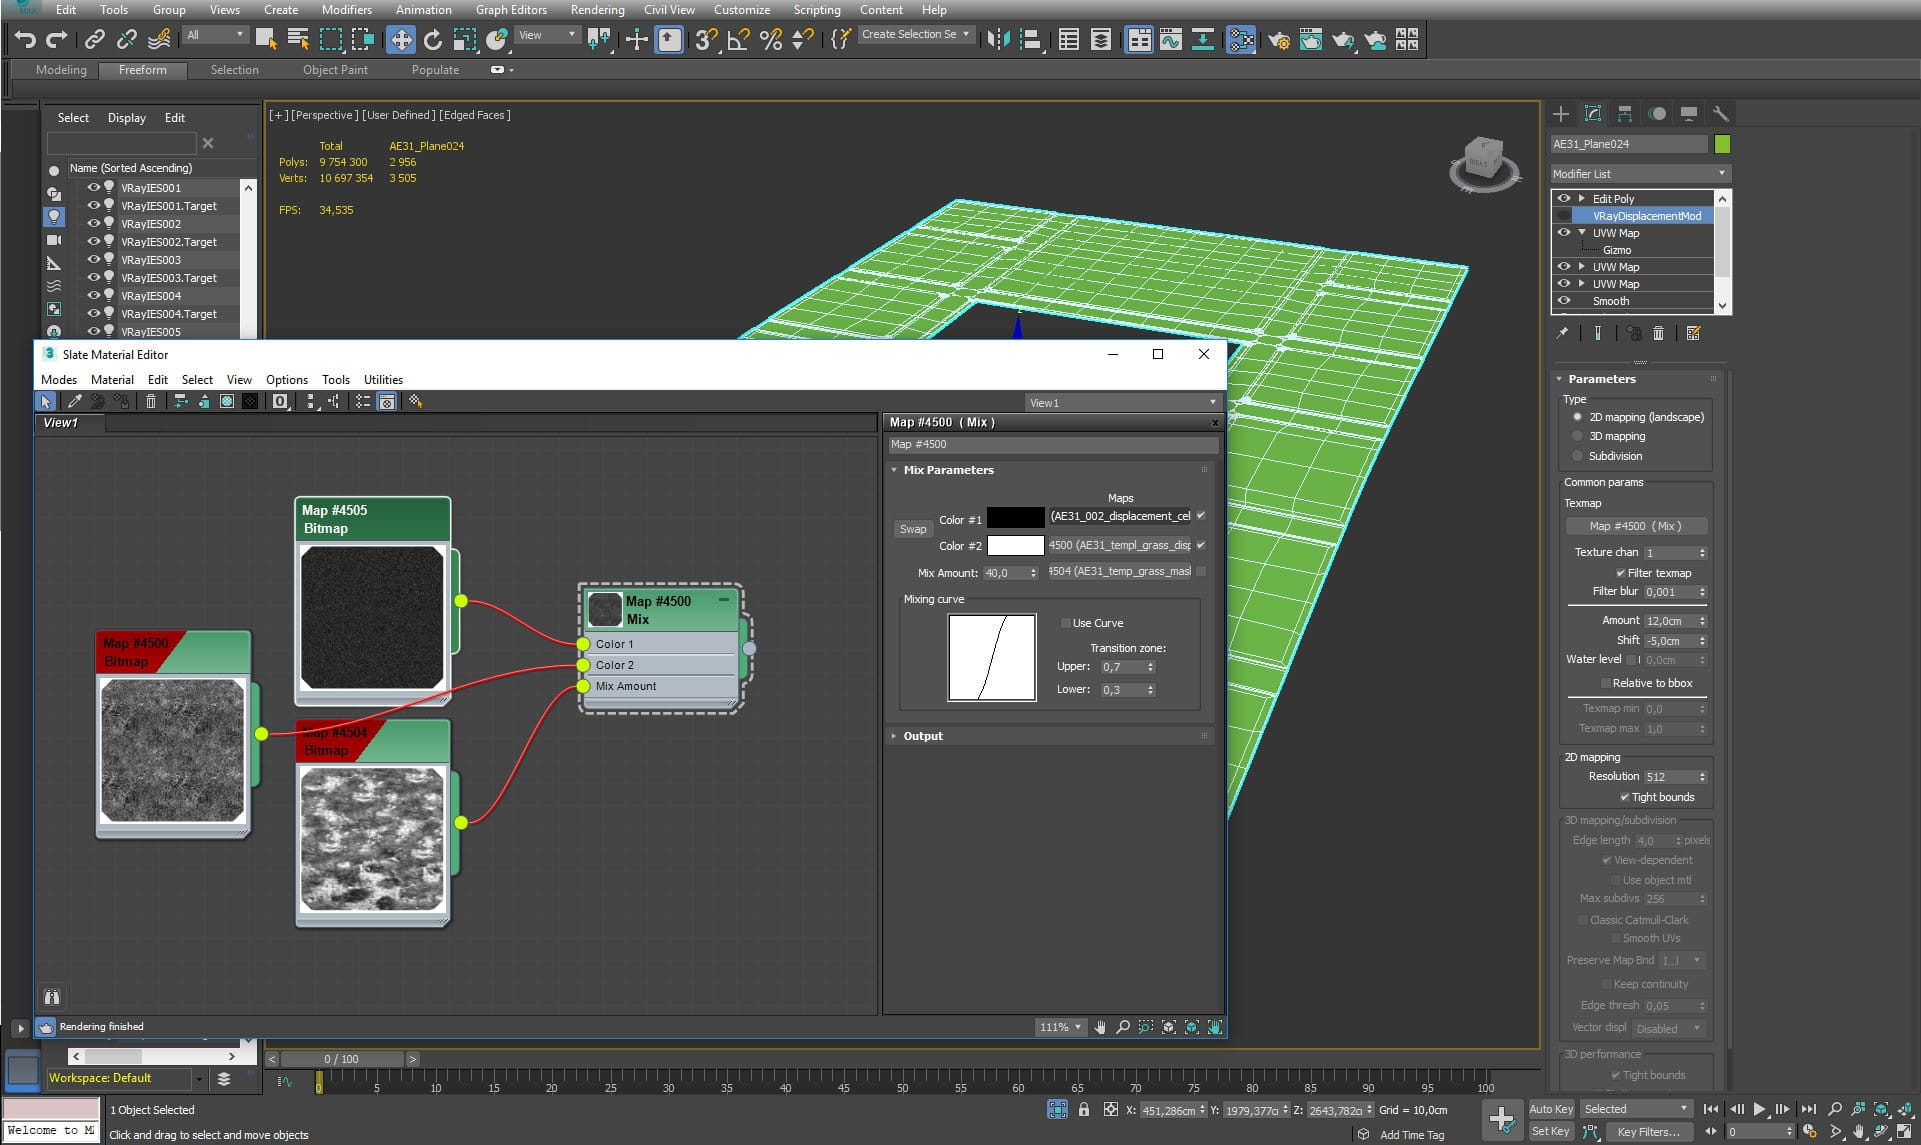
The ground is displaced, we used the mixture of above maps.

The first map for displacement (smaller version than in the scene)
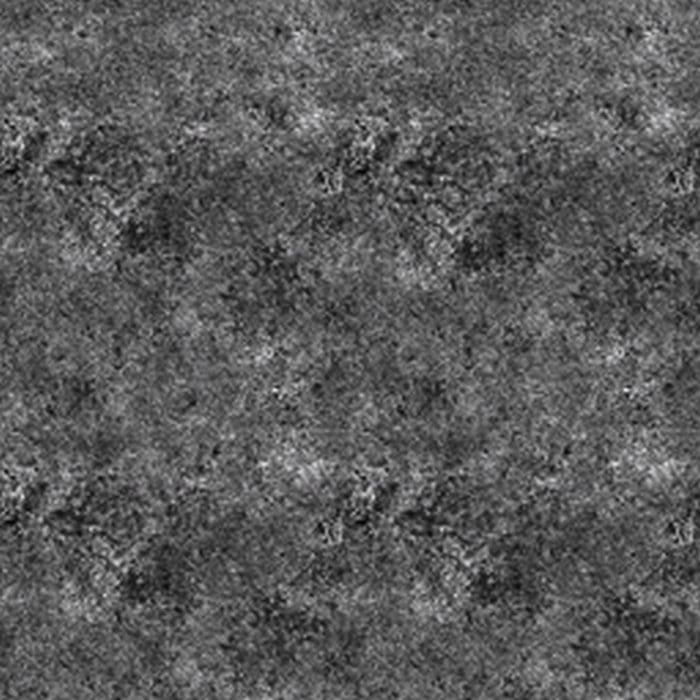
The second map for displacement (smaller version than in the scene)

The map used as a mask for mixing displacement layers (smaller version than in the scene)
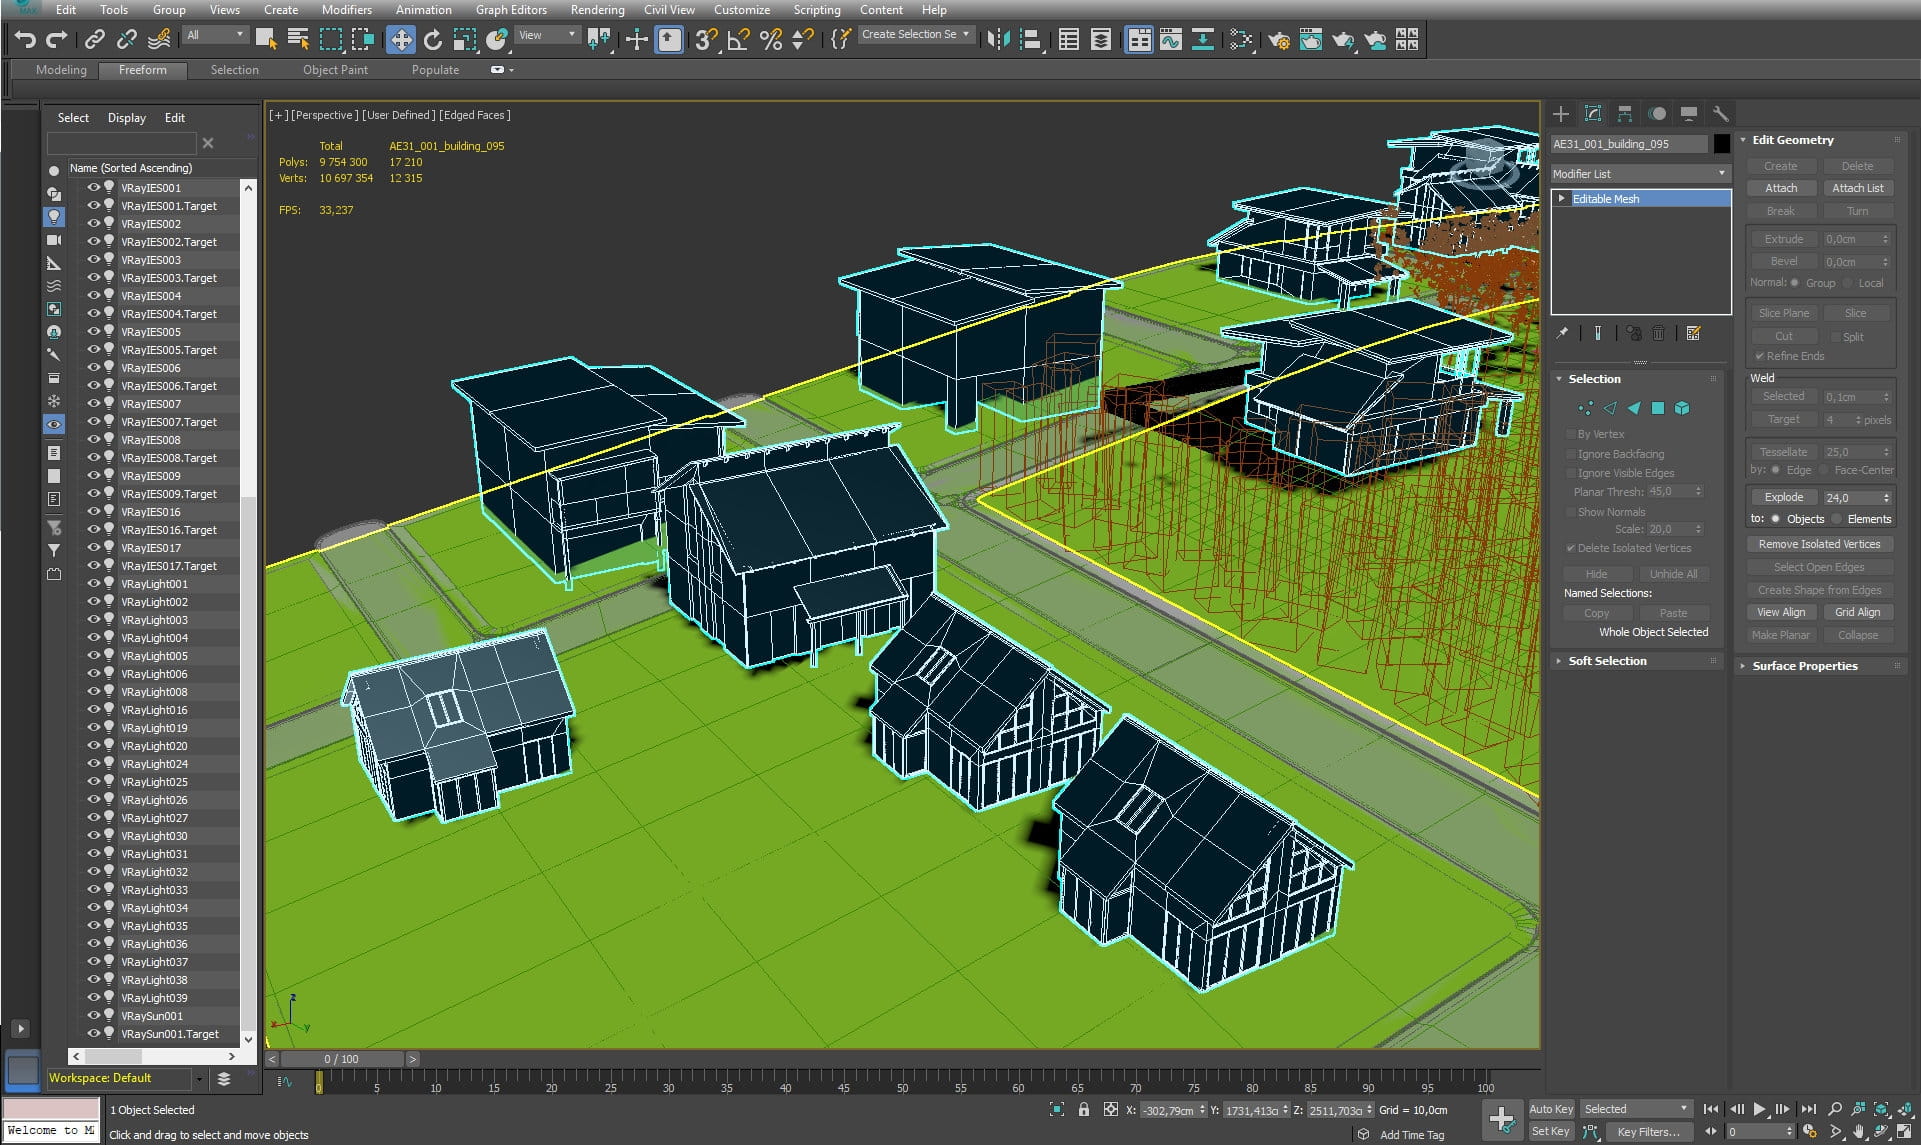
Some secondary meshes of neighboorhood houses.

Even though these buildings are quite far from camera, we provided necessary textures.
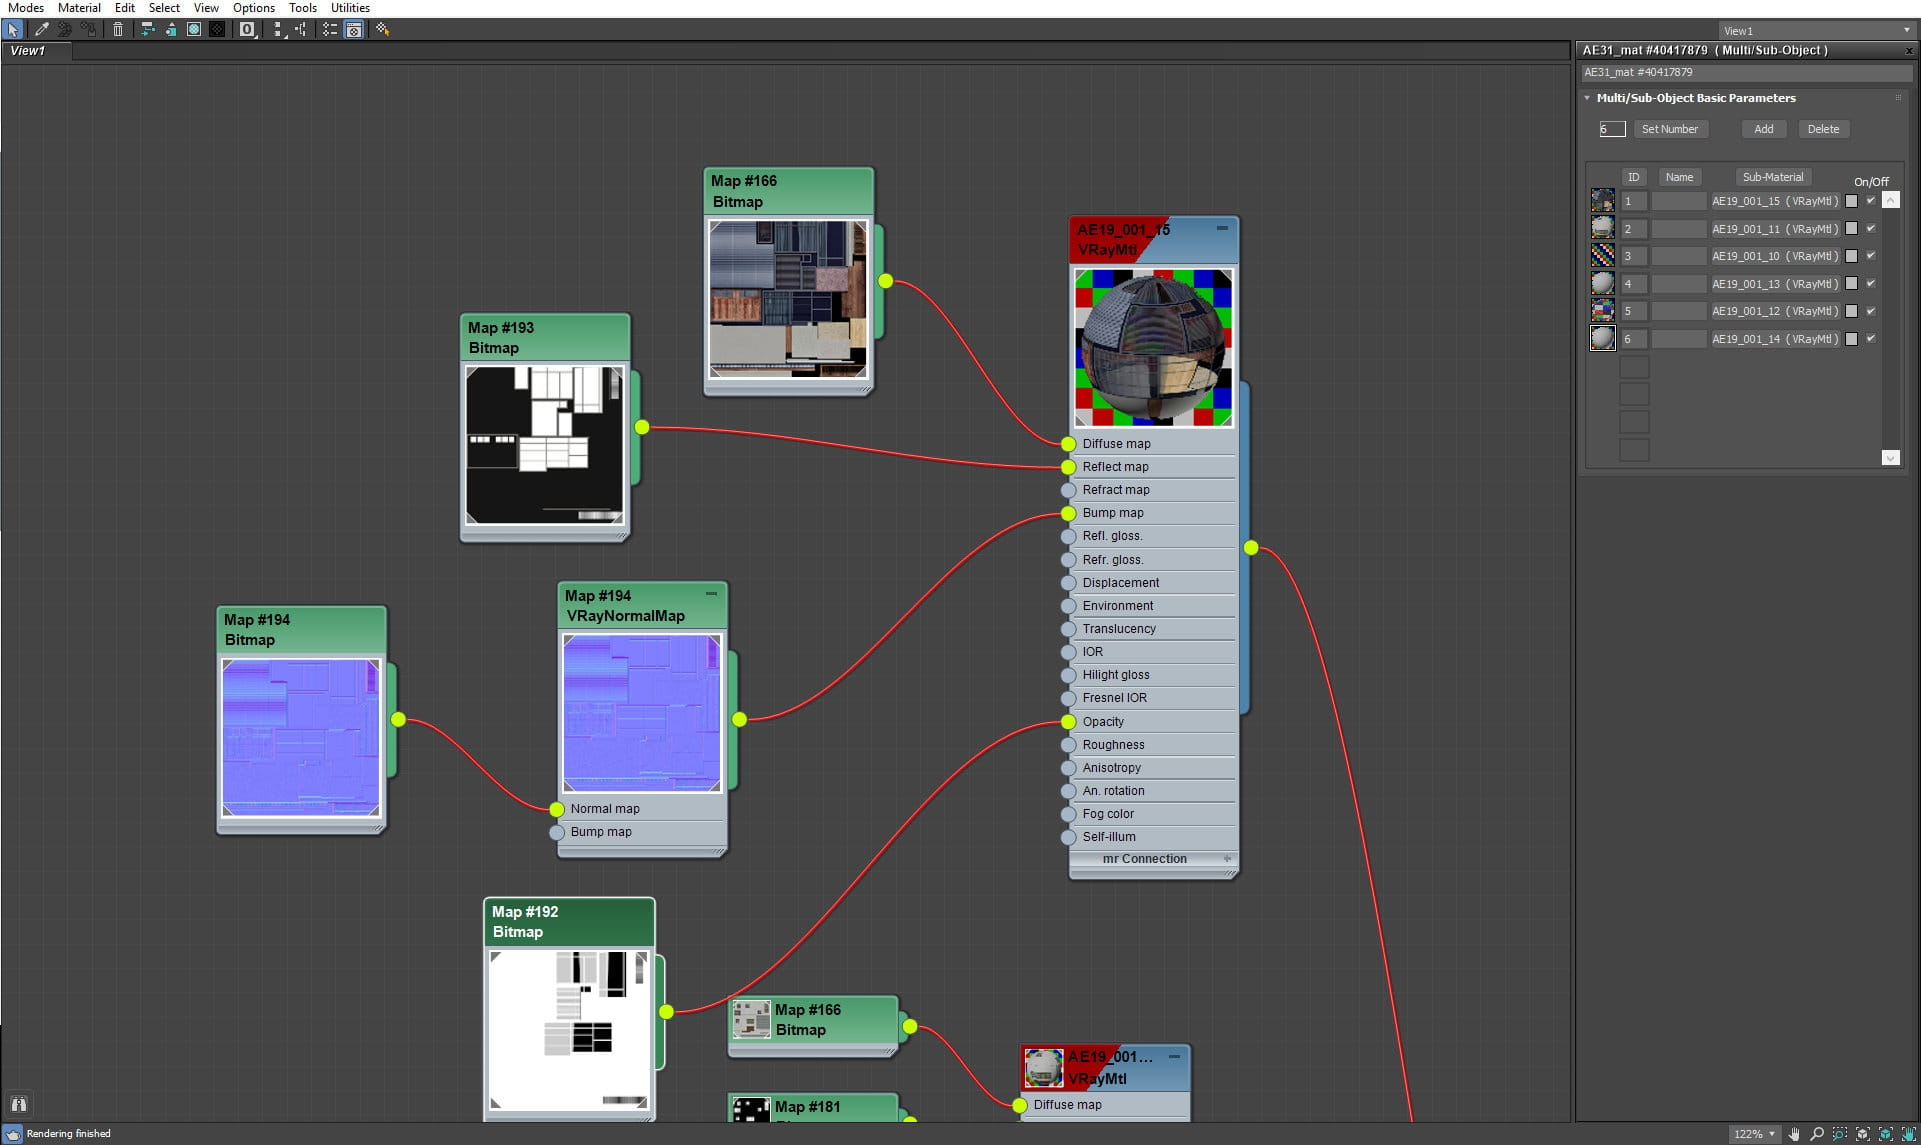
Building textures.

Roof mesh is made from array of rooftiles
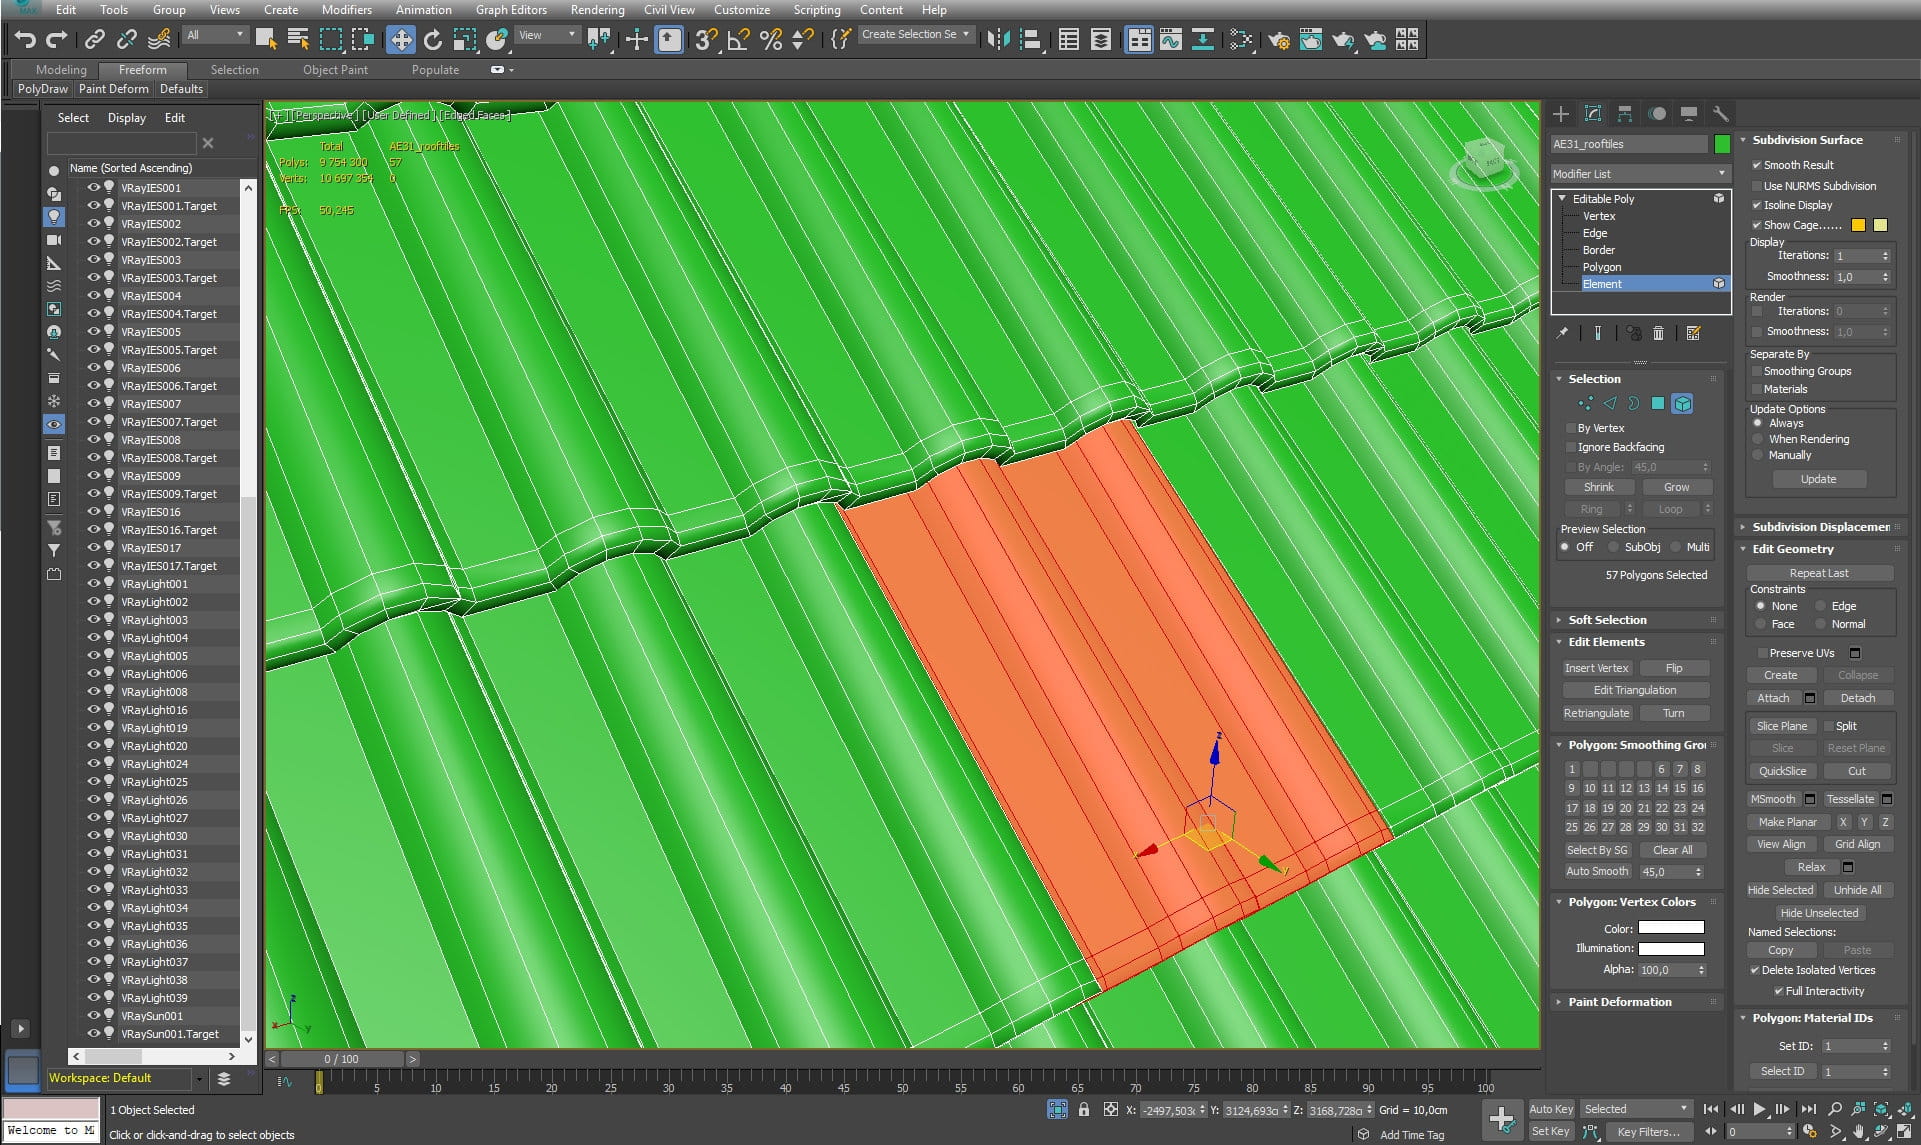
Single rooftile
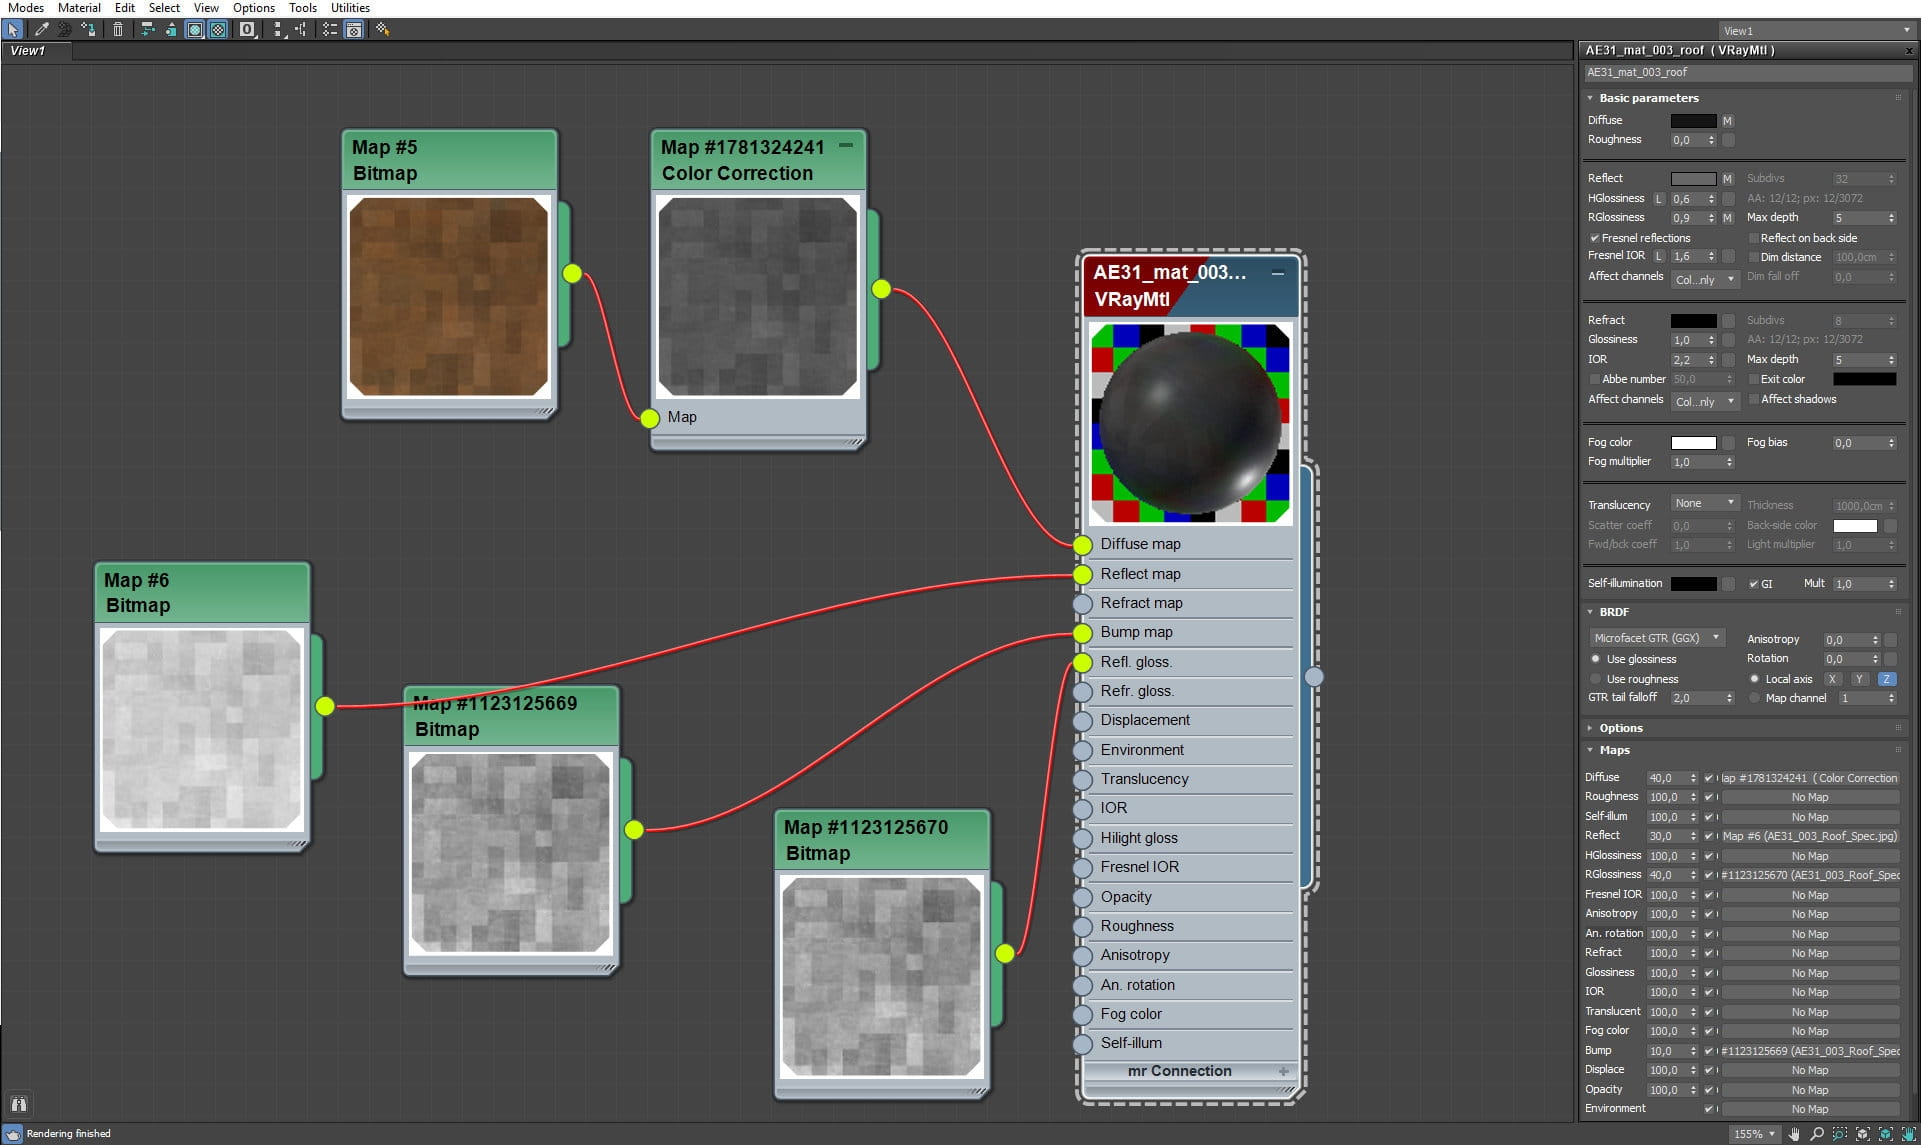
Roof material
Building mesh
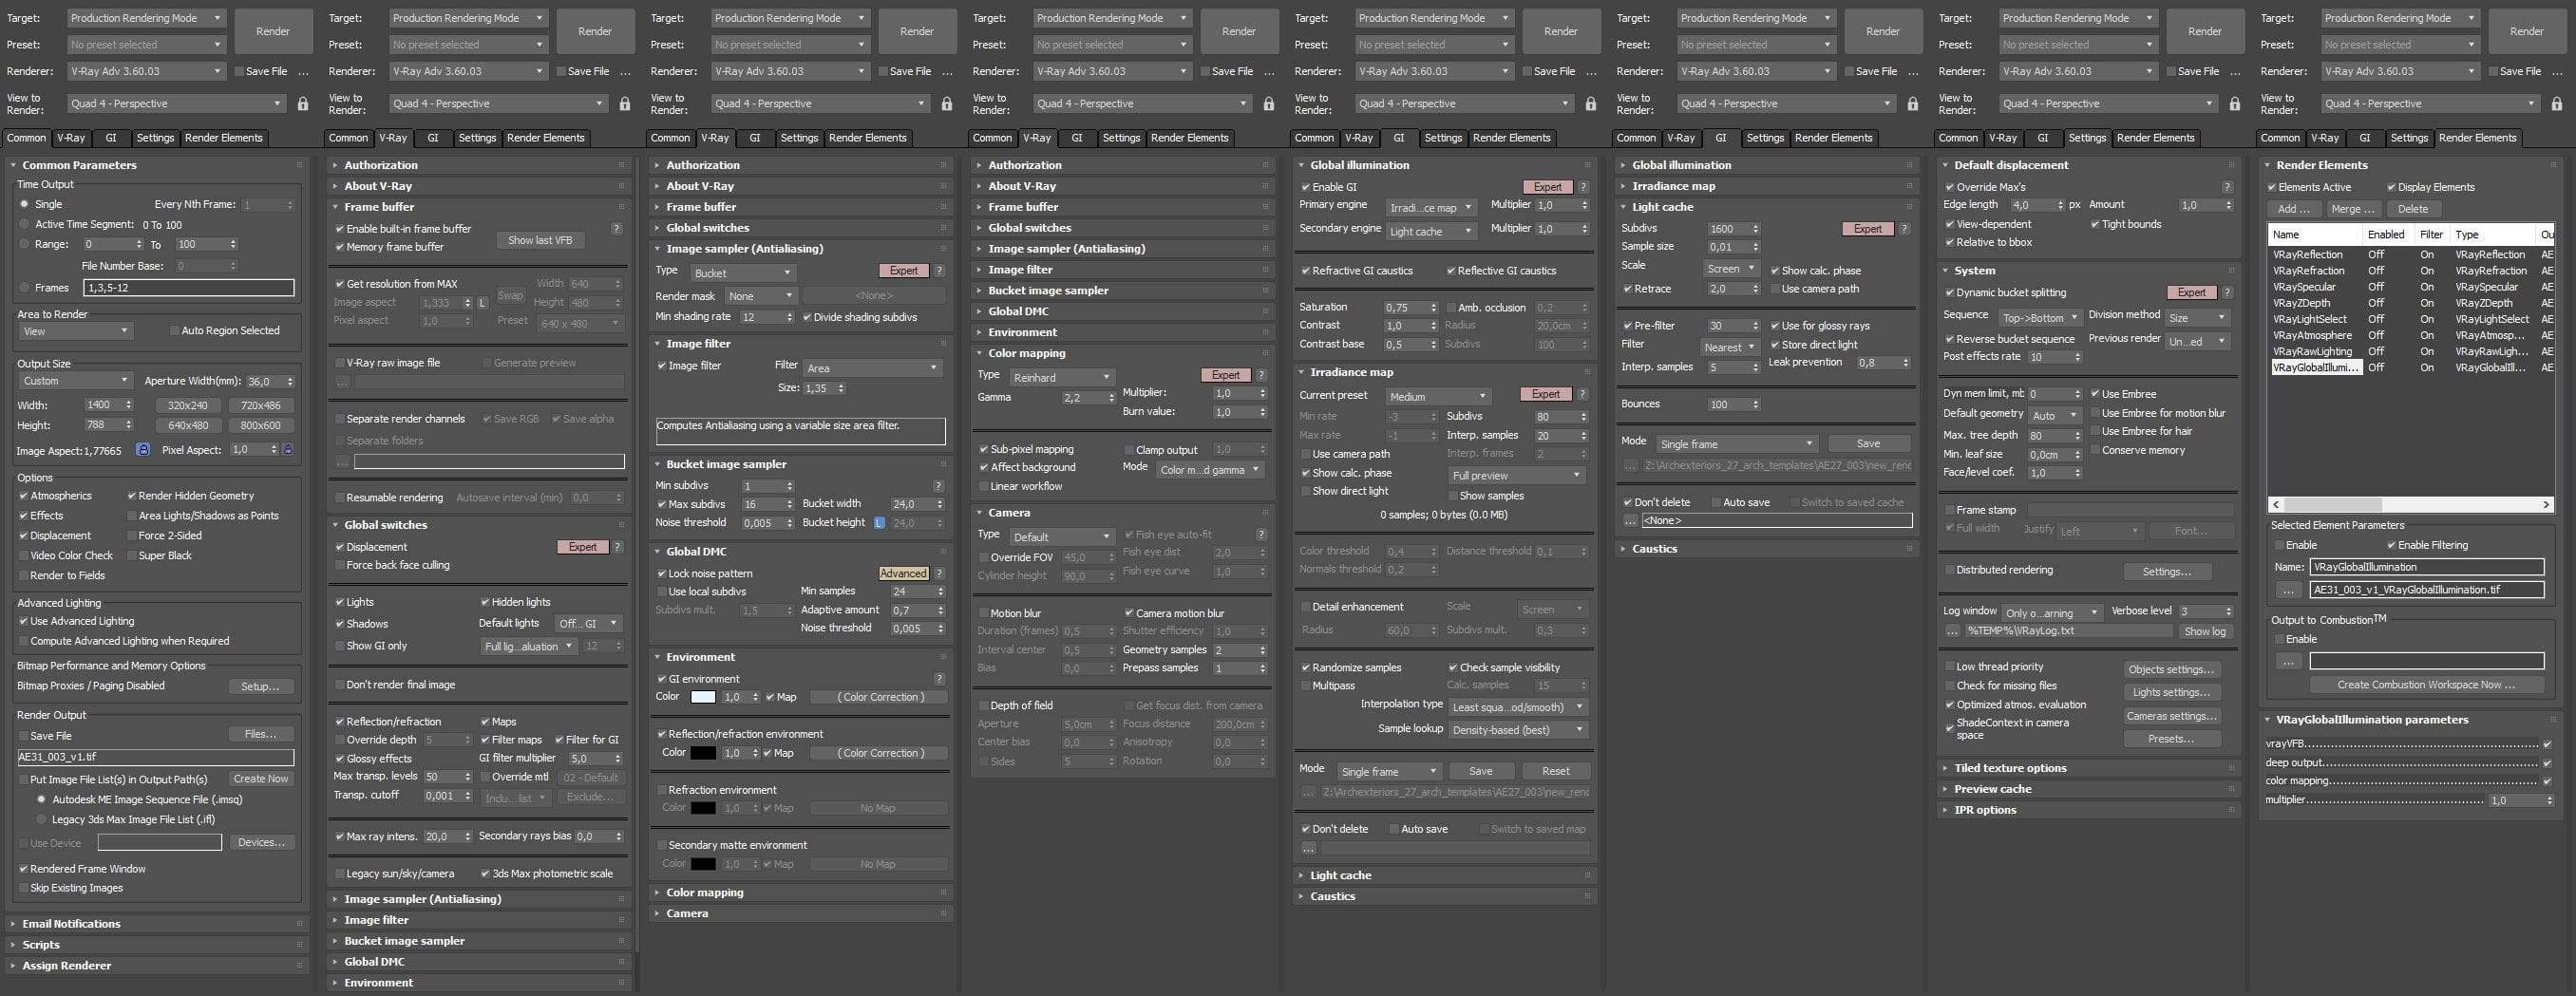
Render settings.

The final render without post-production is very close to the desired result, we need only small touches to increase visual fidelity of the image.
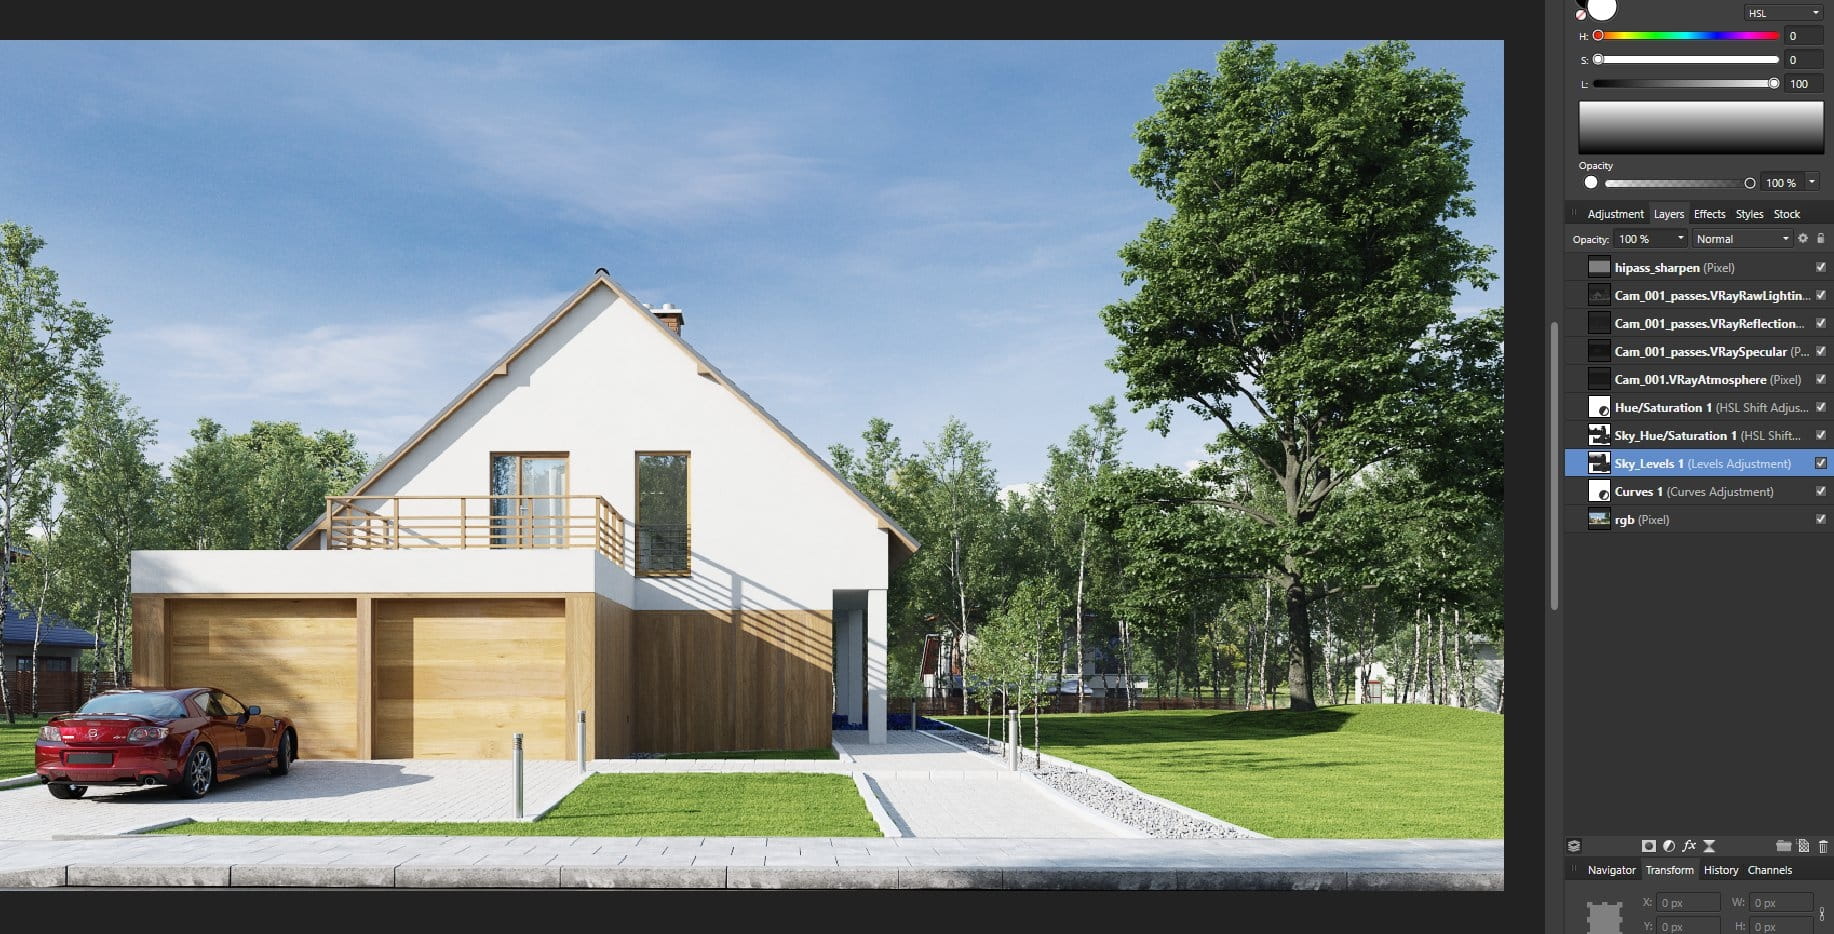
We only increased contrast with Curvwes, re-colorized the sky and added passes. Final image is ready :)
Final render. Check all views on Archexteriors vol. 31 Evermotion Shop product page.


LEAVE A COMMENT


|

|

|

|

|
 Customer zone
 Your special offers
 Your orders
 Edit account
 Add project
 Liked projects
 View your artist profile
COMMENTS