How To Make Your CGI Walls More Realistic
Realistic walls with noise modifier.
Total: € 0
Continue Shopping


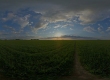
If you are making visualizations in Unreal Engine, you can base on default blueprint BP_Skysphere that provides clouds, different sky colors and daylight variations. If you think it is limiting, you can also use some blueprints from Unreal Marketplace, like Ultra Dynamic Sky by Everett Gunther (but it costs over $34).
Here it is in action:
But, assuming you made some architectural visualizations in the past, you probably have some nice HDR images on your hard drive - and you could use them as your sky also. The problem is that they are mostly panoramic images in equirectilinear projection. And Unreal can map them on a sphere, but if you want to match lighting and environment in the best possible way, you will need a different format - a Cubemap as DDS file.
From Unreal Engine Documentation we can read that Cubemaps provide a simple method of environment mapping, in which distant scenery - such as skies and surrounding environments - is mapped to a panoramic texture. Under the hood, these textures are stored as a series of six images mapped to the inside faces of a cube.
In this tutorial I will show you a simple method to create cubemap from your HDR images.
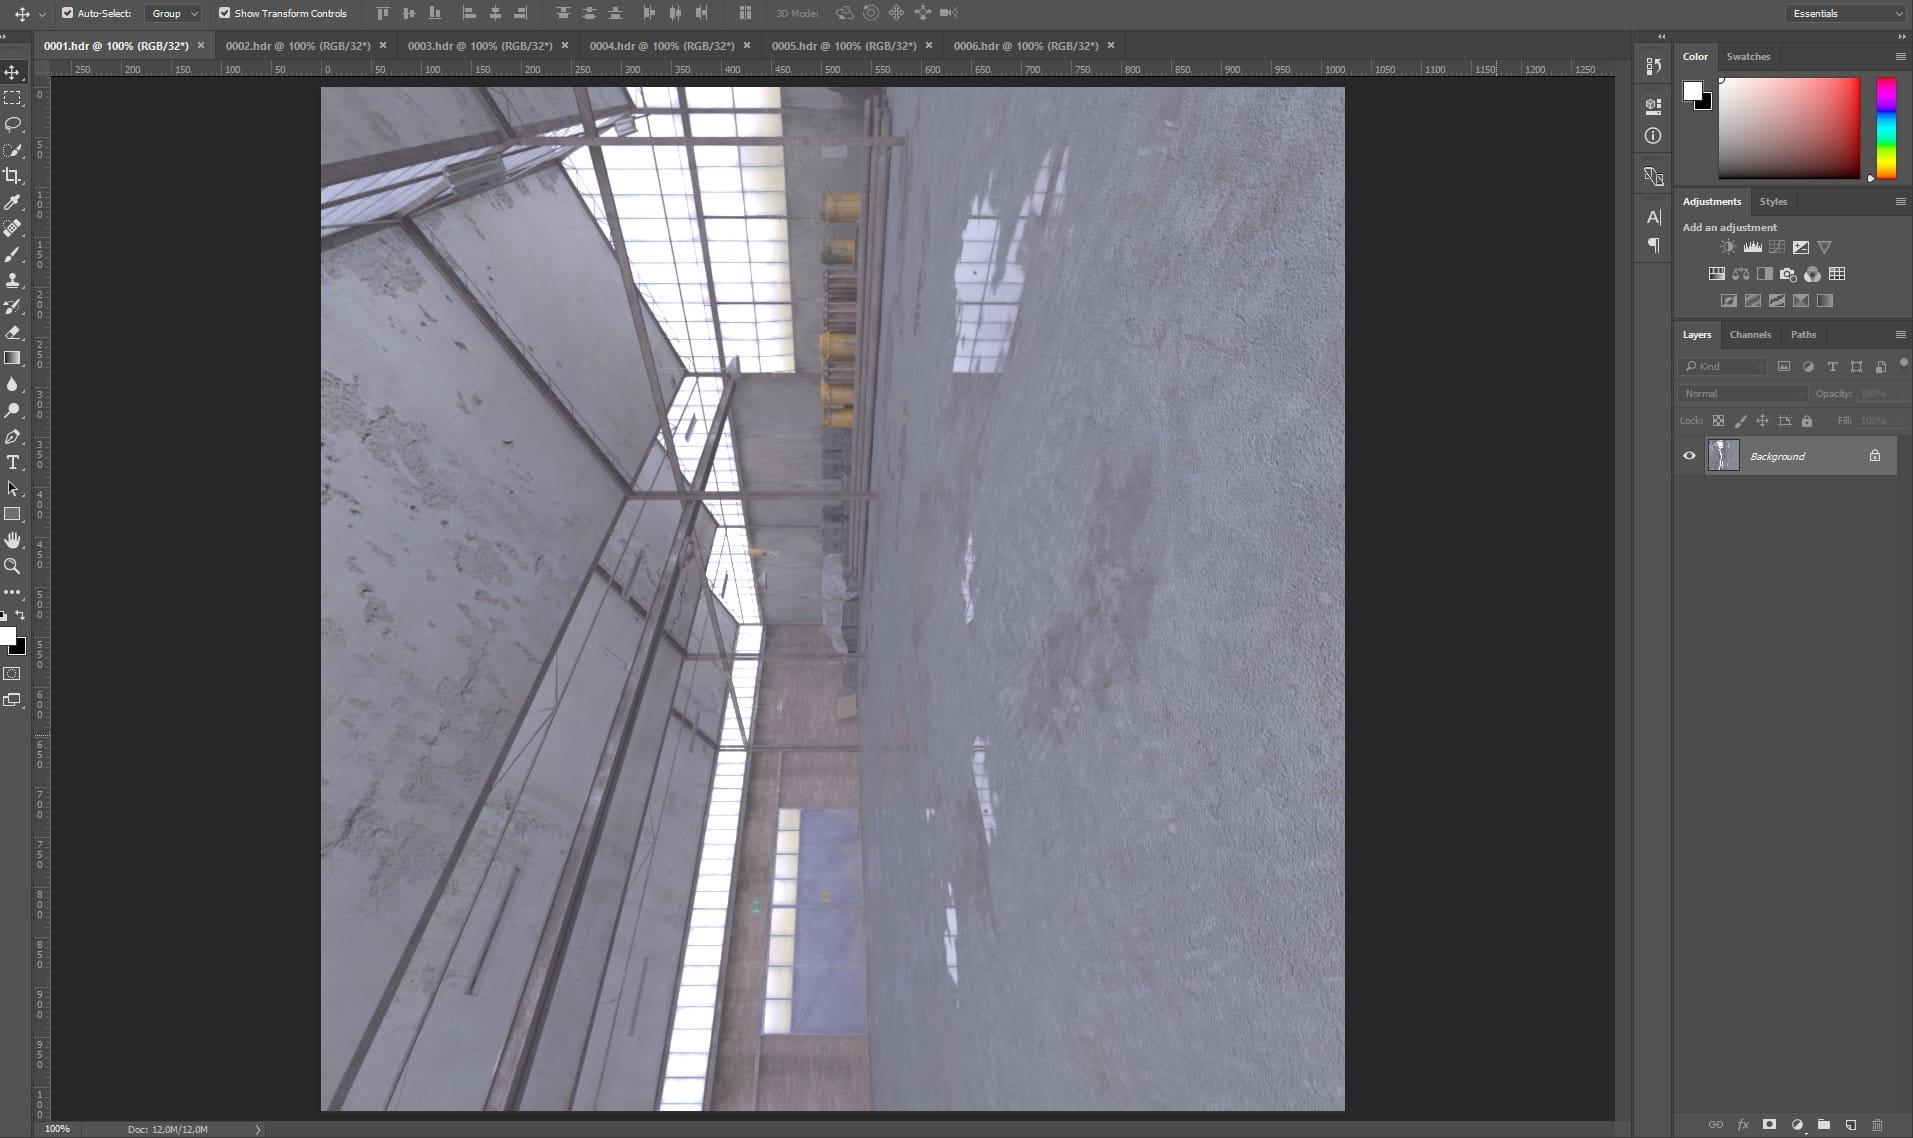
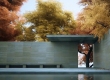
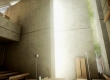
First, find some nice HDR image, I use some industrial interior for this tutorial. It looks like that:
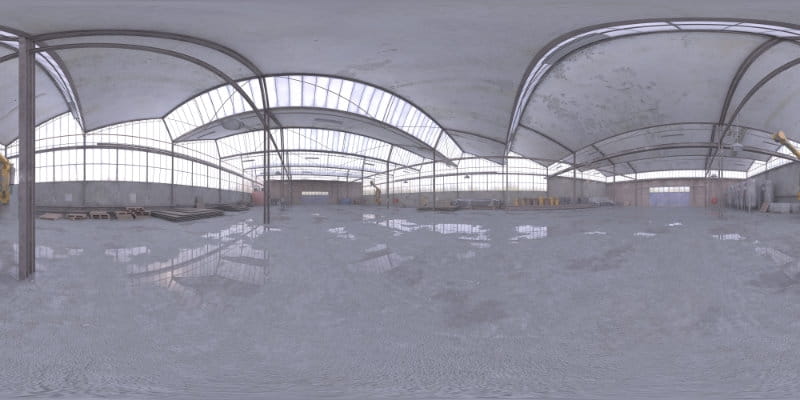
Original is in HDR format, 8000 pixels wide.
Now we need to make a cubemap out of it. There are several programs that can do that. I found that one of the easiests ways is to use Blender for that!
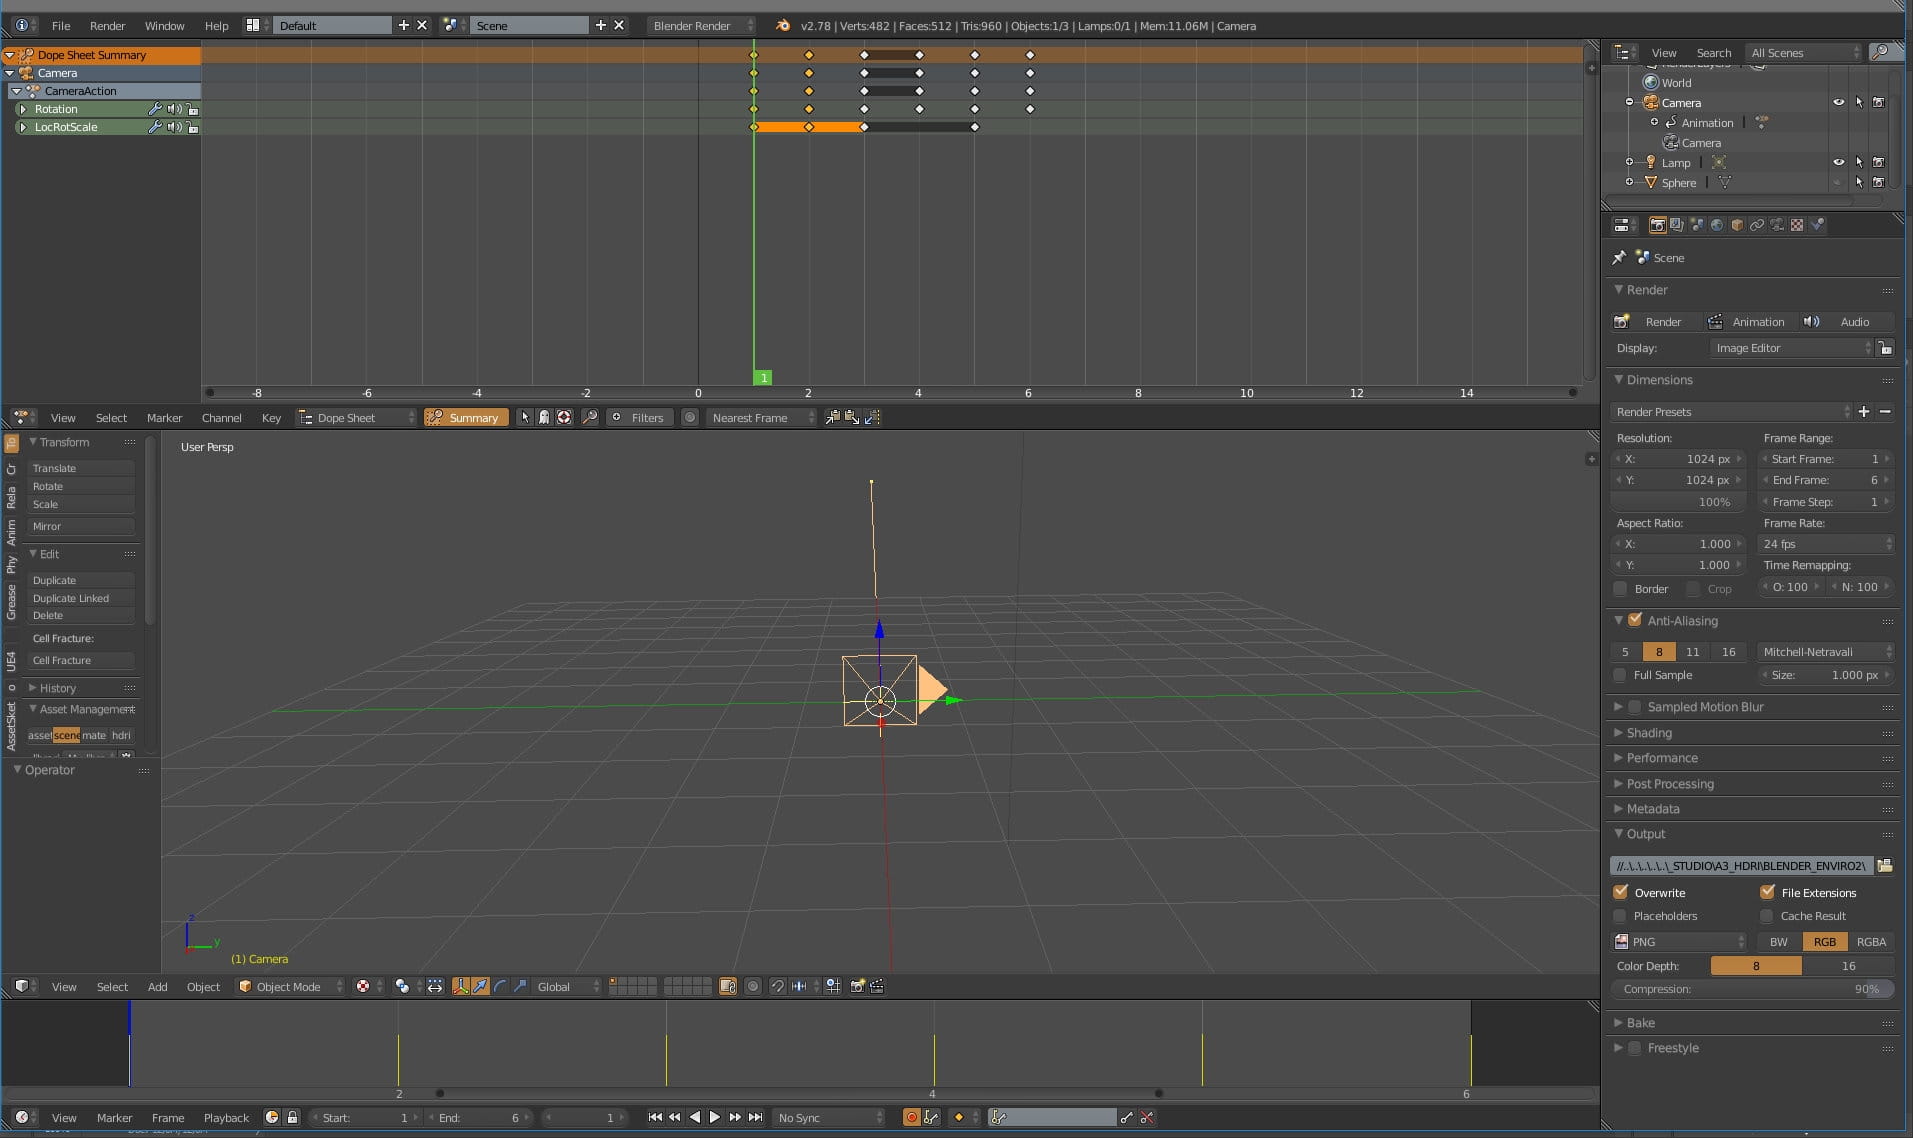
Open Blender and load this file. It is a simple scene with a single camera and six frames. In each frame the camera rotates and takes one shot of a part of a sphere that it's outside of it. This scene is based on a file prepared by coldacid for his tutorial. I modified it a bit to match Unreal needs.

As you can see, there is a sphere inside that has shadeless material assigned. We need to change the texture of this material
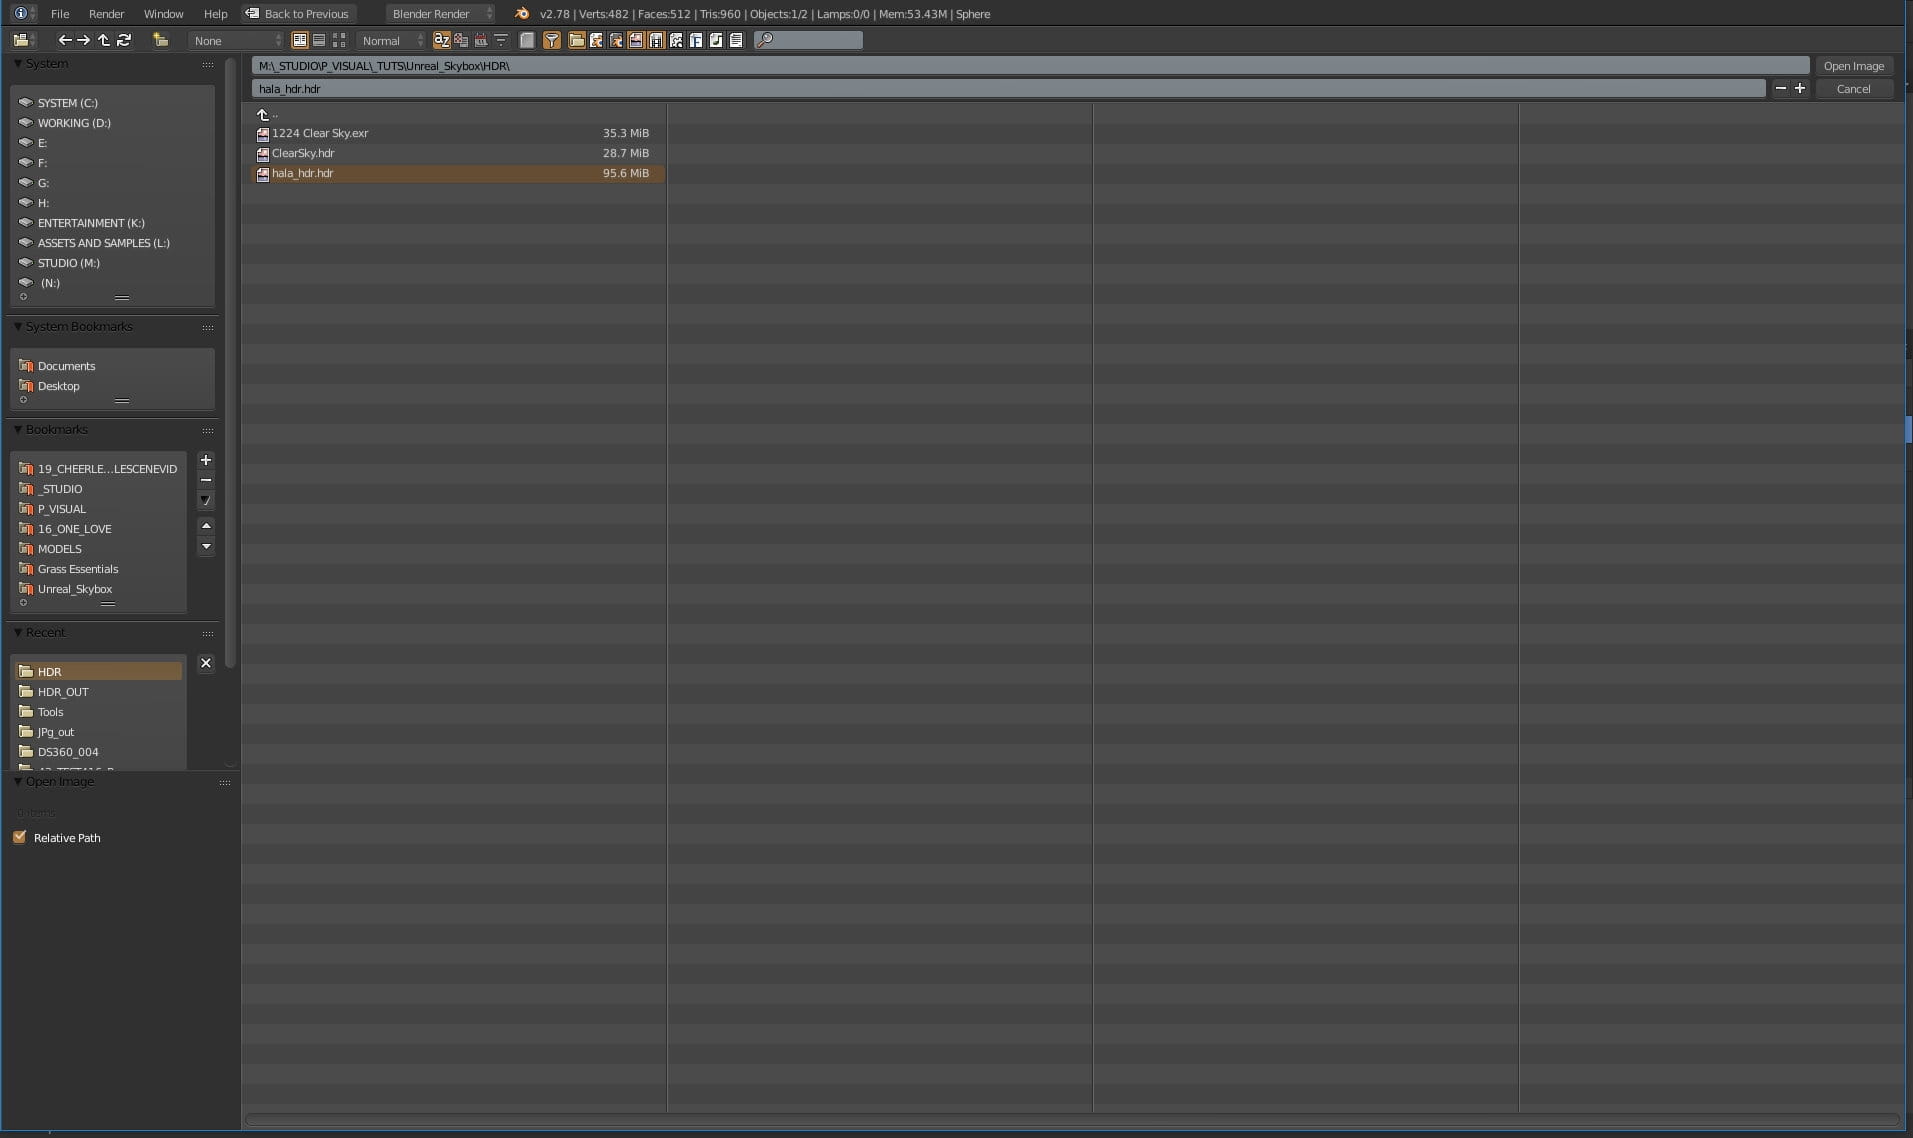
We load our HDR file

It's now in the slot

If we want to use some JPG or PNG environment map, we can use PNG output, but in our case we are using HDR image, so in Render Settings we choos Radiance HDR.

...and RGBA mode. Then we can press "Animation" on the top of Rendering panel. Blender will render six frames. Each frame will have a rotation that is accepted by Unreal. They will be rendered as this:

Cubemap layout.
Before we will open them in Photoshop, we need Nvidia Texture Tools for Adobe Photoshop. They are free to download. After you install them, you can open Photoshop and you will have new "Save as" option - DDS file. So now go ahead and open your six files.
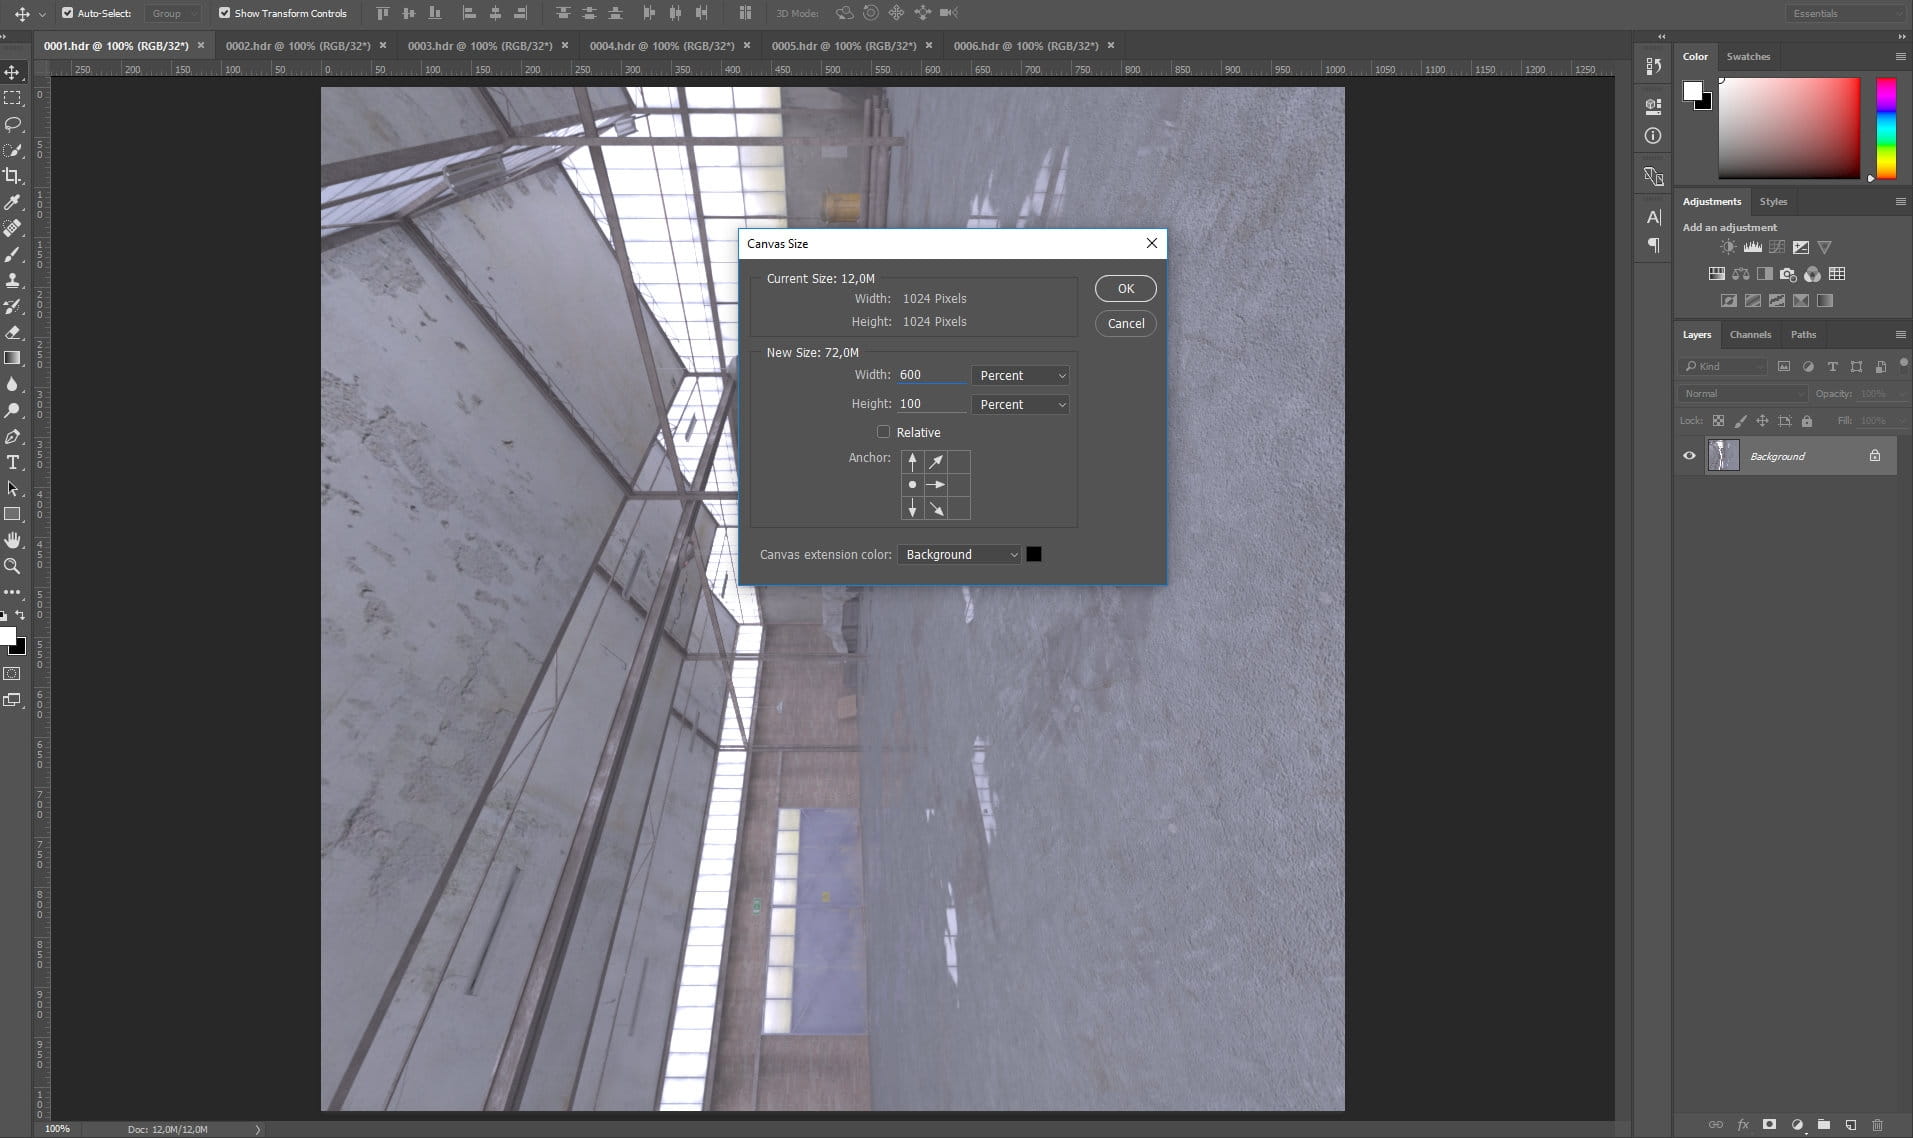
Go to the first file and open Canvas window (CTRL-ALT-C by default). We need to place all six images in one so we choose "600 percent" and press left arrow to move the existing content to the left.
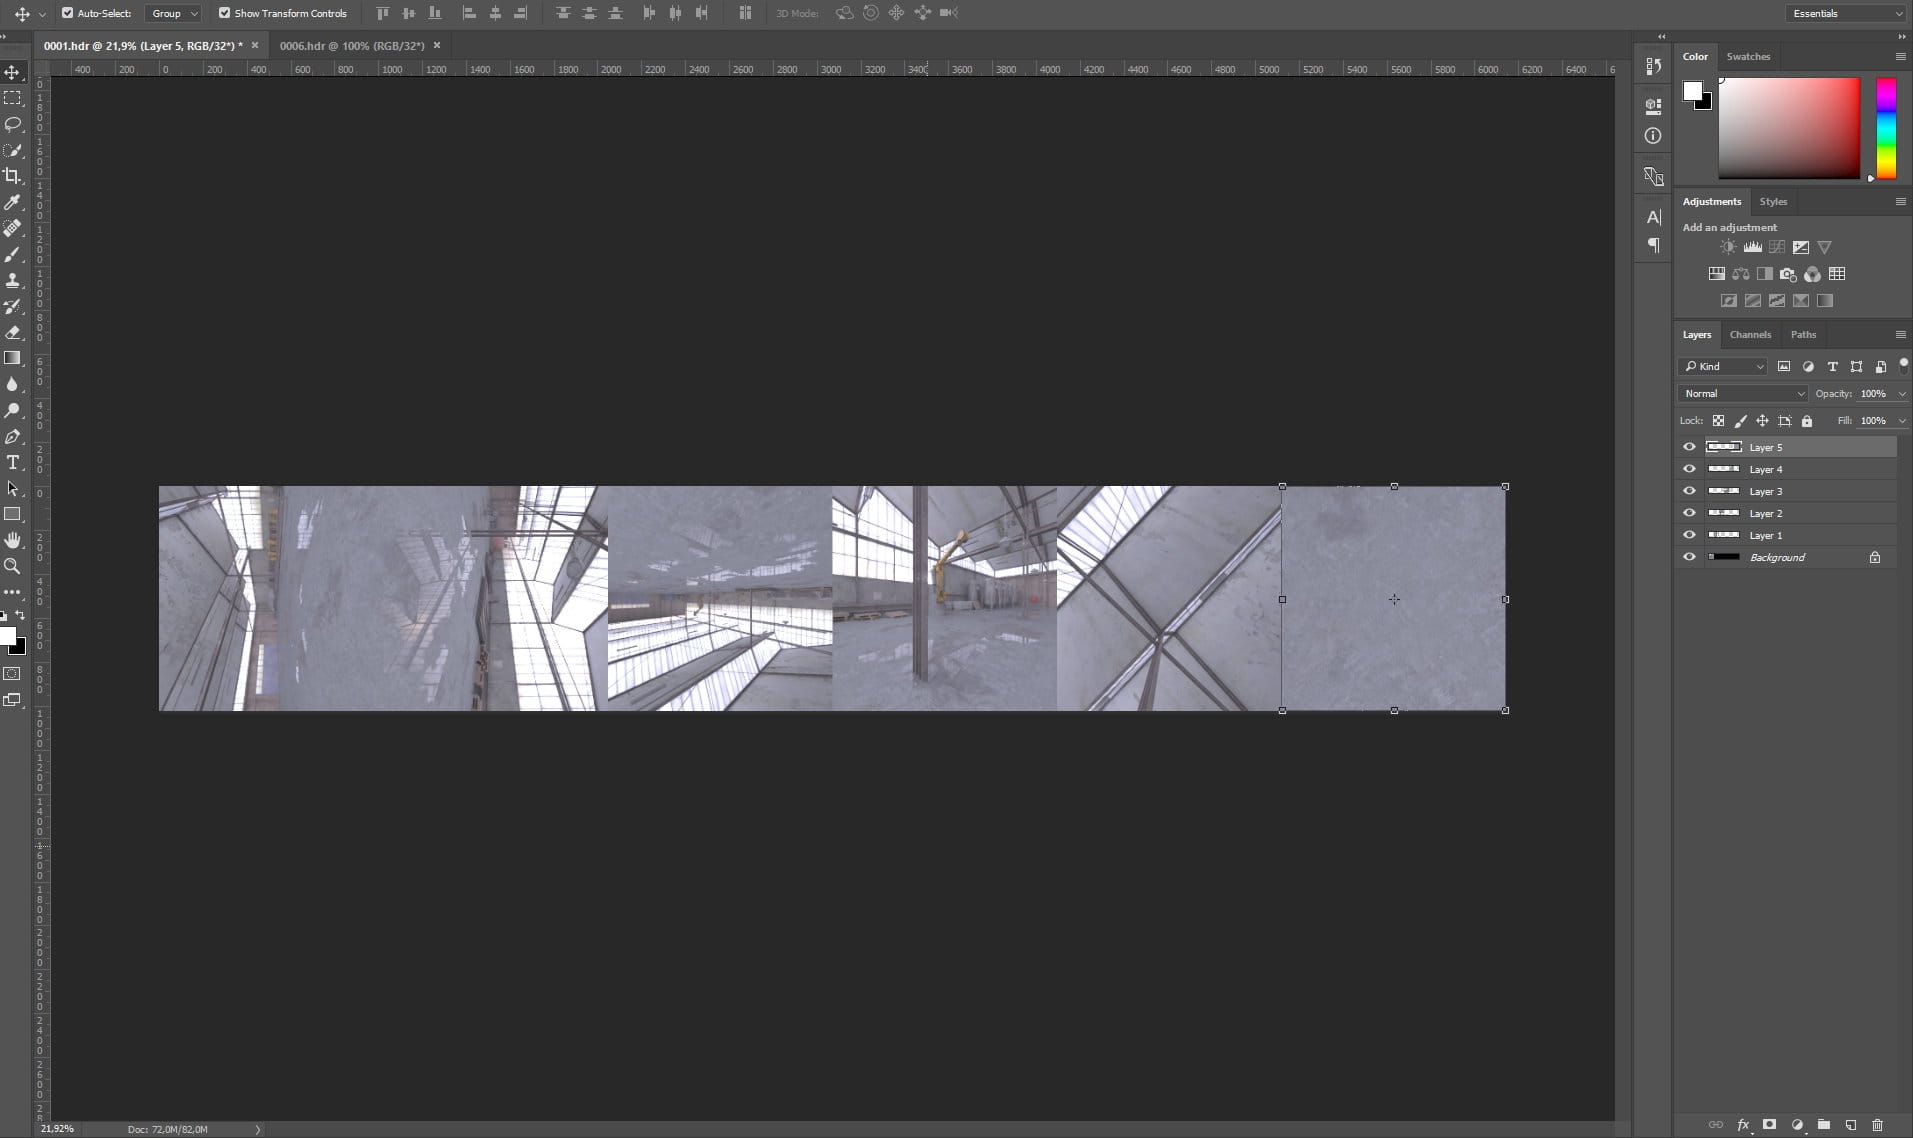
Paste the rest five images in the sequence from left to right.
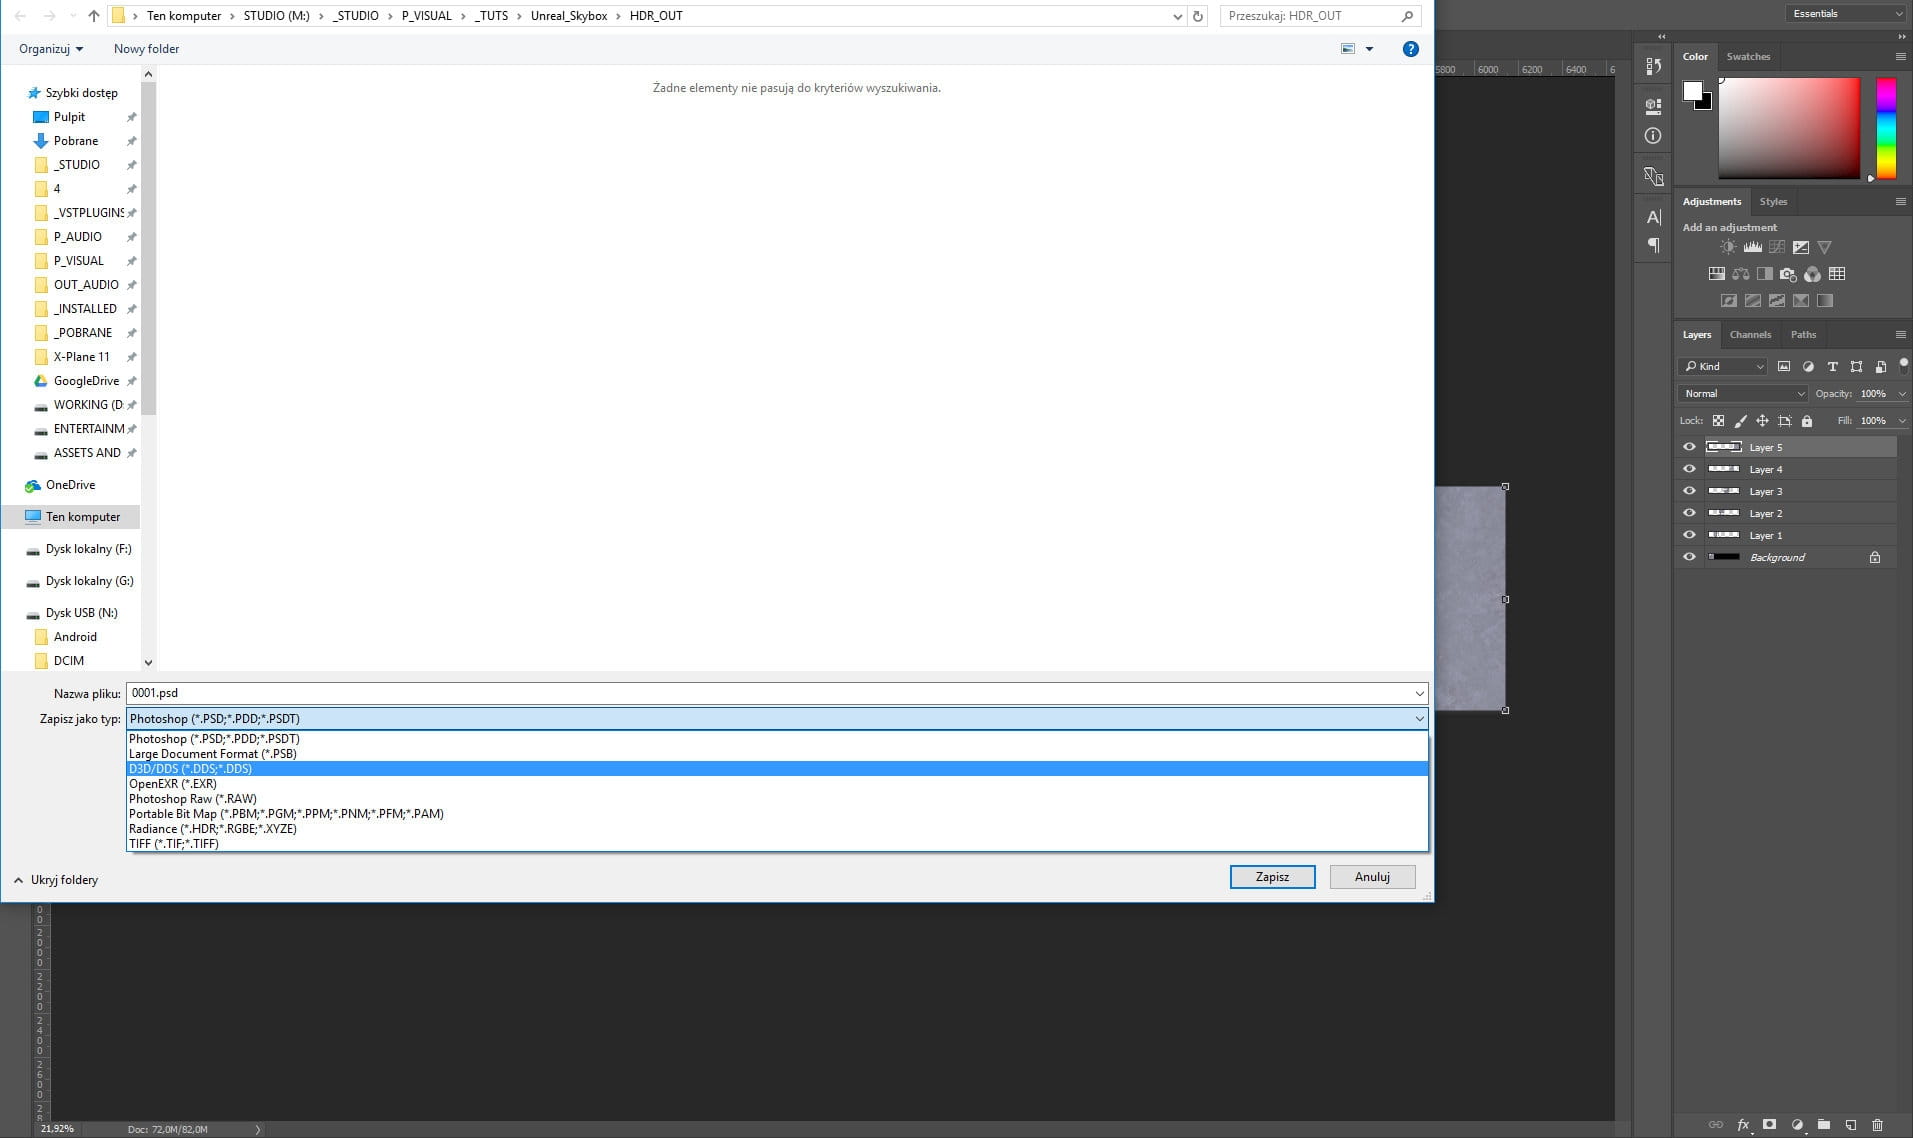
Now you can save as DDS
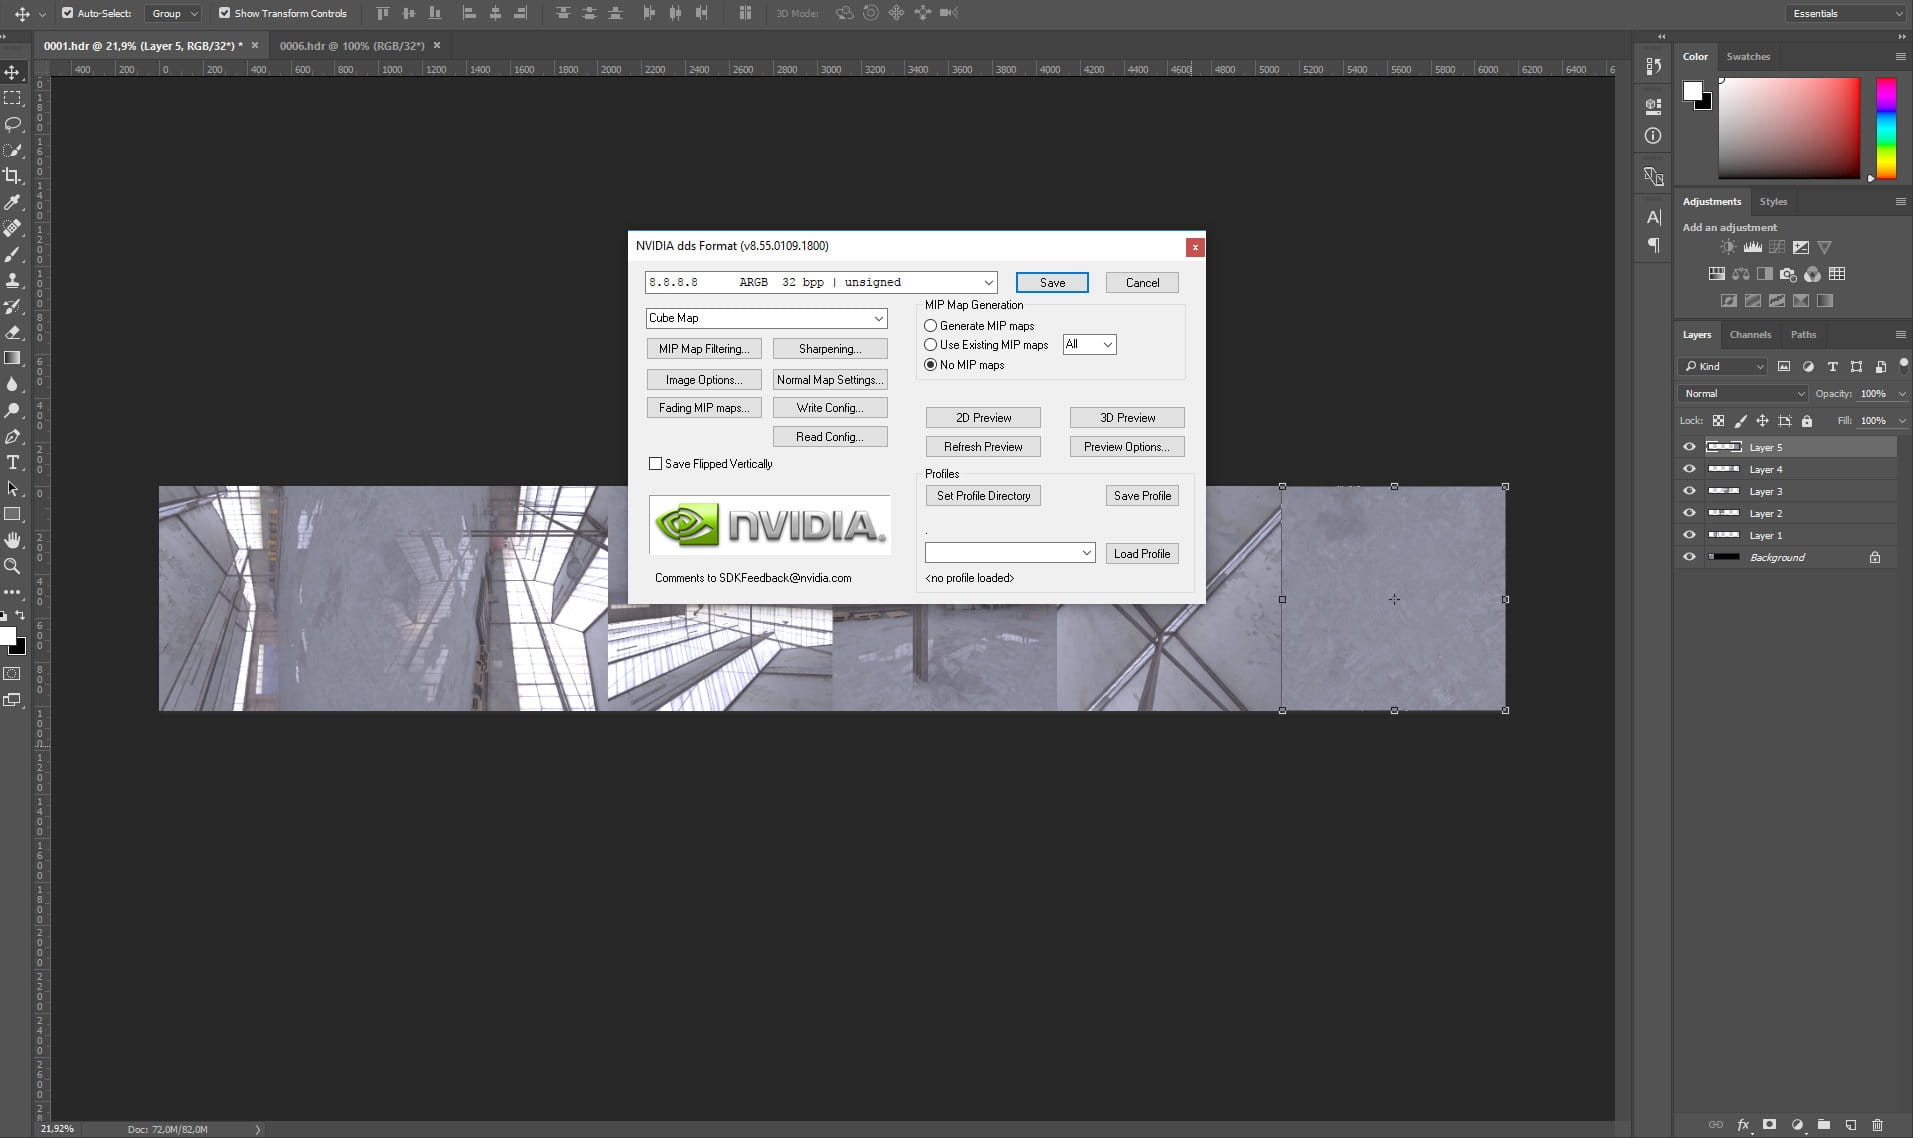
Nvidia plugin window opens and you can choose 8.8.8.8 32 bit unsigned RGBA preset

Let's go to Unreal! First, make sure that you can see Engine Content in your browser.
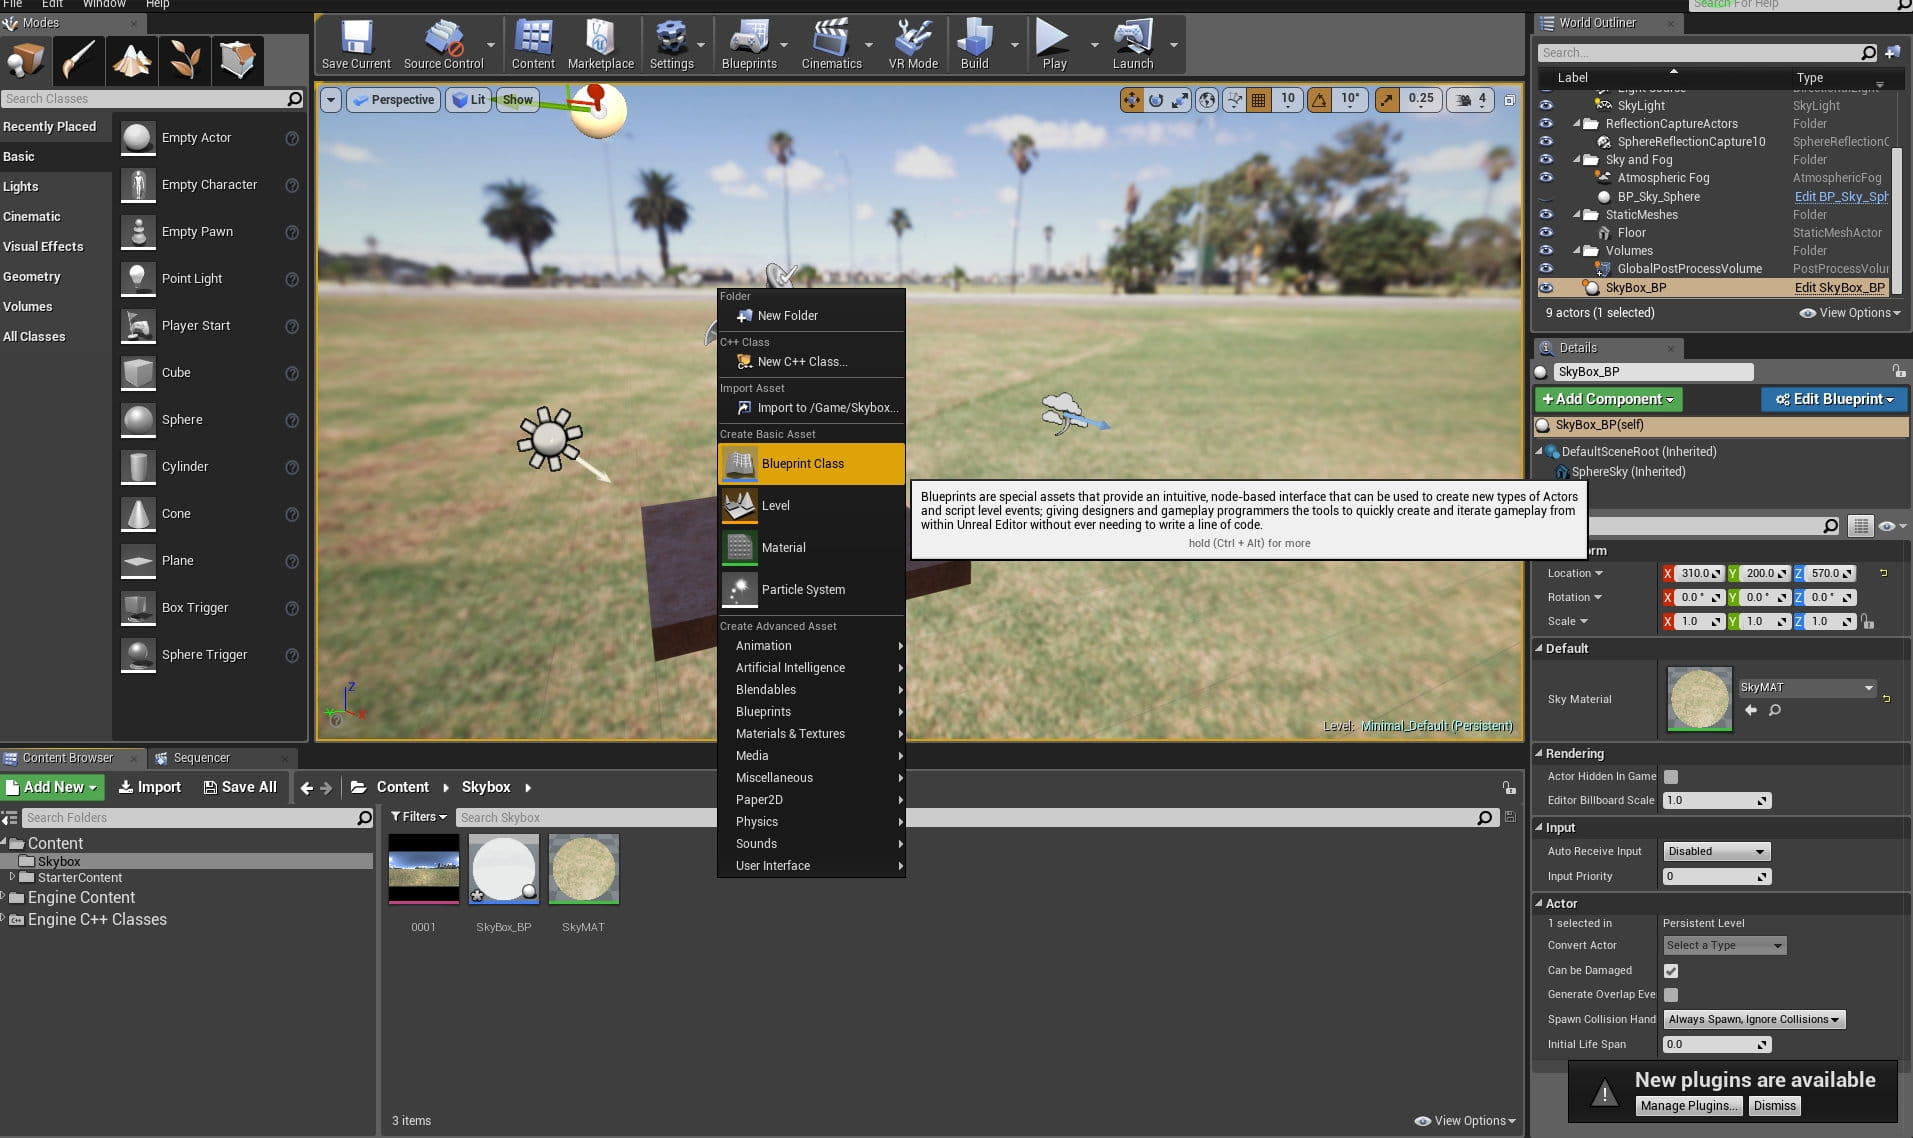
Create a blueprint (Actor), name it "SkySphere_BP"
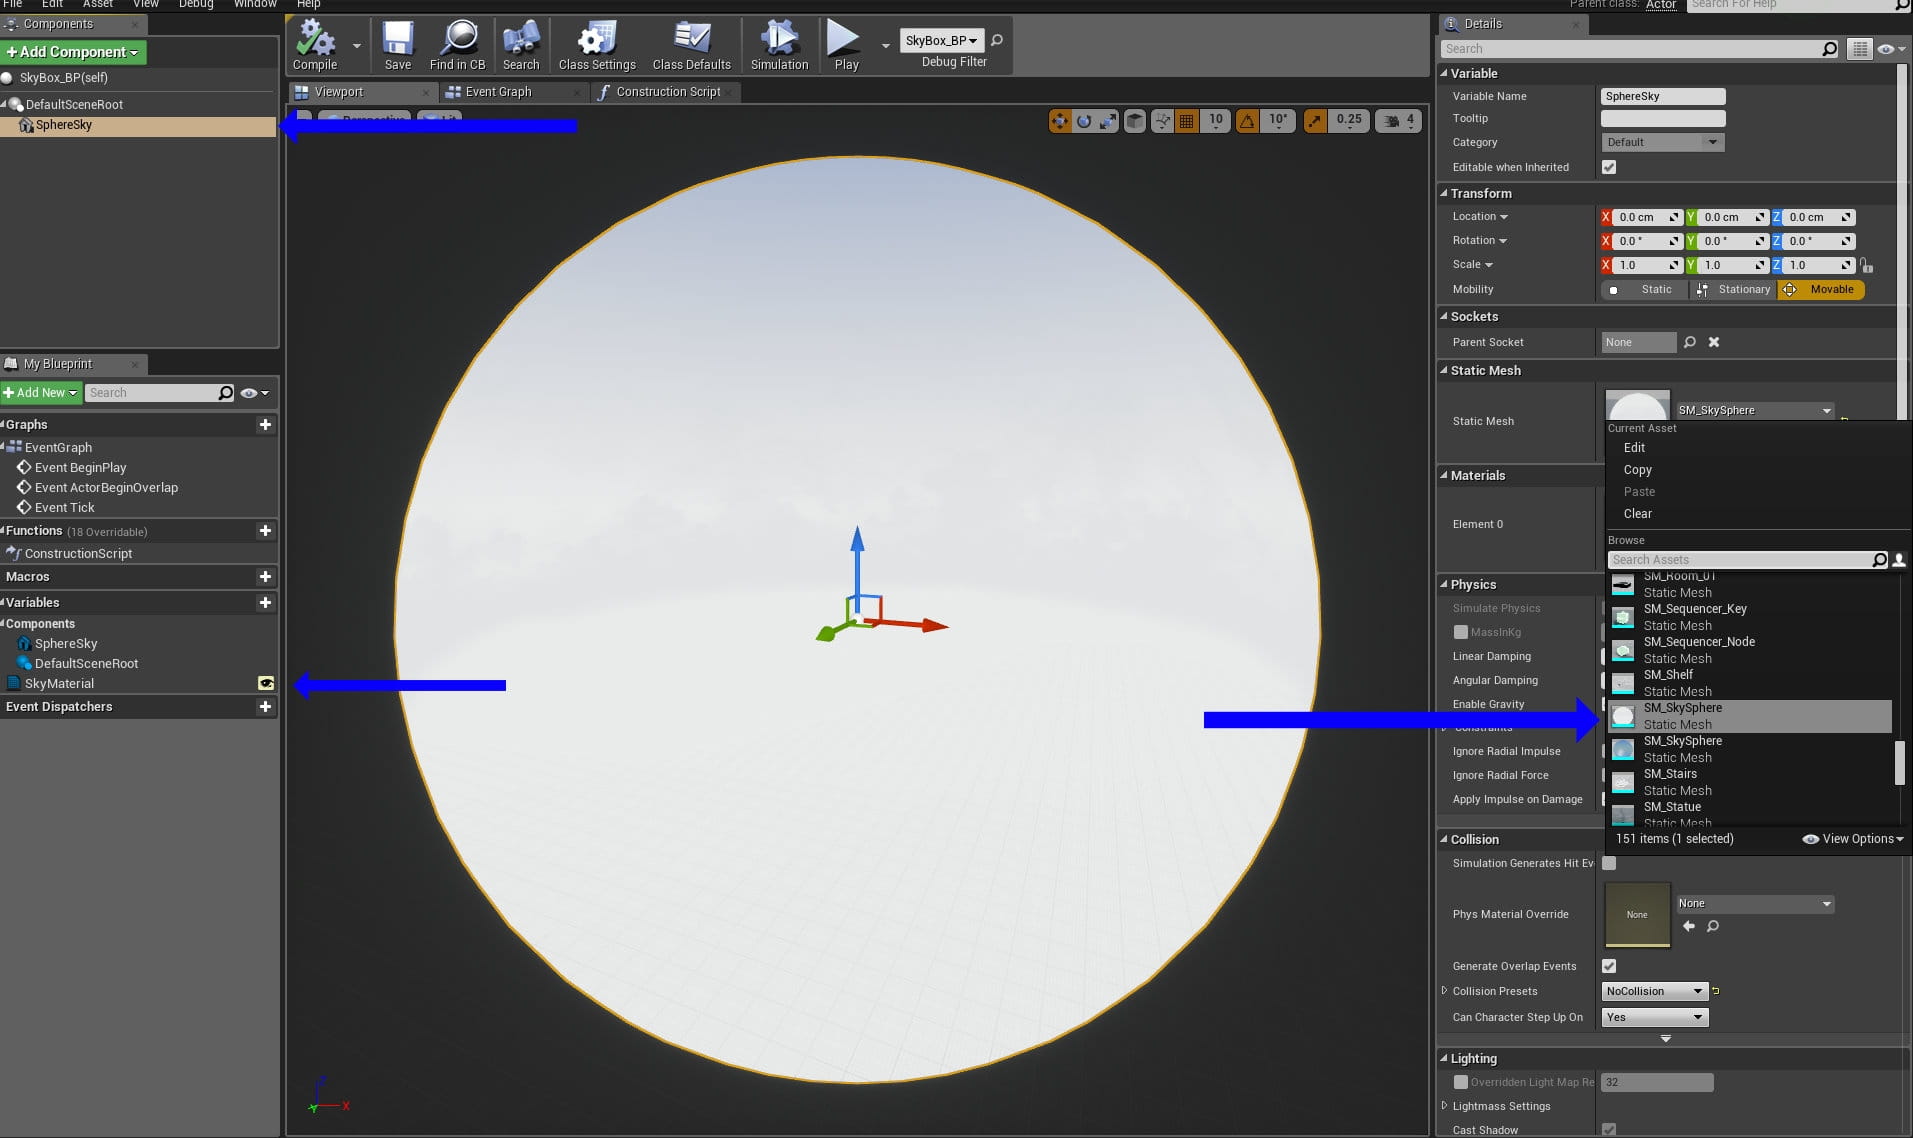
First, add mesh, name it SphereSky, go to Static Mesh browser and select SM_SkySphere, then add a Variable and name it SkyMaterial.
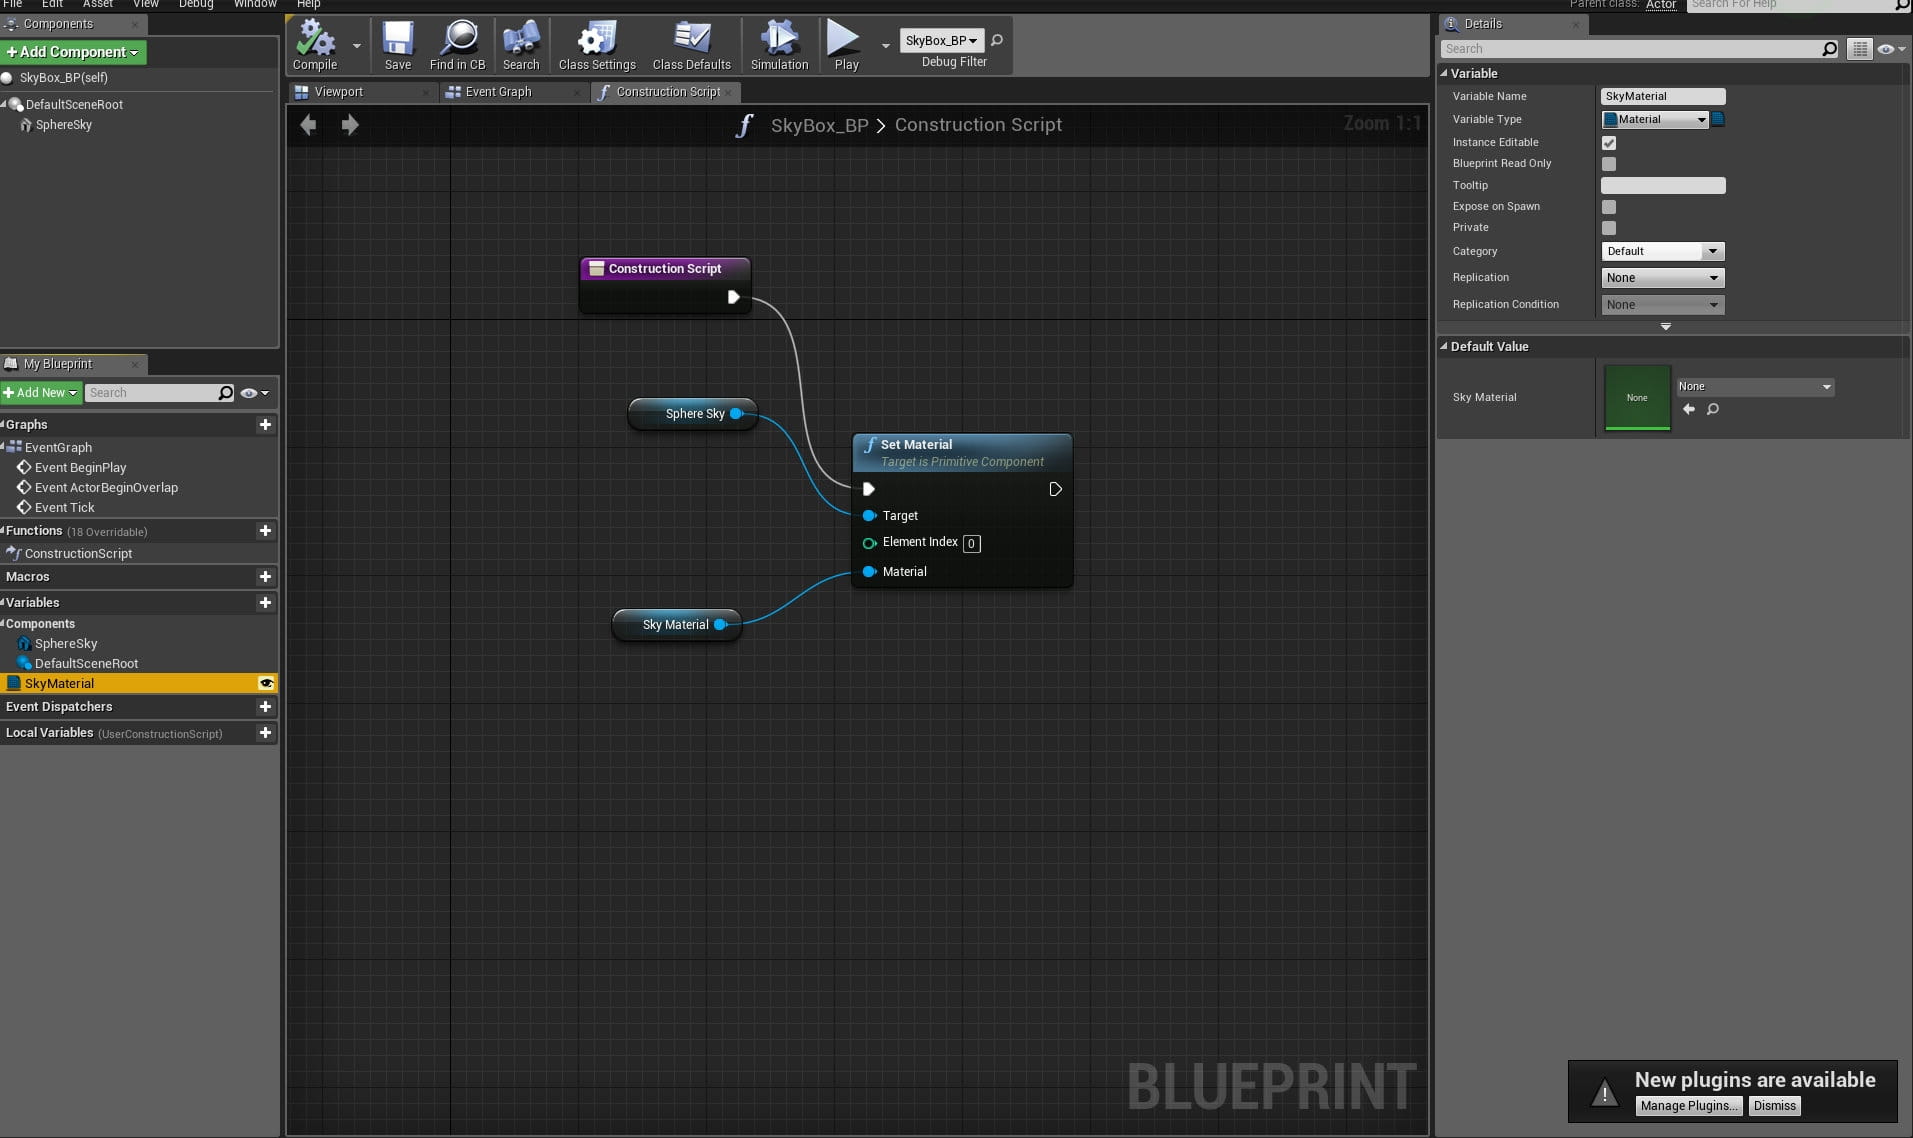
Go to construction script. Your variable type should be "Material". Drag a line from your "Construction Script" node and select "Set Material (SphereSky)". Attach your variable Sky Material (GET) to Material input. Make your Sky Material variable public so you will be able to change your cubemaps in the future.

Import your DDS file - it does not have the right colors and sharpness, we need to tweak some settings.
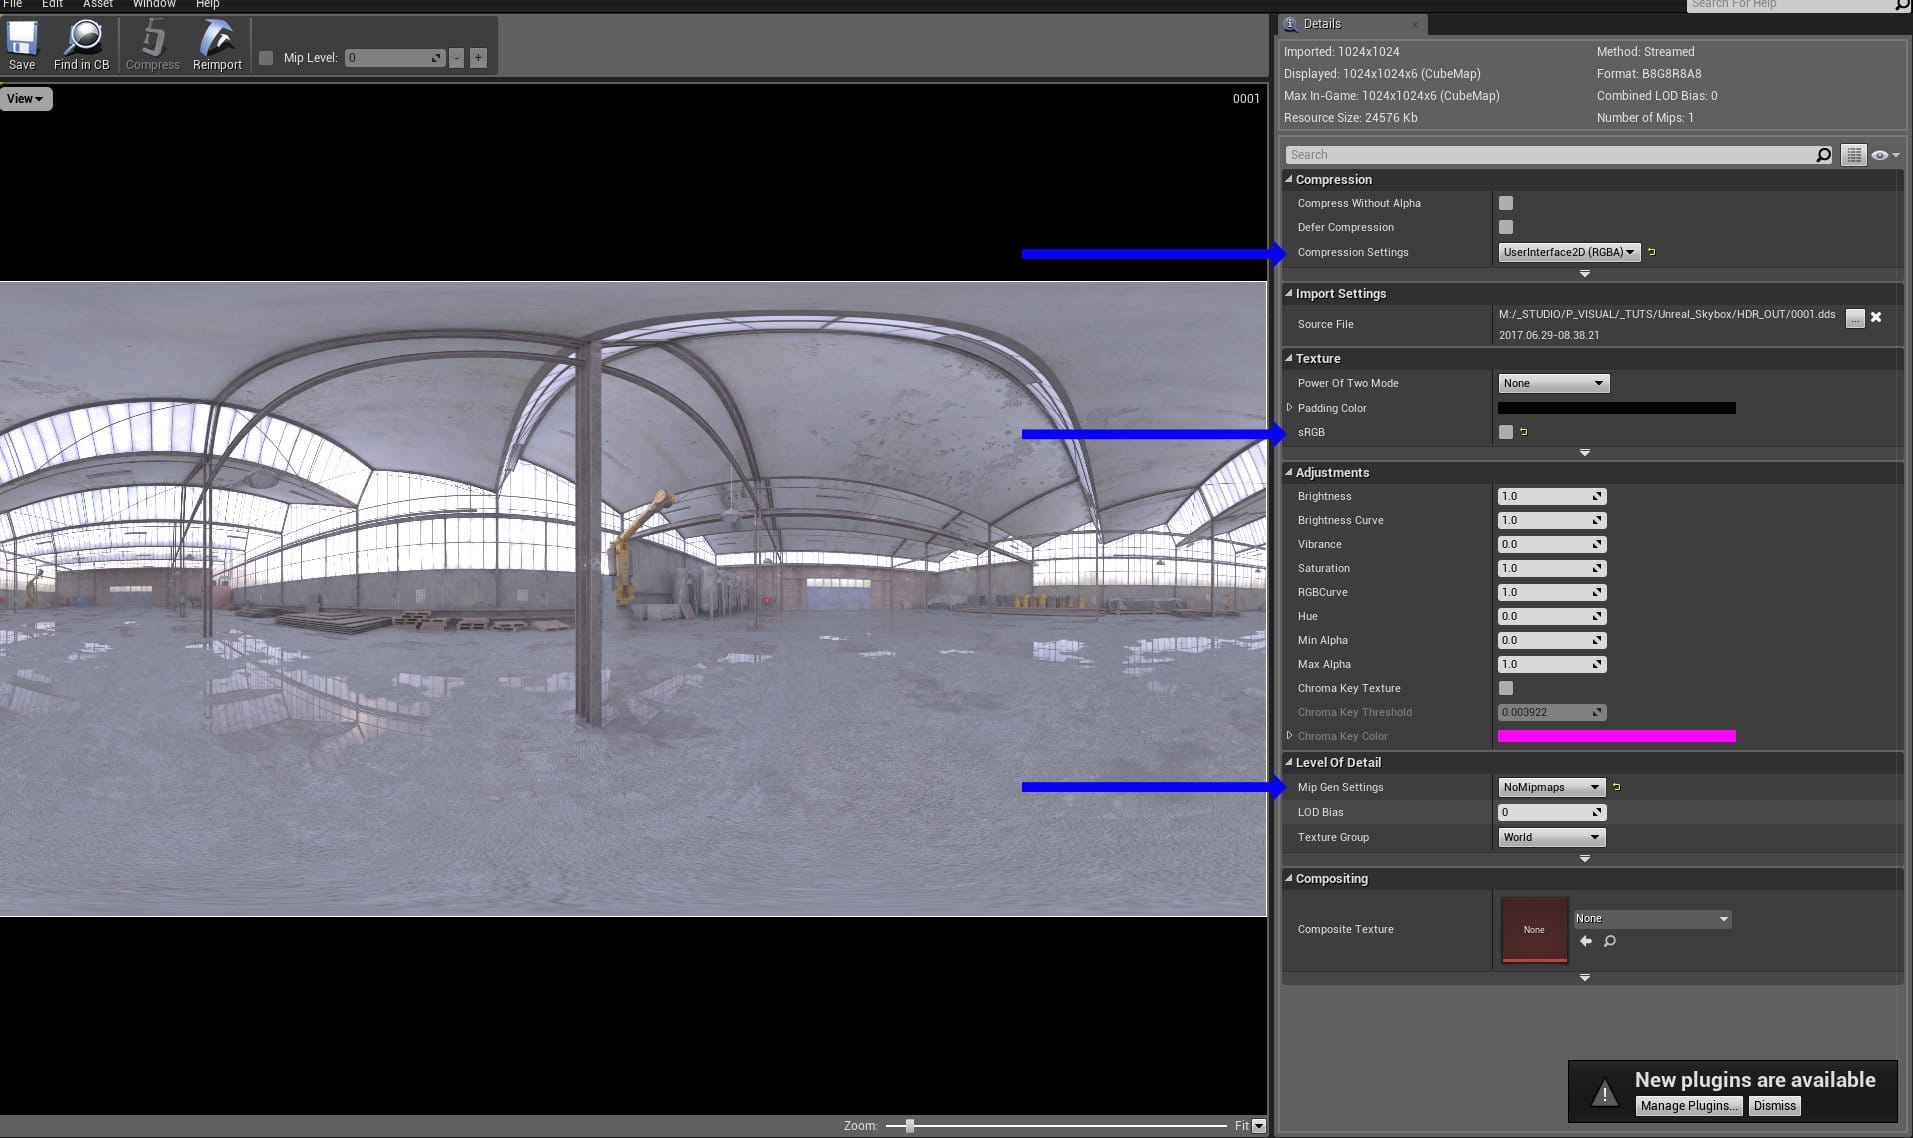
Use "UserInterface 2D compression, uncheck "sRGB" checkbox and choose "NoMipmaps" in Mip Gen Settings.
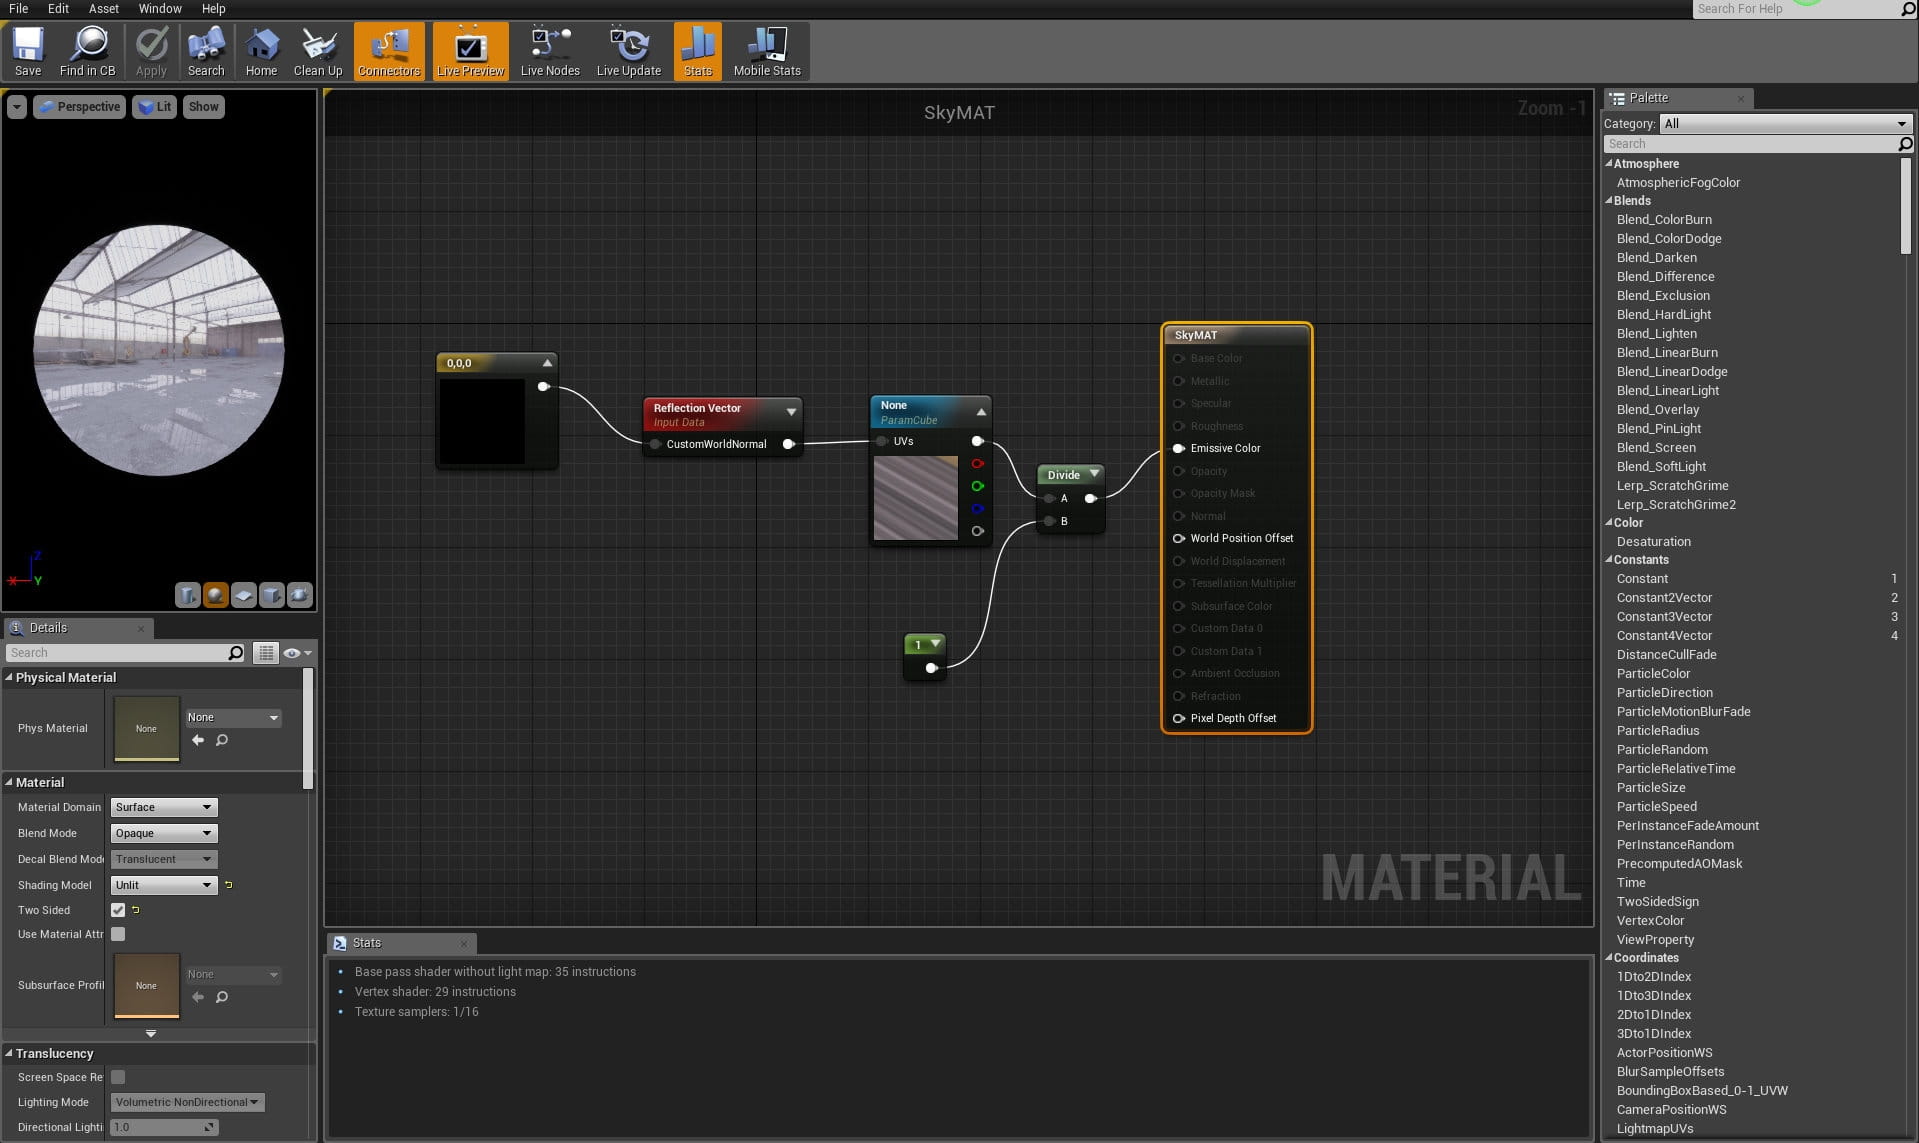
Now.let's create a material for our sphere. Use this nodes - 3-Vector goes to ReflectionVectorWS that goes into Texture Sample Parameter Cube. Select Texture Sample Parameter Cube node and select our DDS file. Then add Divide node and 1-vector as a "B" input. Connect to Emmisive slot. Material should be set as unlit, two-sided.
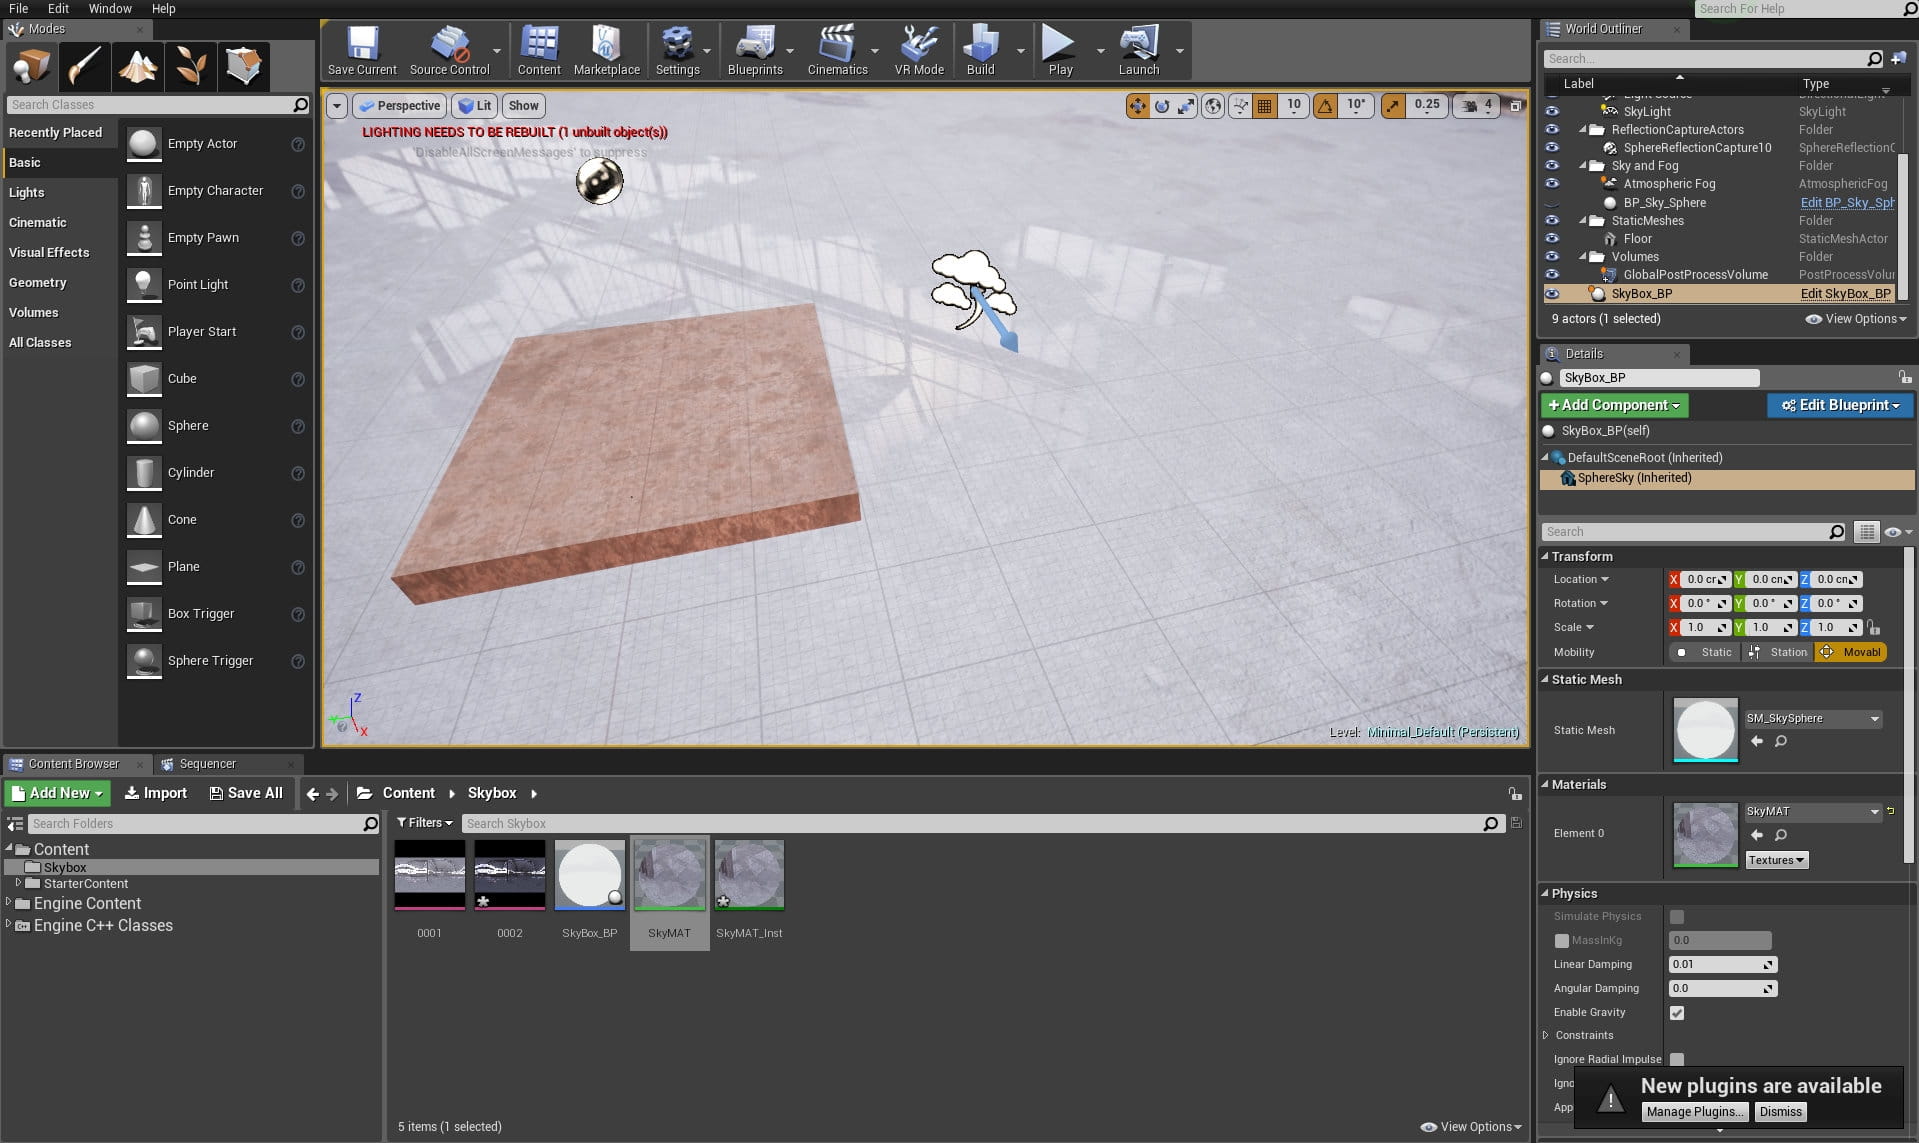
Place our blueprint in the scene, center it and assign material to it.
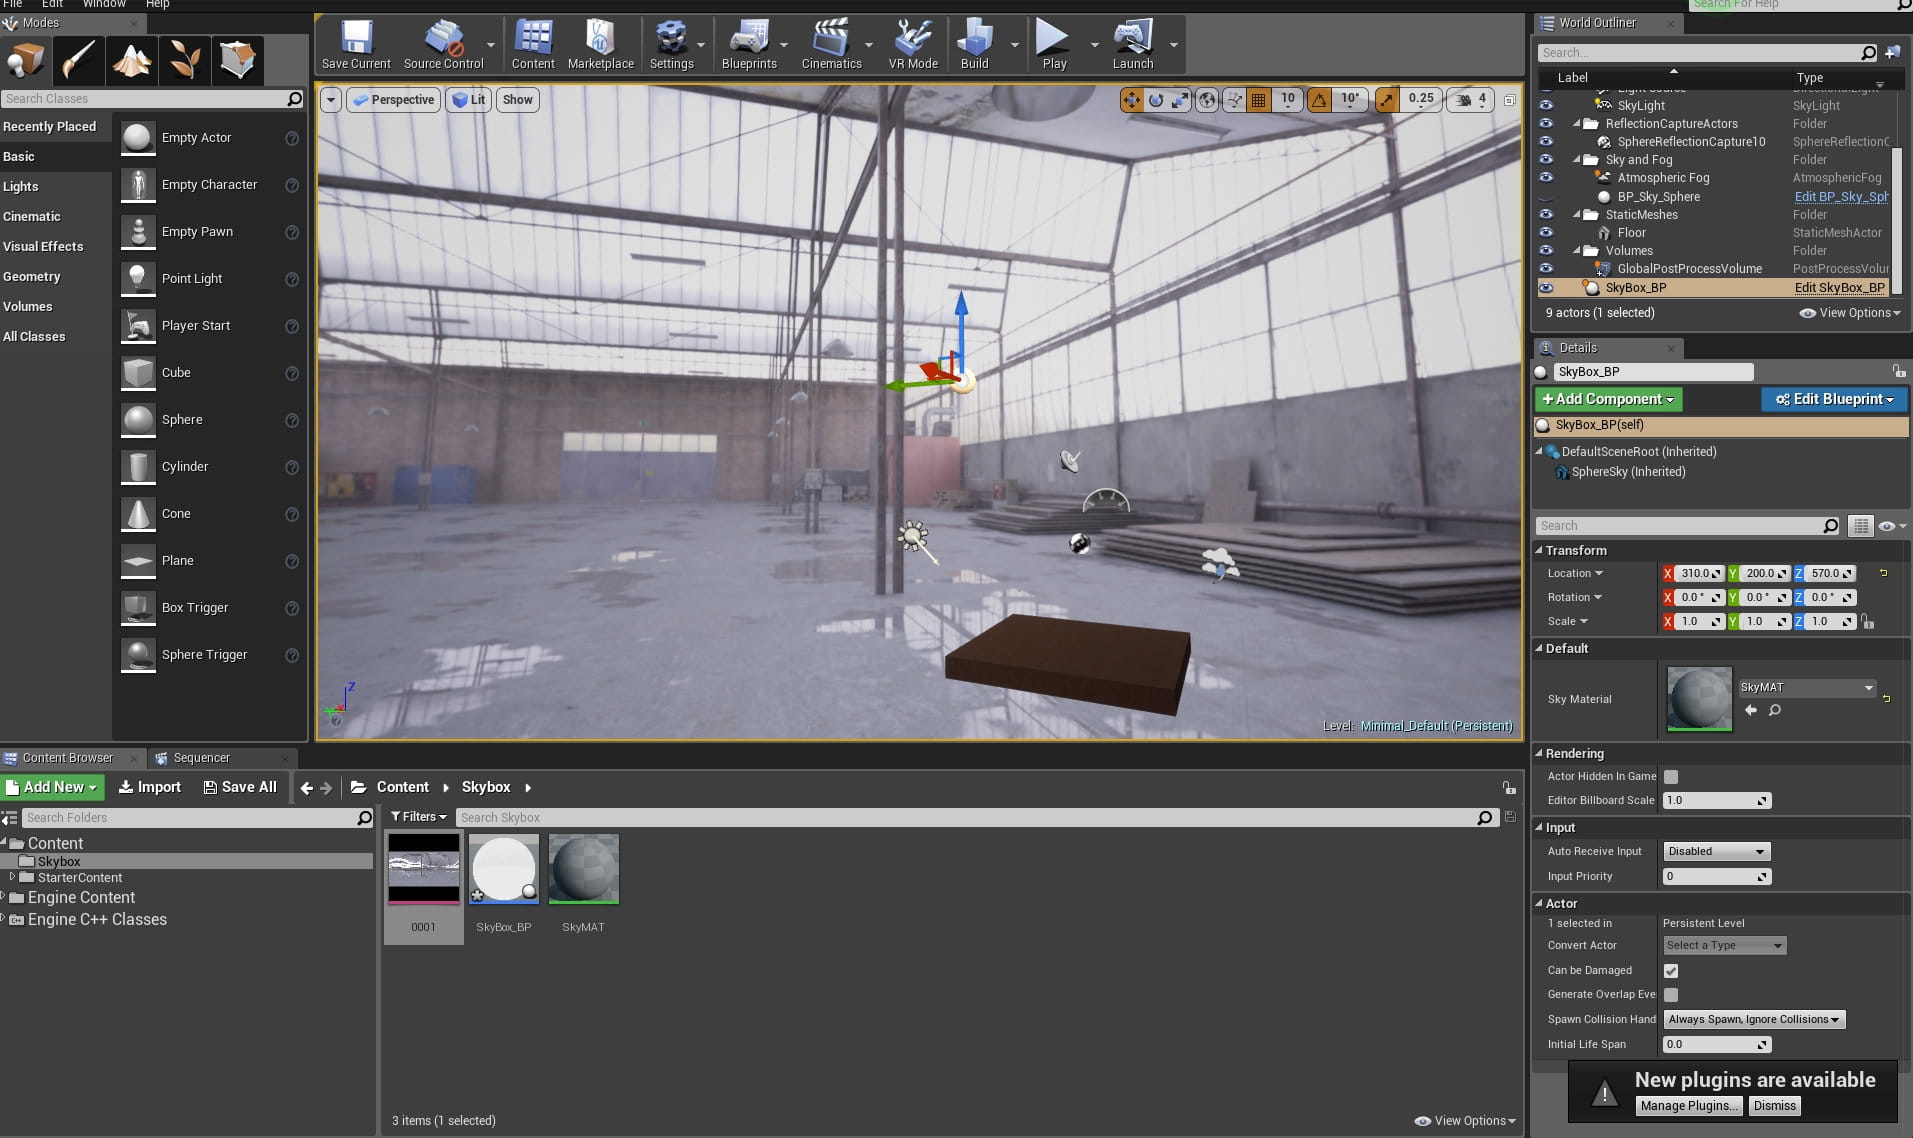
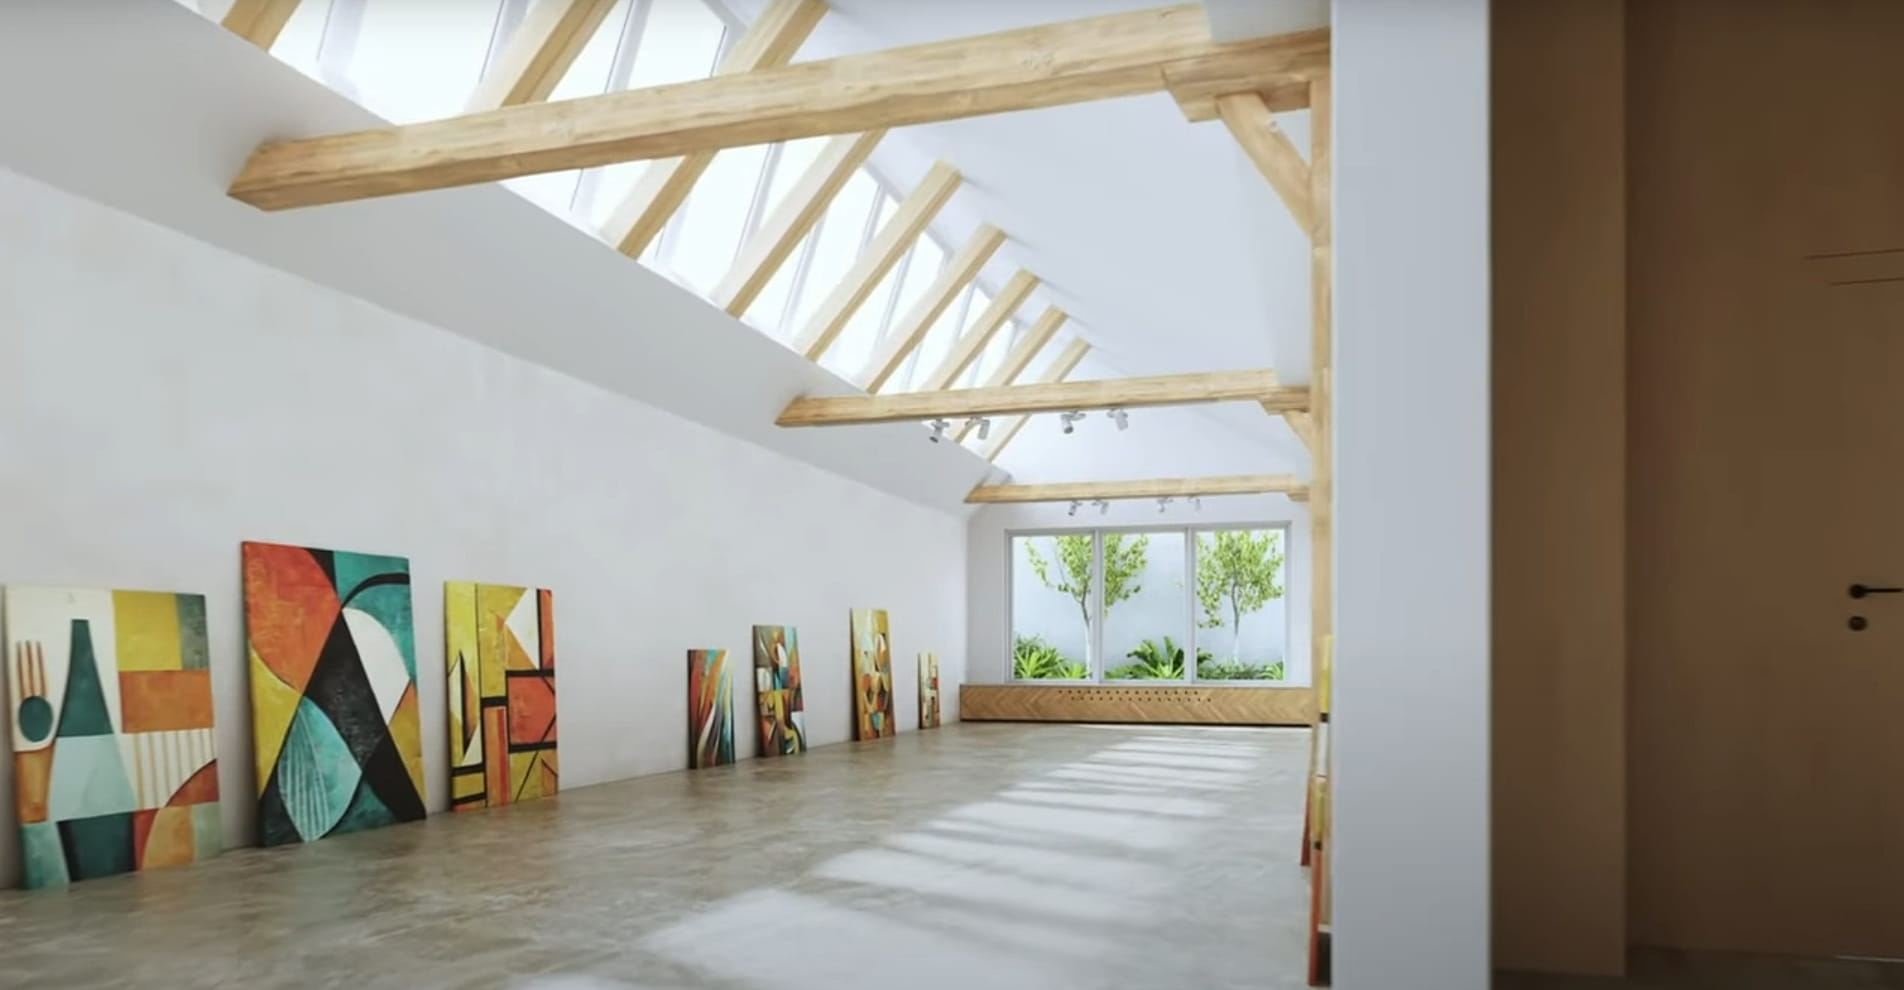
Now our interior looks correct!
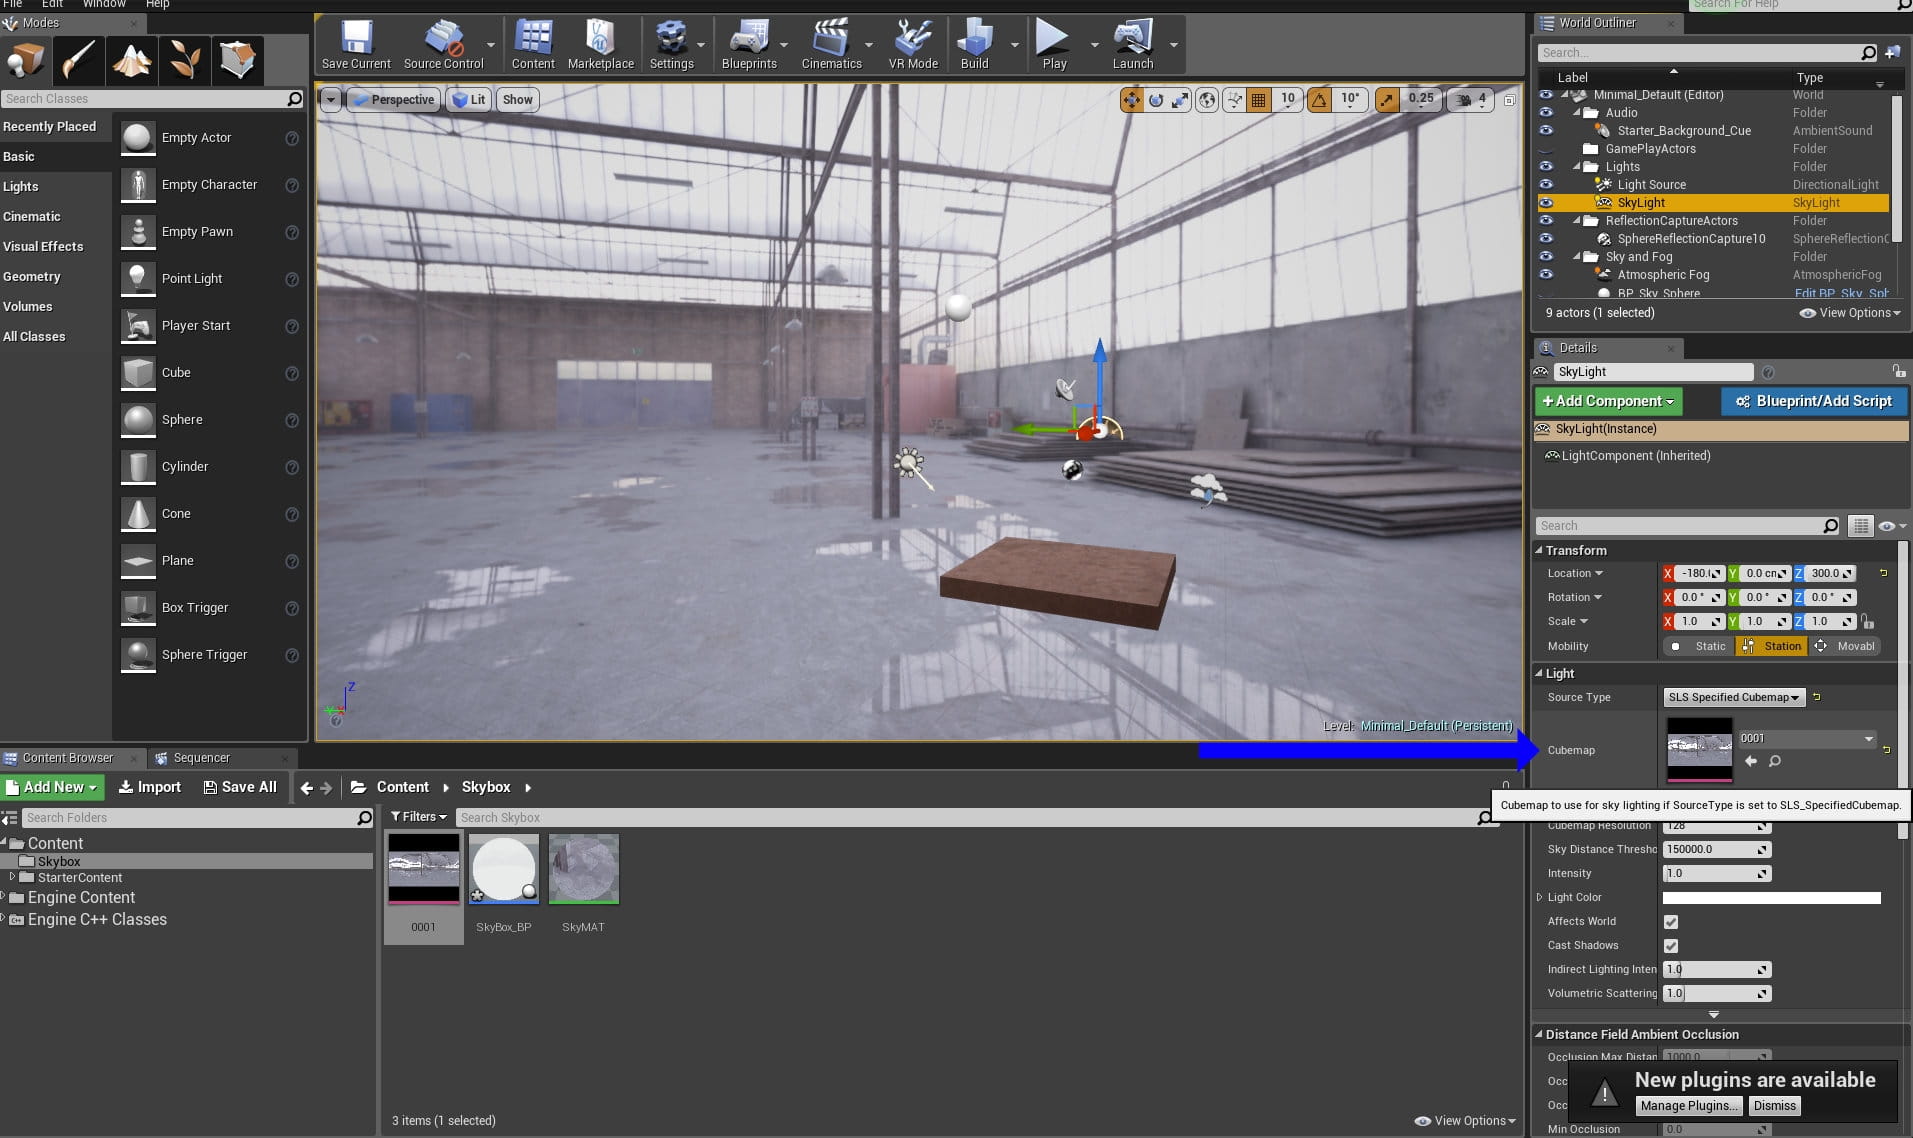
Create a skylight, select "SLS specified cubemap" in Source Type and select your cubemap. This way Skylight will be using your cubemap for lighting the scene.
That's it! Thanks for reading, hope you like it! :)


LEAVE A COMMENT


|

|

|

|

|
 Customer zone
 Your orders
 Edit account
 Add project
 Liked projects
 View your artist profile
COMMENTS