Removing LUTs from Textures for better results
Remove the LUT from a specific texture in order to get perfect looking textures in your render.
Total: € 0
Continue Shopping
In accordance with the art. 13 section 1 and 2 of the European Parliament and Council Regulation 2016/679 of the 27th April, 2016 on the protection of natural persons, with regard to the processing of personal data and on the free movement of such data, and repealing Directive 95/46/EC (General Data Protection Regulation), hereafter RODO, I hereby inform that:
1. EVERMOTION S.C., 8 Przędzalniana Str., 15-688 Białystok, Poland is the Administrator of your Personal Data (APD)
2. Data Protection Inspector can be reached through e-mail: iod@evermotion.org
3. Your personal data are to be processed on the basis of art. 6 section 1 letter a, b and f of RODO in order to:
a) prepare, conclude and execute the agreement and for other purposes approved by you,
b) to execute the legitimate interest like marketing of products and the agreement, claim assertion or defence against claims resulting from the law regulations.
4. Entities entitled to the reception of your personal data may be the authorised public bodies; mail providers; providers of the services covered by the agreement; responsible for debt recovery, keeping the archives, document utilization, legal consulting, technical services, IT services and accountancy.
5. Your personal data shall not be transferred to the third country, nor to the international bodies.
6. Your personal data shall be processed within the period of the agreement and upon your additional consent until you withdraw it. APD shall keep the data for the period of any civil law claim execution connected with the agreement.
7. You have the right to demand an access to your personal data, to correct or to delete the data if there is no other basis for the processing or any other purpose of such processing or to limit the processing of the data, to transfer the data to another administrator and to raise objections to the further data processing if there is no legal basis for further processing and to withdraw any previous consent.
8. You provide the personal data voluntarily, however they are necessary to conclude the agreement. The refusal of providing such data may result in the refusal of the agreement conclusion.
9. You have the right to lodge a complaint to the Personal Data Protection Office when in your opinion the data processing violates the regulations of General Data Protection Regulation of the 27 April, 2016 (RODO).
10. Your data will be automatically processed, including the form of profiling.
11. You are obligated to forward above mentioned information to your representative, especially if you appointed this person in the agreement as the contact person or as the representative for the agreement execution.

After spending several months on Substance Painter with powerful abilities to make detailed textures, I decided to create an artwork with a combination of these two important factors, together.
 My name is Farid Ghanbari and I have been working as a CG Generalist Artist for about 10 years. My overall experience includes games, advertising, architectural visualization, motion design, and VFX mostly created in Maya, Realflow, Marvelous Designer, C4D, Substance Painter, Photoshop, and Aftereffects.
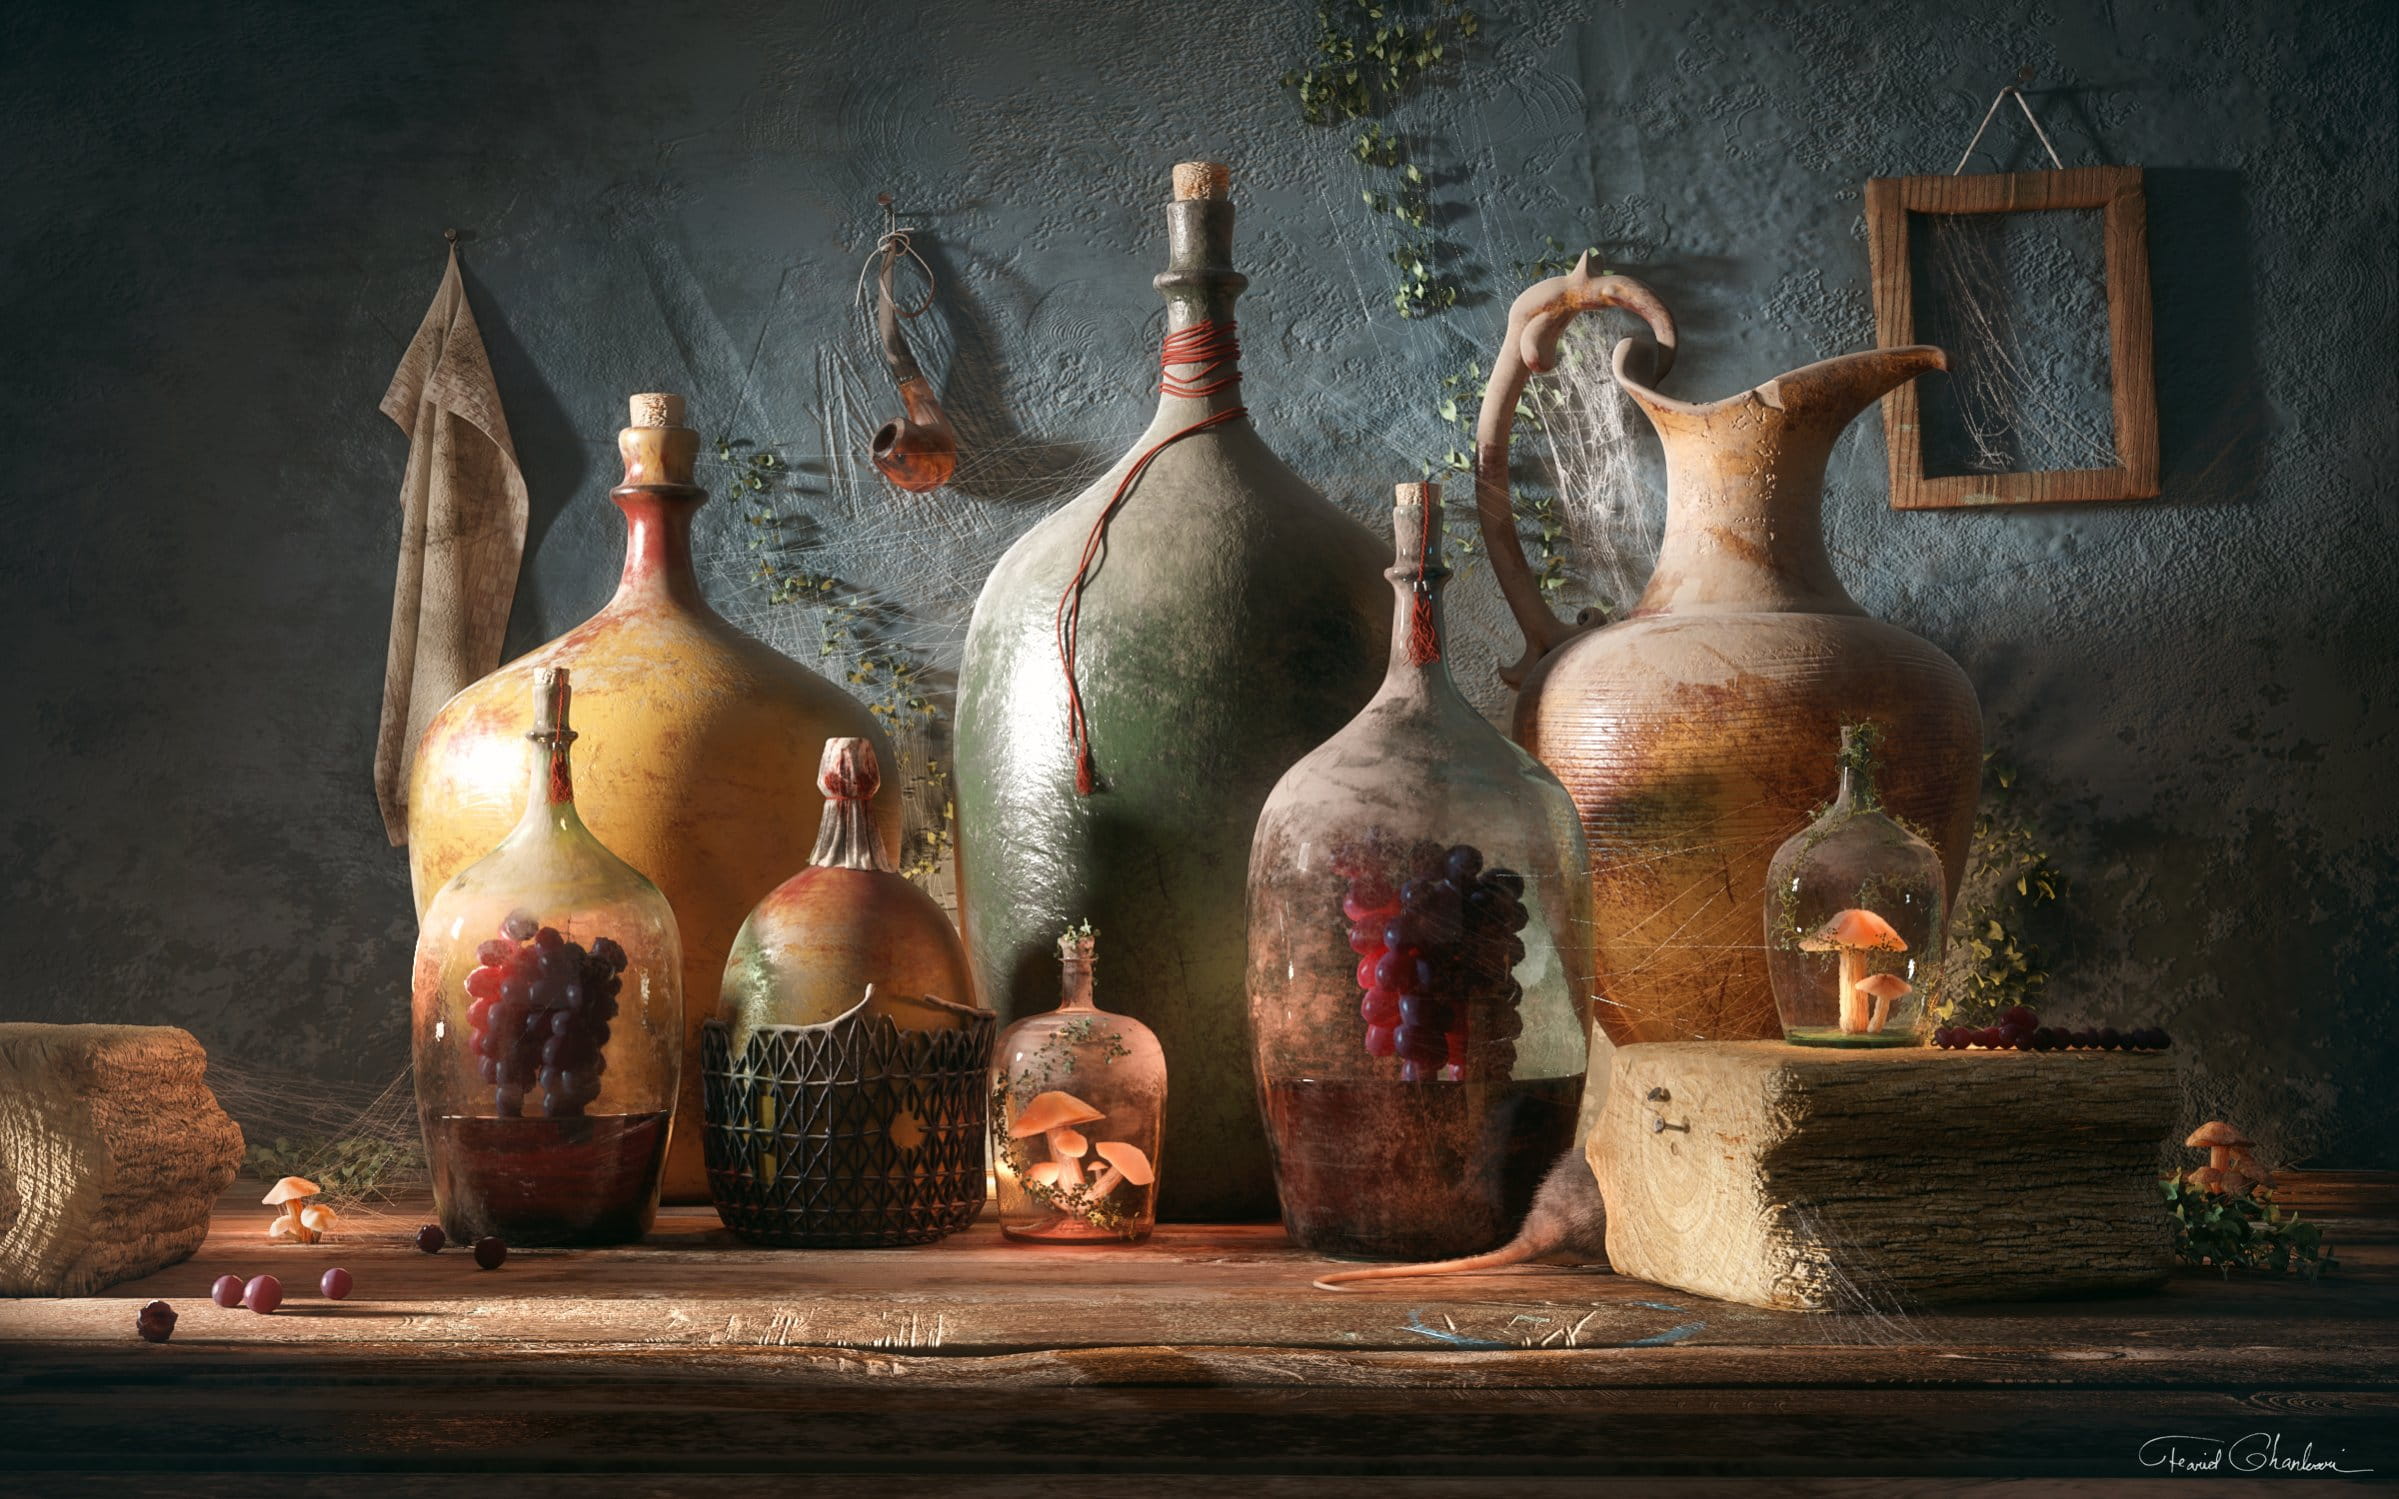
In this post I’ve found this opportunity to show you the process of my last artwork “Bottles of Life”.
I intent to achieve something eye-catching with perfect lighting and detailed textures.
Start the Project (References and spices!)
The most important fact for me as a CG Artist who must deeply go inside professional 3D apps with thousand Tabs and windows, is to keep creativity and artistic look of the final result. Not something awesome just from technical point of view!
So I always spend some time to study art fundamentals like Lighting principals, color scripts, photography rules and then finally fire up the project by the first step which is always gathering references to me!
Just look at these references. They are awesome, Aren’t they?!

But, As I mentioned I don’t like to just create something crazy realistic! I need it Artistically, magical and a CG artwork! In fact, in this part I usually add some spices to my cookie! For example, how about adding some extra lights which we don’t have in the real world! How about some levitated grapes in those bottles which have not been affected by gravity! To be honest some of these spices will be added during the process. So don’t push your whole energy to finalize your concept at this level! (e.g. The last thing I added to “Bottles of Life” was the rat tail.)
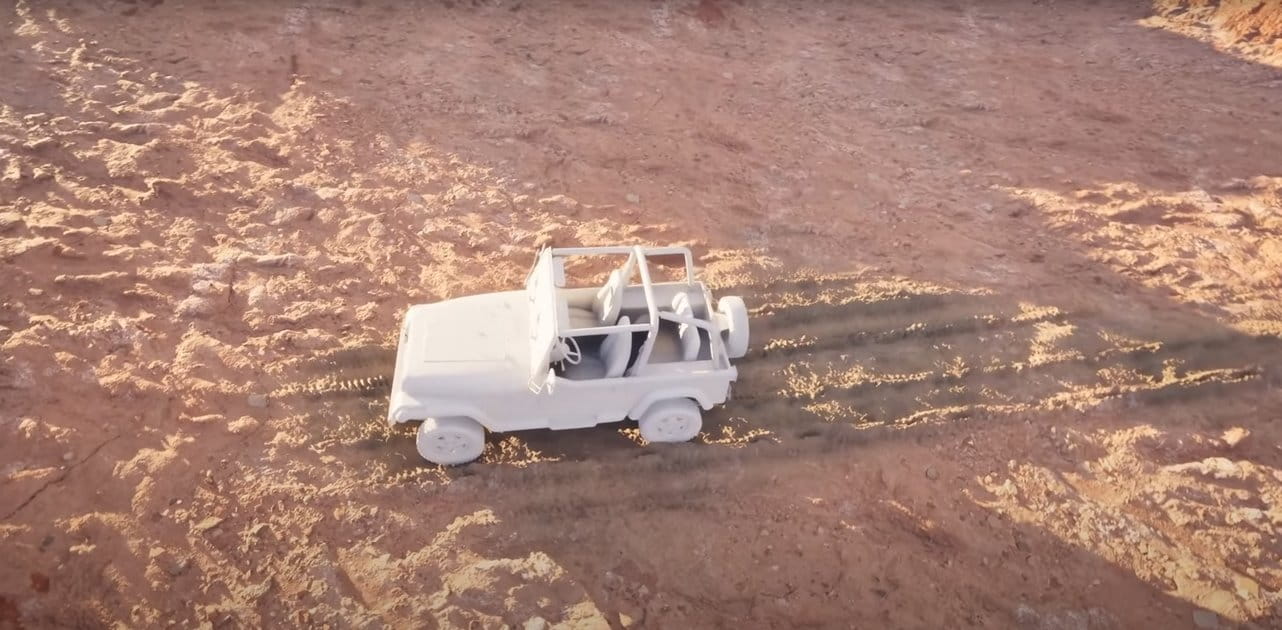
Modeling and setting up the camera - overall Look
After gathering references and creating your own first concept there are a lot of fun with working in your apps. I usually benefit from Maya for 80 percent of the project. Started from scratch by modelling initial shapes and blocks!


After playing with objects positions and different camera angles I choose the best camera view and best composition for the scene! Of course this may change as the project goes forward. But not too much. Maybe just some adjustments!


You may need to spend hours to find the best angle for your camera! care about golden points and concentration on your heroes in the scene! Do not forget to play with all the camera parameters such as angle of view, film gate, camera rolling and focal length, besides tilting, panning and zooming! I chose 55mm lens for Bottles of life. Love this focal length!
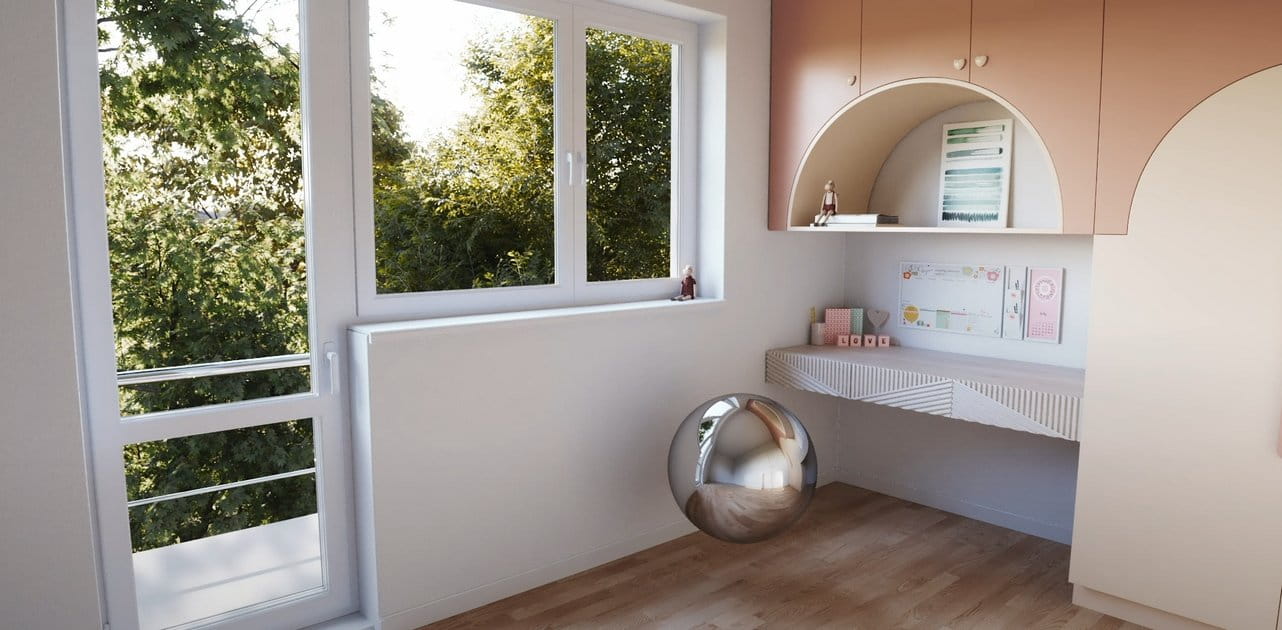
Lighting
I prefer to have a schematic look of the final result as the project goes forward. So once I achieved my first setup in modelling with main objects I would like to add a key light to see if I should continue or pick some other road to drive. A lot of fun in this part was tweaking lights and trying to setup the balance of darkness and lightness.

To recap Lighting part: I used a V-ray Rec light in directional mode as key light. Some V-ray Sphere lights among bottles. Also I applied a dim dome light for a tint blue over dark shadows.
Create textures in Substance Painter
Back to reviewing my goal in this particular project, perfect lighting and realistic detailed textures with extra spices, so it’s time to meet the Swiss army app in 3D texturing. I mean Great Substance Painter. Without SP “Bottles of Life” would never be born intact! Easy to use, smart and user friendly. By importing your object with simple UVs and baking the texture in SP you will have many abilities such as brushes, alphas, smart material and lots of procedural textures. I usually start by simple fill layer for the base color and then proceed with smart masks.


There are several magical maps that help you during working with SP. Curvature and Ambient occlusion are the most important. You can also benefit from world space map to define the top parts of your objects to easily apply the dust effect.

The important point with creating realistic textures is to not rely just on smart or procedural pre-provided nodes. You should care about all man-made imperfections such as footprints effects on dust, wood scratches, special dirt or even effects of some absent objects on your scene which may have been there in the past. Look at the blue color print on the table wood which tells you there had been a color bucket.


When I get the satisfying result with all the desired detailed textures I will bake them in 4K or even 8K for some larger objects. (e.g. I created 8 UDIM textures for the table in Maya and 8k export from SP)
Web Spiders - Bringing mysterious feelings to your old scene
When you want to show an old forgotten place, spider webs come into play. I used 2 techniques for web-spiders: modelling with surface curves and textures with opacity map. Many thanks to the SPIDER’S WEB MAKER script. you can easily define your web between objects with your own options, by that. For the opacity web spiders I just used a simple B&W texture which I found from Gleb Alexandrov website, with a simple V-ray material.


Adding final details
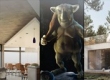
Well! We are almost done. Fine detailed models with perfect lights and decent textures. What do we need more? Just spending some time with final touches in the 3D app. As I mentioned above I added the rat tail at this level. (Believe me or not this idea was created in my mind right after seeing a big rat fooling around in our apartment dumpsters when I stood up for getting fresh air in front of the window)


Final render setting & Render elements
I rendered Bottles of life in 2400 res. As we have many refractions with 4k and 8k textures this is really important to have an optimized render setting to save time. don’t forget to bake irradiance and light cache maps! They really save your time!


Final touches in post-production app
Now it’s time to composite the layers in your composition app which is Photoshop. I am not a fan of a heavy post-production. Love to achieve the highest percentage of final result in 3D application rather than post apps. So I just added some fog effects in the Left side of the image and a little bit color corrections. There you go: “Bottles of Life” is ready. Quite easy :-)


At the end I just want to recommend CG artists to use their own objects, own artistic style! Do not try to fill up your scene with pre-provided objects found on the internet. Hope you like this written breakdown and will benefit from that.
Thanks for reading.
Farid Ghanbari
Here is the 3DTotal and Artstation Link:


LEAVE A COMMENT


|

|

|

|

|
 Customer zone
 Your special offers
 Your orders
 Edit account
 Add project
 Liked projects
 View your artist profile
COMMENTS