During the last two years Evermotion created several collections for Unreal Engine. Since 2015 realtime rendering becomes more and more popular for arch-viz industry. The scene below comes from Archinteriors for Unreal Engine vol. 2. The collection consists of four scenes of modern interiors - for residential, office and commercial purposes. Today we will look at the scene 1 - The House.
Click on image to enlarge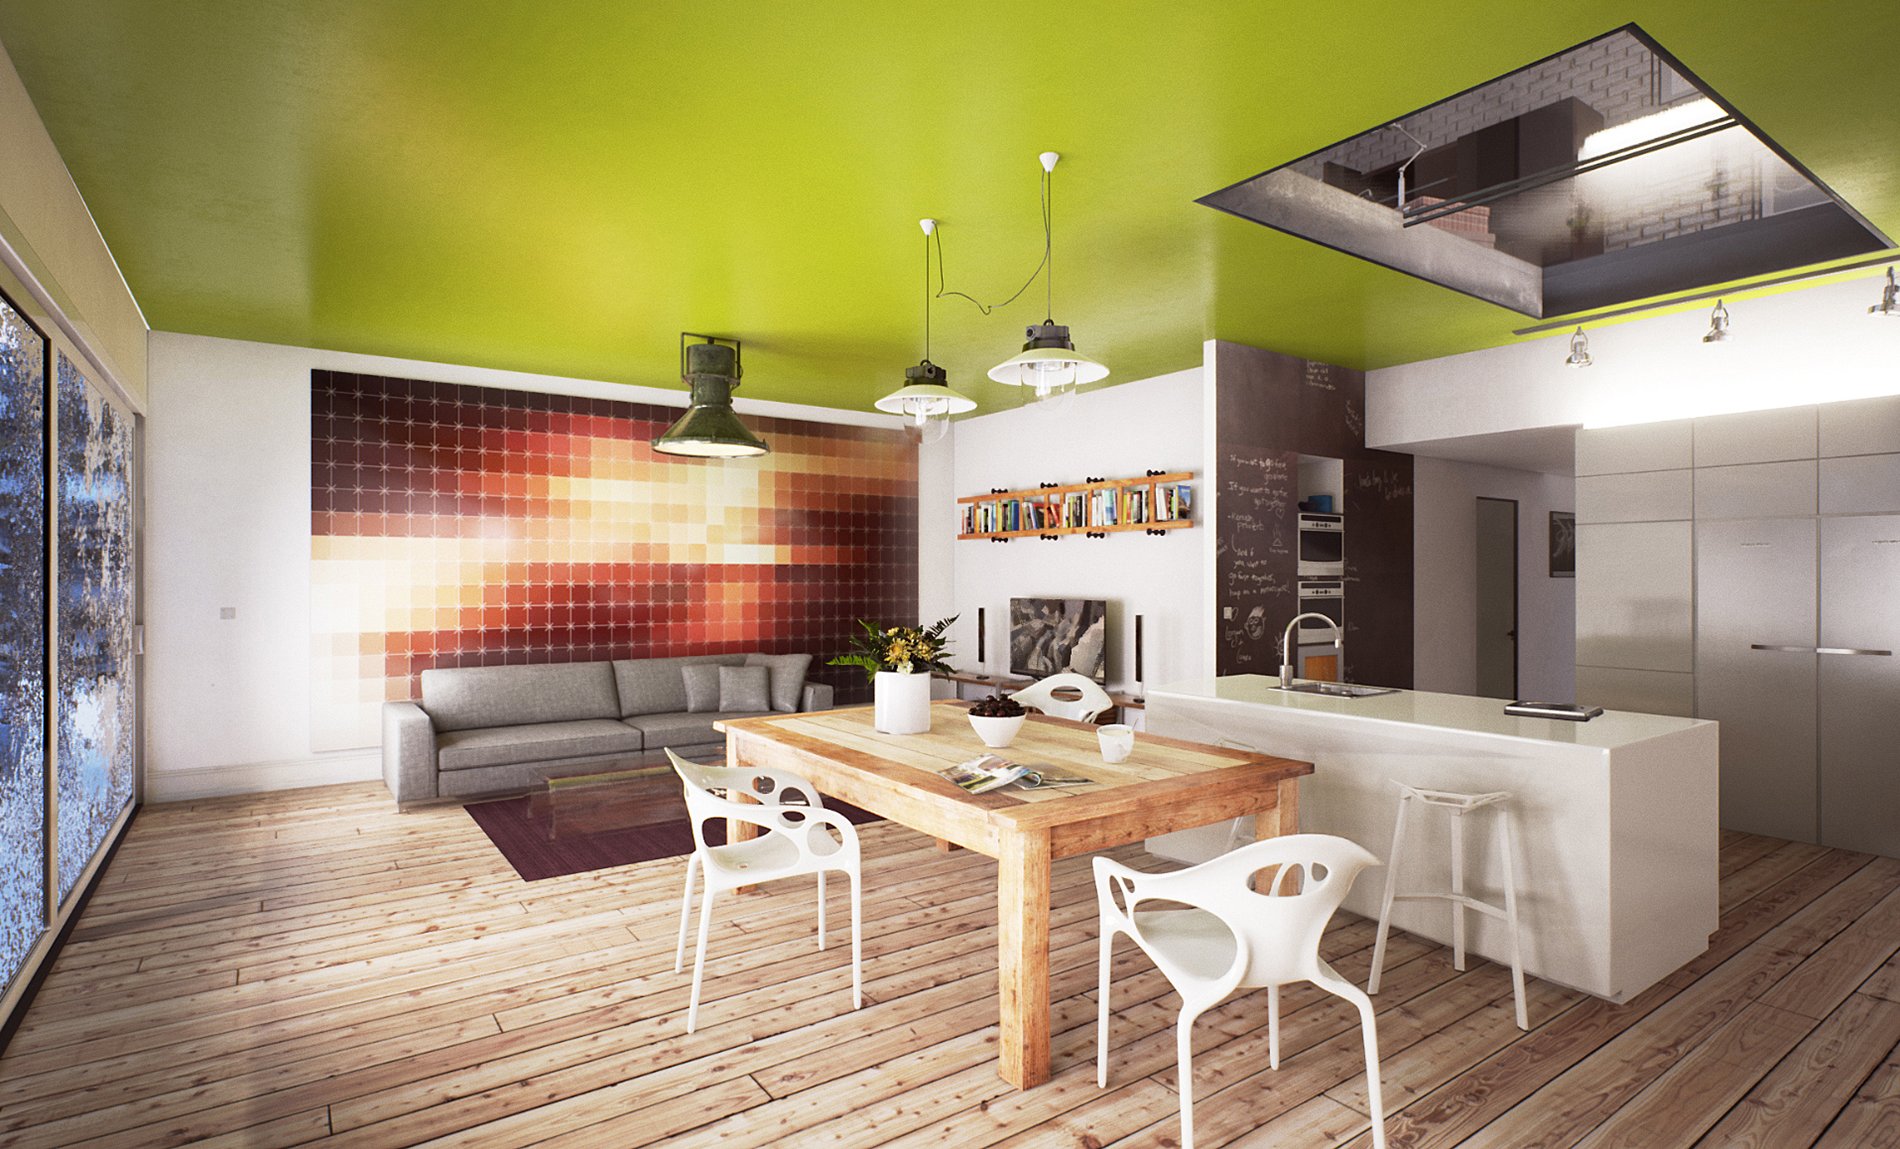
Unreal Engine 4 screenshot.
Click on image to enlarge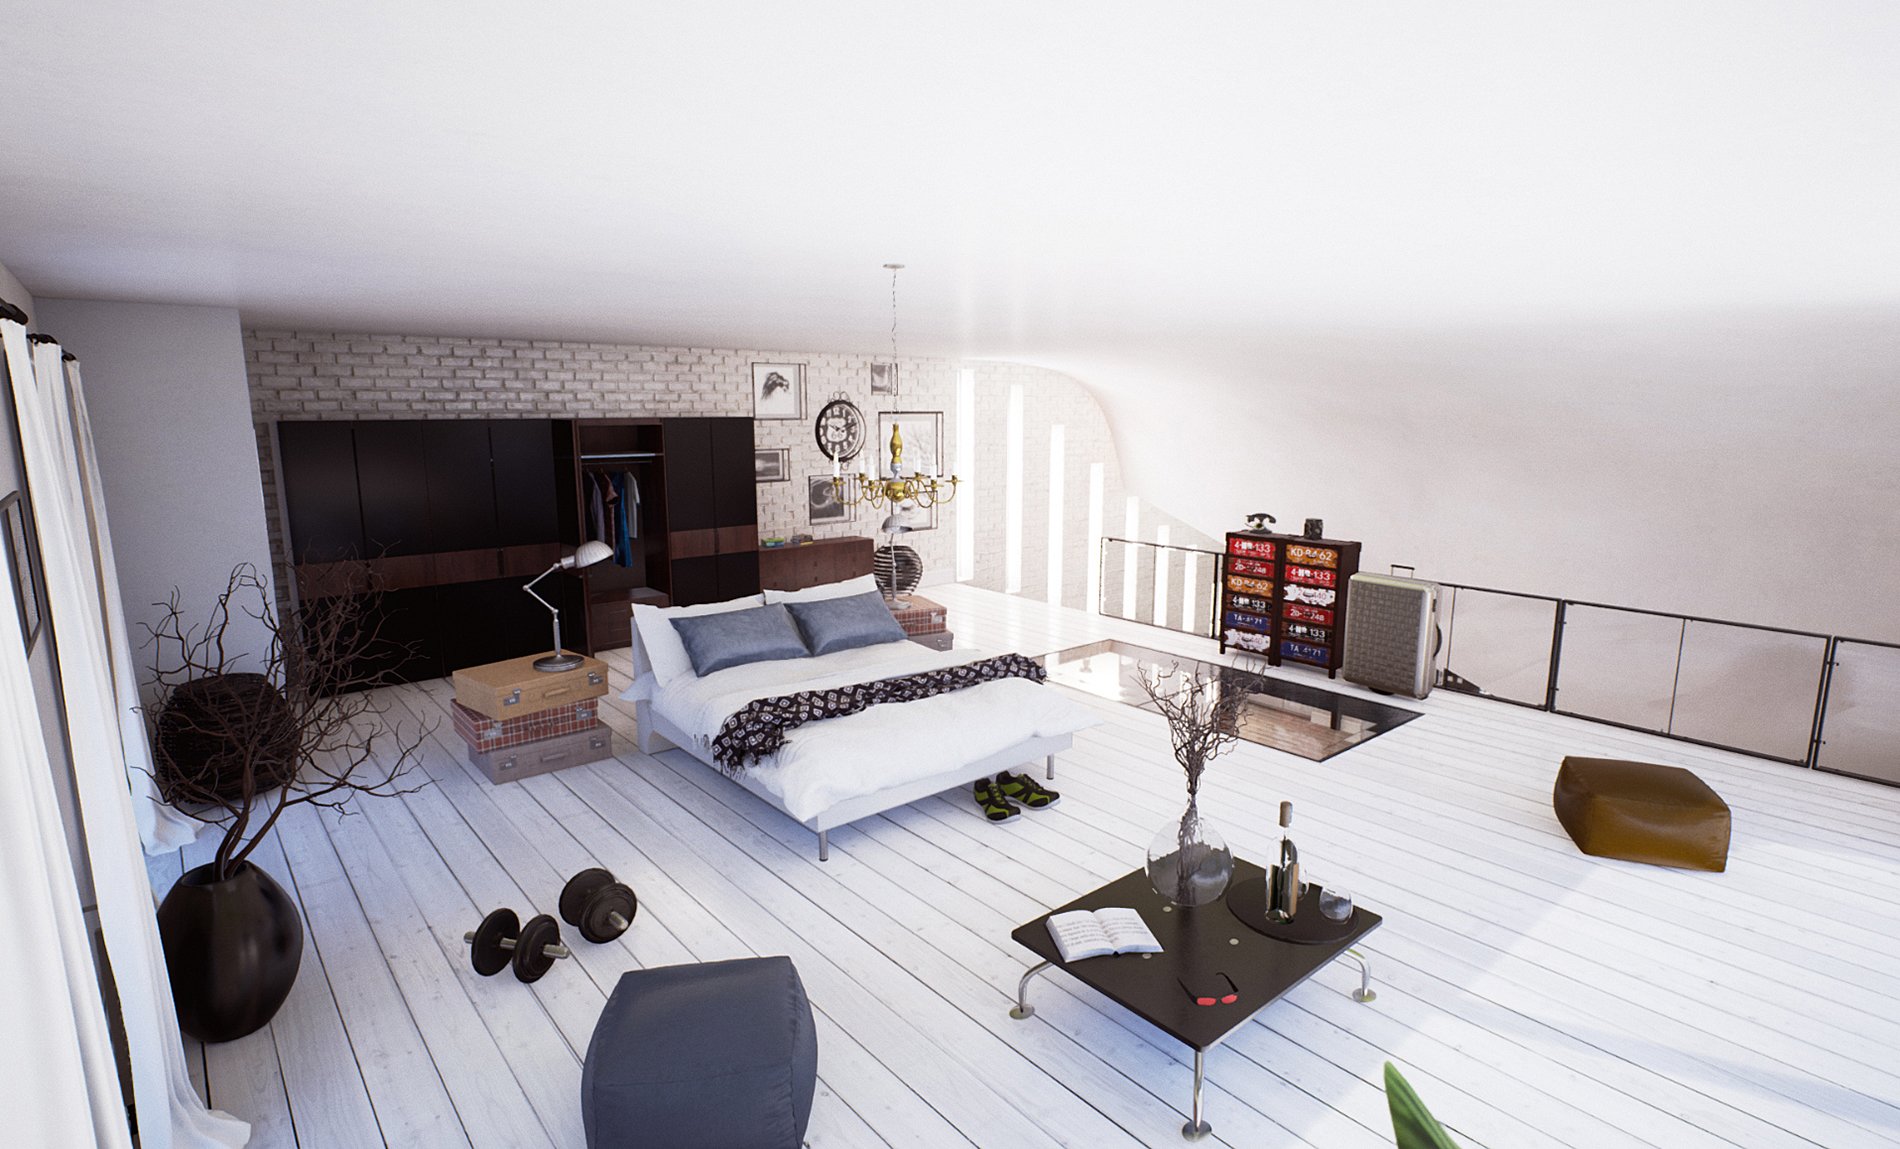
Unreal Engine 4 screenshot.
Click on image to enlarge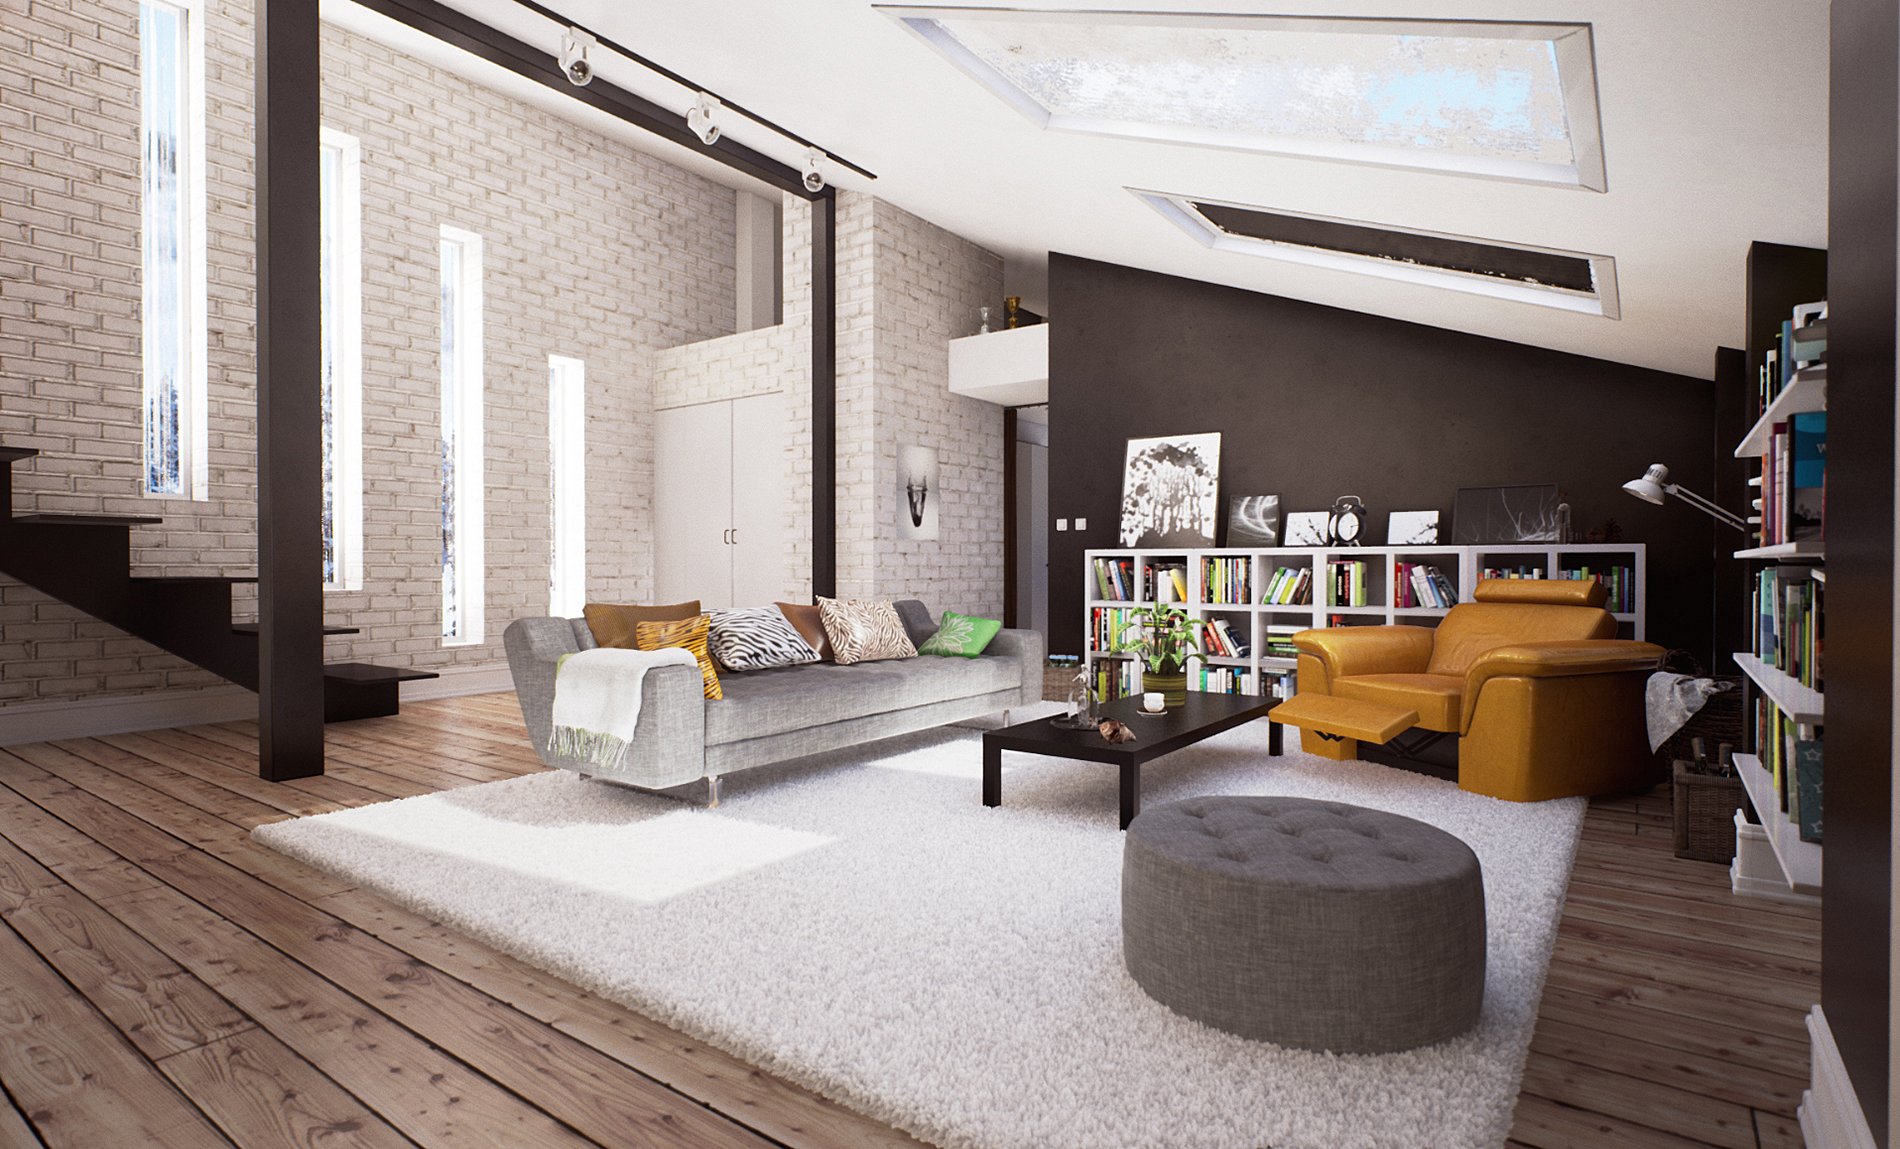
Unreal Engine 4 screenshot.
Click on image to enlarge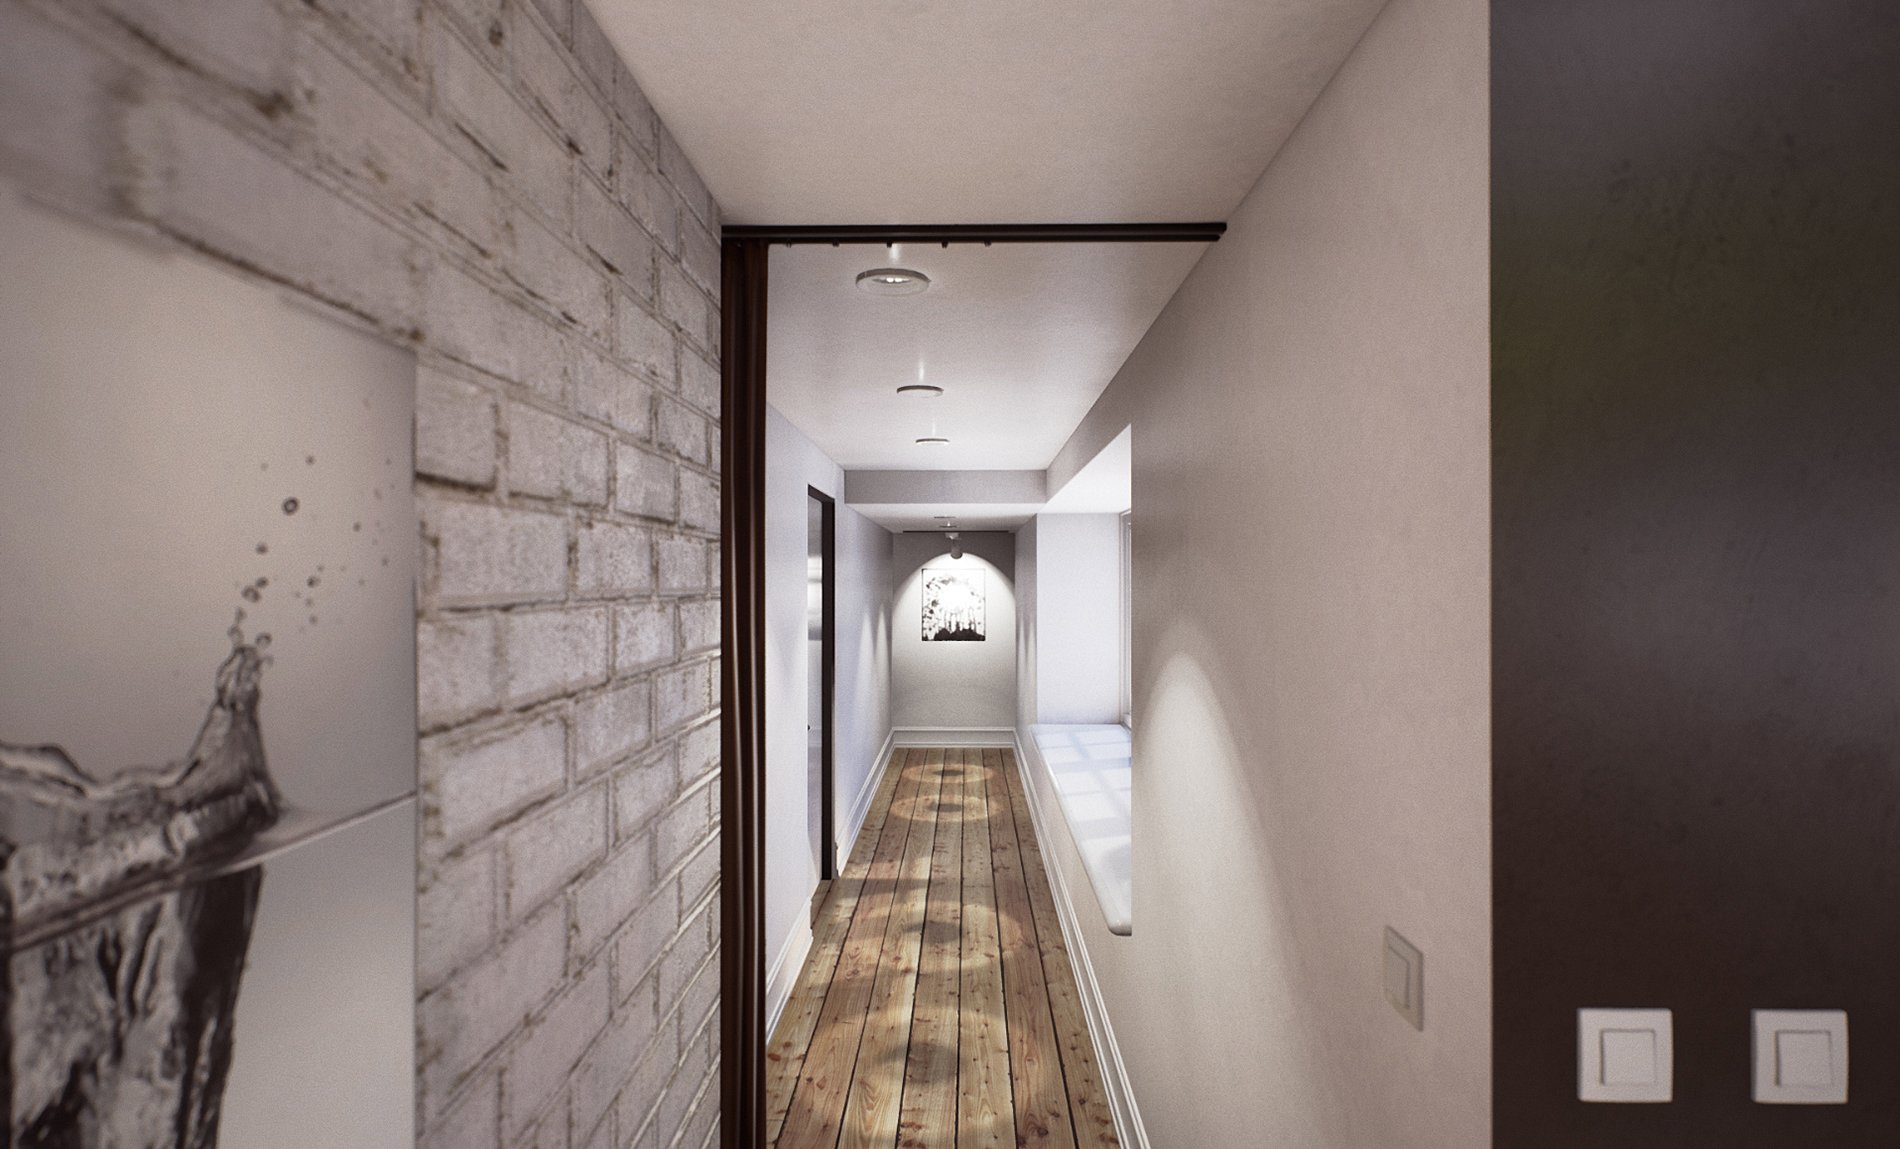
Unreal Engine 4 screenshot.
Click on image to enlarge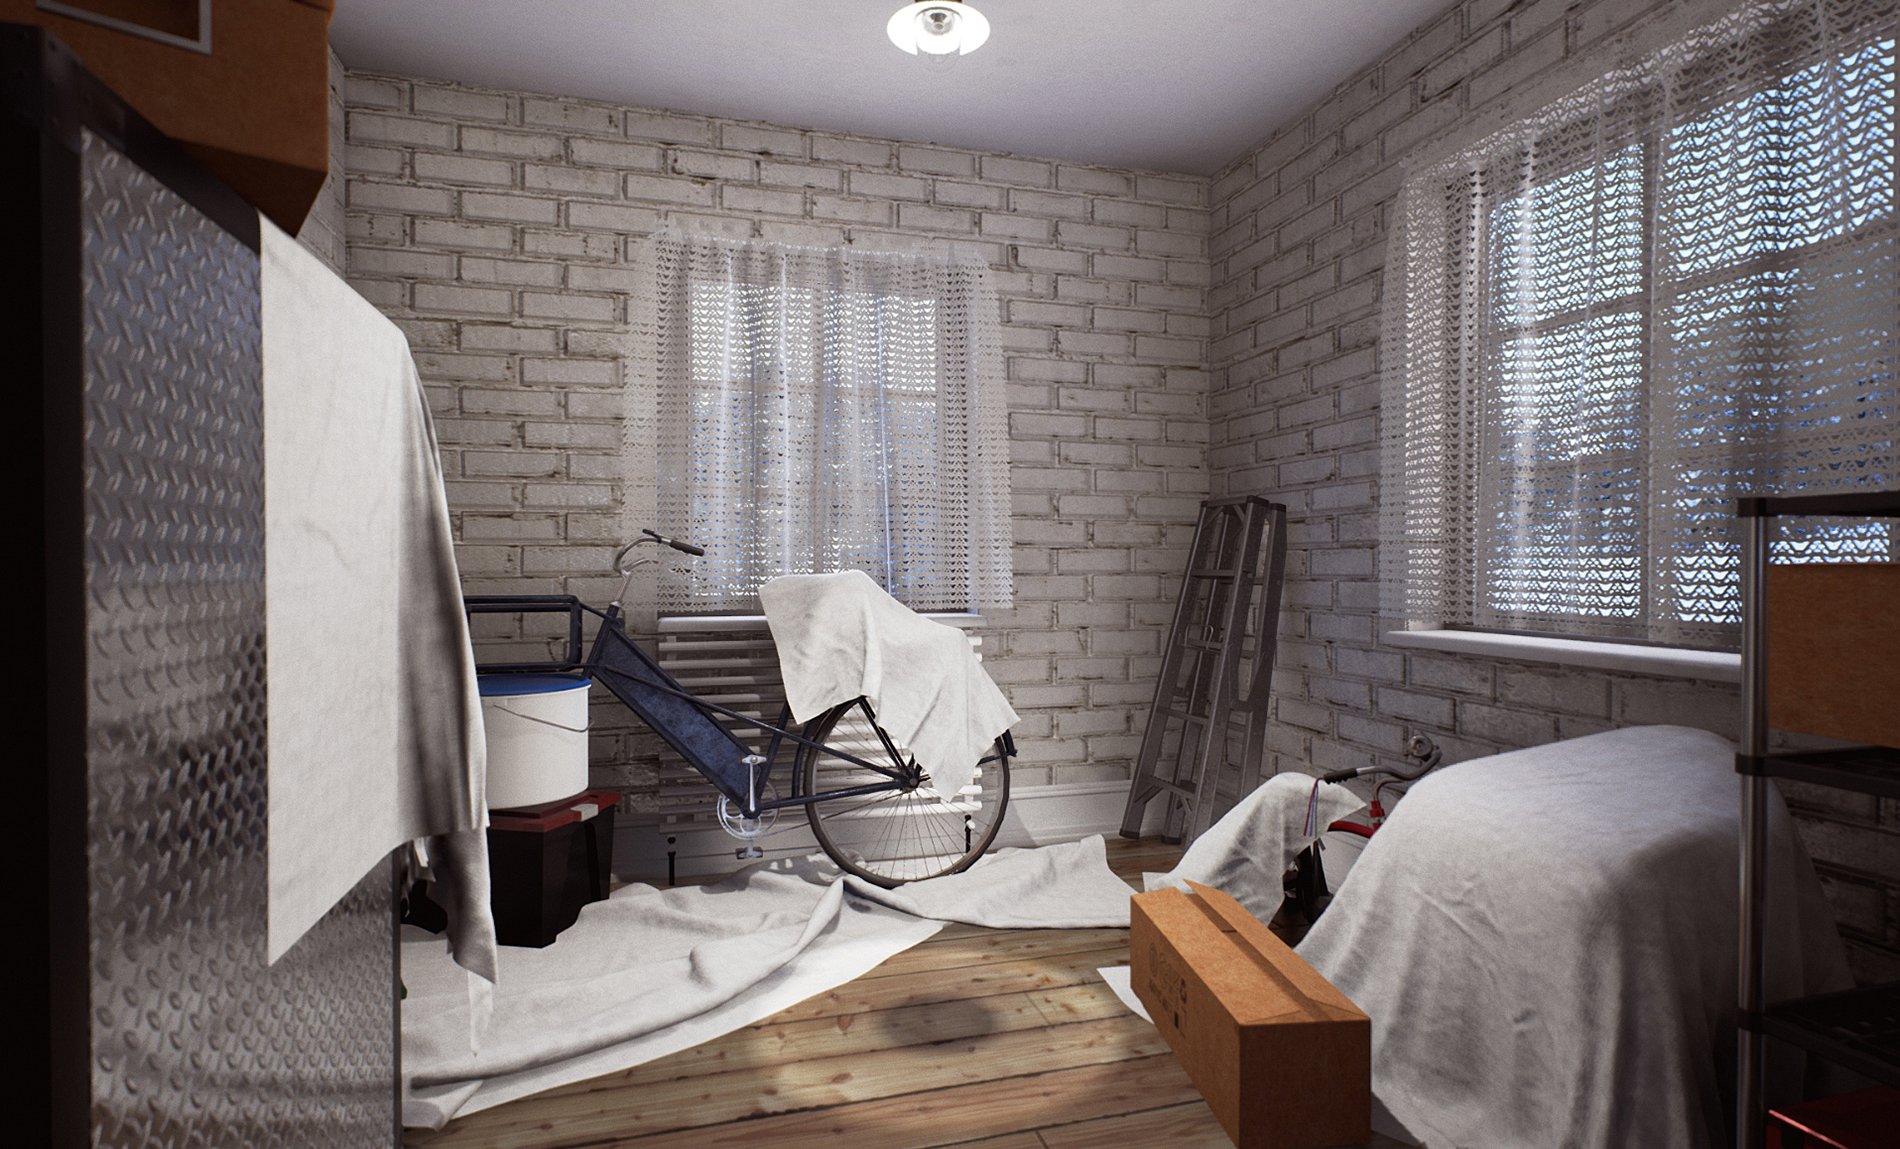
Unreal Engine 4 screenshot.
Click on image to enlarge
Unreal Engine 4 screenshot - top view.
Click on image to enlarge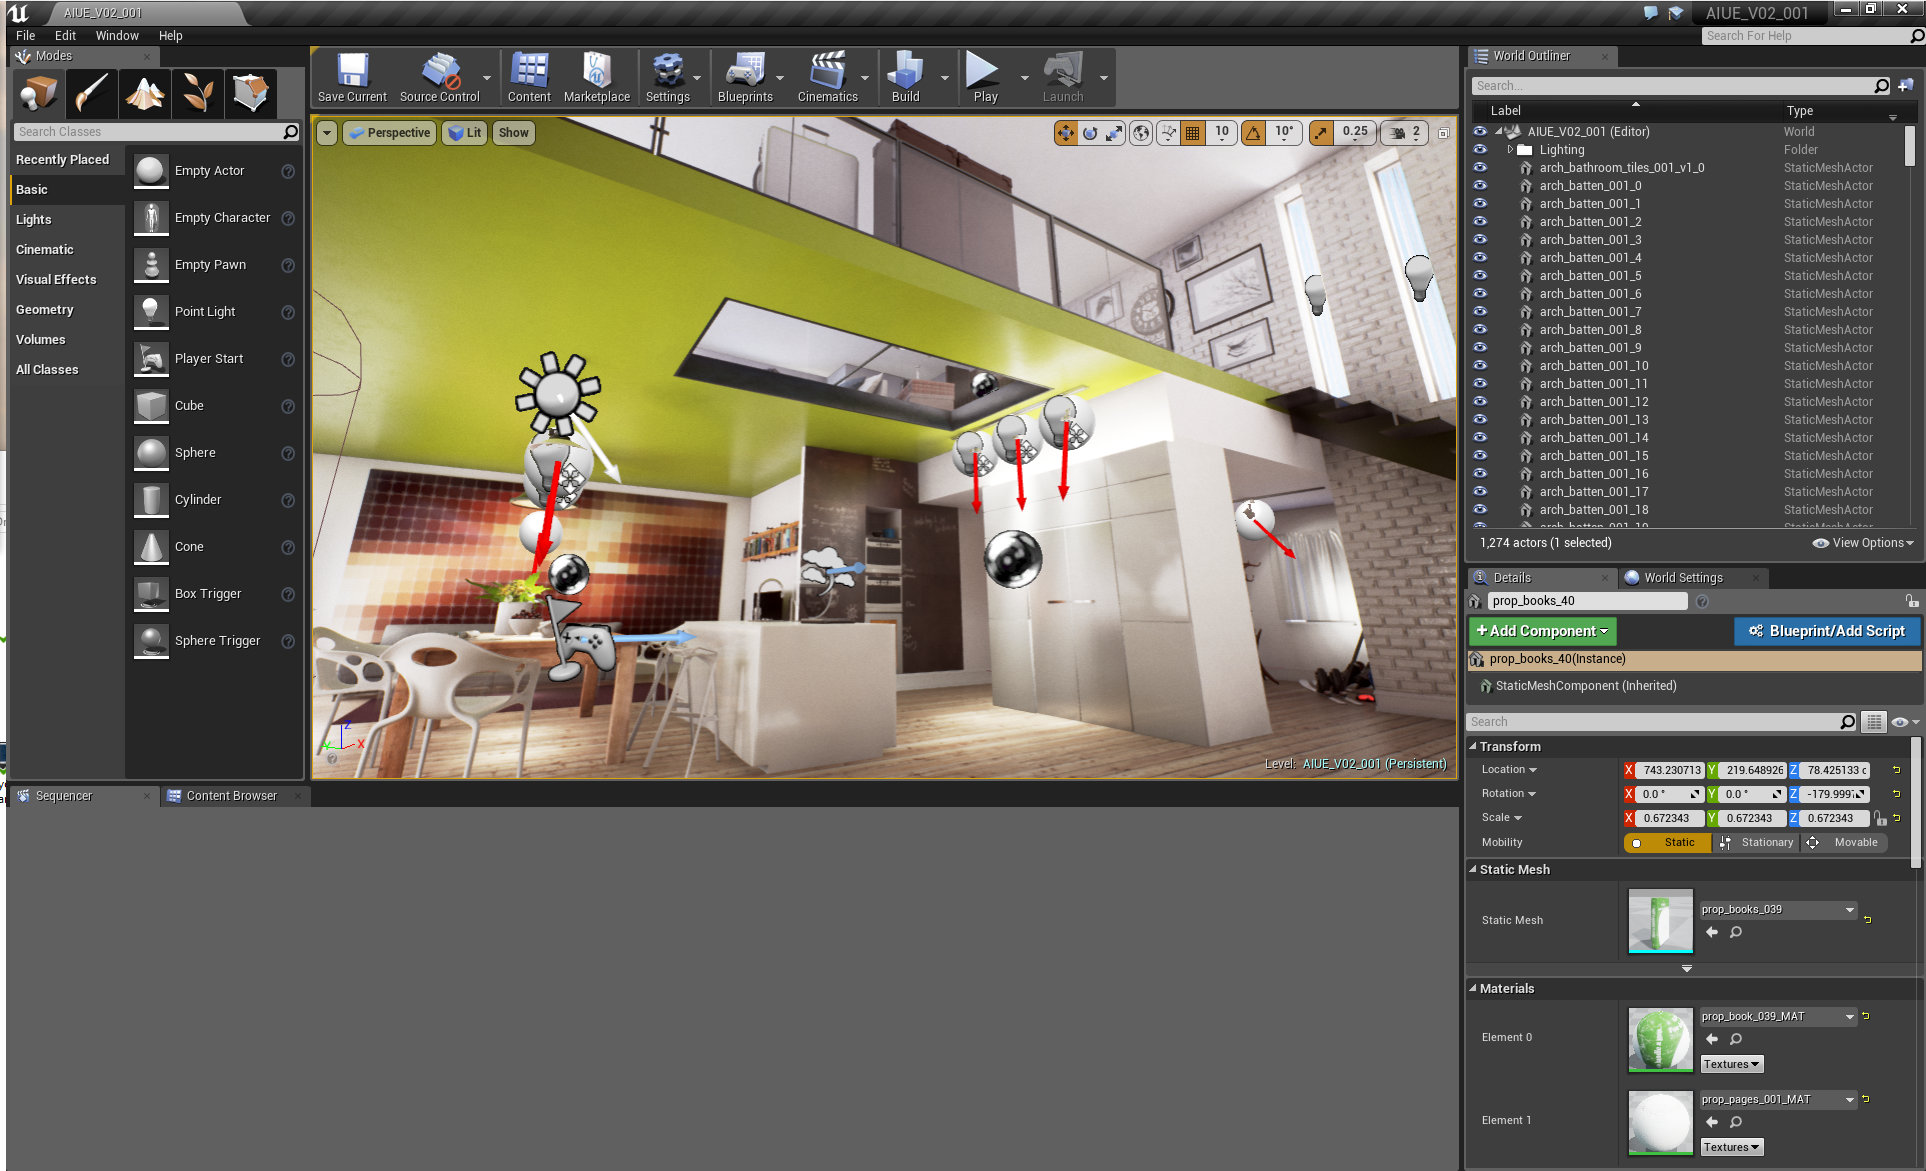
Unreal Engine 4 - viewport. The main point (and "player start") is the kitchen / dining room area.
Click on image to enlarge
The building from the outside. You can see PostProcess Volume Bounding Box. We sculpted the landscape inside Ue4 and scattered some winter trees too.
Click on image to enlarge
Chair mesh. As you can see on the right, we often override Light Map resolution. In this case we are using 512 resolution for baking normal map.
Click on image to enlarge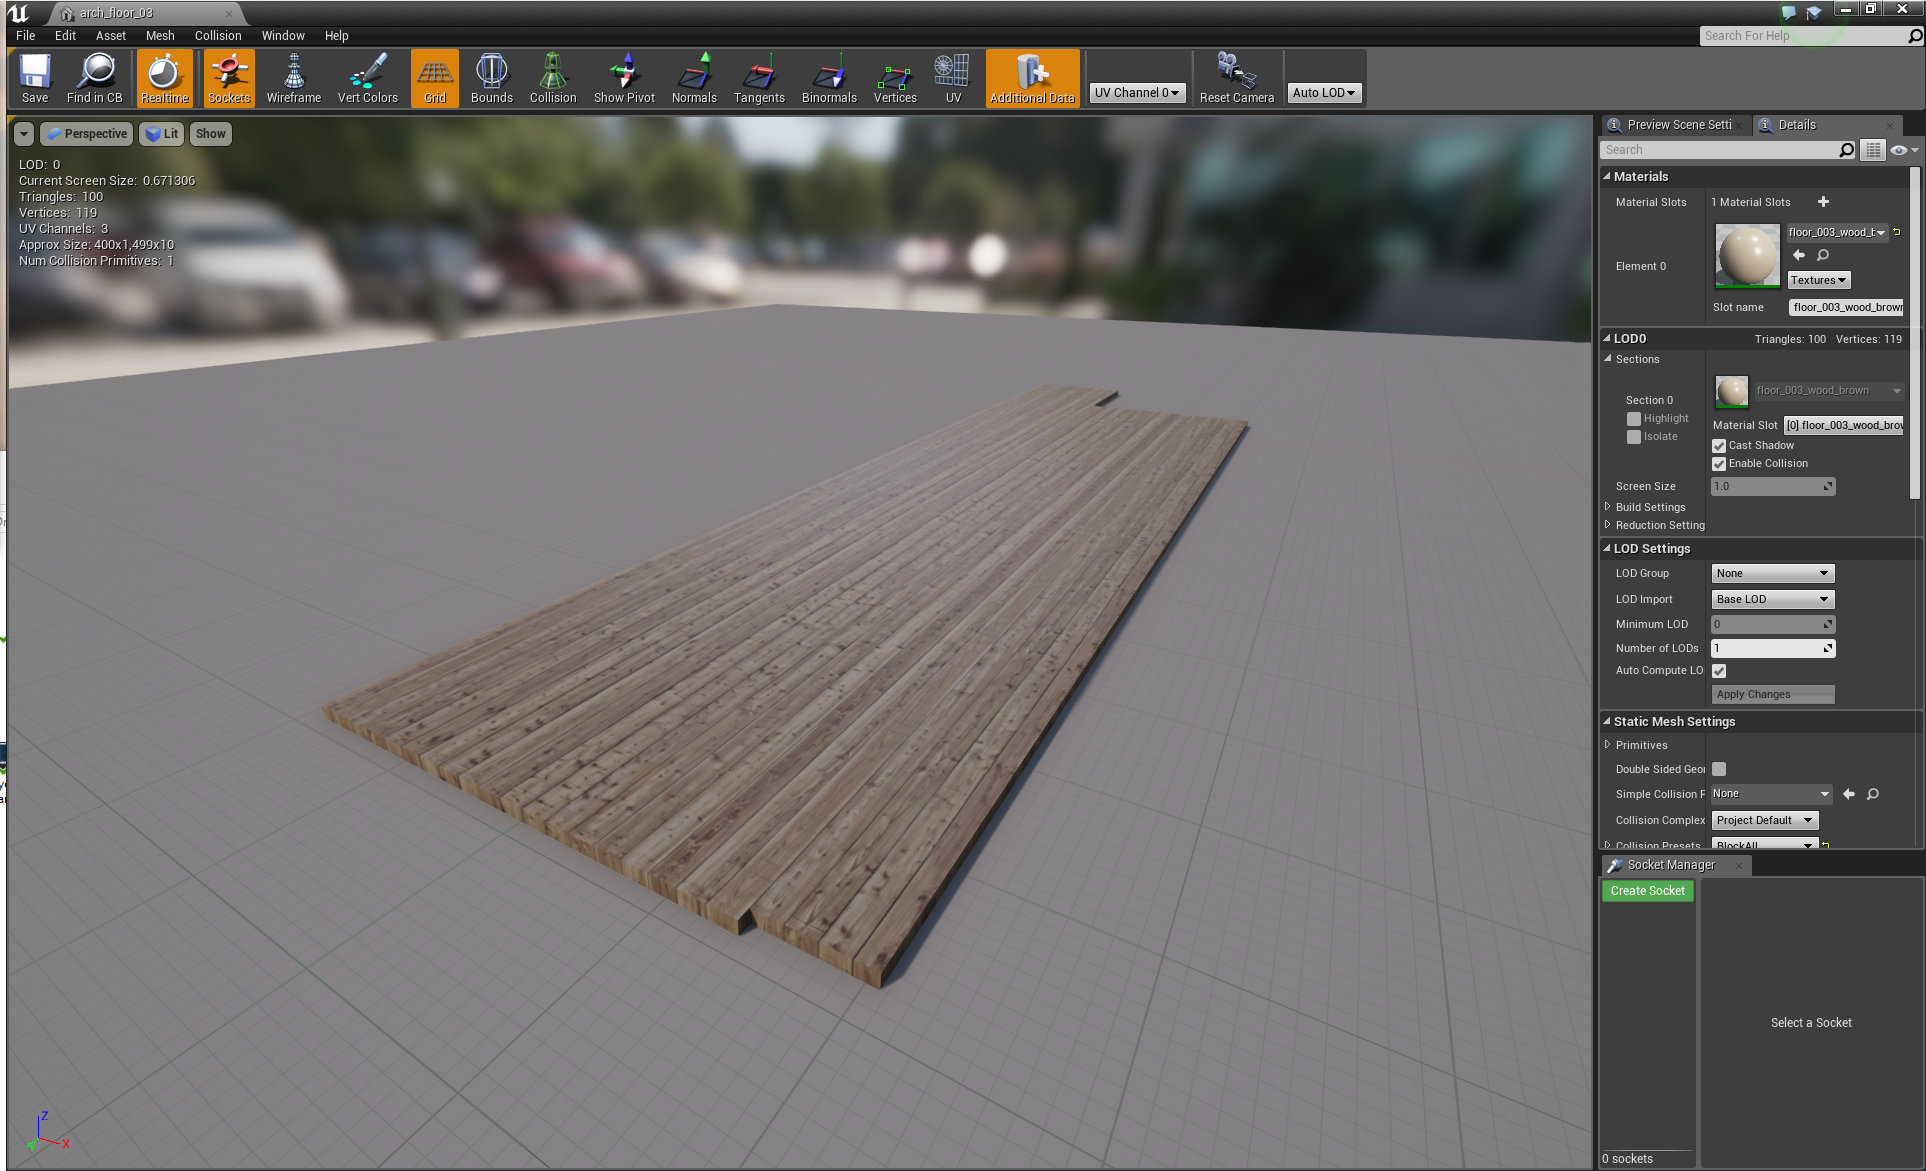
Floor mesh.
Click on image to enlarge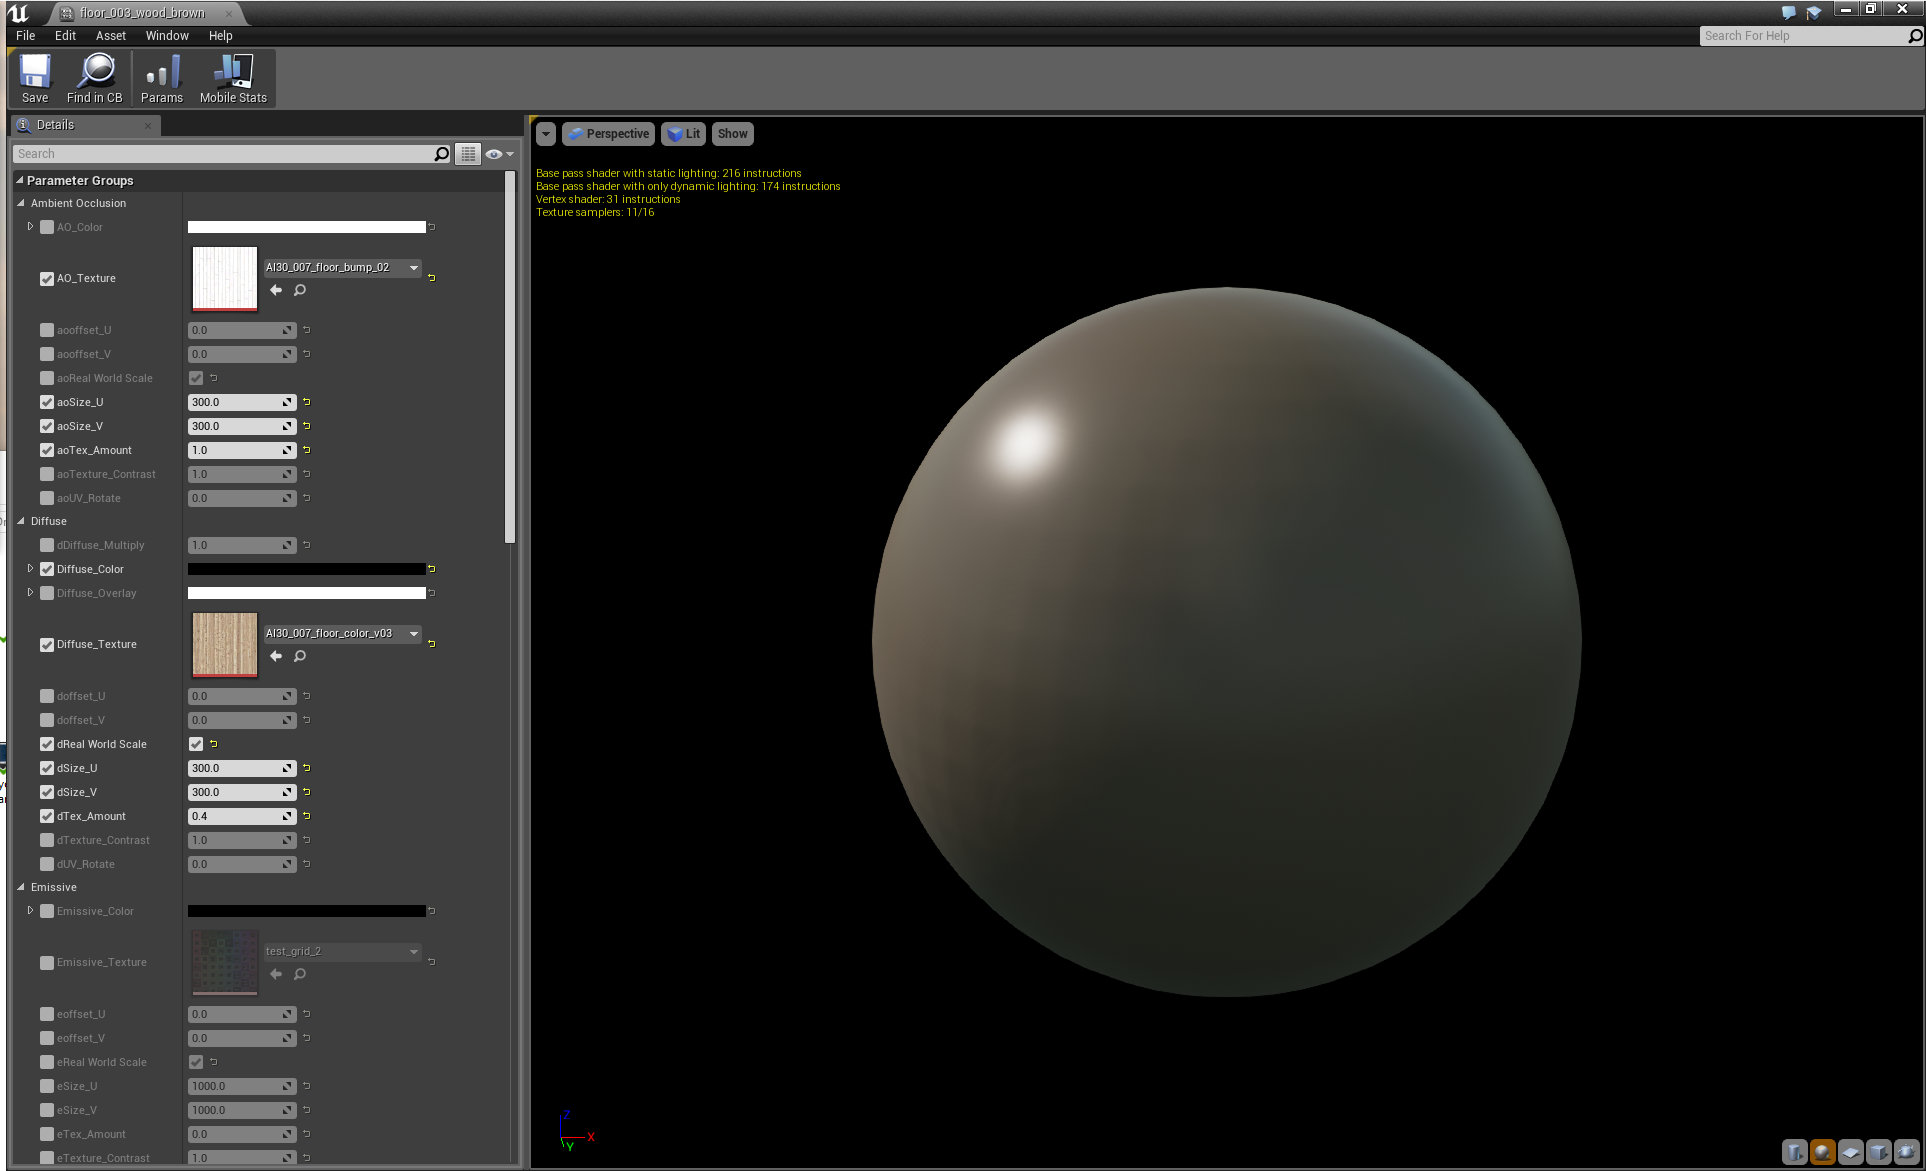
Floor material in the instance editor. Our base material is rather complex, the most of the materials are just an instances of it, so we can deal with shading much faster.
Click on image to enlarge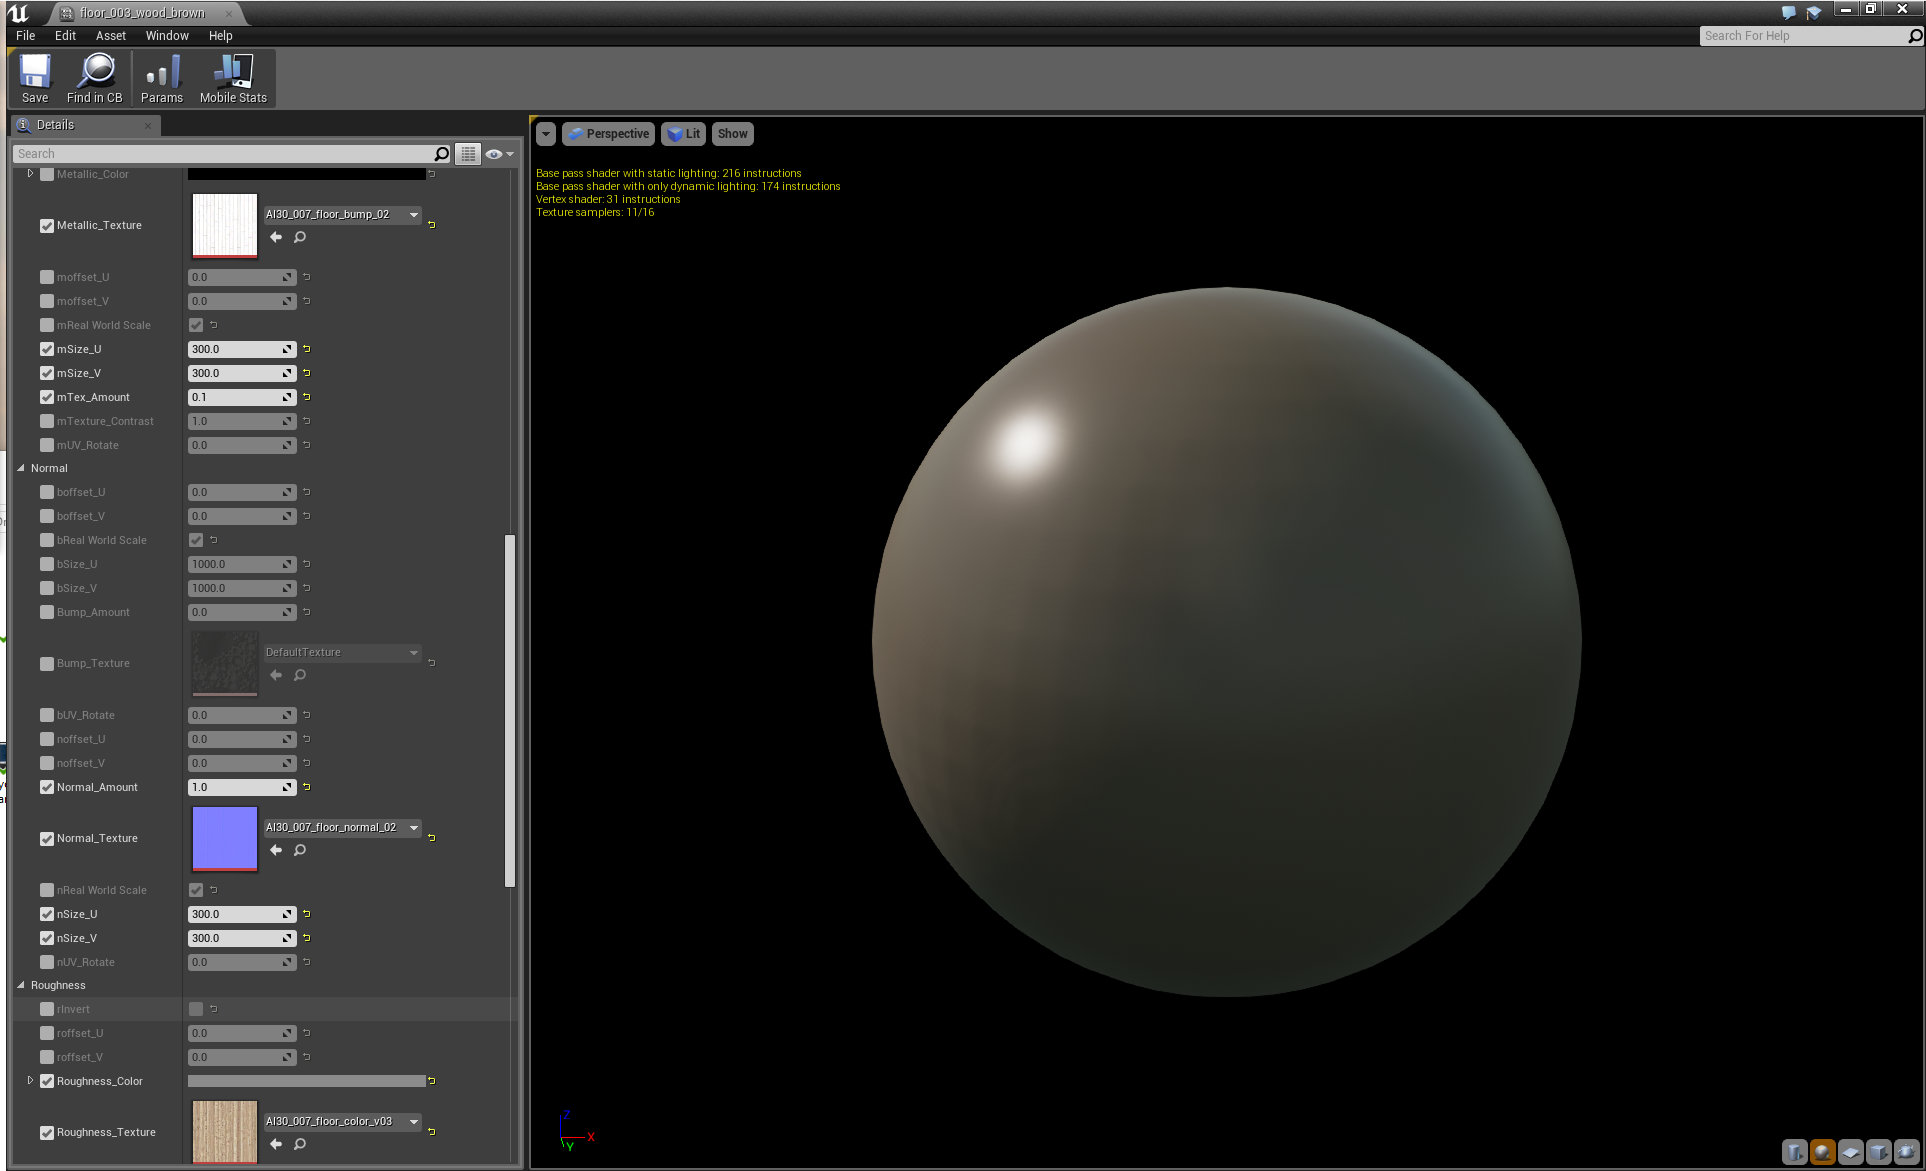
Floor material, continued.
Click on image to enlarge
Floor material, continued.
Click on image to enlarge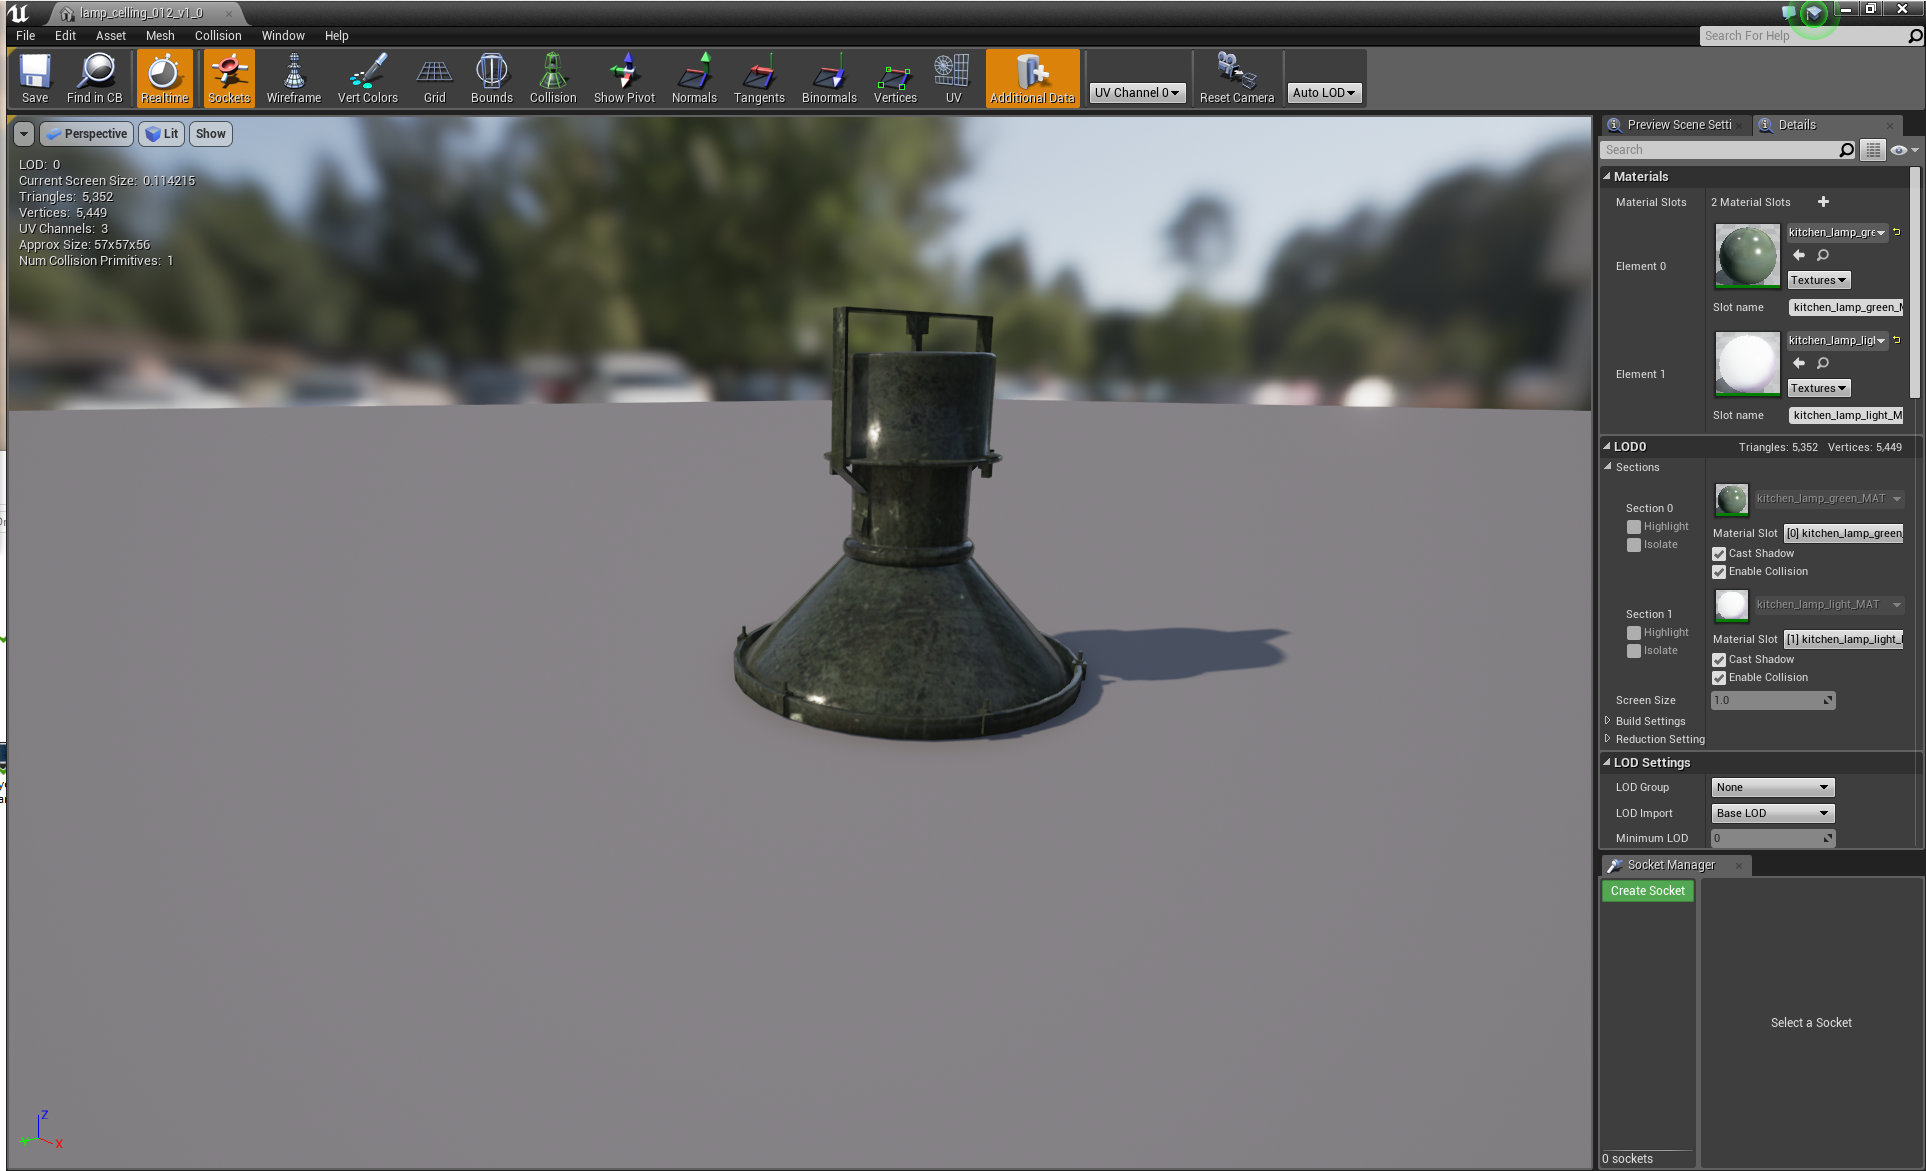
Ceiling lamp.
Click on image to enlarge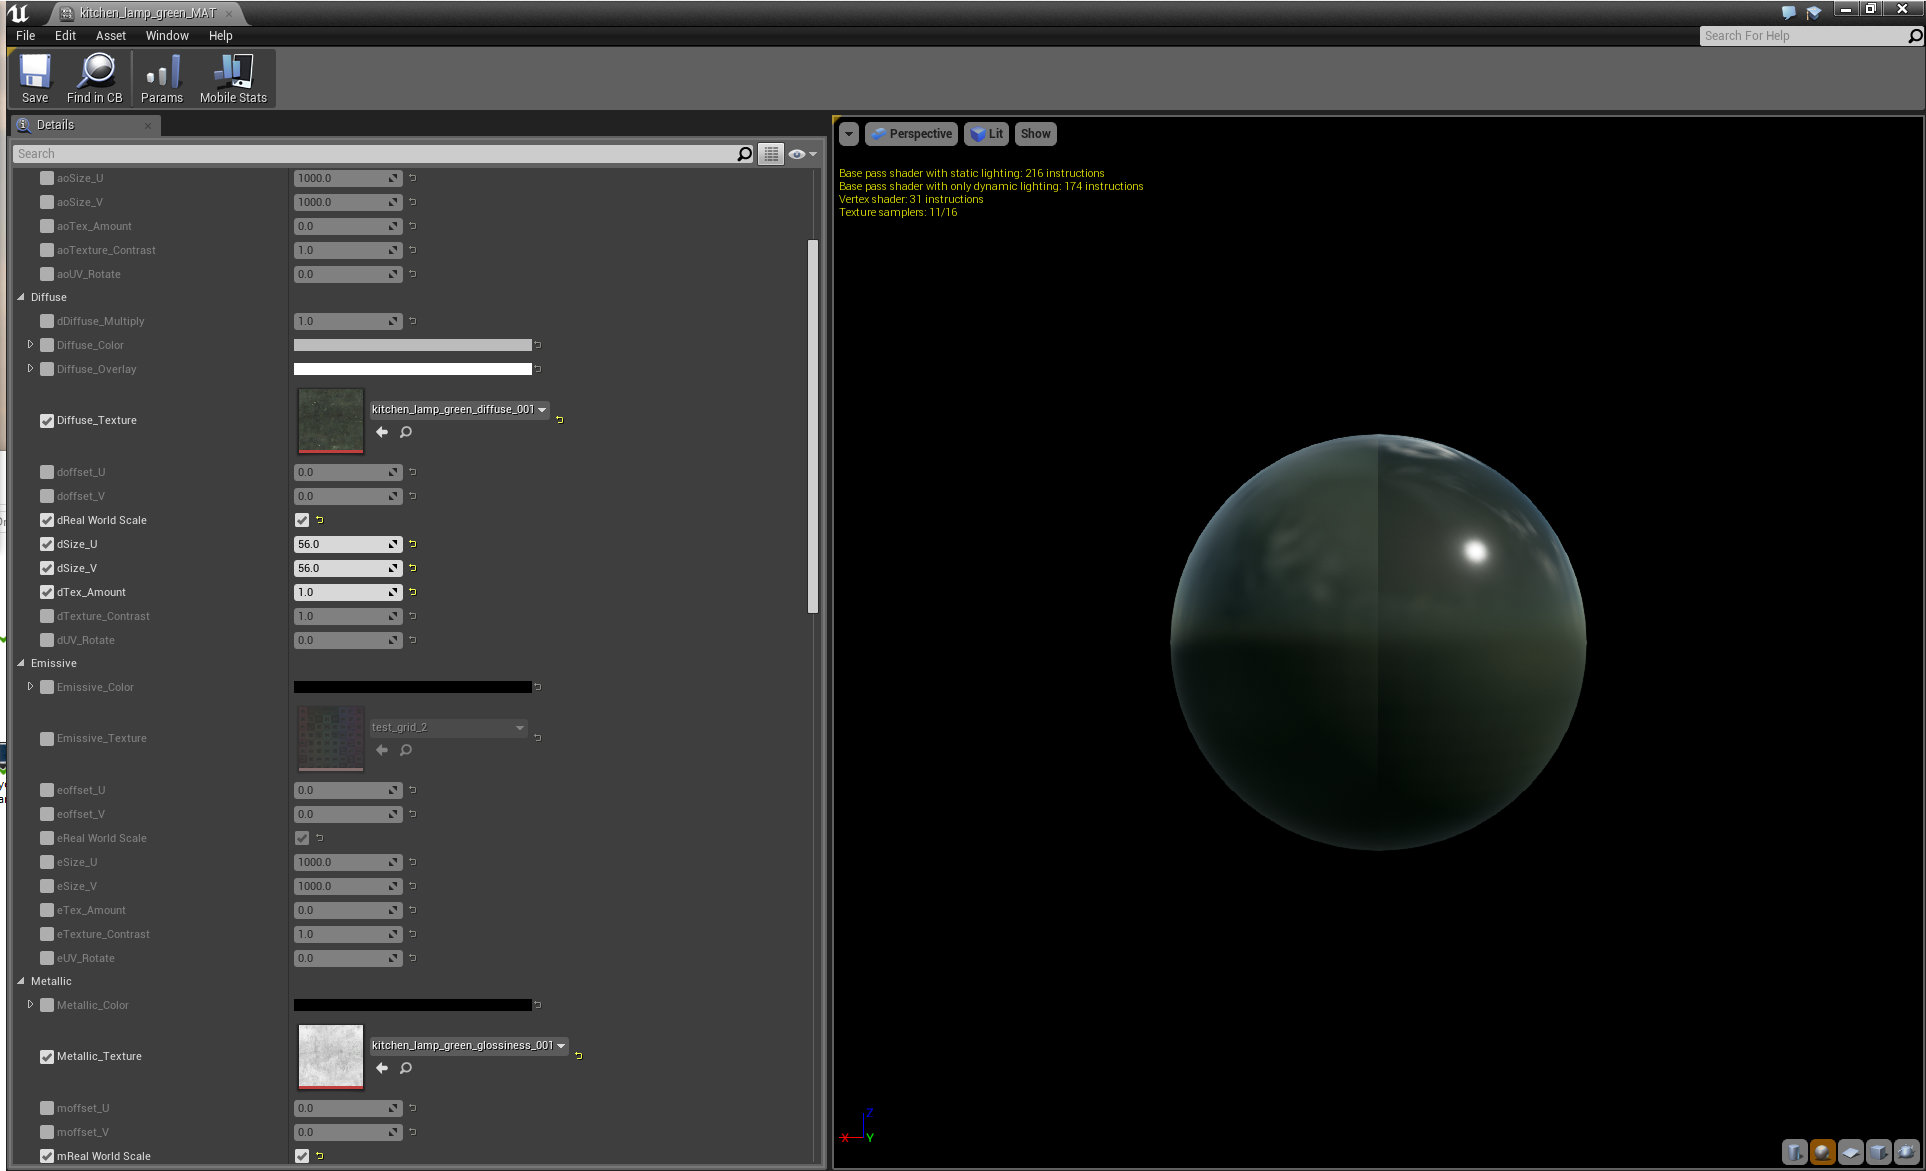
Ceiling lamp material.
Click on image to enlarge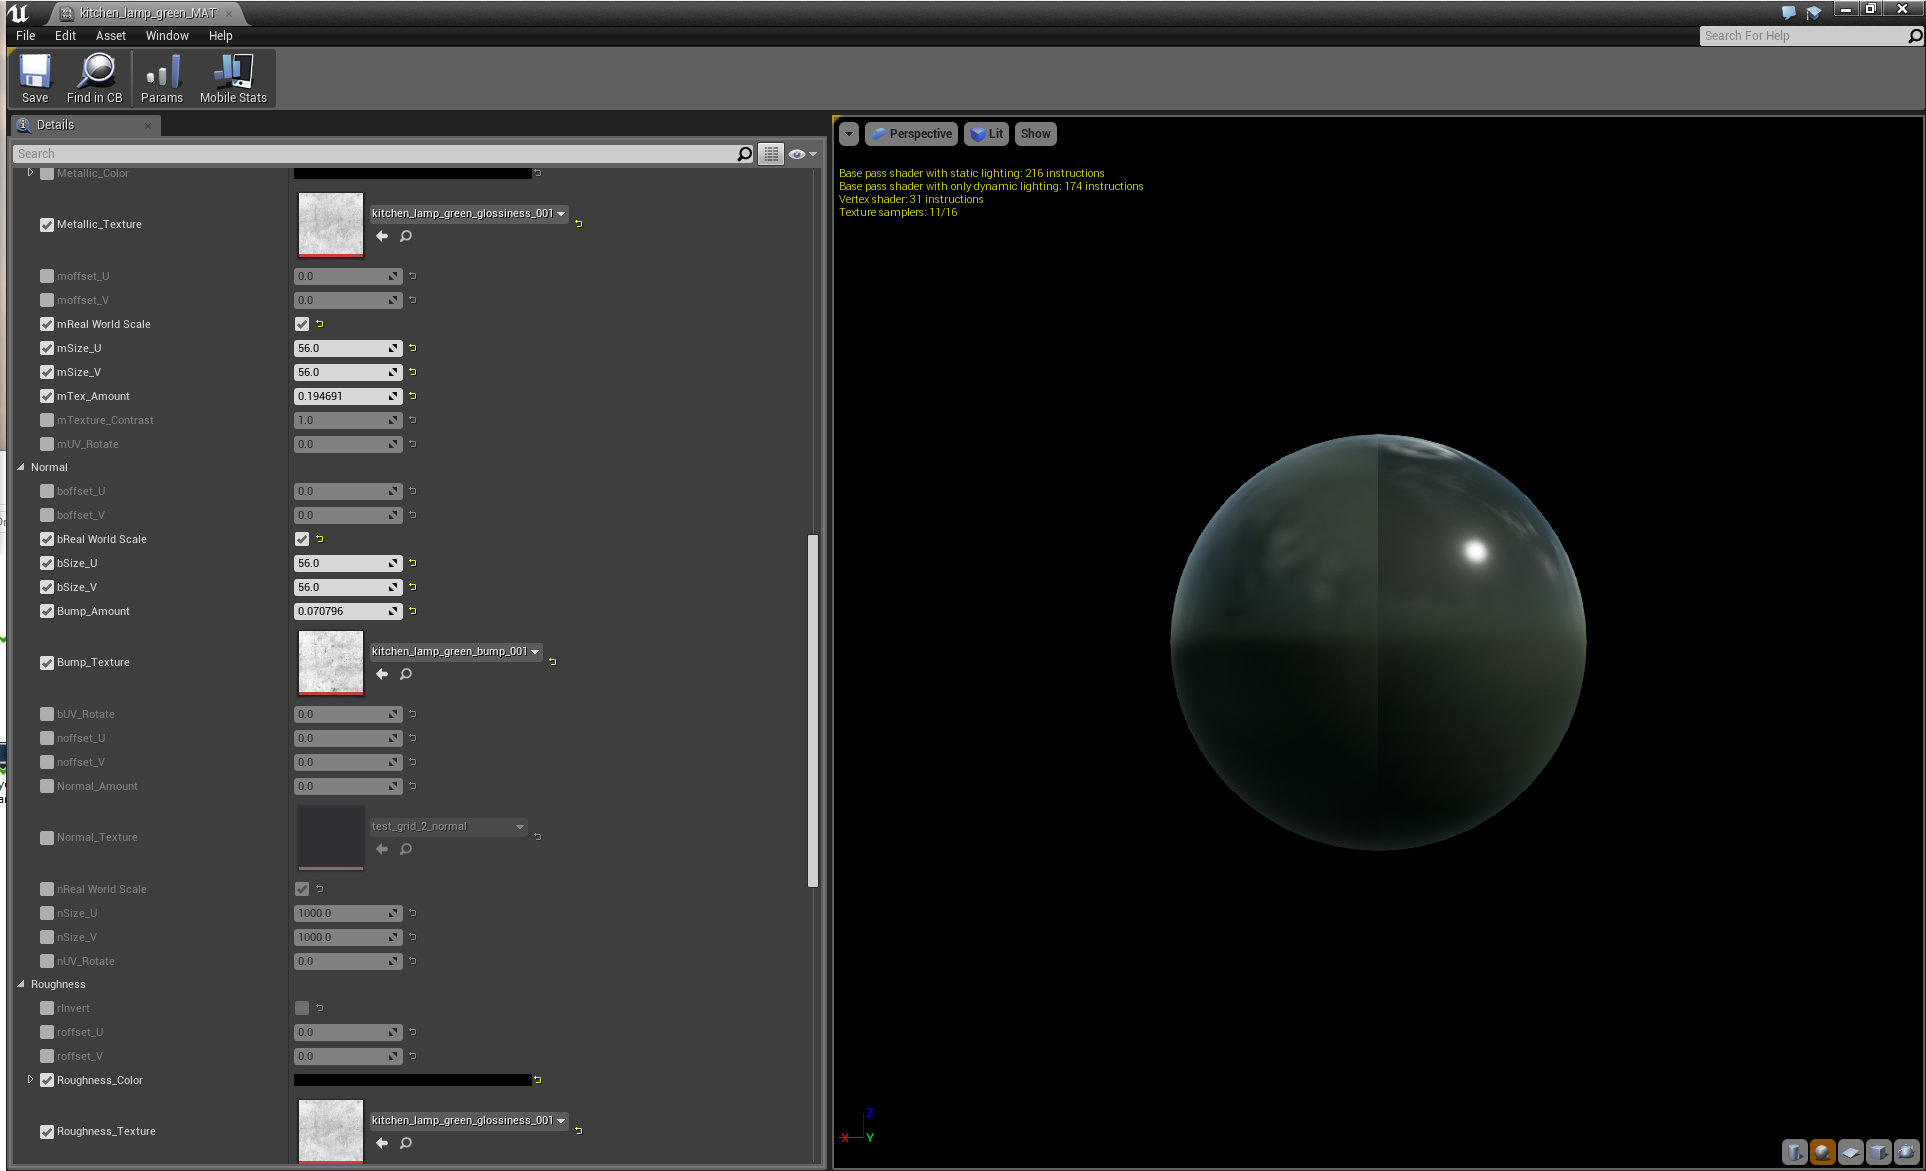
Ceiling lamp material (continued).
Click on image to enlarge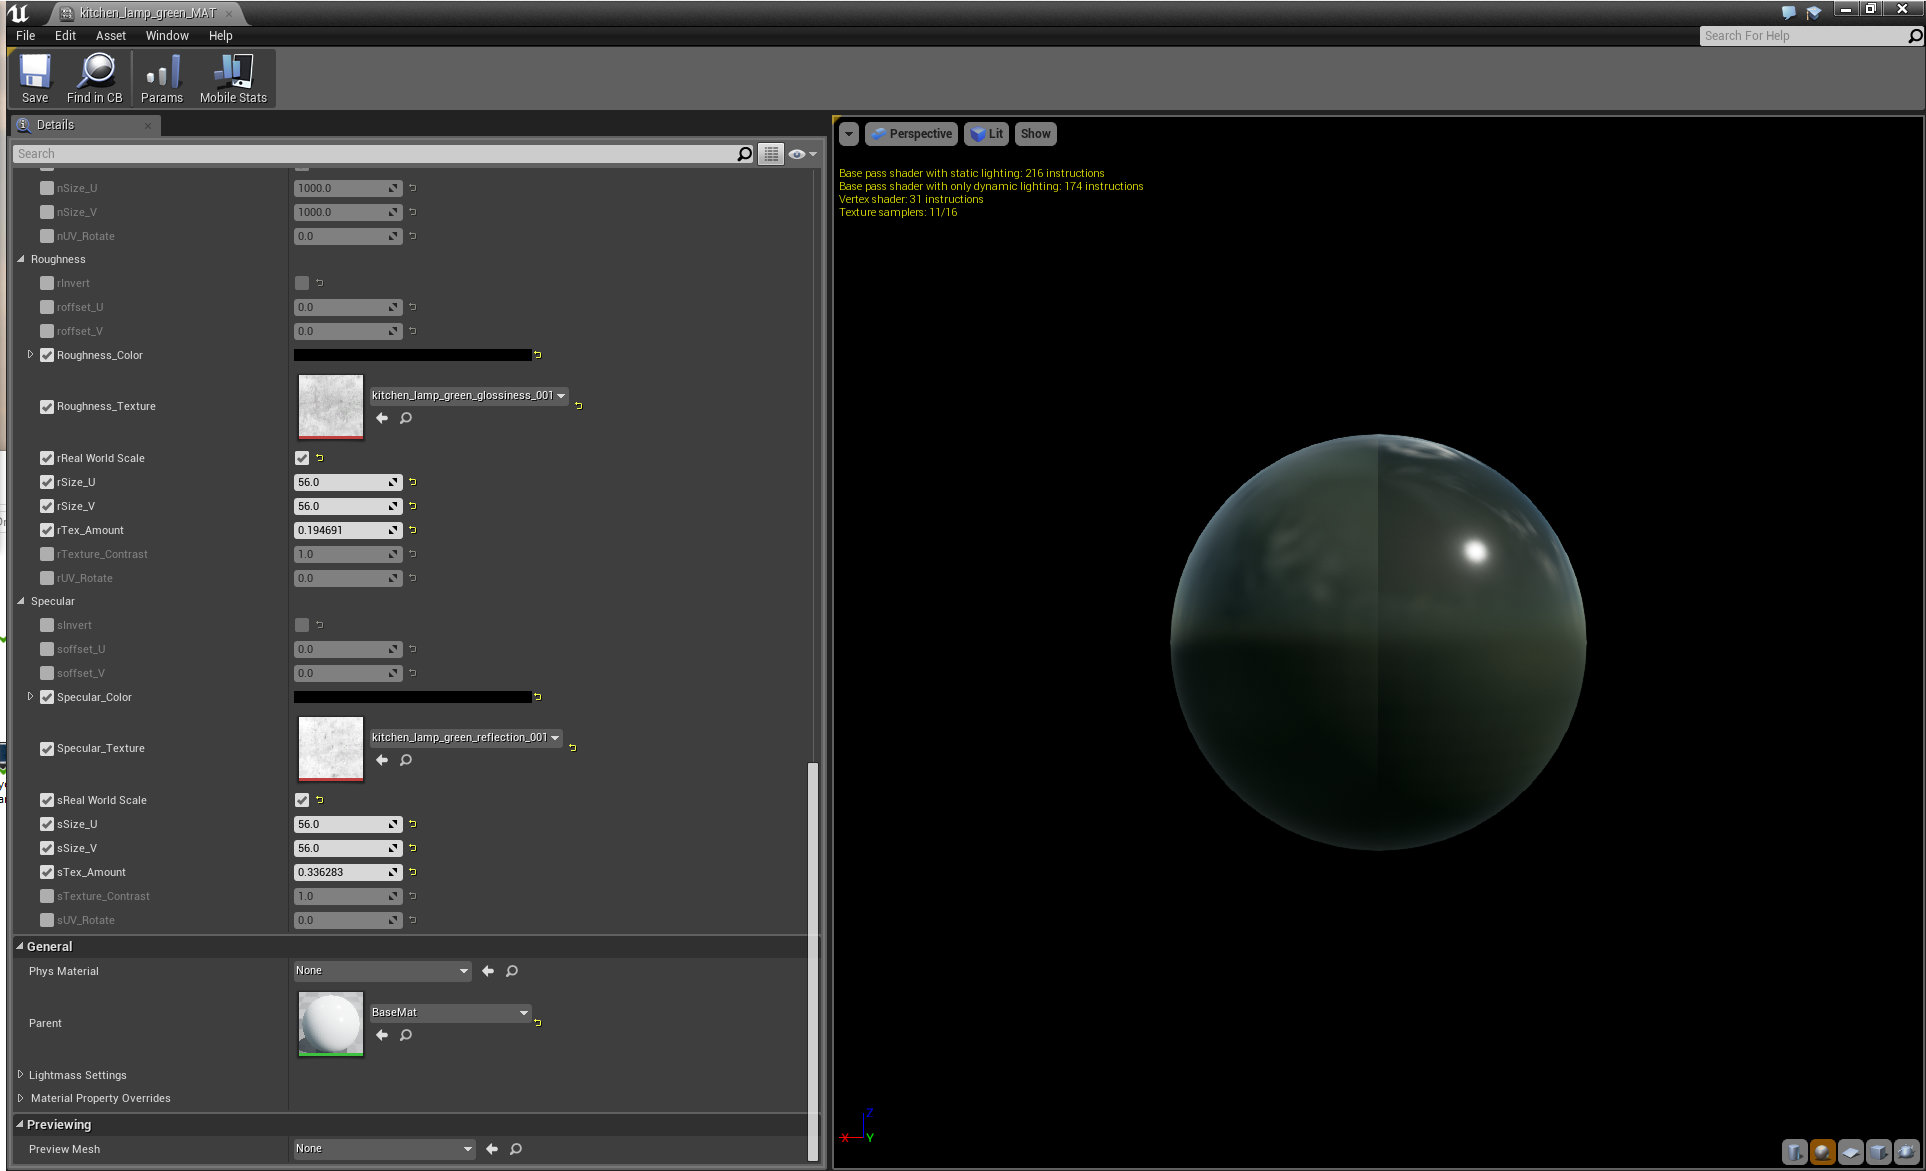
Ceiling lamp material (continued).
Click on image to enlarge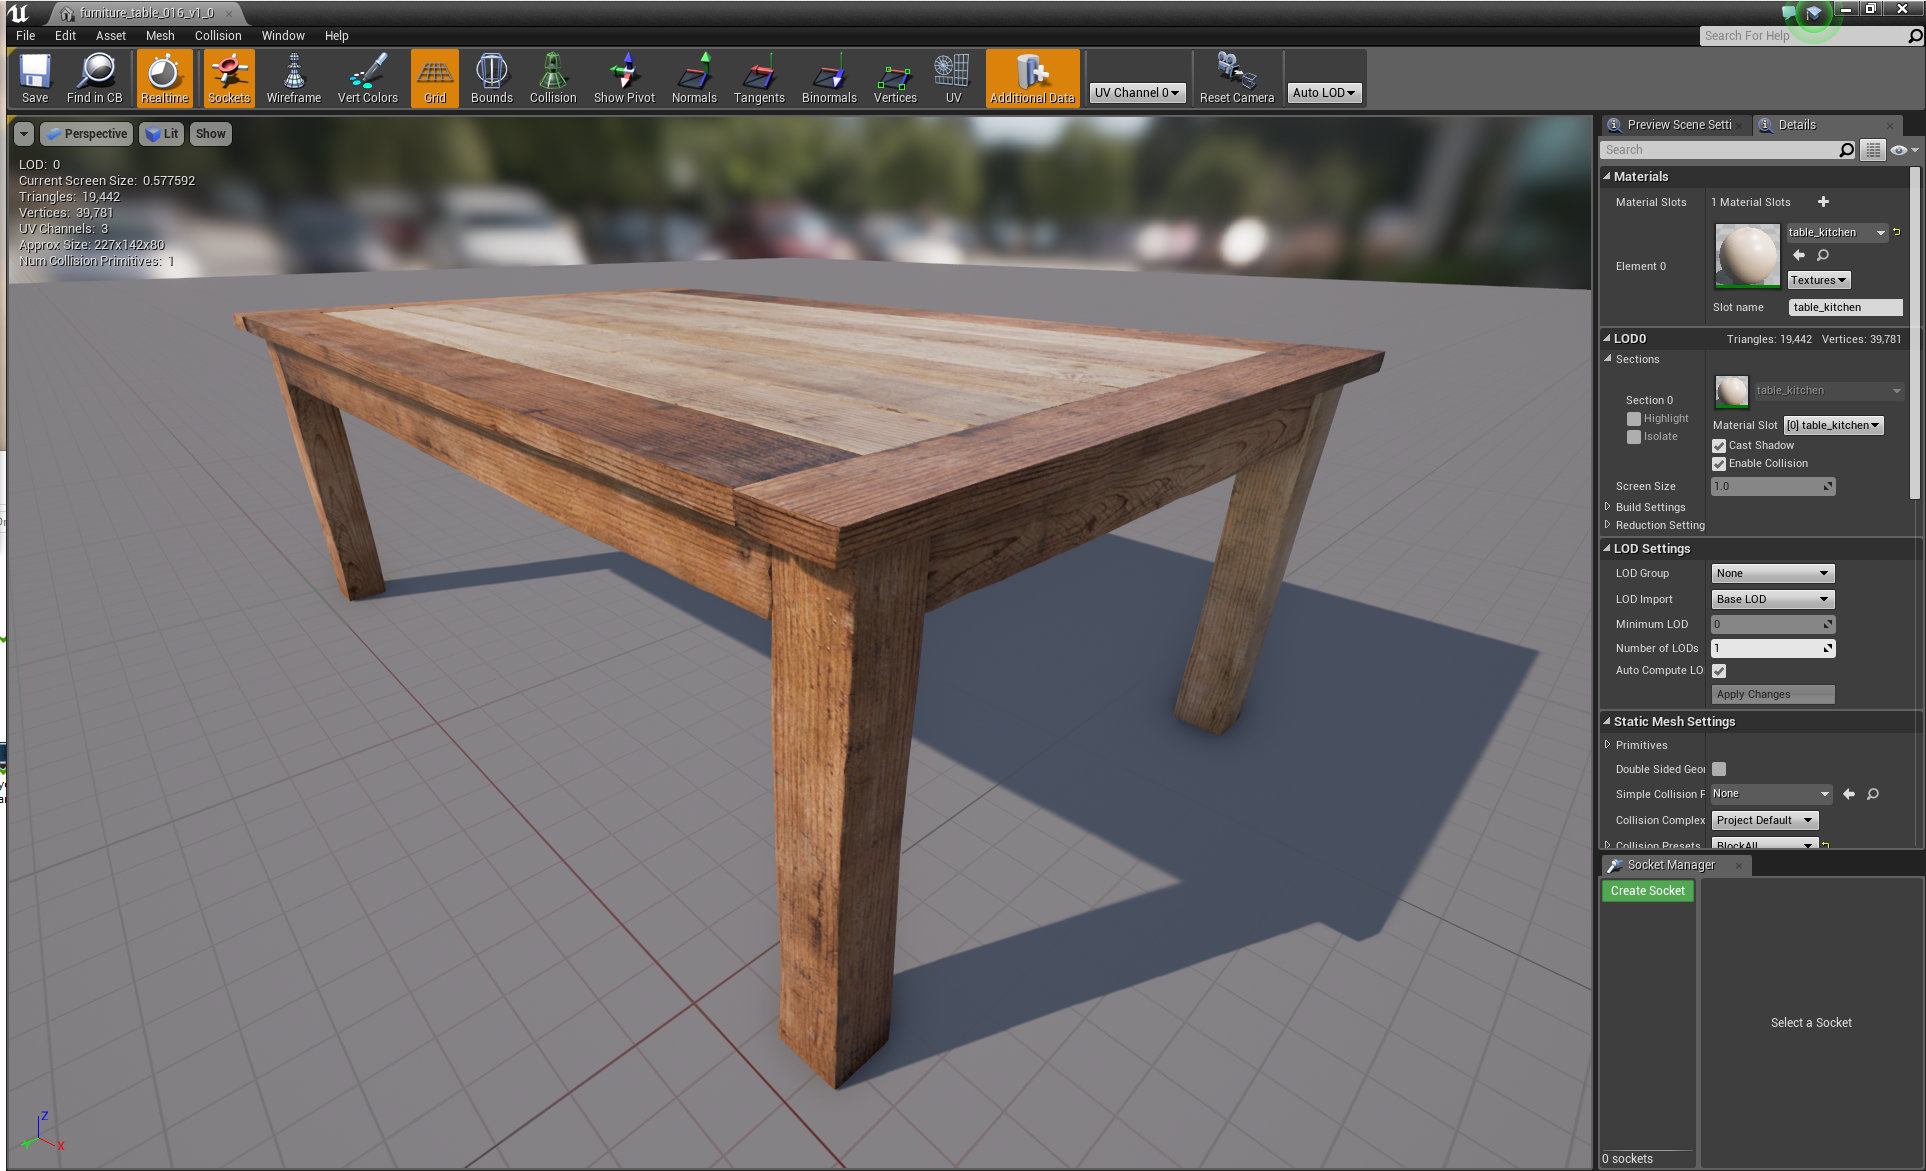
Table mesh. This table (and some other props) was converted from our 3ds Max scene made for
Archinteriors vol. 37.
Click on image to enlarge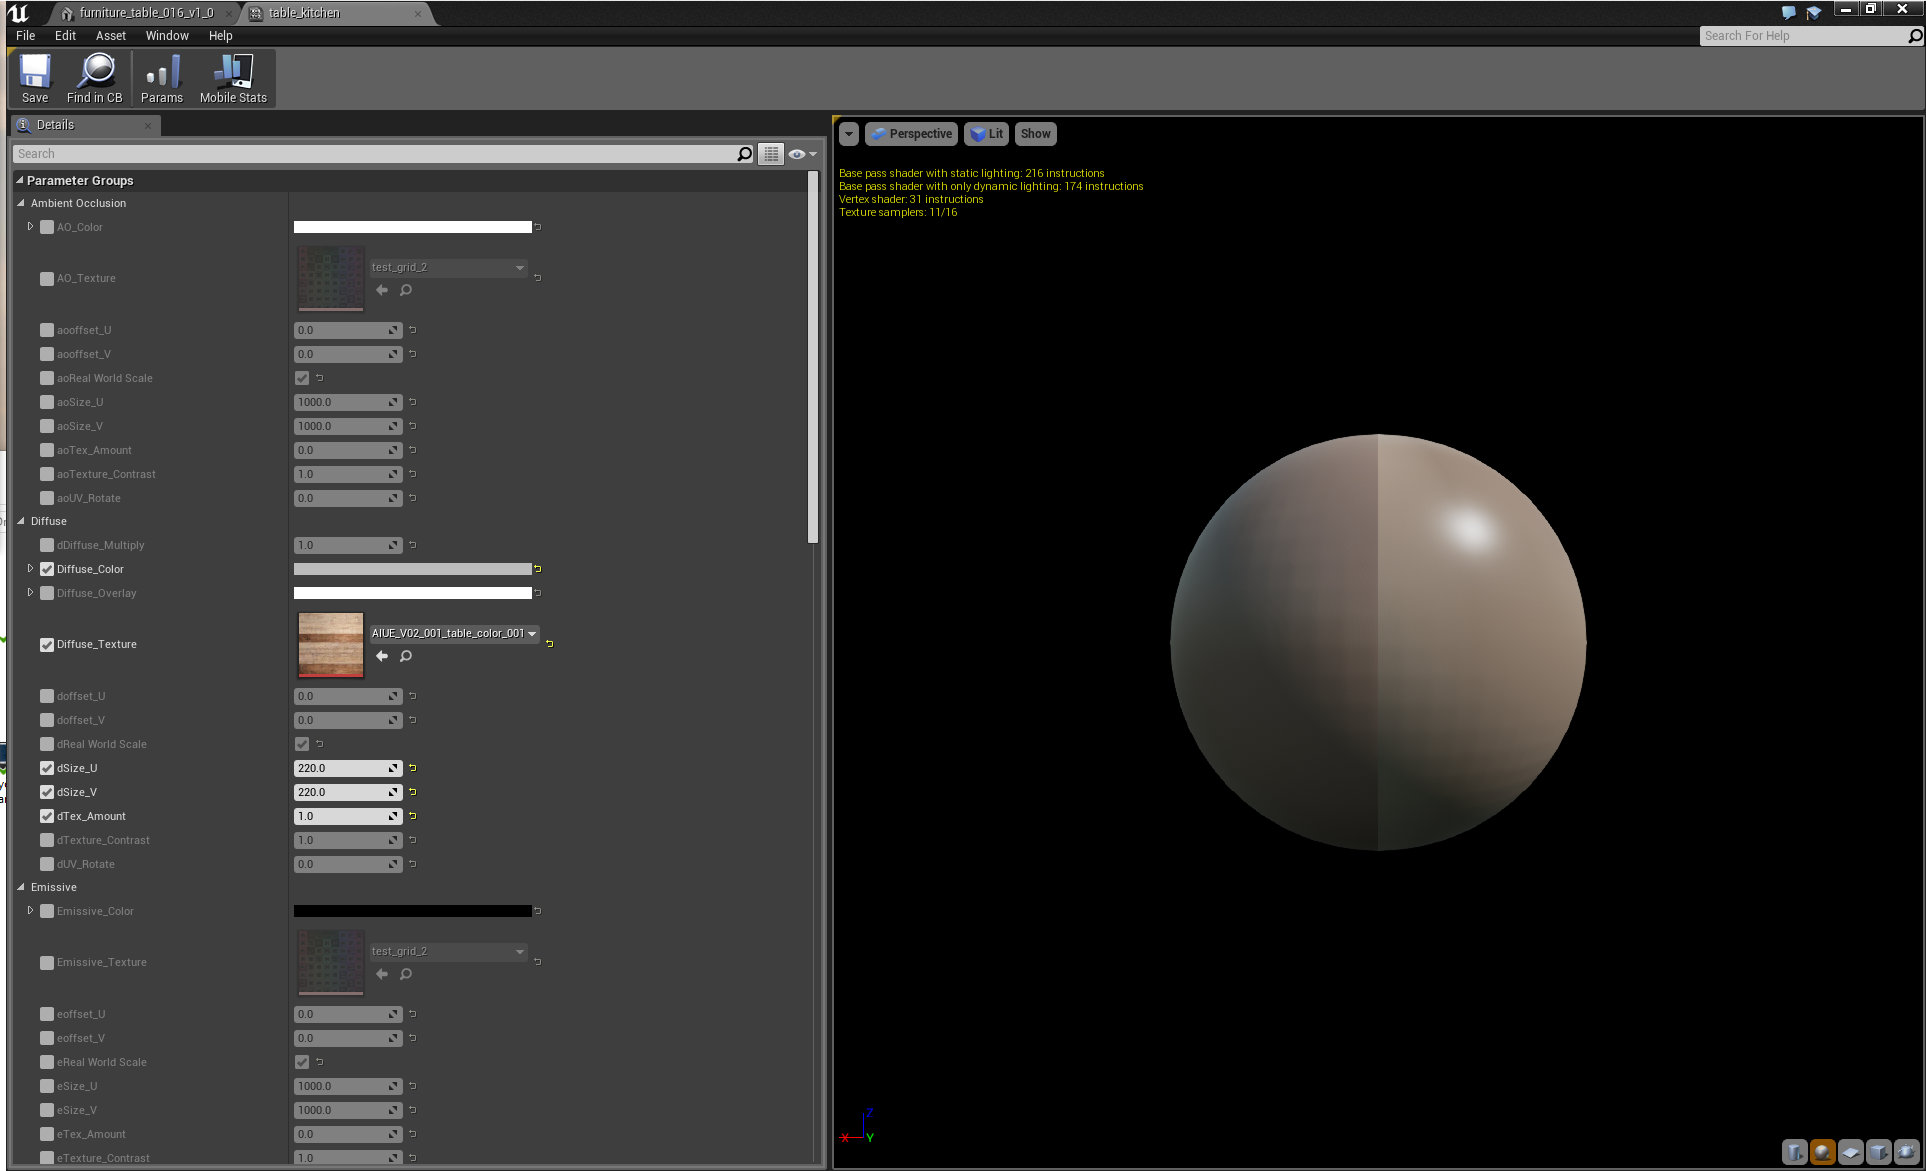
Table material.
Click on image to enlarge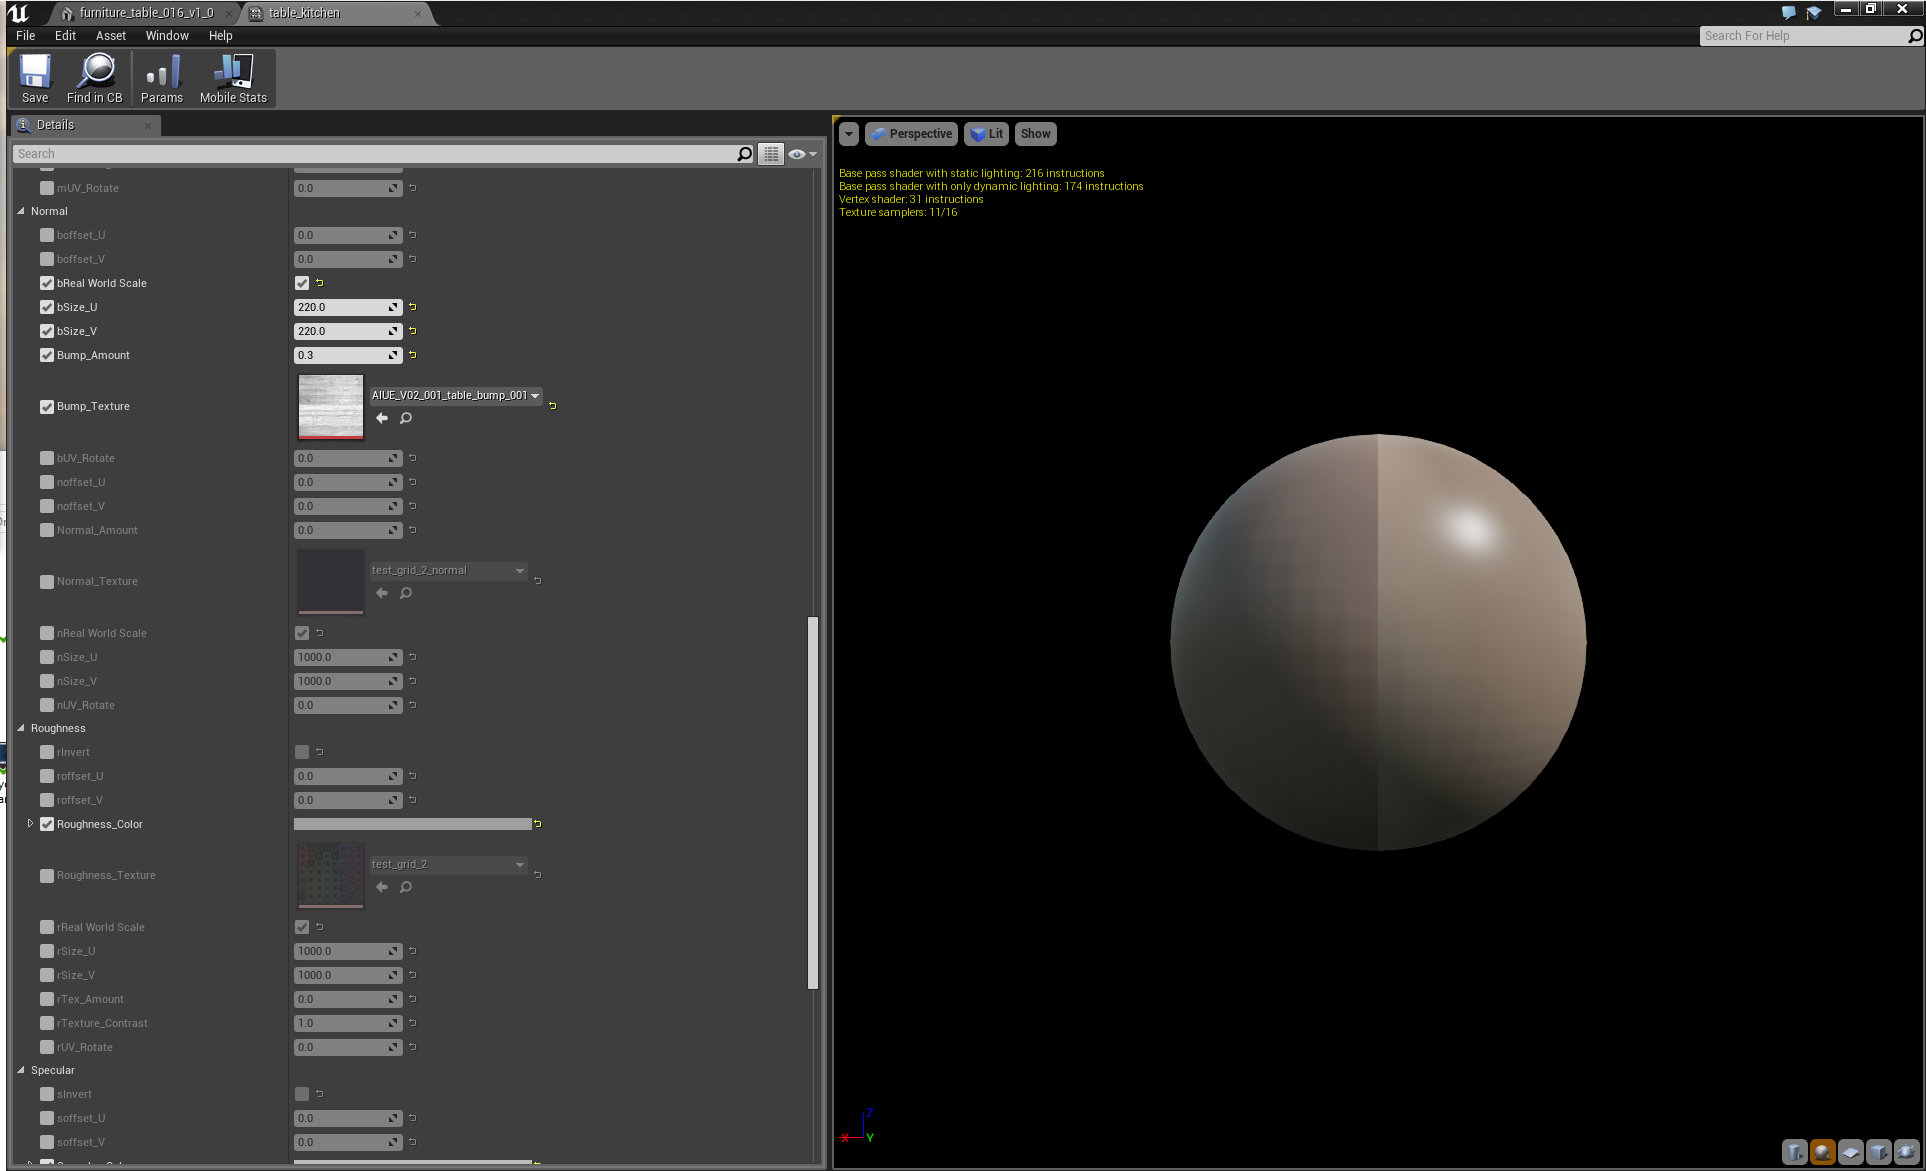
Table material (continued).
Click on image to enlarge
we used the following world settings to set up lightmass / rendering quality.
Click on image to enlarge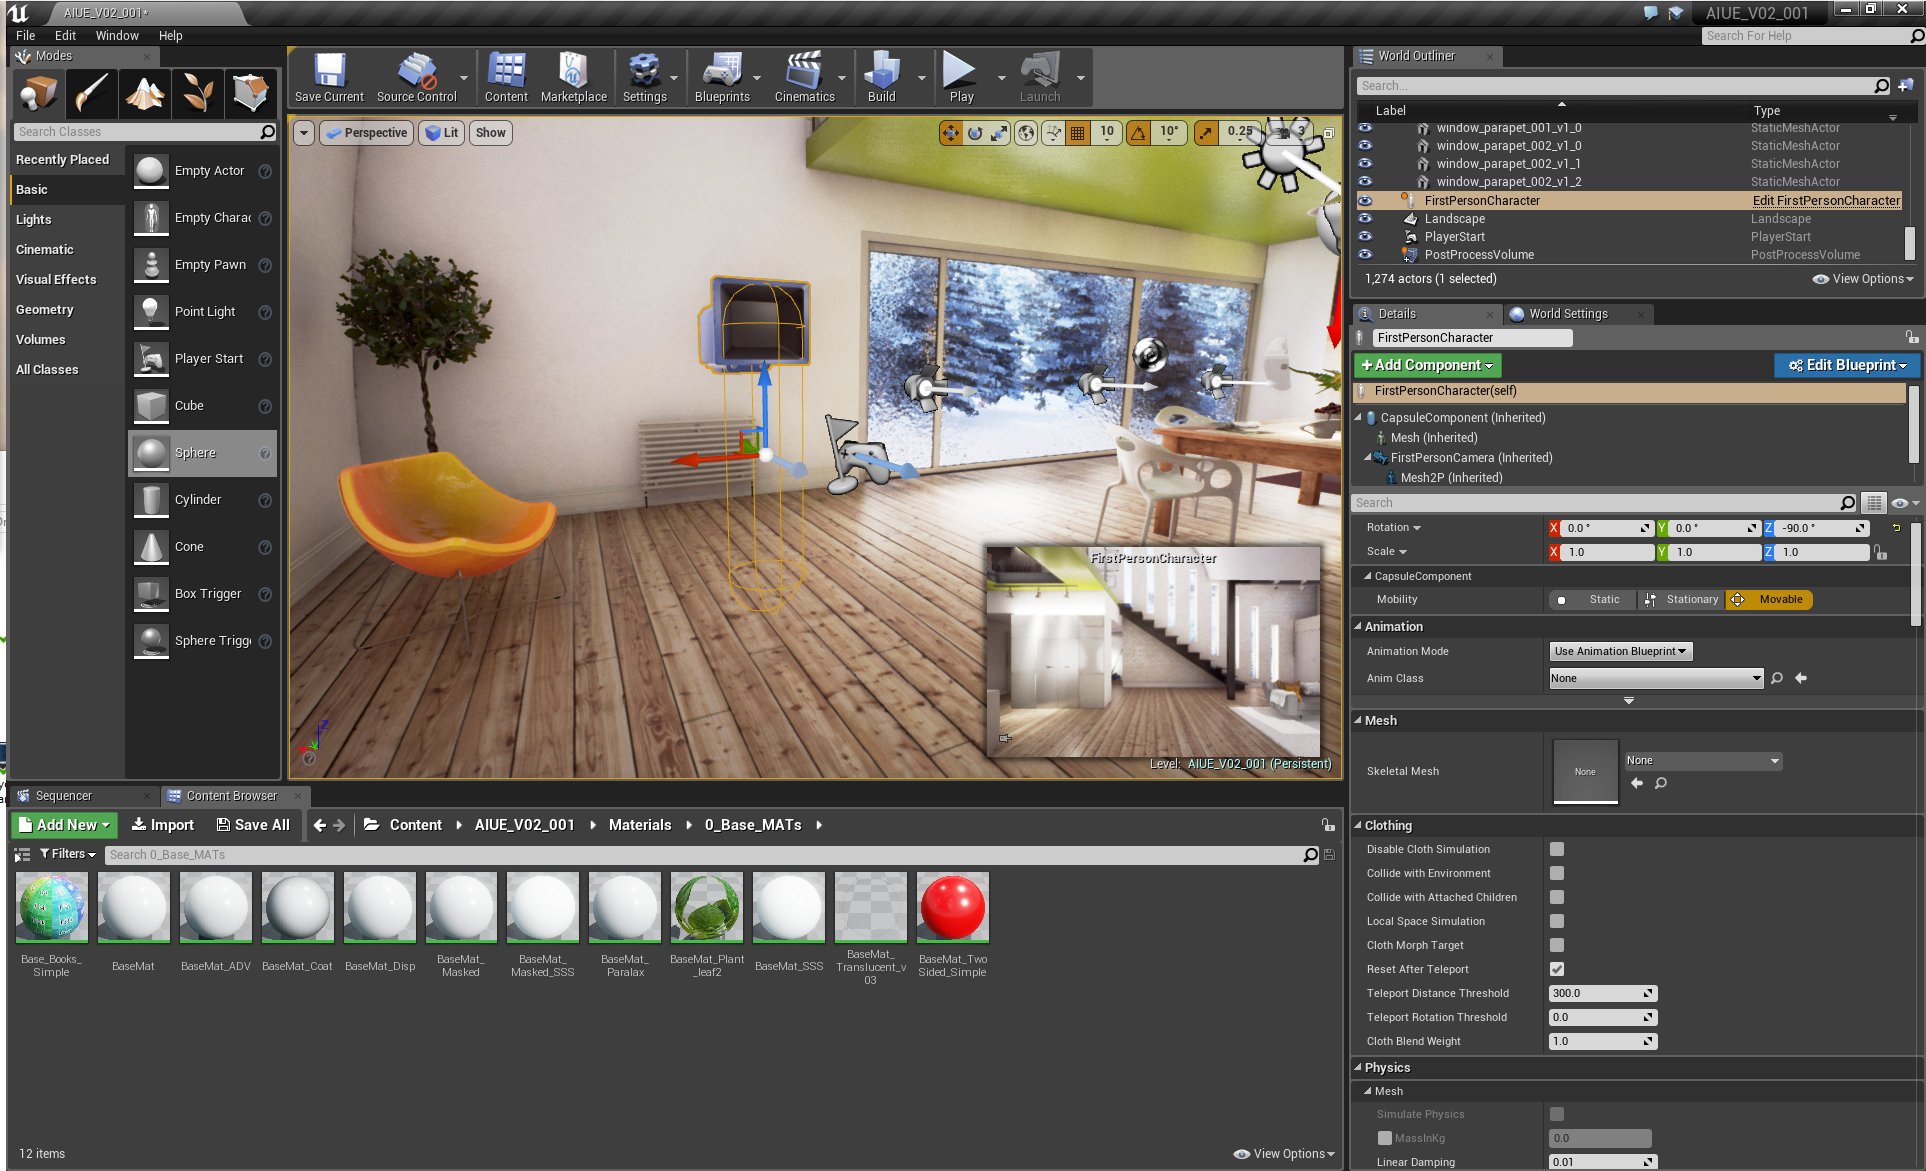
Our Playerstart placement. If you press "play" this will be the place where our simulation begins.
Click on image to enlarge
The building is placed on the landscape sculpted in UE4.
Click on image to enlarge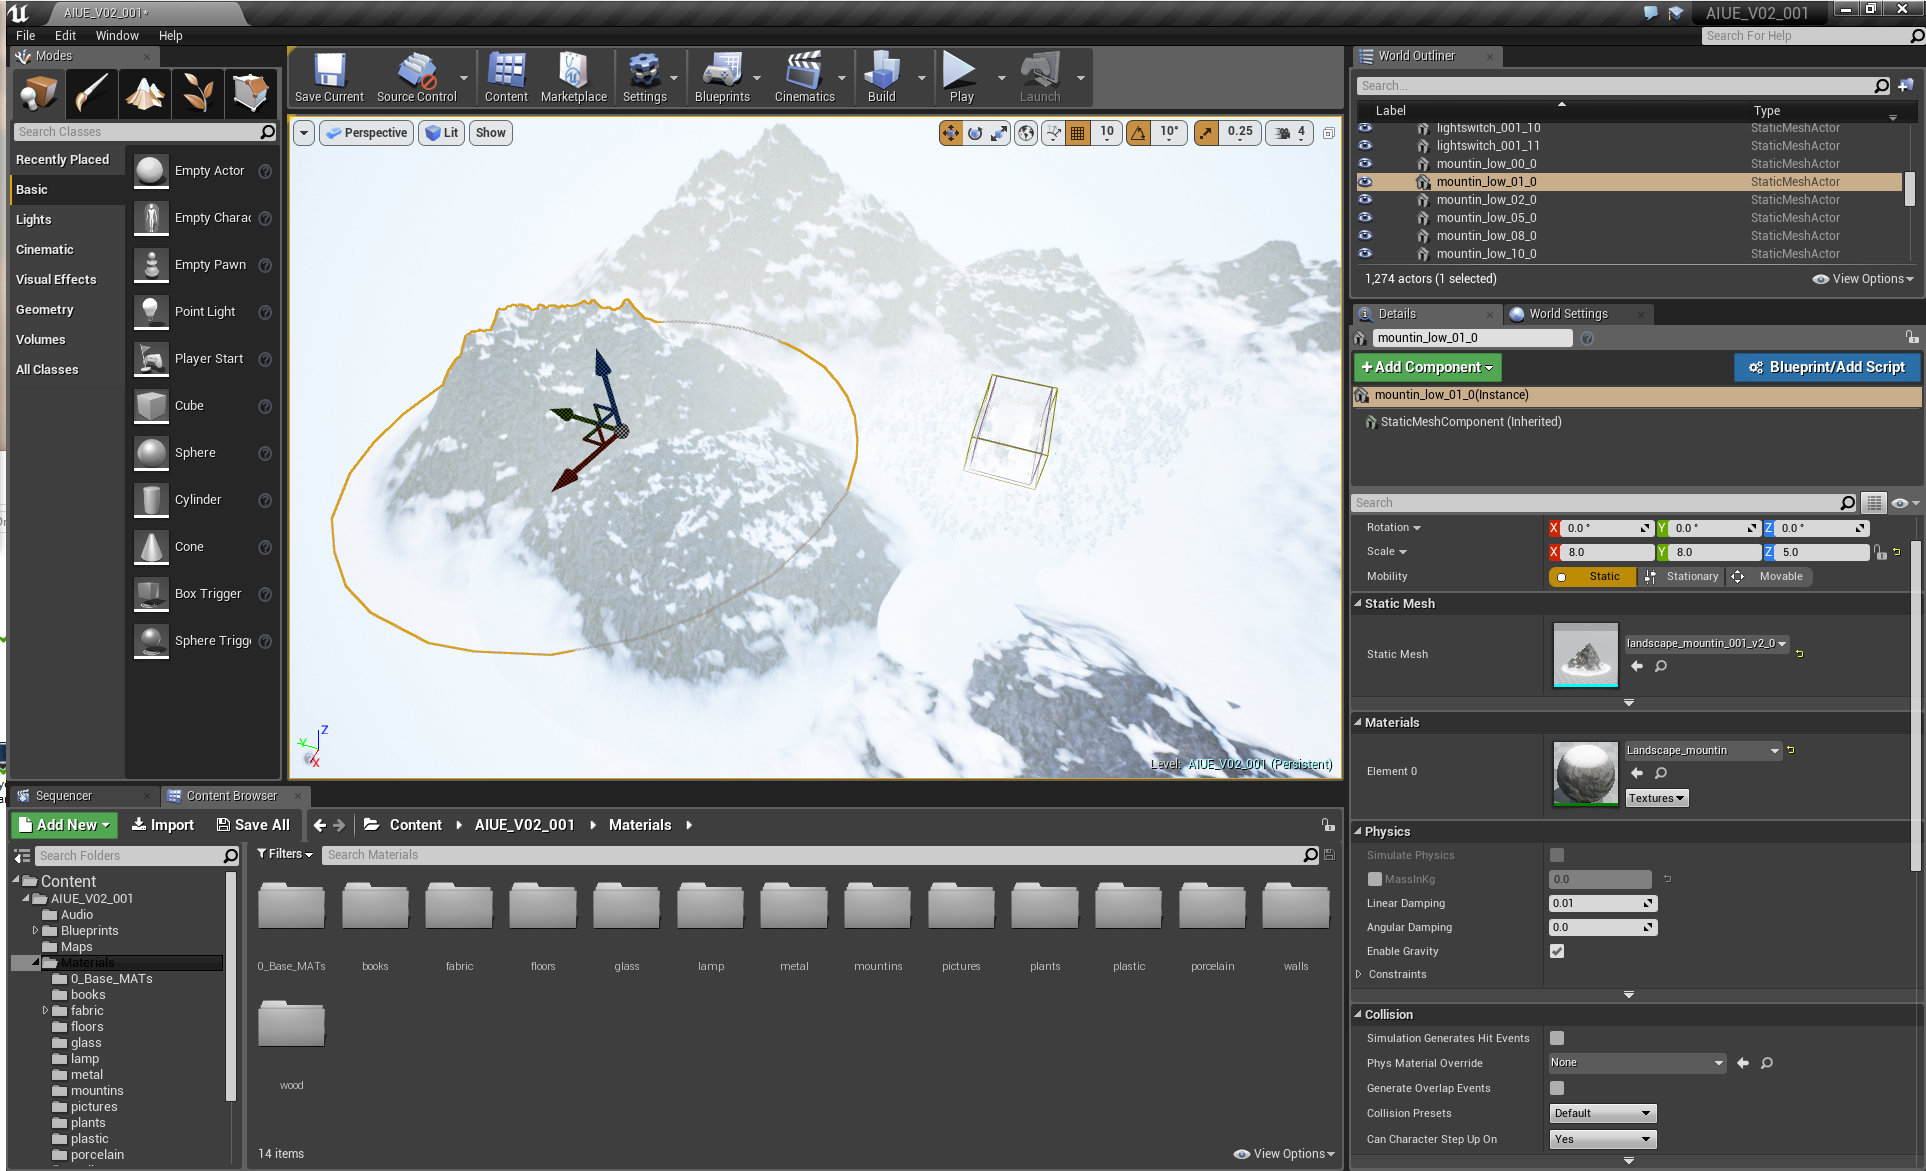
Lanscape is surrounded by mountains. Each mountain is a separate mesh.
Click on image to enlarge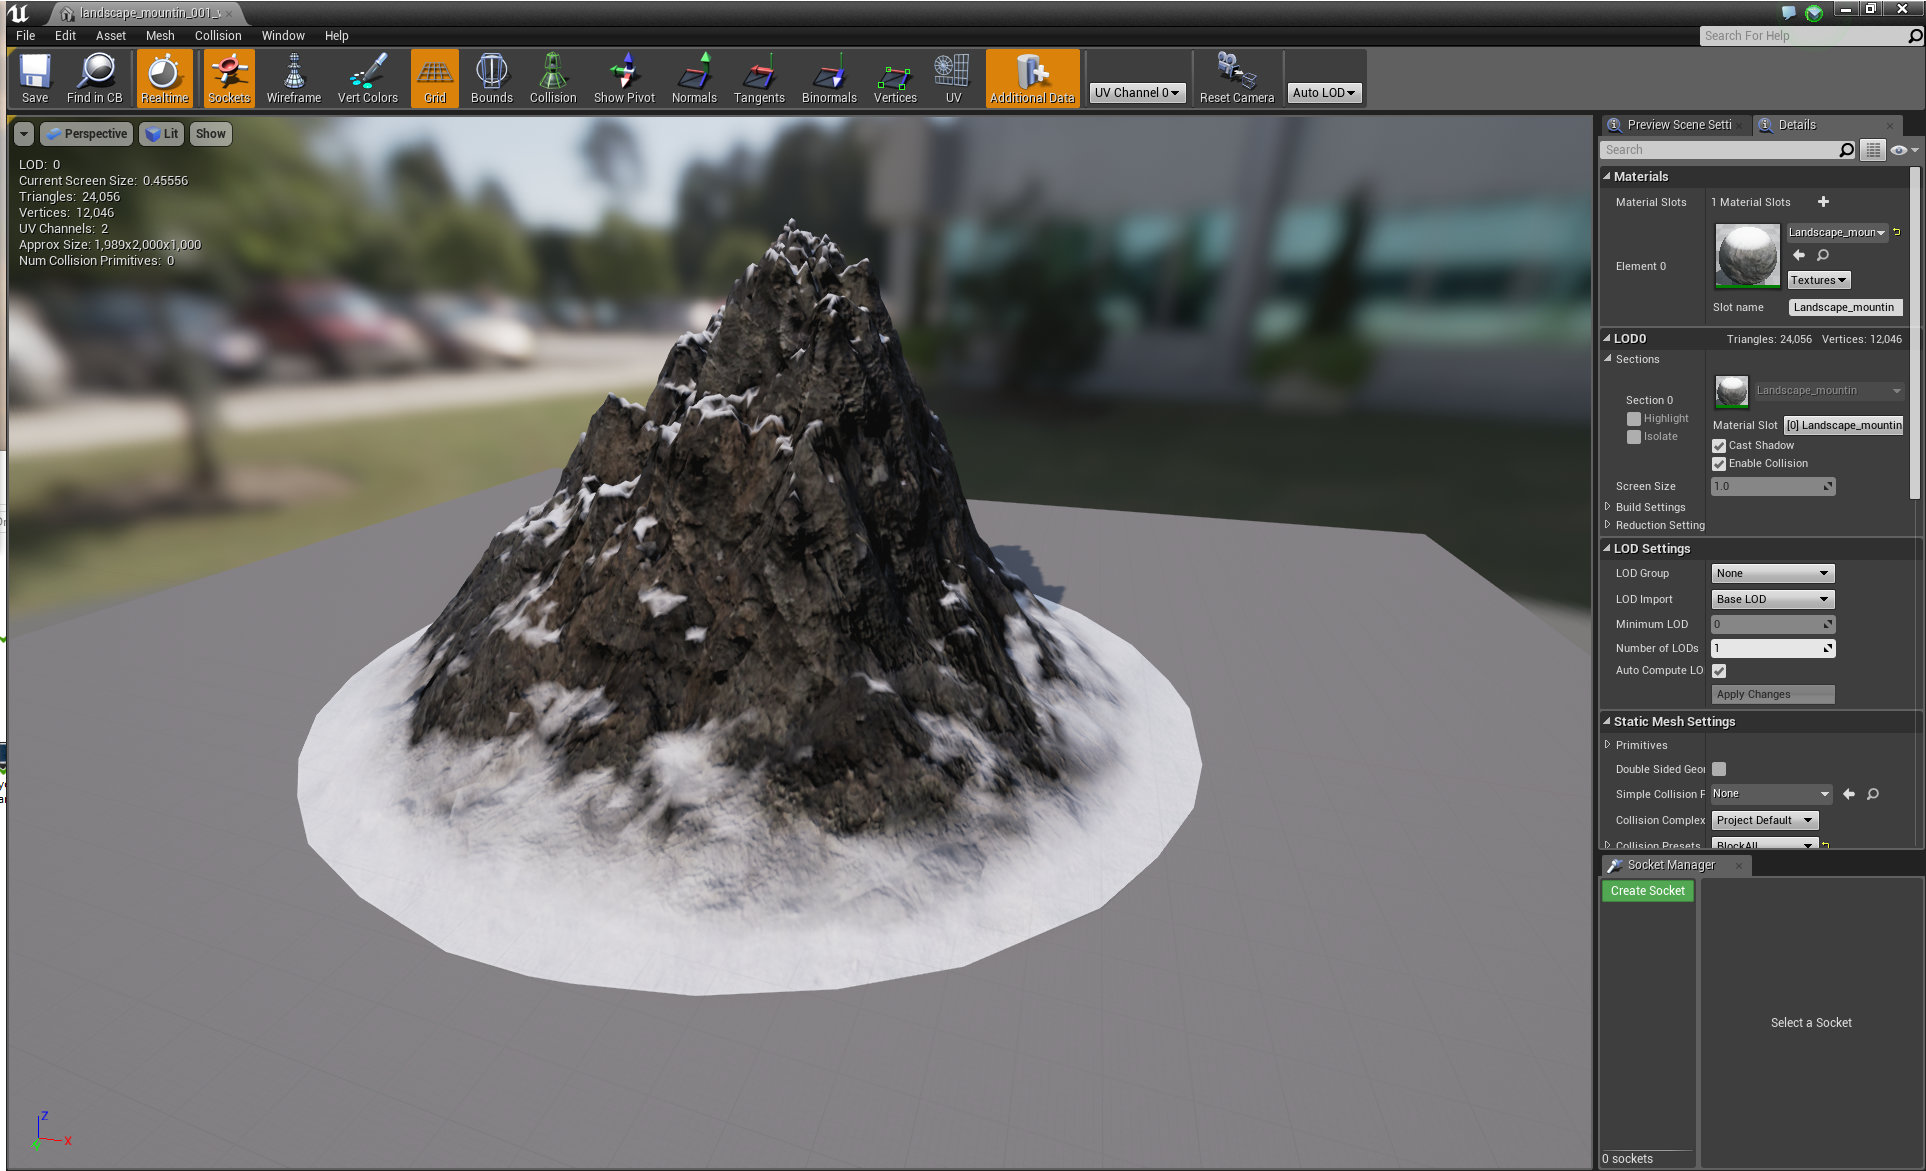
Mountain mesh.
Click on image to enlarge
Landscape without mountains.
Click on image to enlarge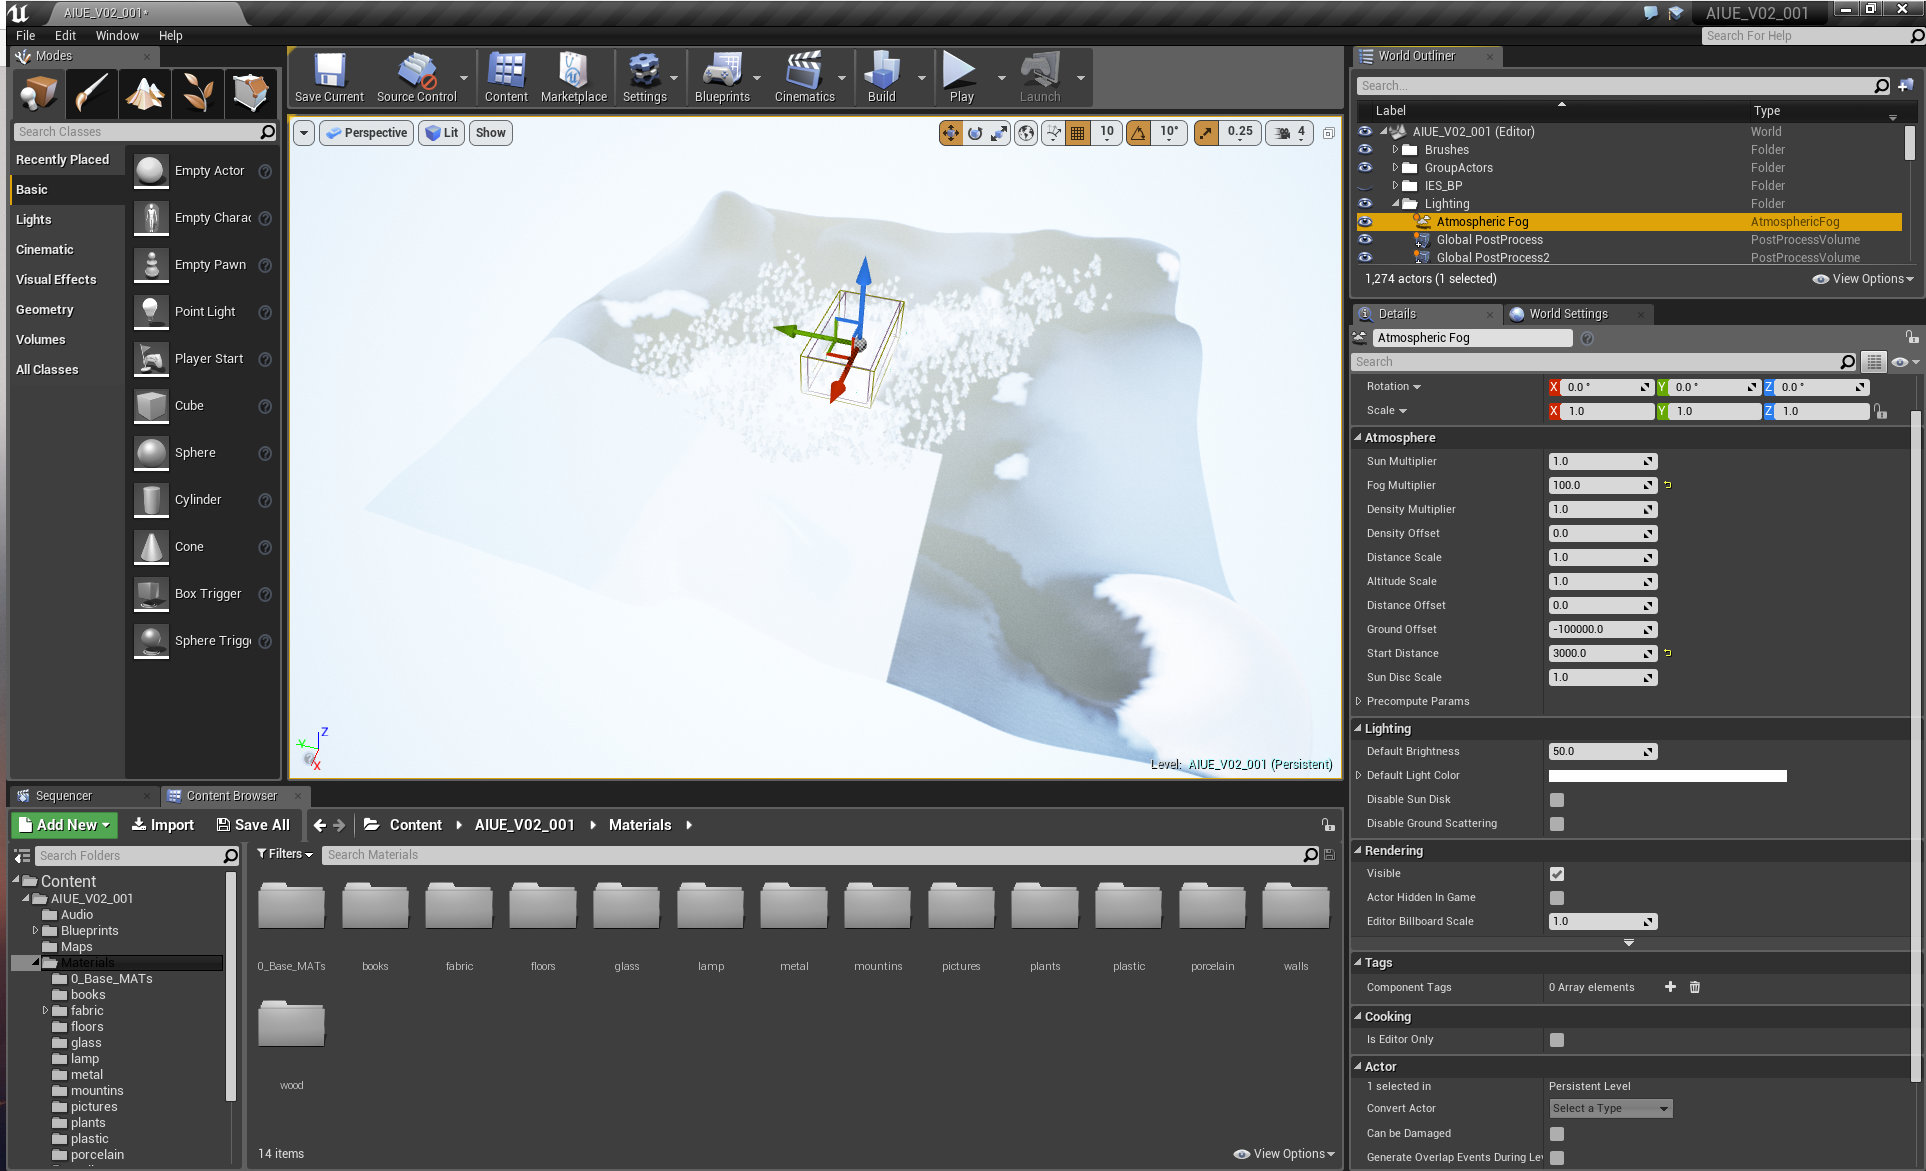
Atmospheric fog settings.
Click on image to enlarge
And that's how the scene looks without mountains and atmospheric fog.
Click on image to enlarge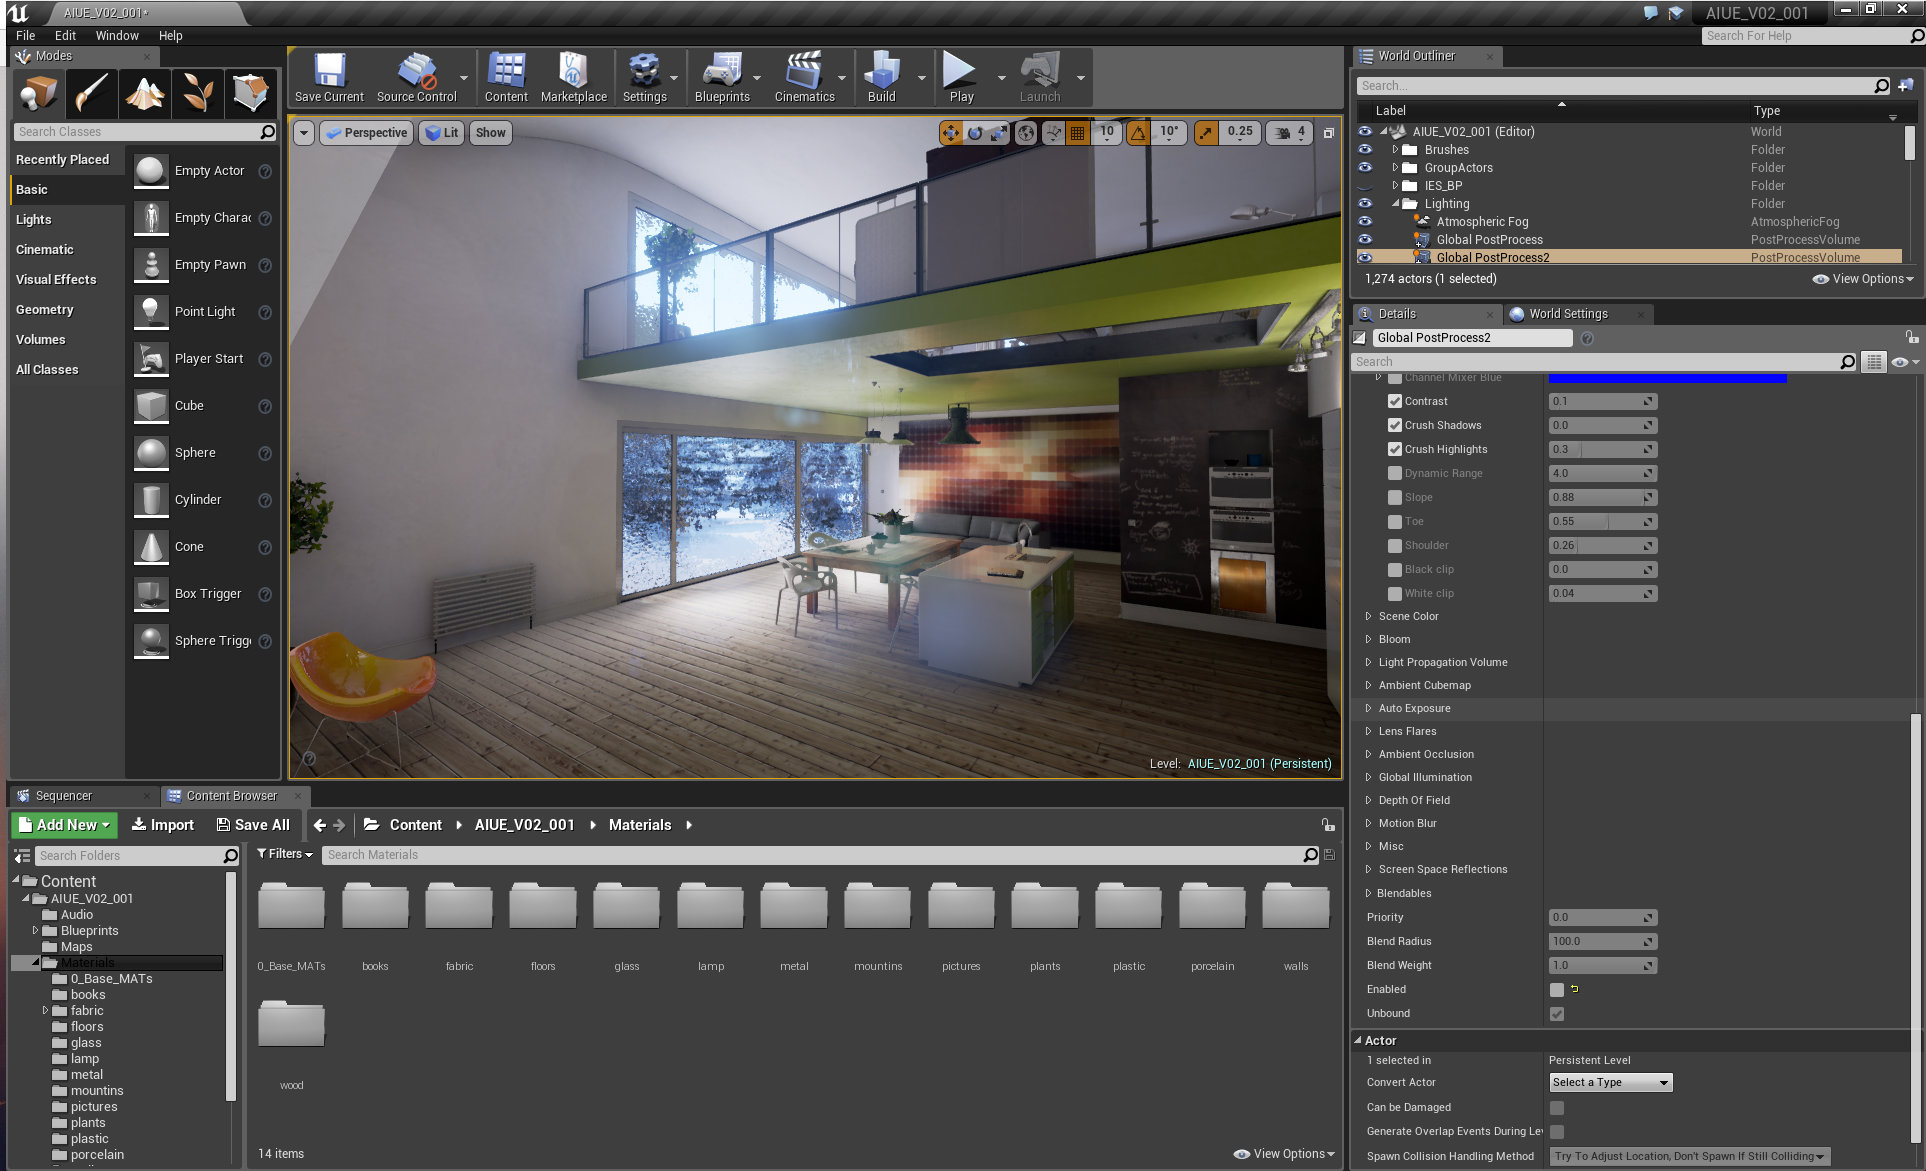
When we turn PostProcess Volume off, we get much darker scene.
Click on image to enlarge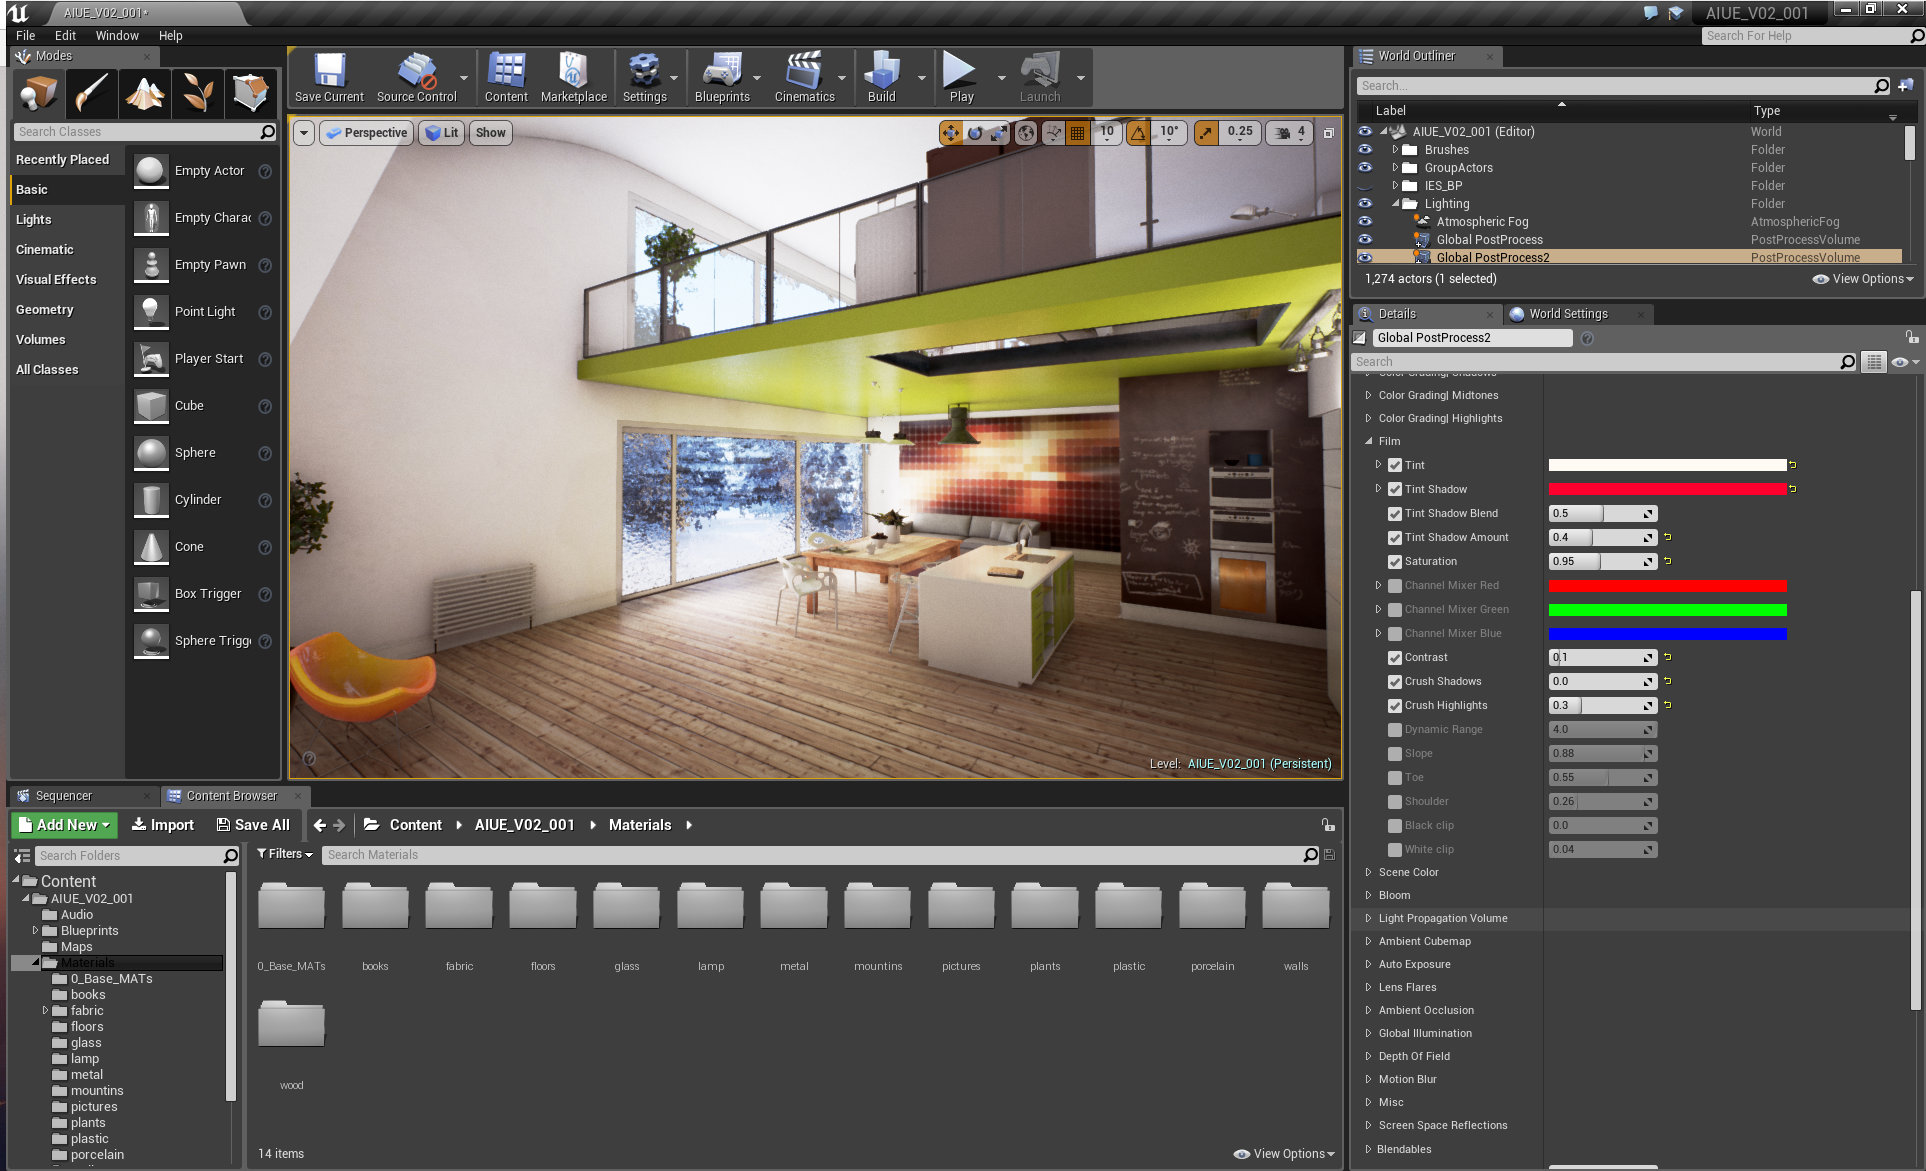
PostProcess enabled.
Click on image to enlarge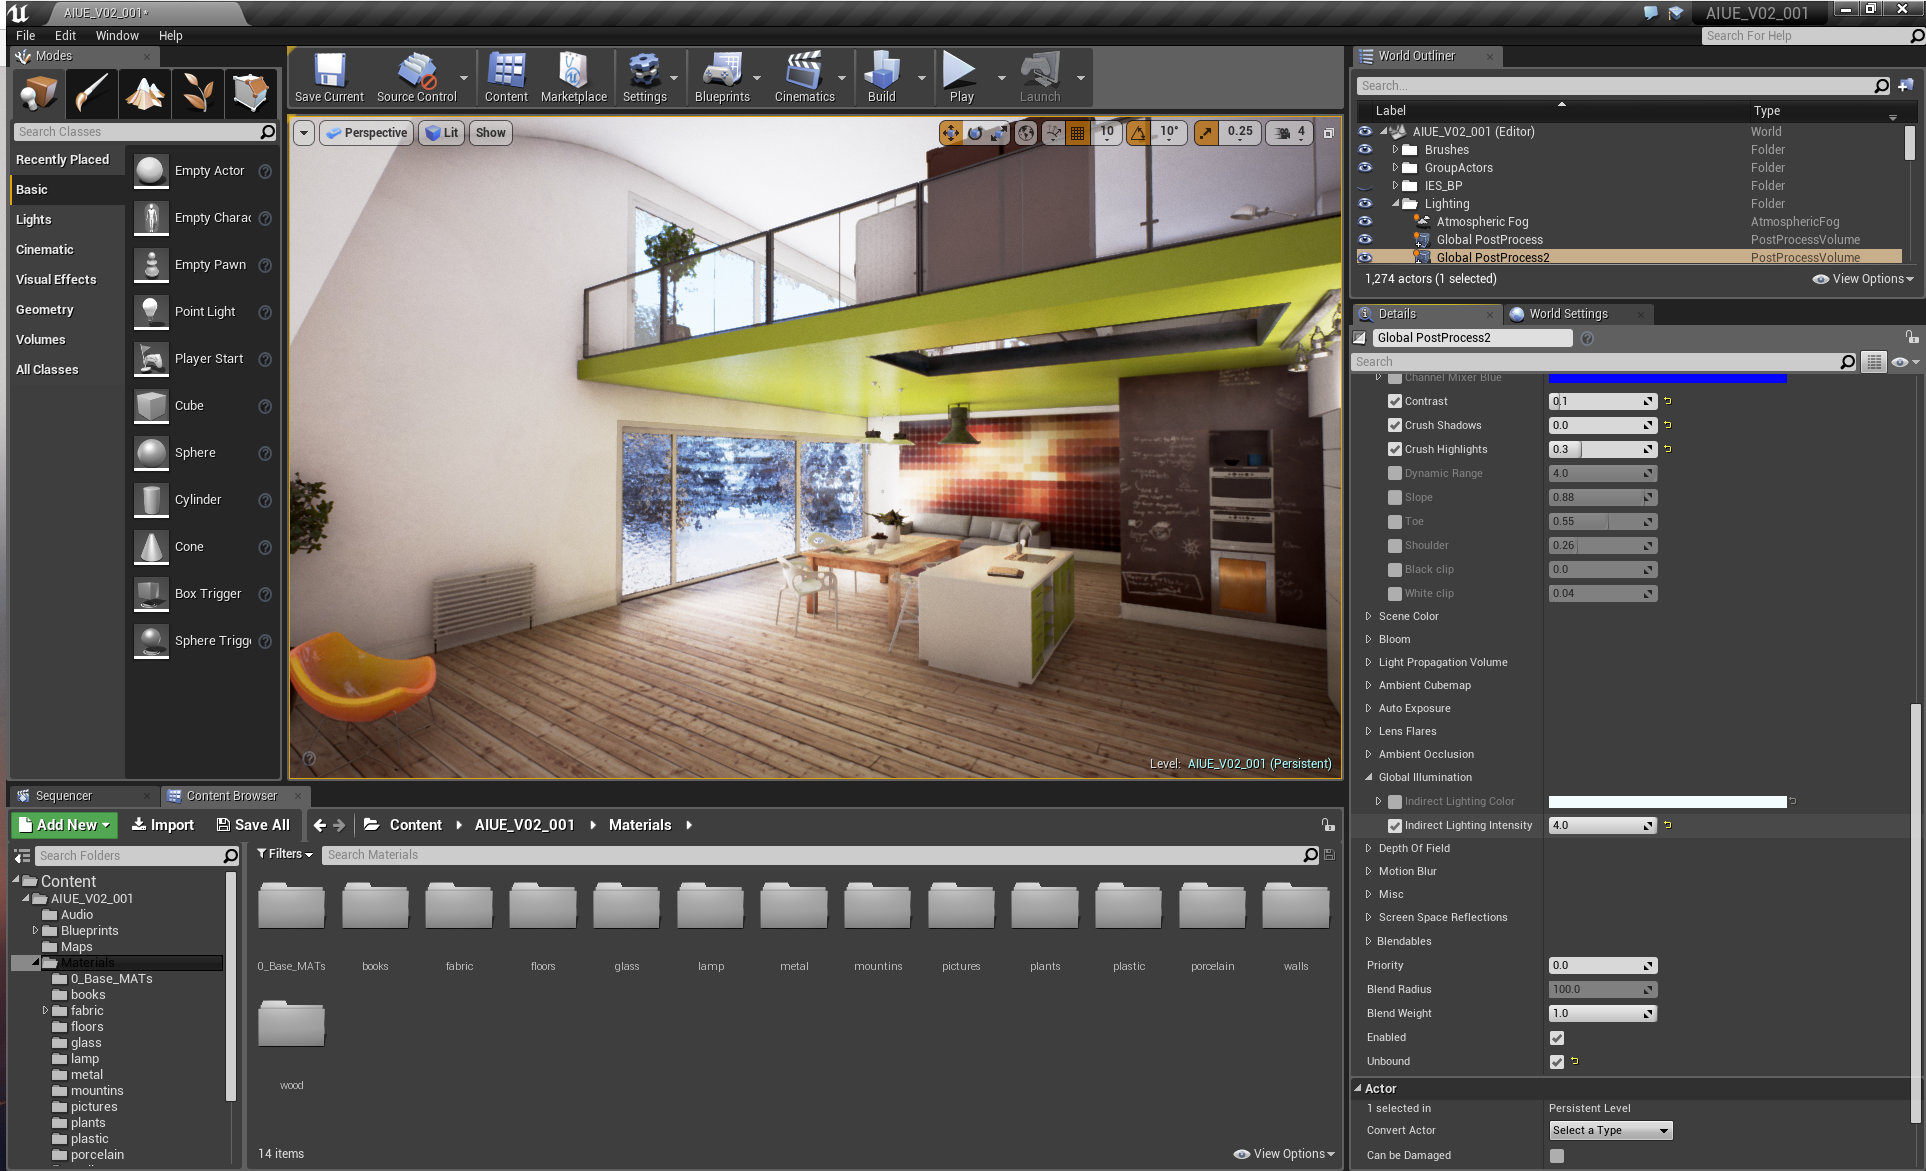
The main difference comes from Indirect Lighting Instnsity value.
Click on image to enlarge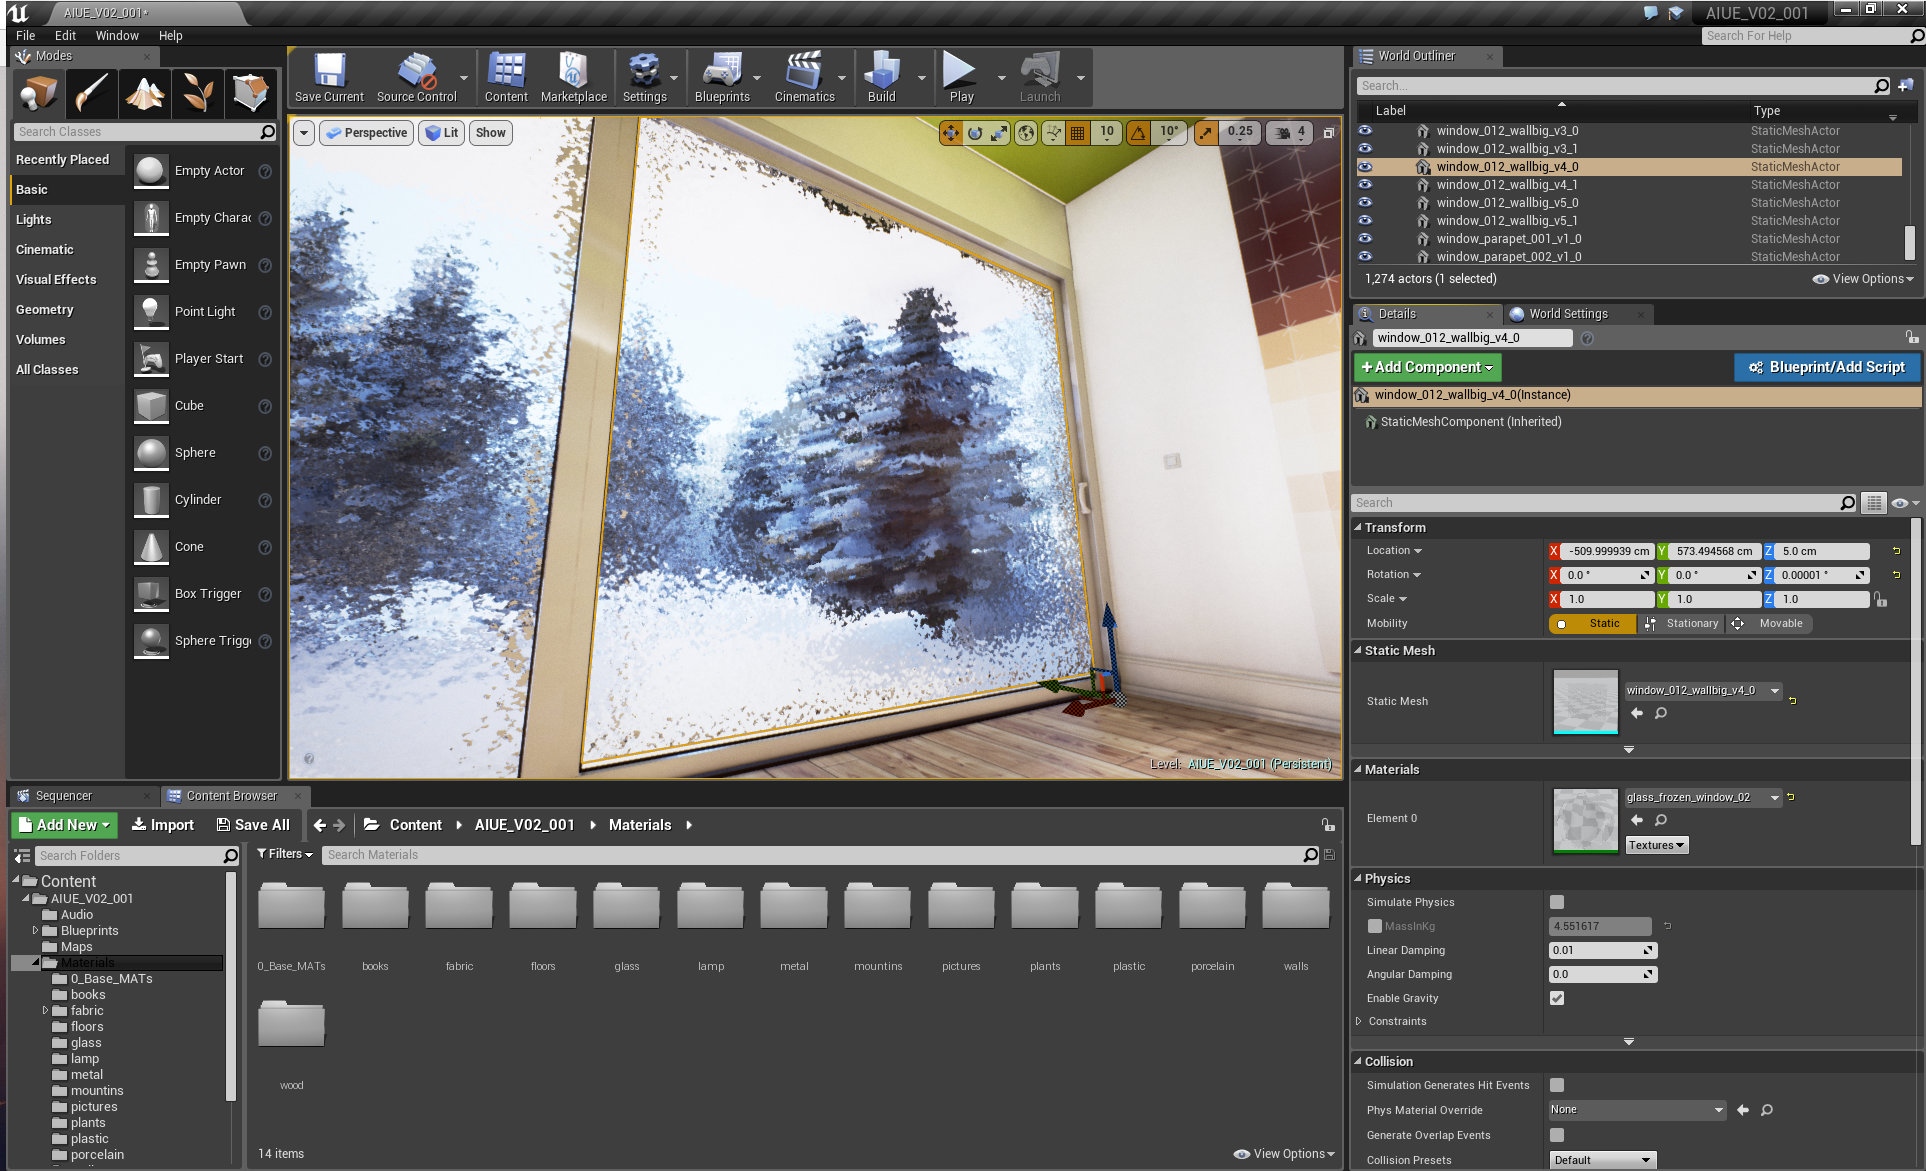
Frozen glass mesh.
Click on image to enlarge
Frozen glass diffuse map.
Click on image to enlarge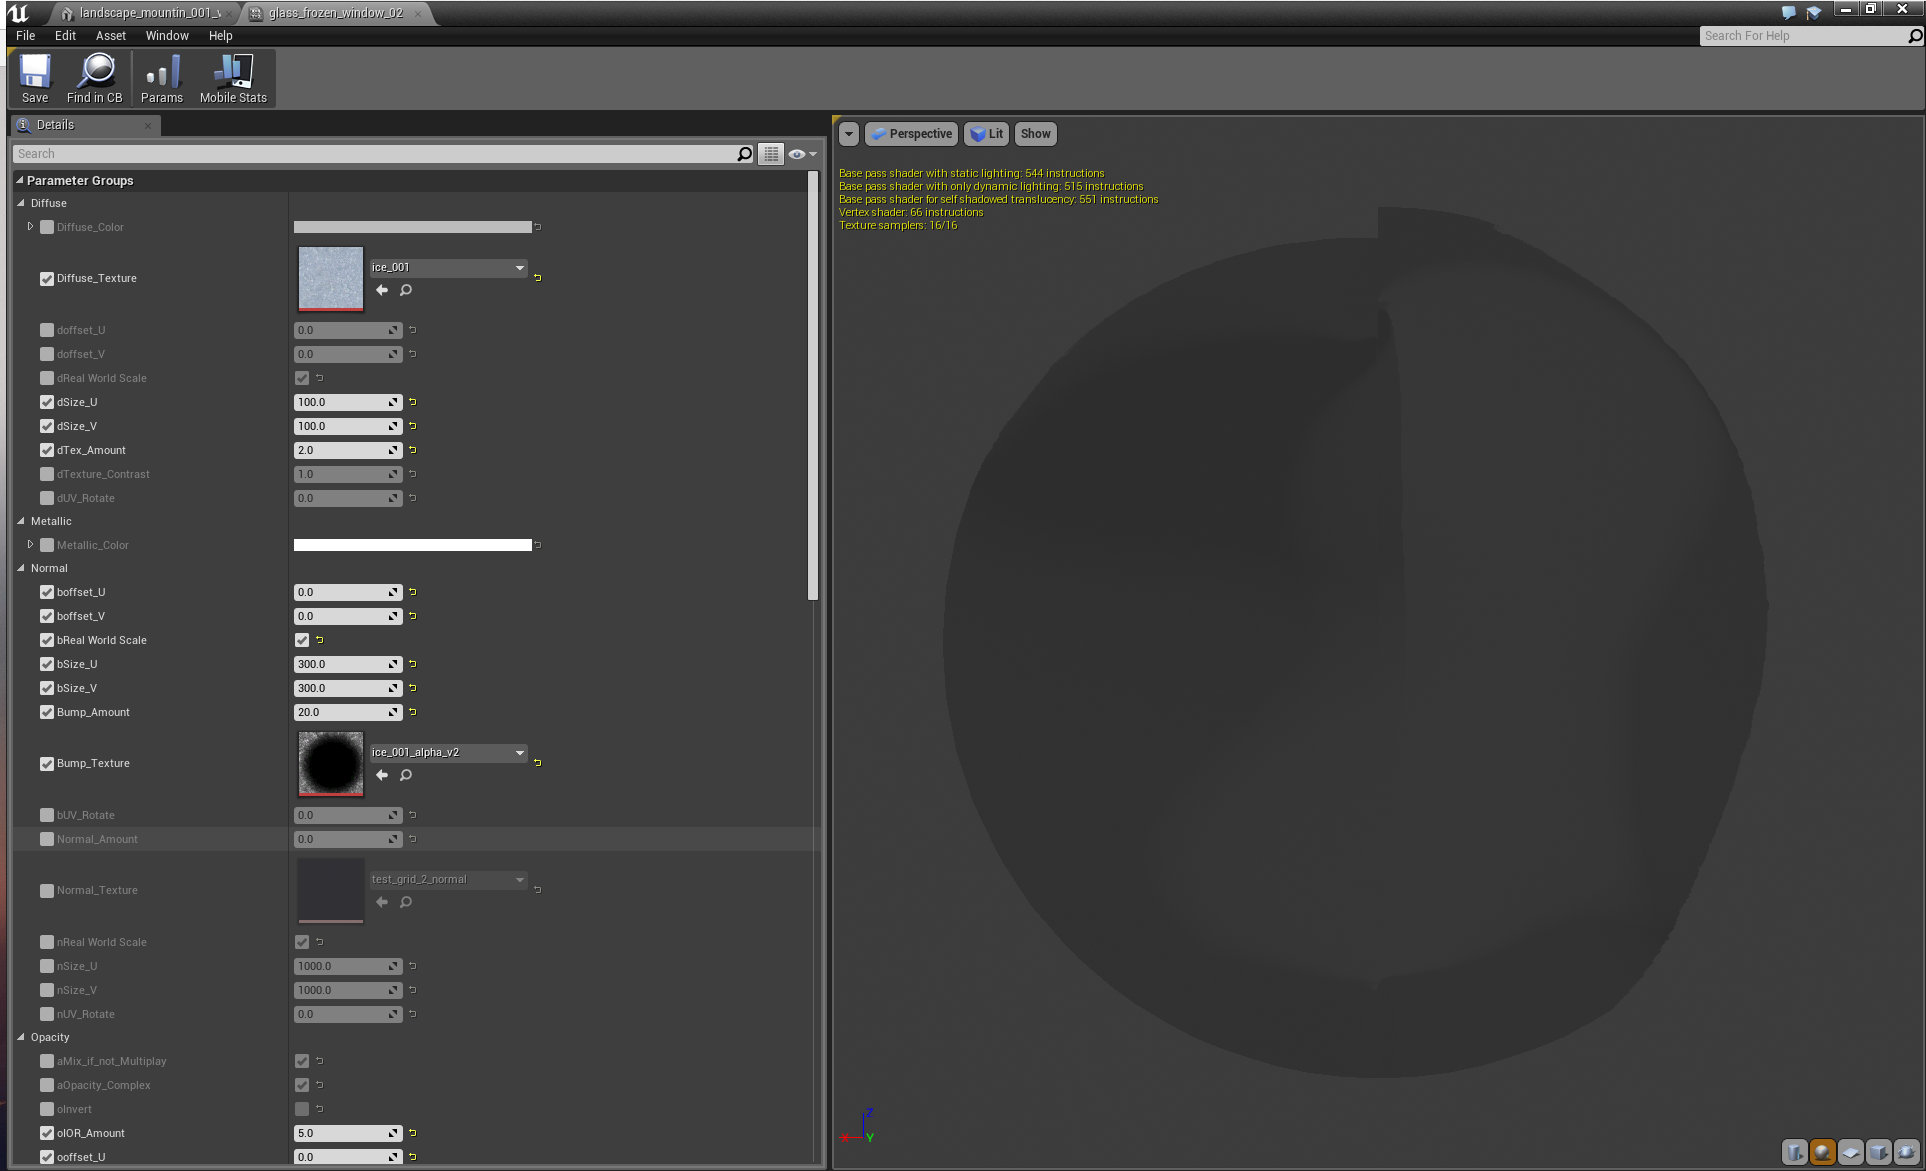
Frozen glass material.
Click on image to enlarge
Frozen glass bump texture.
Click on image to enlarge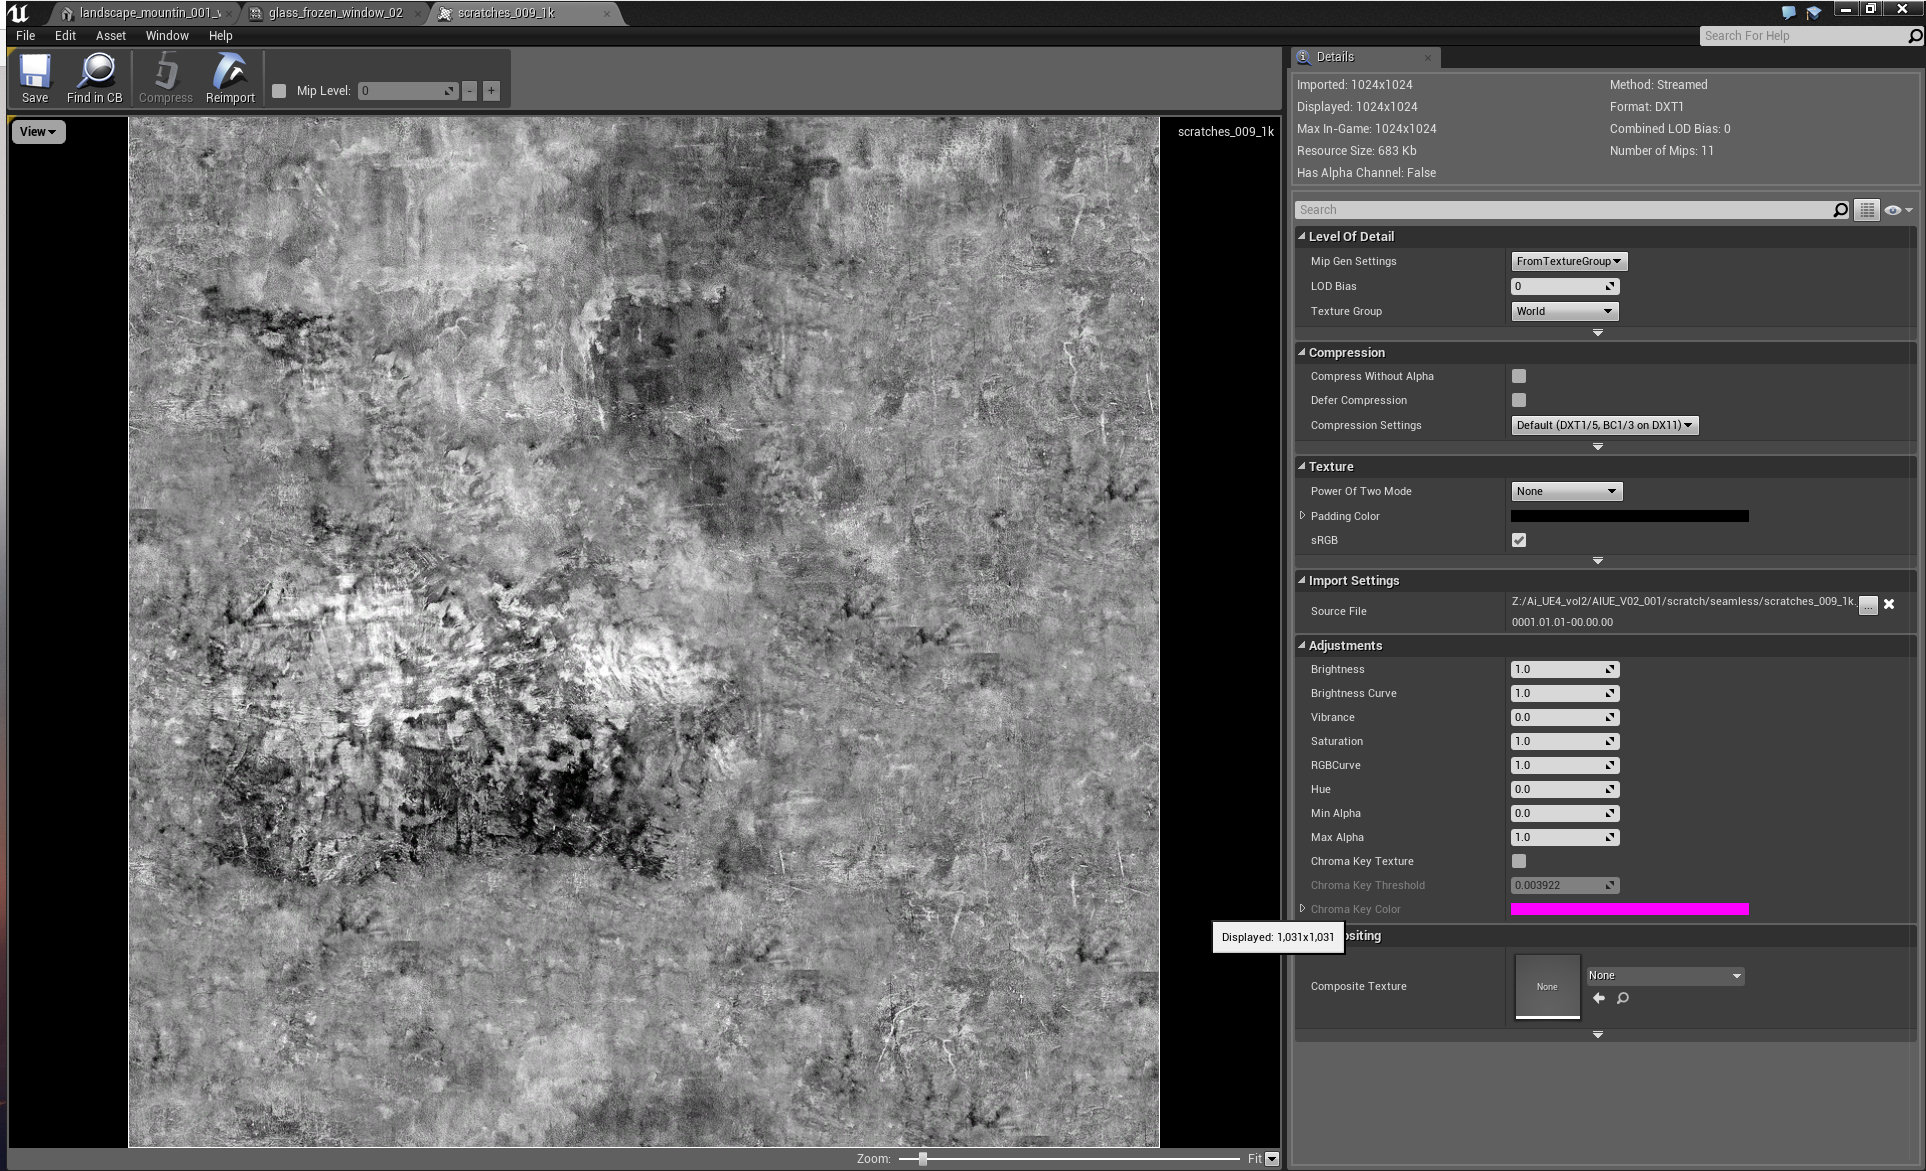
Frozen glass scratches map.
Click on image to enlarge
We also included particles, based on simple particle system that comes with starter content of Unreal Engine..
Click on image to enlarge
Mesh of a tree with UV map.
Thank you for your attention! Please, don't forget to look at our collections for Unreal Engine. If you are interested in buying this scene you can get it with Archinteriors for Unreal Engine vol. 2.
Customer zone
Your special offers
Your orders
Edit account
Add project
Liked projects
View your artist profile


COMMENTS