How To Make Your CGI Walls More Realistic
Realistic walls with noise modifier.
Total: € 0
Continue Shopping
In accordance with the art. 13 section 1 and 2 of the European Parliament and Council Regulation 2016/679 of the 27th April, 2016 on the protection of natural persons, with regard to the processing of personal data and on the free movement of such data, and repealing Directive 95/46/EC (General Data Protection Regulation), hereafter RODO, I hereby inform that:
1. EVERMOTION S.C., 8 Przędzalniana Str., 15-688 Białystok, Poland is the Administrator of your Personal Data (APD)
2. Data Protection Inspector can be reached through e-mail: iod@evermotion.org
3. Your personal data are to be processed on the basis of art. 6 section 1 letter a, b and f of RODO in order to:
a) prepare, conclude and execute the agreement and for other purposes approved by you,
b) to execute the legitimate interest like marketing of products and the agreement, claim assertion or defence against claims resulting from the law regulations.
4. Entities entitled to the reception of your personal data may be the authorised public bodies; mail providers; providers of the services covered by the agreement; responsible for debt recovery, keeping the archives, document utilization, legal consulting, technical services, IT services and accountancy.
5. Your personal data shall not be transferred to the third country, nor to the international bodies.
6. Your personal data shall be processed within the period of the agreement and upon your additional consent until you withdraw it. APD shall keep the data for the period of any civil law claim execution connected with the agreement.
7. You have the right to demand an access to your personal data, to correct or to delete the data if there is no other basis for the processing or any other purpose of such processing or to limit the processing of the data, to transfer the data to another administrator and to raise objections to the further data processing if there is no legal basis for further processing and to withdraw any previous consent.
8. You provide the personal data voluntarily, however they are necessary to conclude the agreement. The refusal of providing such data may result in the refusal of the agreement conclusion.
9. You have the right to lodge a complaint to the Personal Data Protection Office when in your opinion the data processing violates the regulations of General Data Protection Regulation of the 27 April, 2016 (RODO).
10. Your data will be automatically processed, including the form of profiling.
11. You are obligated to forward above mentioned information to your representative, especially if you appointed this person in the agreement as the contact person or as the representative for the agreement execution.

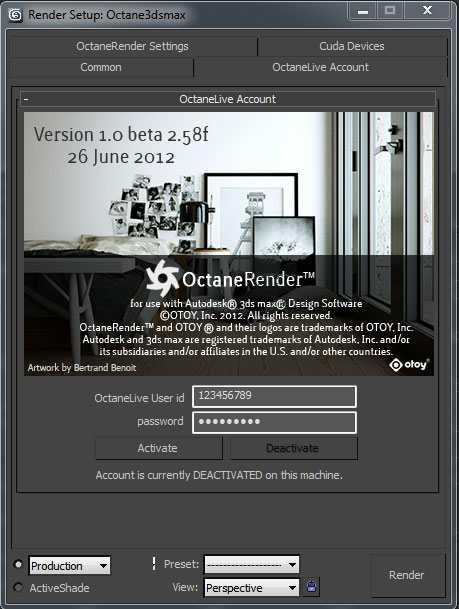
Like you can see there is not much to set-up which is of course a big plus so even someone that is pretty new to rendering should have no problem to work with Octane. I will skip the obvious settings and features and concentrate on the really cool feature which is for sure the Live DB – in short a huge material database full of materials submitted by the community.
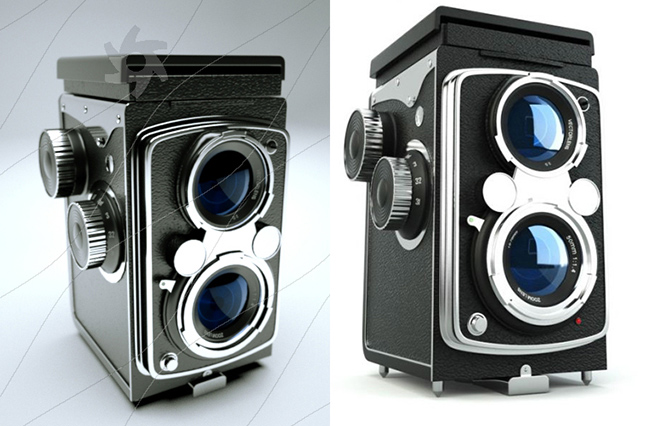
If you still are unable to find a suitable materials for your project you can always use the material converter and use some of your materials created for MR or V-ray.
It works quite well, but don't think like converting your scenes into octane materials will be like one click and done, don't get me wrong the converter is fast and good, it will help you a lot but will never get the work done for you.
I have done a quick test on one of our Archmodels, you can see the test below – not bad, but I had to remove the multi sub material because the convert does not support it. Other than that it's really usable tool.
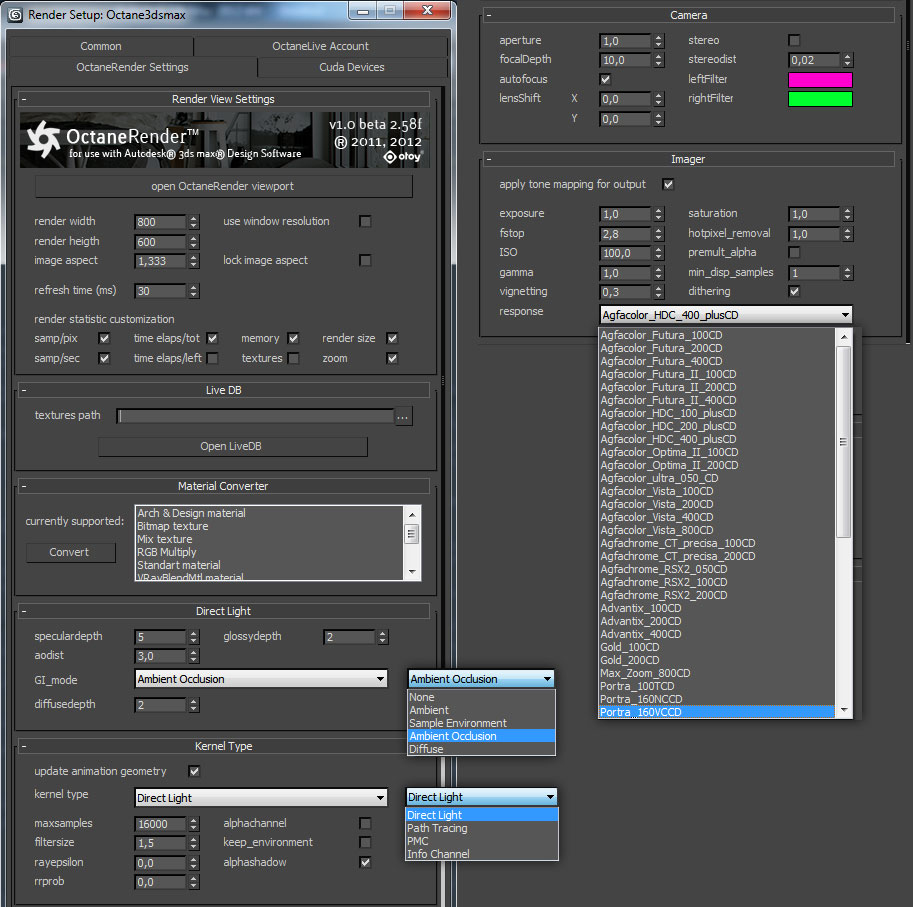
Next one are the actual rendering settings: Kernal type – gi calculation methods. These settings are actual the key element for your renders and projects. Depending on the chosen Kernal type you will find there additional settings like specular, glossy depth and AO settings.
The main difference between them is the calculation speed and photorealism – the most realistic is the path tracing, the fastest is the direct light, the PMC is something between them. I can not tell you which one is the best because it depends on the result you want to achieve, so basically its a project dependent thing. If you are interested in some technical details about it you can find everything in the manual attached to the max plug-in.
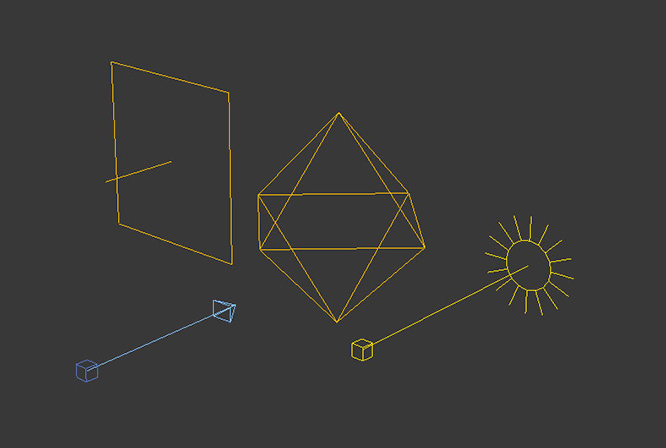
There are 3 types of lights and an octane camera for your disposal.
Standard light, IES and octane daylight system – so nothing new here, but everything that you will need on the other hand.
If you don't want you don't need to use the octane camera but then you have to use the camera settings from rendering settings.
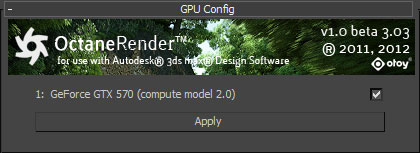
The last time I have used this plug-in there was some problem with export time, yes export – although it's a 3dsmax plug-in the geometry need to be exported or rather loaded into your video card memory. So it is a good idea to keep your models simple or at least optimized, the same for textures – don't forget its a gpu based rendering engine so if you do not have at least few gigs of memory on your video card forget about large scenes with lots of full res textures.
I have made another test on a much complex model with a lot of textures – so something that can take a while to upload to the video card memory. I have used the material converter again and again and it has done a pretty good job.
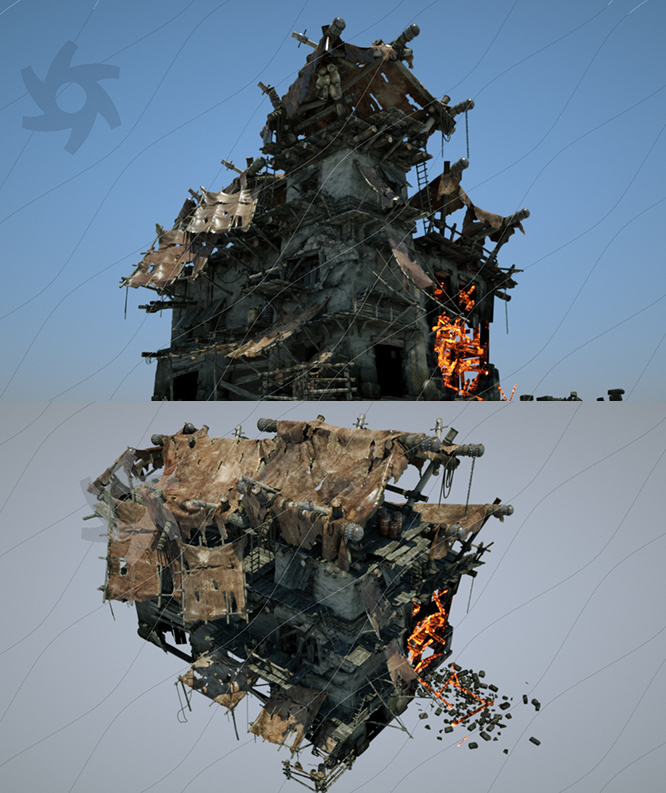
The export took about 1 minute – the geometry contains over 2,5 mln of tris and there are almost 100 jpg textures. No bugs no missing textures – what can I say, the export has been really improved since the last version.
There is also no problem with particle system, just a quick test.
There are 4 material types for our disposal: Diffuse Material, Glossy Material, Mix Material and Specular Material
So Diffuse for clay renders, Glossy for all kind of materials, Specular for glass, Mix – to combine two different materials.

There are also a lot of octane maps. I will not explain every map here but if you are interested to go more into the technical aspects just check this manual
There is a demo of the standalone version as well as the 3dsmax plug-in available on the producer site: https://render.otoy.com/downloads.php
So check it for yourself it's really worth a try.
The Octane as a standalone renderer is available for windows, Linux and Mac OS.
https://render.otoy.com


LEAVE A COMMENT


|

|

|

|

|
 Customer zone
 Your special offers
 Your orders
 Edit account
 Add project
 Liked projects
 View your artist profile
COMMENTS