Hello NOX users!
Short introduction... Not so long time ago I made a NOX scene exporter for Cinema 4D R14. In this tutorial I'll try to show you how to create a scene that can be exported for NOX. All you need here is C4D R14 and released NOX exporter plugin. NOX itself is not necessary at this point.
Installation
Plugin was released as zipped structure of folders and files. All you need to do is to unpack it to folder „plugins” in your Cinema 4D installation folder. You have it probably in Program Files folder – so system will probably ask you for administrative rights permission in that step.
Overview
In following tutorial I'll show you what kind of objects etc. in C4D will have an impact on what is inside exported scene. You have to be aware that only part of Nox features can be set from Cinema itself. After export your scene will need some tweaking in Nox.
Exporting
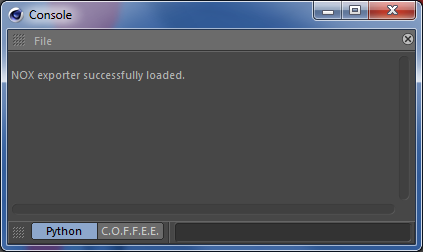
Once everyting is set, just pick from menu File->Export->NOX scene. Dialog should appear. Simple options on action logging or run NOX can be set there. Once you hit OK button, exporting process will start. Depending on your settings, current situation is logged in console. You might want to run console before start exporting. Just pick Console from menu Script.
Setting up scene
In order to start rendering three conditions has to be fulfilled:
1. Camera must exist
2. Any geometry must exist
3. Any source of emission has to be there - Nox does not support most kind of light objects that often exist in 3d software. You will have to make geometry with emissive material. Other way is to create Sun/Sky system or Environment one. It will be descibed below.
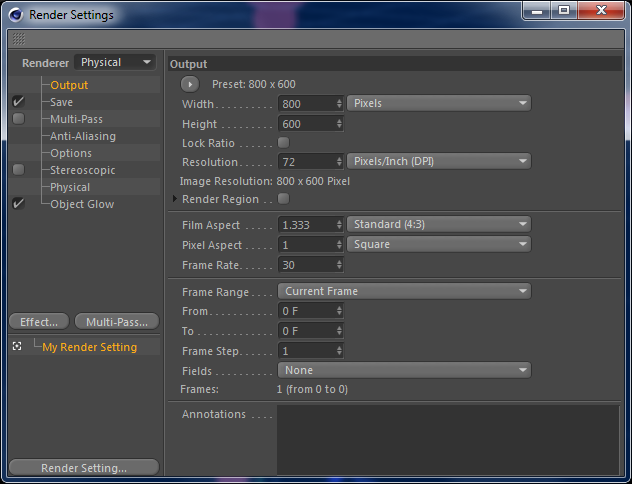
Render resolution can be set in Render settings. You'll find it in menu Render->Edit Render Settings in section Output. Also changing Renderer from default Standard to Physical is recommended. This will unlock some camera settings that can be used.
Materials
First of all: first exported material is reserved for geometry without any material assigned. Any other material you create will be exported and its settings will be used. Image below shows list of material channels that contain data that exporter will be looking for. They're the ones with checked checkboxes.
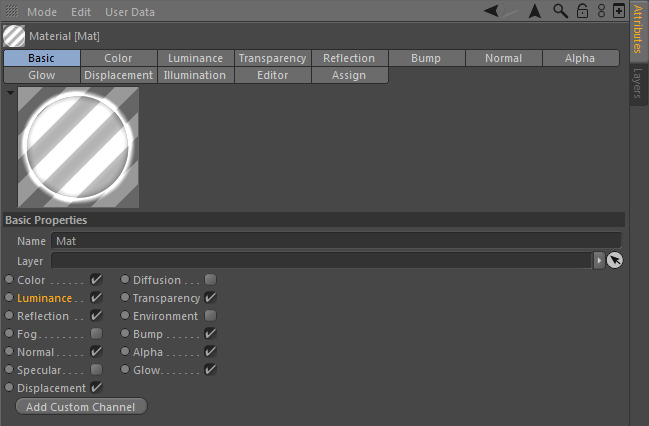
Depending on selection of channels exporter will create layers for Nox material. There are four channels that will create layers: Color will create diffuse layer (rough=100), Reflection will create glossy/specular layer, Transparency will create transmissive layer, Luminance will create emissive layer. Selecting all of them will create four independent layers.
Material channel Glow
I'll explain this channel first because this one differs from all other channels. Actually no data here is set. Once you turn this channel on, all other information from this material will be ignored. Exporter will save this material as portal – useful for interiors illuminated by sunsky/envmap through small gaps.
Material channel Color
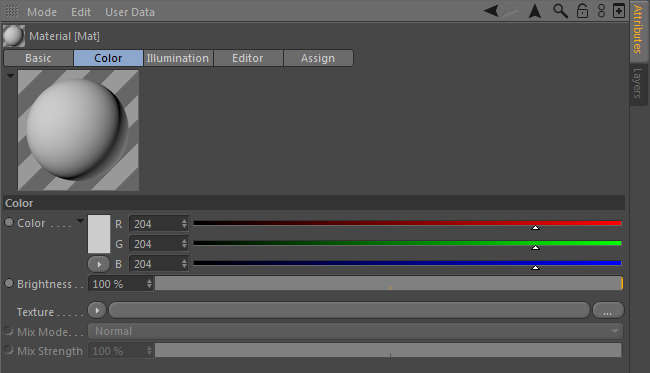
Simple diffuse layer will be created with this channel enabled. All you can set here is its color or texture.
Material channel Reflection
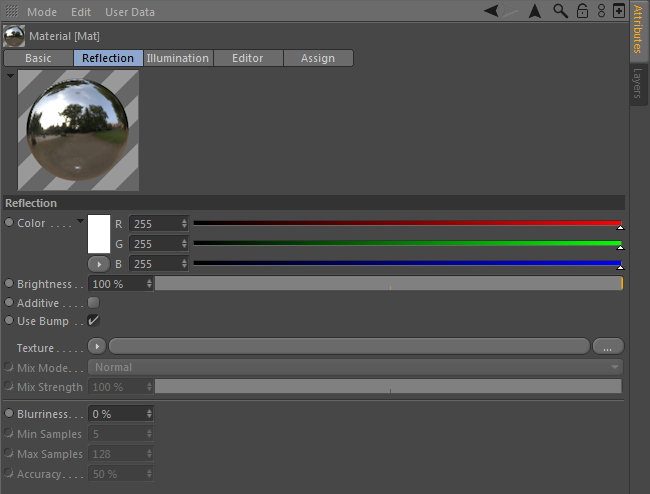
This channel will create glossy/specular layer. Its roughness will be evaluated from Blurriness value. Chosen color will be set on reflection 0 color. The same with texture. This channel does not allow to set IOR, so default value of 10 will be set for this layer. Also you can set bump/normal map for this layer.
Material channel Transparency
Layer created from this channel will have transmission option enabled. Color will be assigned to transmission channel, same with texture. Roughness will be evaluated from Blurriness. IOR value is simply a Refraction on panel.
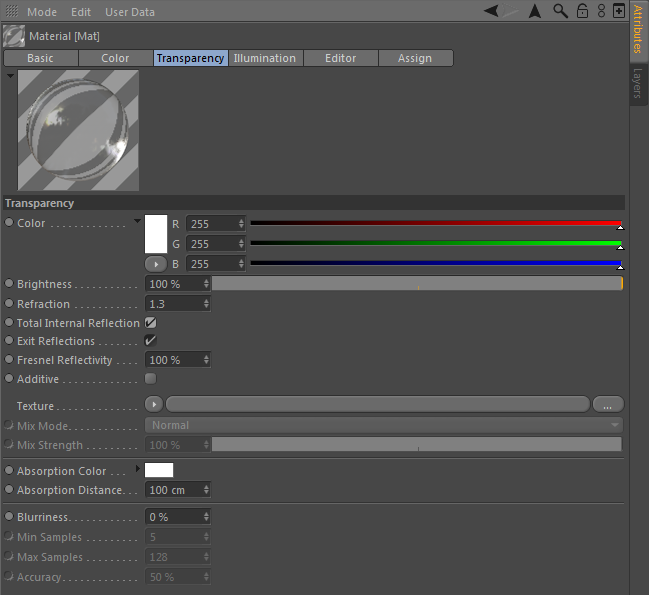
There is a possibility to put Transparency and Reflection on one layer. Simply make sure that both channels have same values on Blurrriness and Brightness. Everthing in layer will be set as in Transparency channel. Also color and texture from Reflection channel will be used in relection 0 in Nox material layer.
Material channel Luminance
Enabling this channel will create emissive layer. It will have predefined values of 100W power with white color.
Material channel Alpha
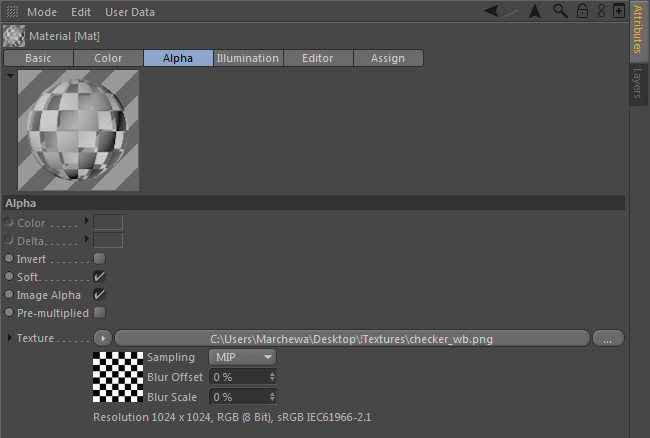
Texture from this channel will be used as opacity texture in Nox material.
Default layer
Default diffuse layer will be created in situation when none of four channels is selected: Color, Reflection, Transparency, Luminance.
Material channel Bump
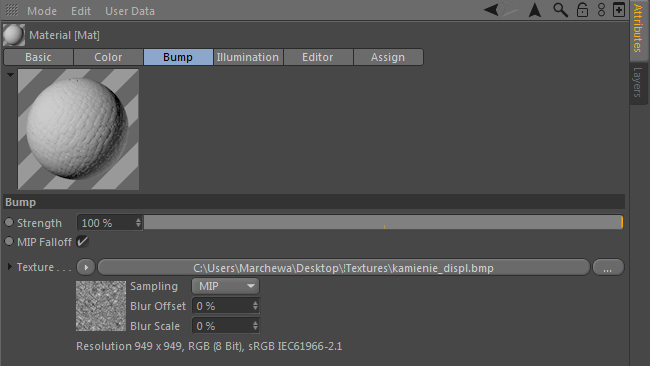
Bump/normal texture will be used in Nox material. Power will be evaluated from Strength value, which when negative will turn on Invert X and Y options in Nox.
Material channel Normal
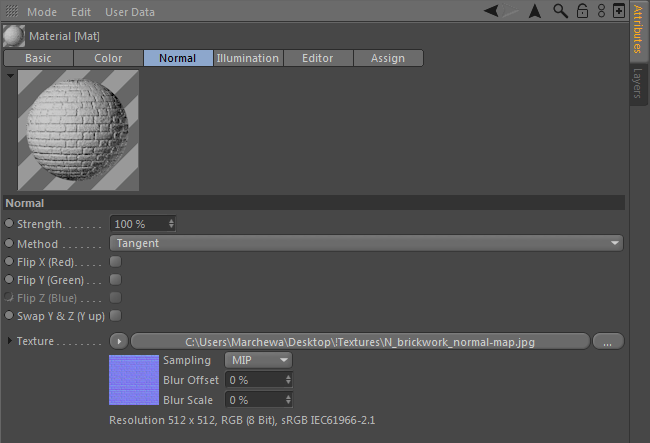
Other way to make normal texture in Nox is Normal channel. Of course texture will be used. You can set Power and Invert X/Y in Nox from corresponding values: Strength, Flip X, Flip Y.
Be aware that Bump and Normal are the same in Nox. Using both Normal and Bump channels will use Bump only.
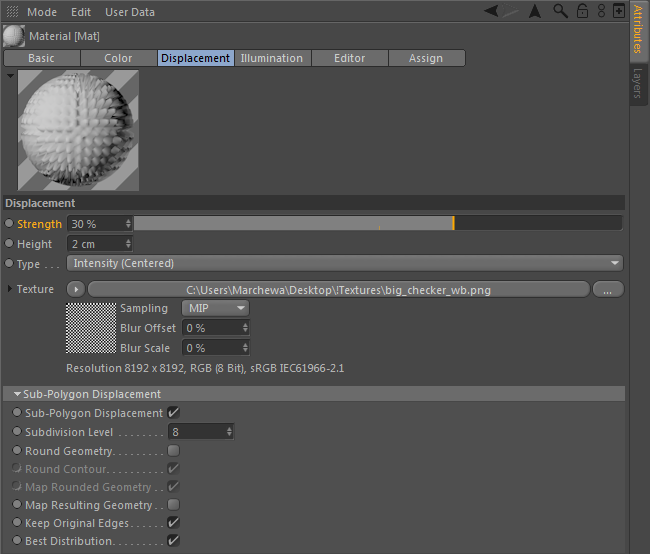
Material channel Displacement
This channel will turn on displacement in Nox material. You have to set texture. Also values of Height and Subdivision level will be used. Remember that Nox applies displacement on geometry only on scene load. Any change on displacement would need Nox restart with the same scene reloaded.
Textures
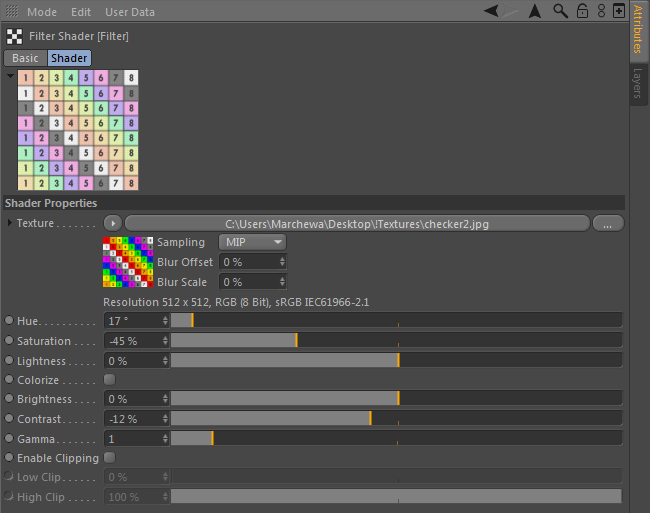
Nox supports only textures from image files. All textures set in Cinema's materials has to be that way. Also Filter modifier can be used (will be ignored on normal/bump). Filter values used for Nox texture modifiers: hue, saturation, brightness, contrast.
Cameras
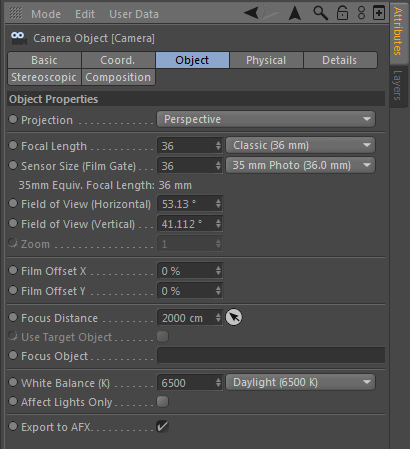
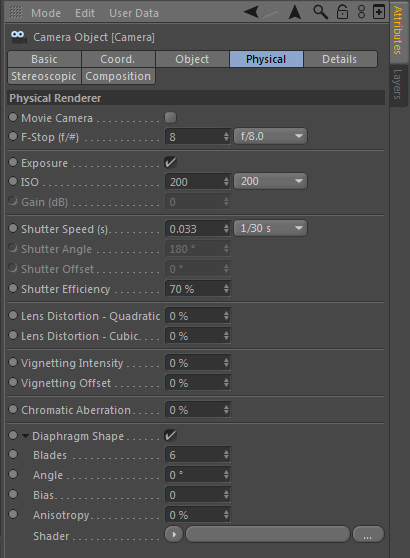
At least one has to be on scene. A few settings can be exported for cameras. Those are distributed in 3 sections on camera panel: Object, Physical, Details.
Section Object:
Focal Length and Sensor Size affects camera field of view - that resultant angle is what really count for Nox.
Focus Distance is a distance where depth of field lies. Render image will be most sharp in that distance.
You can also correct perspective for architectural renders. Use Film Offset X and Y.
Section Physical:
Most basic options for any physical camera are: ISO sensitivity, shutter and aperture. Each of them affects image exposure. On panel those are named as: ISO, Shutter speed and F-Stop. F-Stop also affects depth of field size.
On this panel you will also find settings for aperture shape. Those are Blades, Angle, Aniso and Bias. They will be used as Number of Blades, Blades Angle, Flatten and Ring Balance in Nox camera aperture settings.
Section Details:
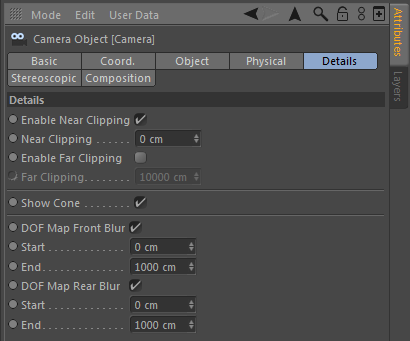
Here you can actually turn on Depth of Field. Just enable DOF Map Front and Rear Blur.
Sun / Sky
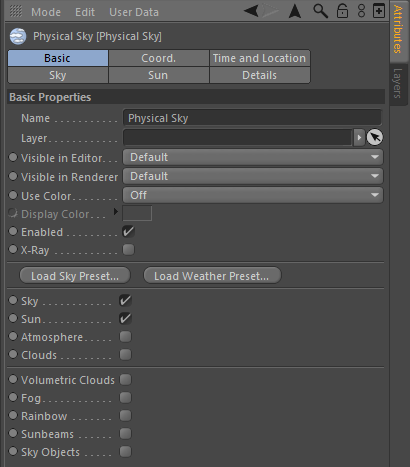
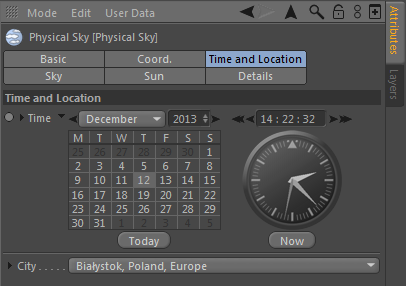
In order to export Sun/Sky settings for Nox you have to create Physical Sky object. On its panel there are a few sections:
Basic:
Here you can enable emission from Sky and Sun
Time and Location:
Here you set position and time. It is used to evaluate sun position on sky.
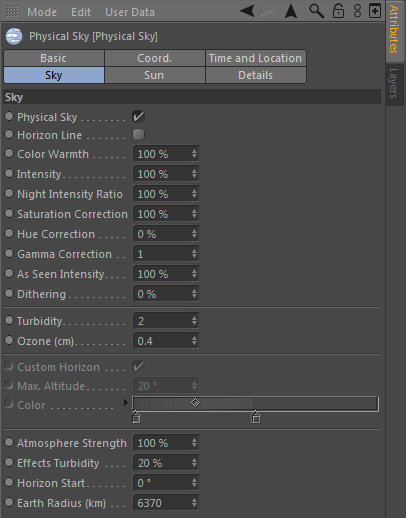
Sky:
Here only turbidity is used.
Environment map
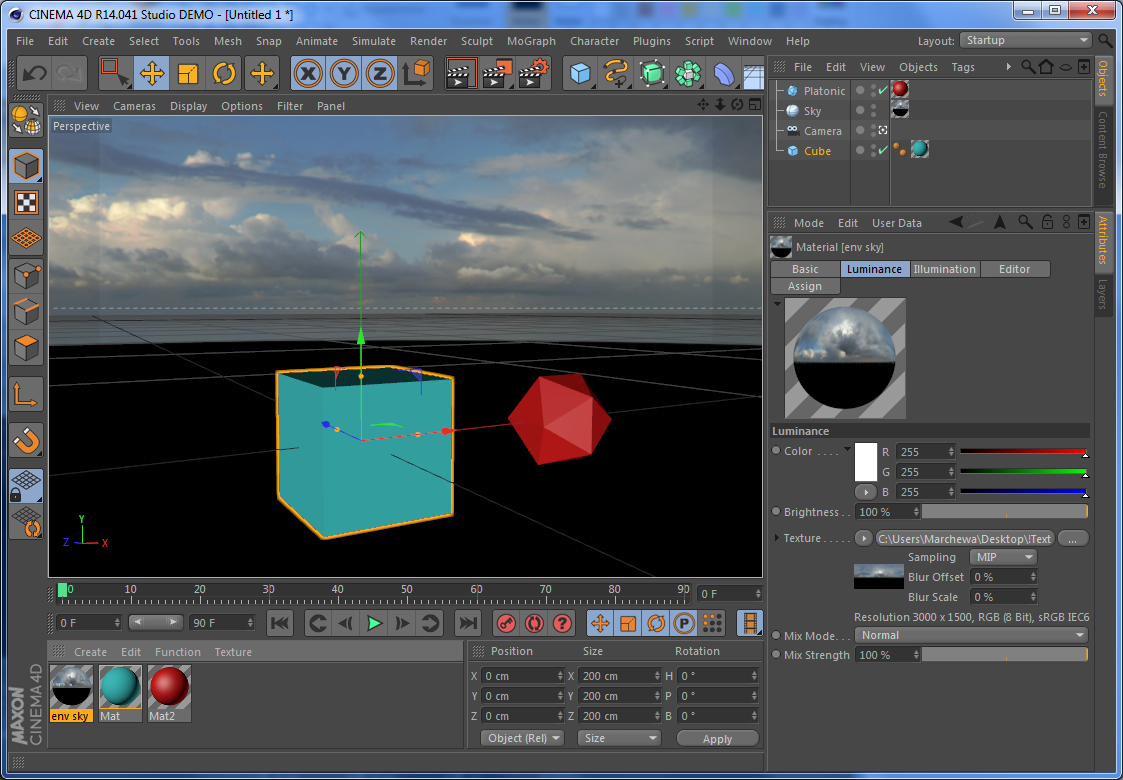
In order to use environment map and have it visible on viewport in Cinema you have to create Sky object and put a material on it. That material has to have Luminance channel enabled with proper texture loaded. Only spherical mapping here is possible.
 Removing LUTs from Textures for better resultsRemove the LUT from a specific texture in order to get perfect looking textures in your render.
 Chaos Corona 12 ReleasedWhat new features landed in Corona 12?
 OCIO Color Management in 3ds Max 2024Color management is crucial for full control over your renders.
 A look at 3dsMax Video SequencerDo you know that you can edit your videos directly in 3ds Max? Renderram is showing some functionalities of 3ds Max's built in sequencer.
 FStorm Denoiser is here - First ImpressionsFirst look at new denoising tool in FStorm that will clean-up your renders.
 Unreal Engine 5.4: Nanite Tessellation in 10 MinutesThis tutorial takes you through creating a stunning desert scene, complete with realistic tire tracks, using Nanite for landscapes, Gaea for terrain sculpting, and an awesome slope masking auto material.
Customer zone
Your special offers
Your orders
Edit account
Add project
Liked projects
View your artist profile


COMMENTS