How To Make Your CGI Walls More Realistic
Realistic walls with noise modifier.
Total: € 0
Continue Shopping
In accordance with the art. 13 section 1 and 2 of the European Parliament and Council Regulation 2016/679 of the 27th April, 2016 on the protection of natural persons, with regard to the processing of personal data and on the free movement of such data, and repealing Directive 95/46/EC (General Data Protection Regulation), hereafter RODO, I hereby inform that:
1. EVERMOTION S.C., 8 Przędzalniana Str., 15-688 Białystok, Poland is the Administrator of your Personal Data (APD)
2. Data Protection Inspector can be reached through e-mail: iod@evermotion.org
3. Your personal data are to be processed on the basis of art. 6 section 1 letter a, b and f of RODO in order to:
a) prepare, conclude and execute the agreement and for other purposes approved by you,
b) to execute the legitimate interest like marketing of products and the agreement, claim assertion or defence against claims resulting from the law regulations.
4. Entities entitled to the reception of your personal data may be the authorised public bodies; mail providers; providers of the services covered by the agreement; responsible for debt recovery, keeping the archives, document utilization, legal consulting, technical services, IT services and accountancy.
5. Your personal data shall not be transferred to the third country, nor to the international bodies.
6. Your personal data shall be processed within the period of the agreement and upon your additional consent until you withdraw it. APD shall keep the data for the period of any civil law claim execution connected with the agreement.
7. You have the right to demand an access to your personal data, to correct or to delete the data if there is no other basis for the processing or any other purpose of such processing or to limit the processing of the data, to transfer the data to another administrator and to raise objections to the further data processing if there is no legal basis for further processing and to withdraw any previous consent.
8. You provide the personal data voluntarily, however they are necessary to conclude the agreement. The refusal of providing such data may result in the refusal of the agreement conclusion.
9. You have the right to lodge a complaint to the Personal Data Protection Office when in your opinion the data processing violates the regulations of General Data Protection Regulation of the 27 April, 2016 (RODO).
10. Your data will be automatically processed, including the form of profiling.
11. You are obligated to forward above mentioned information to your representative, especially if you appointed this person in the agreement as the contact person or as the representative for the agreement execution.
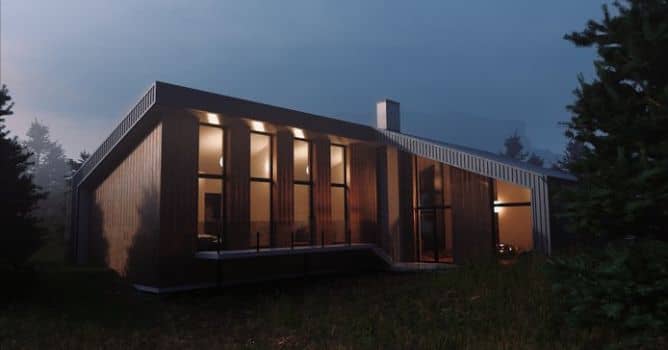

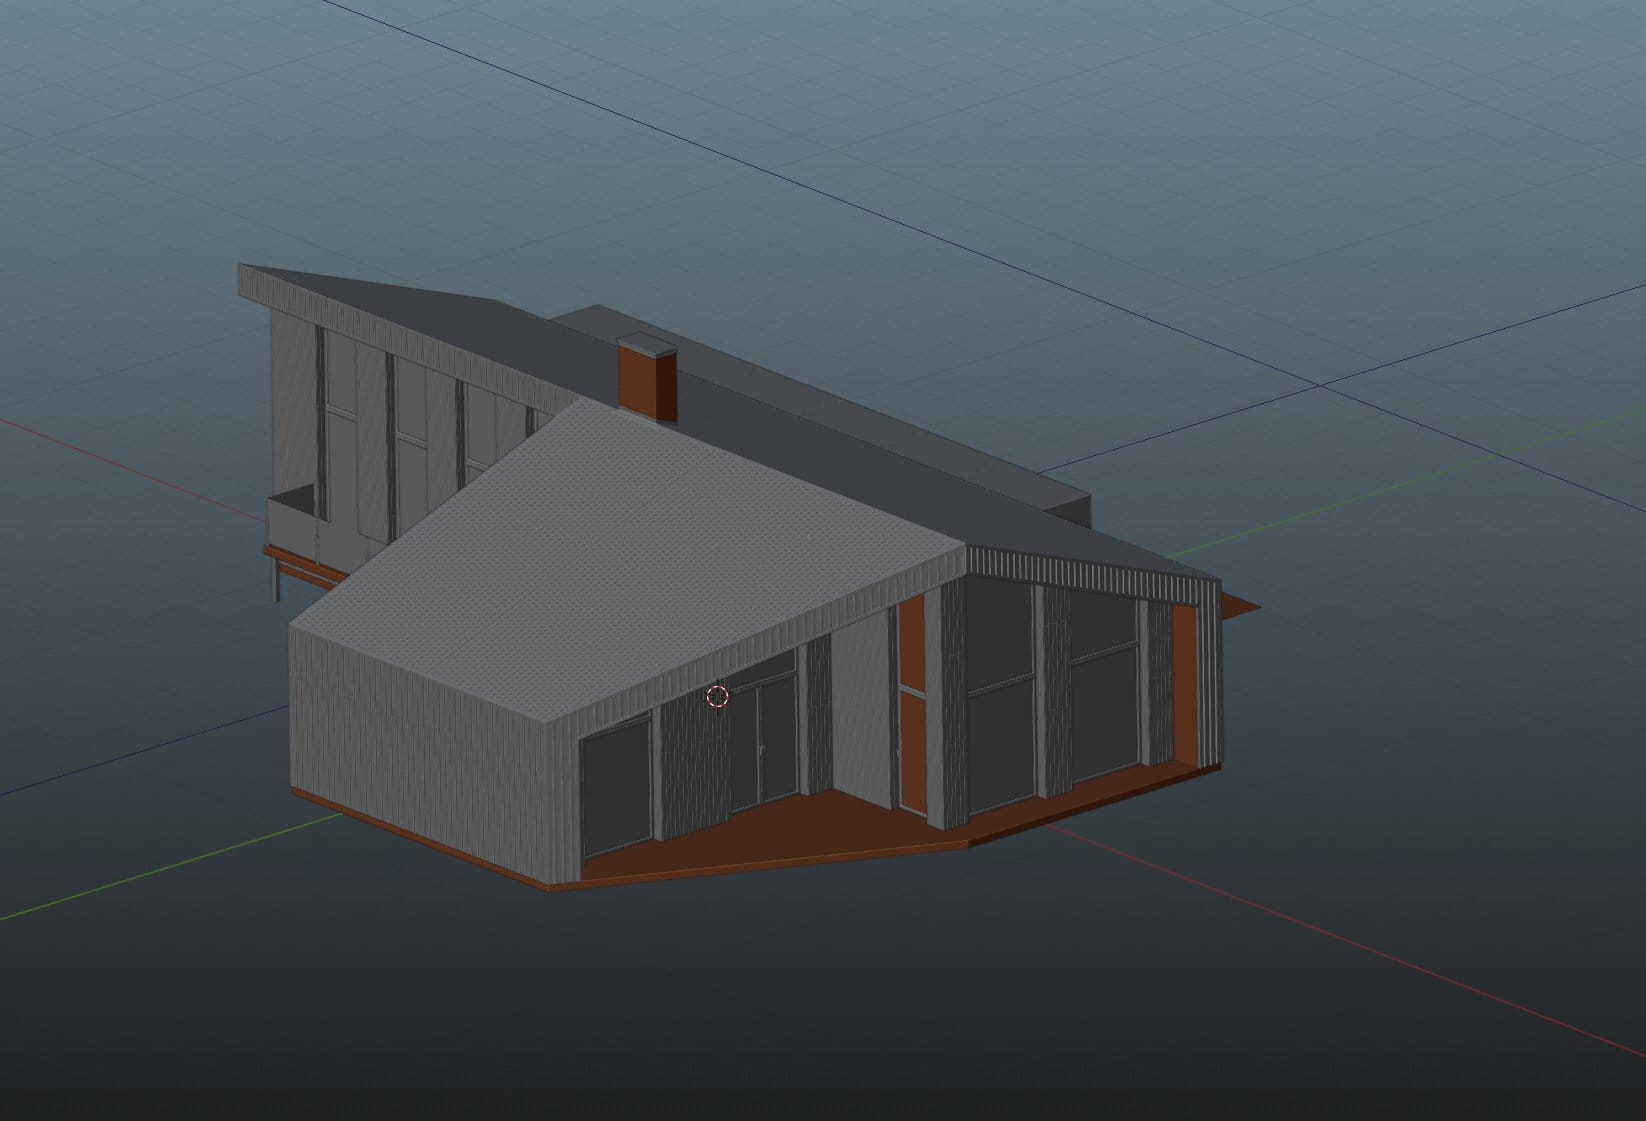
I made this scene to test the latest models from Evermotion in different environments. I downloaded the cabin from Evermotion Shop. It comes from Archmodels vol. 254 collection and it is available in 3ds Max, C4D, FBX and OBJ versions. I decided to work with FBX format so I imported it to Blender.
To speed things up I use Machin3Tools free add-on for Blender which gives me this fancy pie menu with various options.

Among other options it allows me to import and export FBX and OBJ files by pressing “CTRL-S” and choosing desired option, which is fast and convenient way to work with external files. I higly recommend this plugin.
My FBX building imported without problems.
I only need to take care of glass material, because it was not assigned as transparent in Blender. So I selected window mesh, deleted the original material and created a node tree for glass in Blender that looks good, but it is also fast to render:
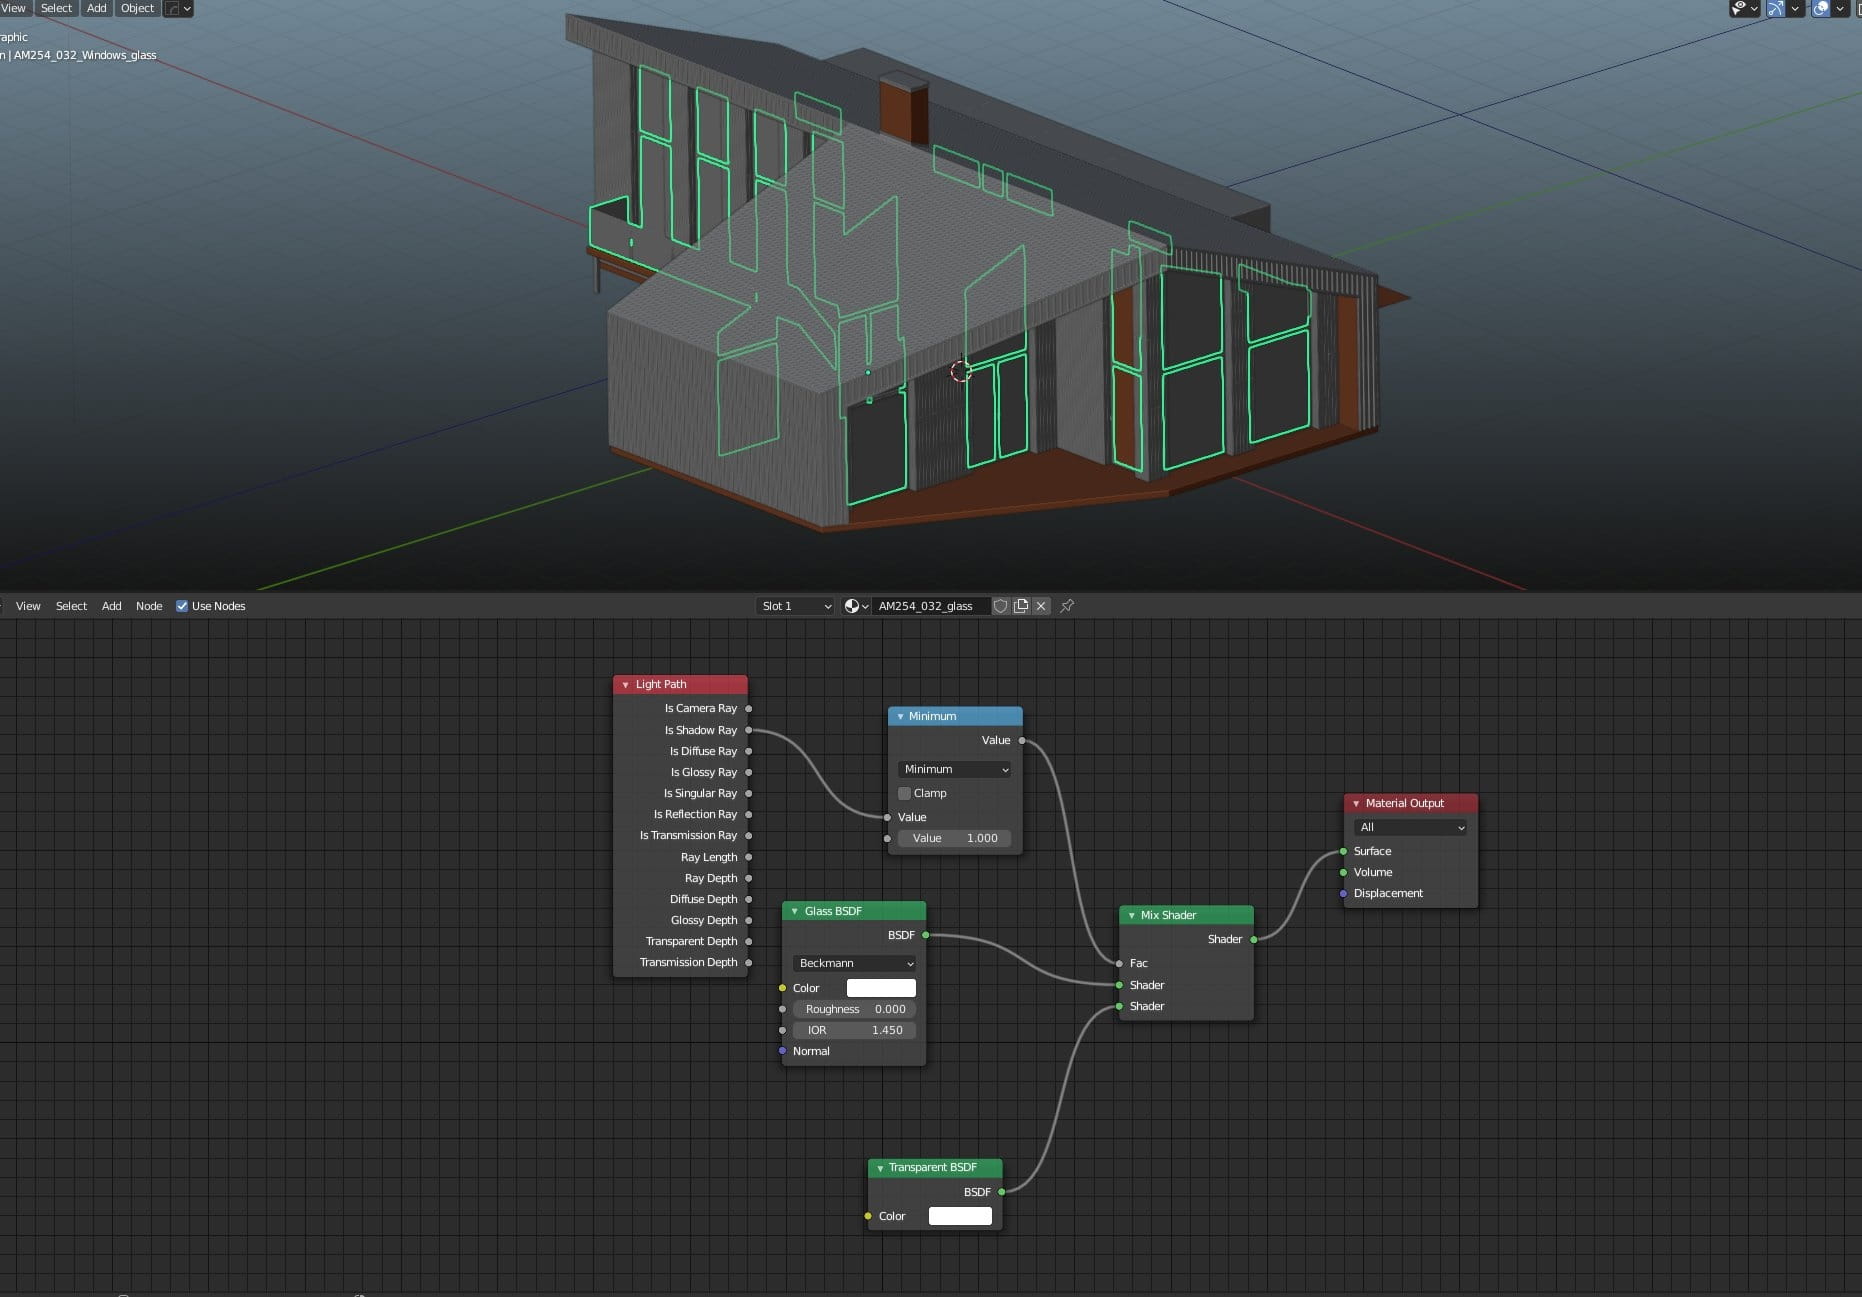
This node setup mixes Glass and Transparent shaders and uses Light Path information to determine which will be visible to camera. If Shadow Ray reaches camera, mesh is transparent, if the mesh is not in a shadow it will be rendered as glass. It is the simple mnethod that is commonly used by Blender users for windows, flat glass surfaces, etc.
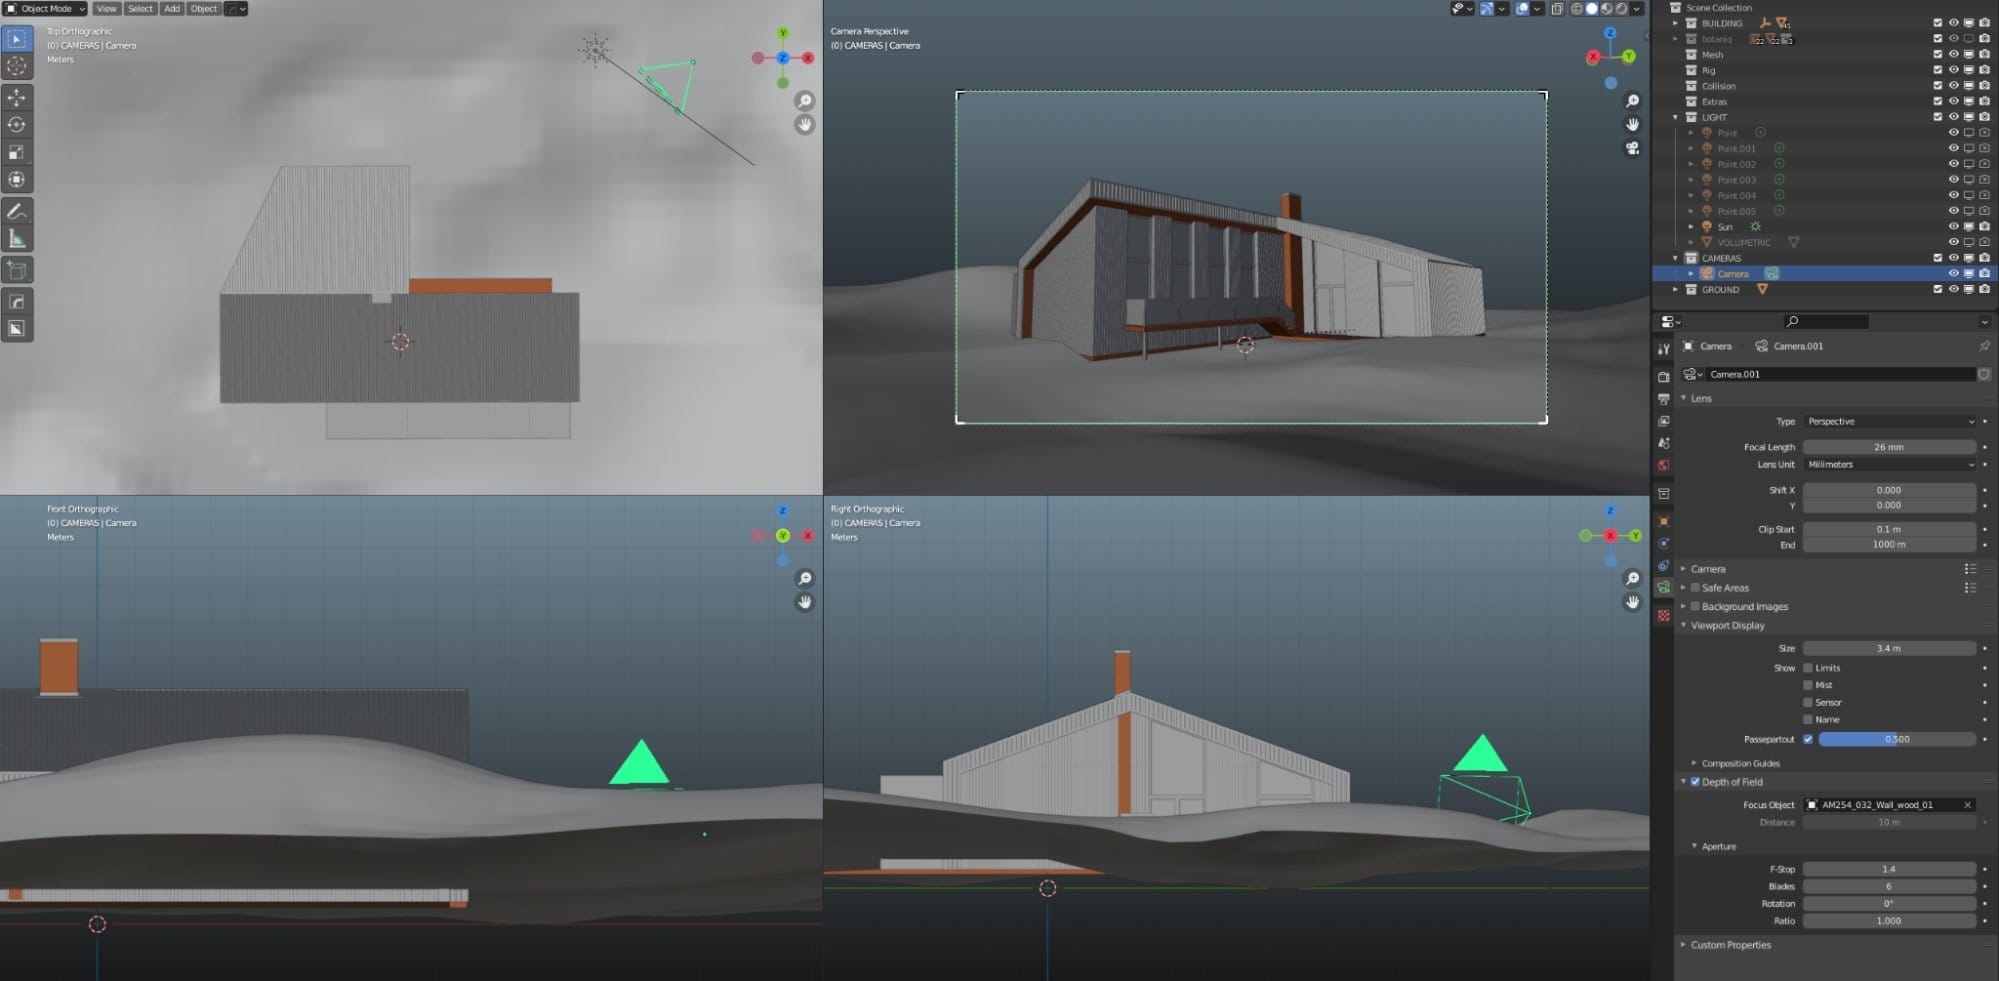
I needed some base for my building, a ground plane. I created a simple 2d plane and subdivided it a couple of times. Then I switched to Sculpt Mode (Blender has a really decent set of tools for sculpting) and pushed and pull some vertices to make it look like a natural, curvy terrain. Nothing very detailed, just some simple stuff to create a height variety.

Then I returned to Object Mode and subdivided a plane once more. I wanted it to be quite high poly, because it was meant to be the base for scatetring vegetation. I also wnated to get some smooth curves.
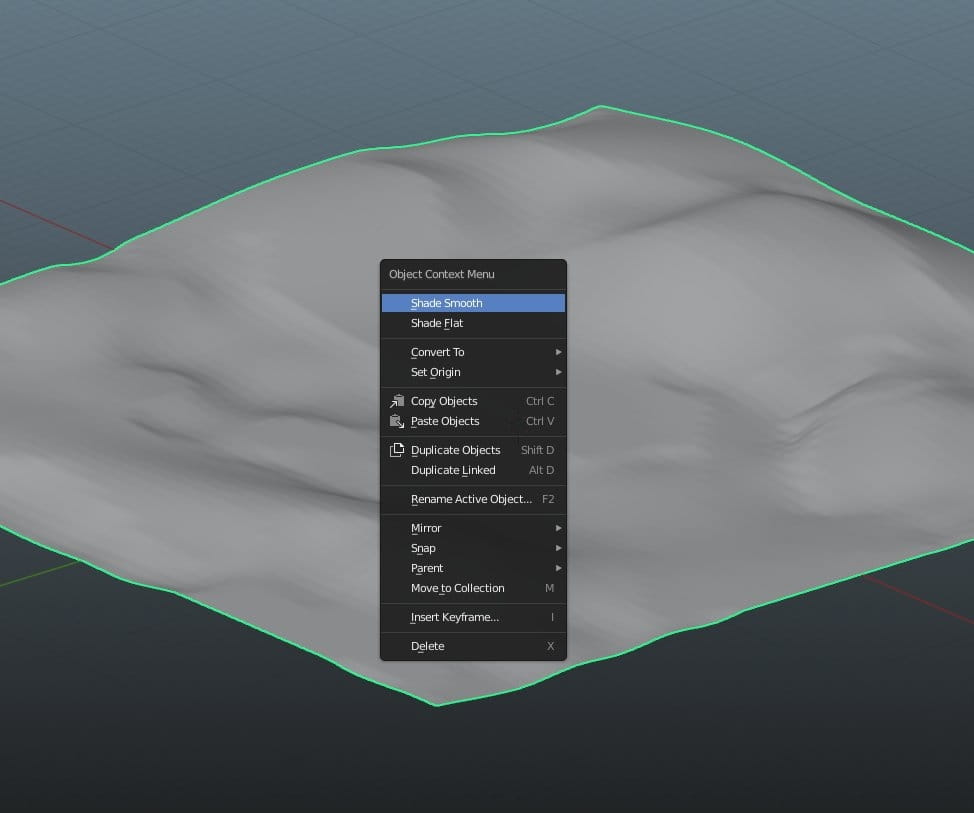
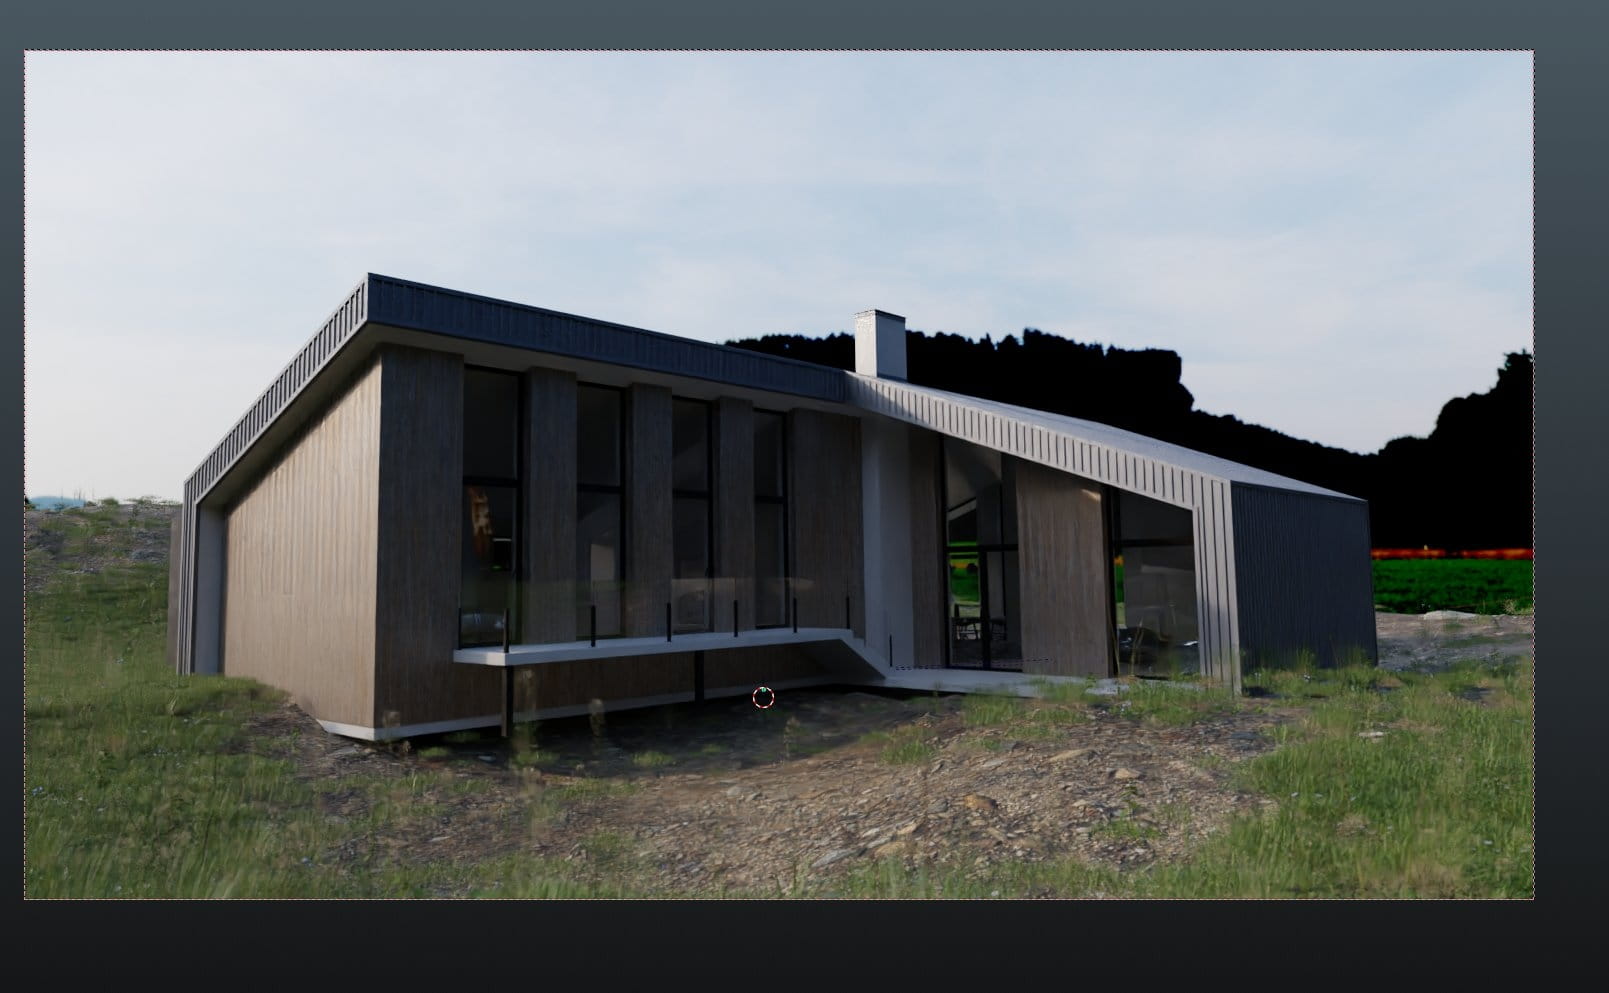
I turned “smooth shading” to ensure that my ground will look smooth and curvy in render. I used a wide angle 26 mm camera close to the ground to show the silhouette as more majestic and pronounced.
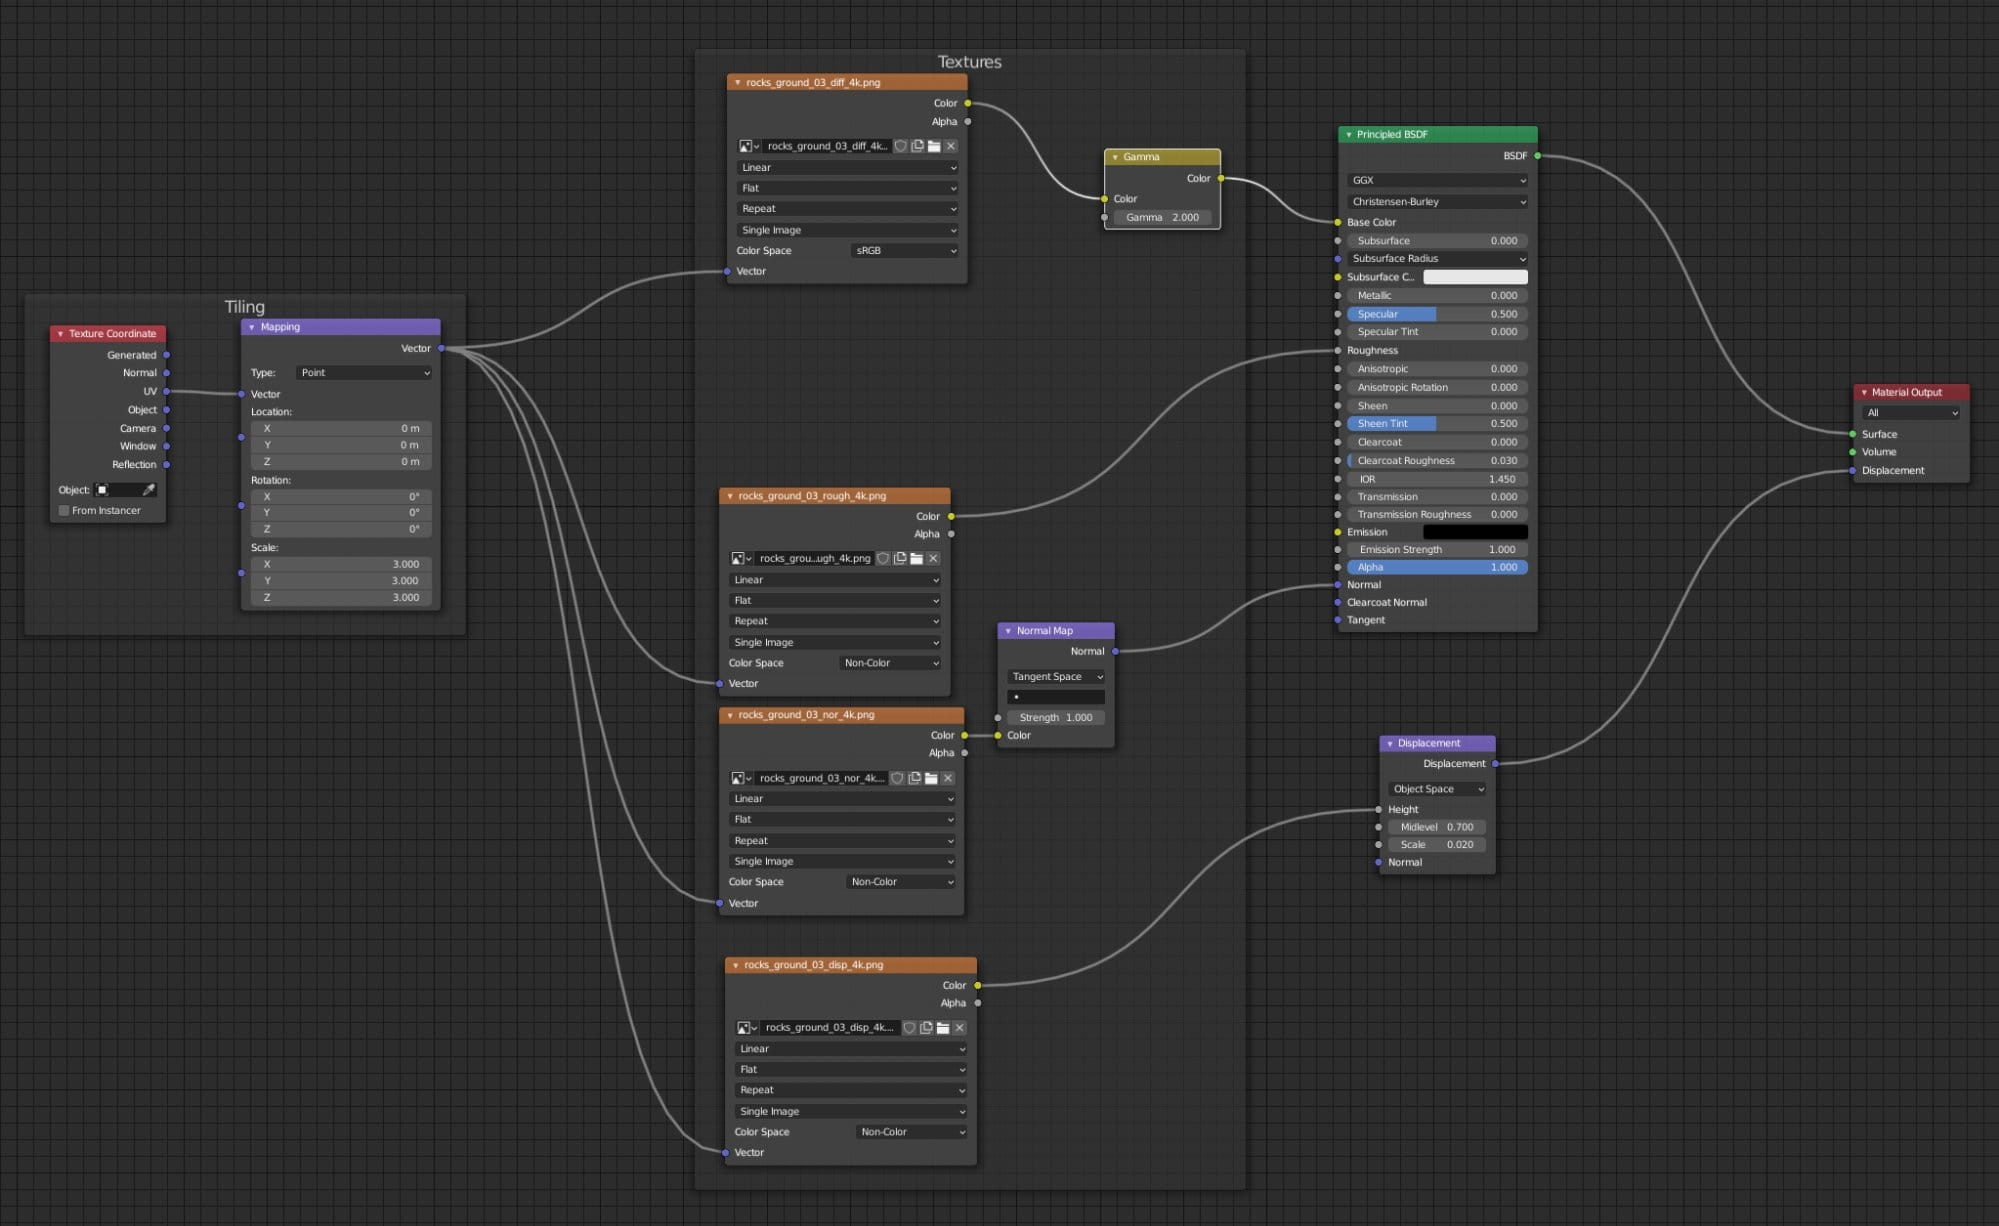
Now I needed the texture for ground. I used rocky ground texture from Quixel Bridge. The latest Blender 2.94 works very well in cojunction with Bridge, you can easily export all assets from Bridge in one click which speeds up the process of creating materials and scenes.
The textured is tiled, as you can see, but it will not be a big problem, because the most of it will be covered with vegetation.
The only change that I made was increase the tiling from 1 to 3 in Mapping node.
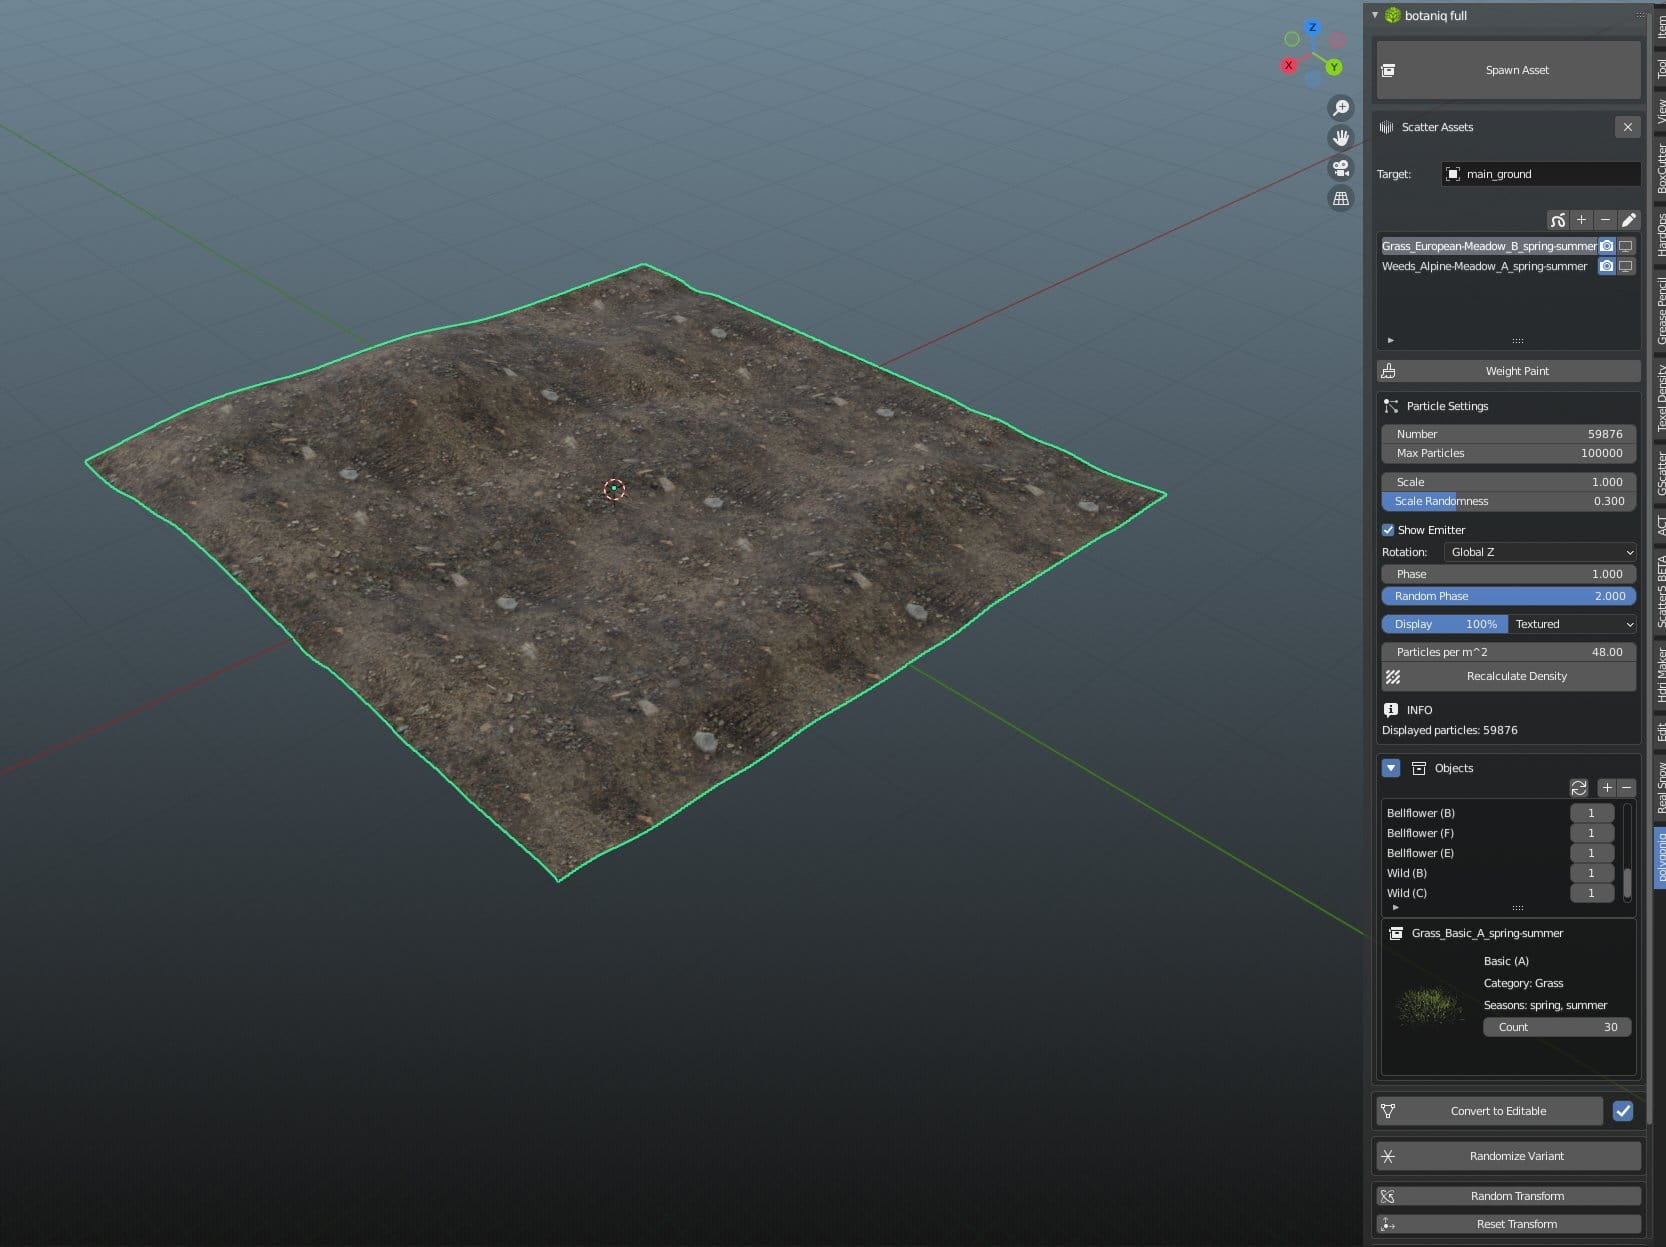
I wanted nice vegetation to be scatteres on my plane, so I tried the great Blender plugin - botaniq. It allows you to scatter different biomes and many trees with variations and they all look fabolous! It is also very simple to use, it was my first attempt with this plugin and I really like the results.
AND HERE COMES THE GREAT STUFF: now you can download Botaniq 25% off with a code: evermotion25. You can use it on BlenderMarket, just add Botaniq to cart and use the code during checkout.
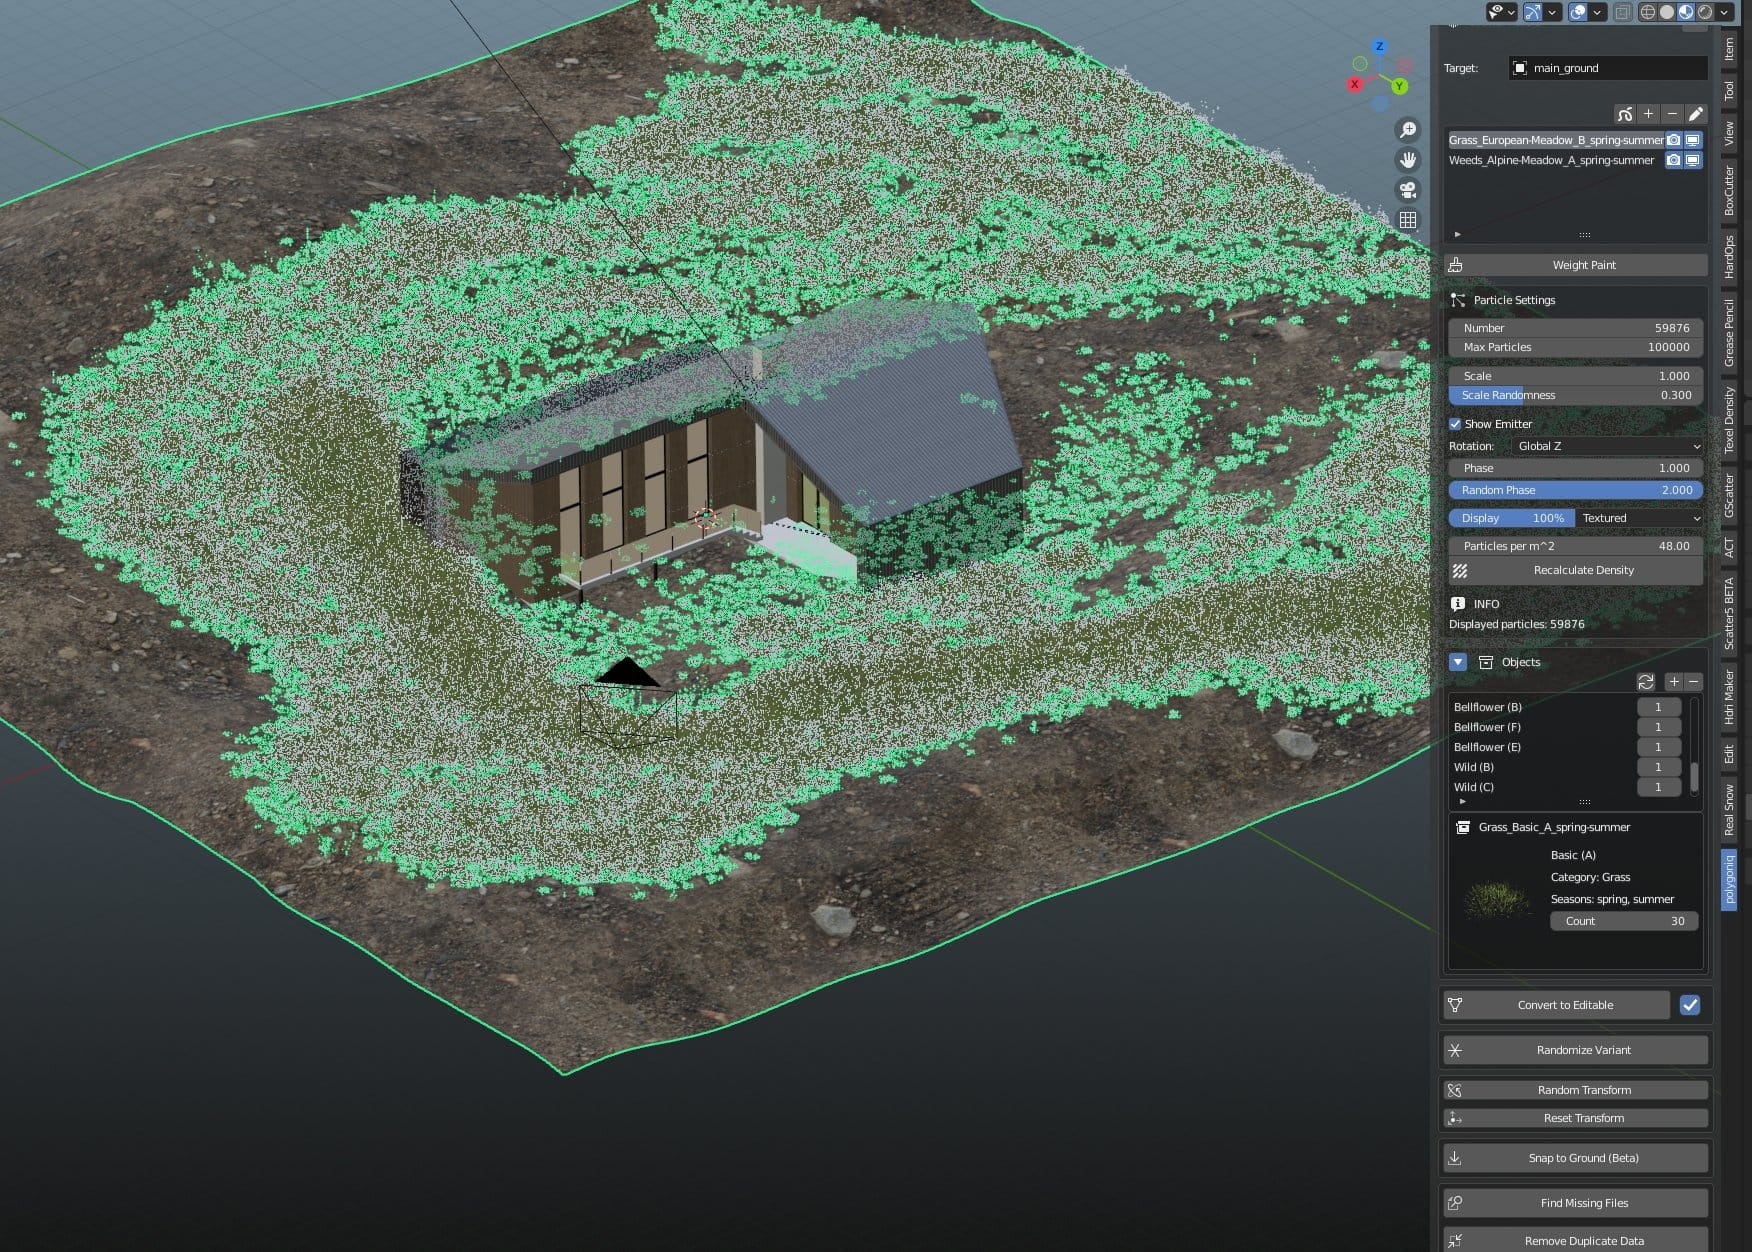
First, I scattered some grass from European meadow biome around the house. If you add biome, it scatters it evenly on the whole selected mesh, but then the fun begins - just select a brush button and start painting your greenery on a plane using weight paint. It works like a charm and is very simple and artistic-friendly solution for creating complex greenery.
Voila! Like a Van Gogh, but without sunflowers!
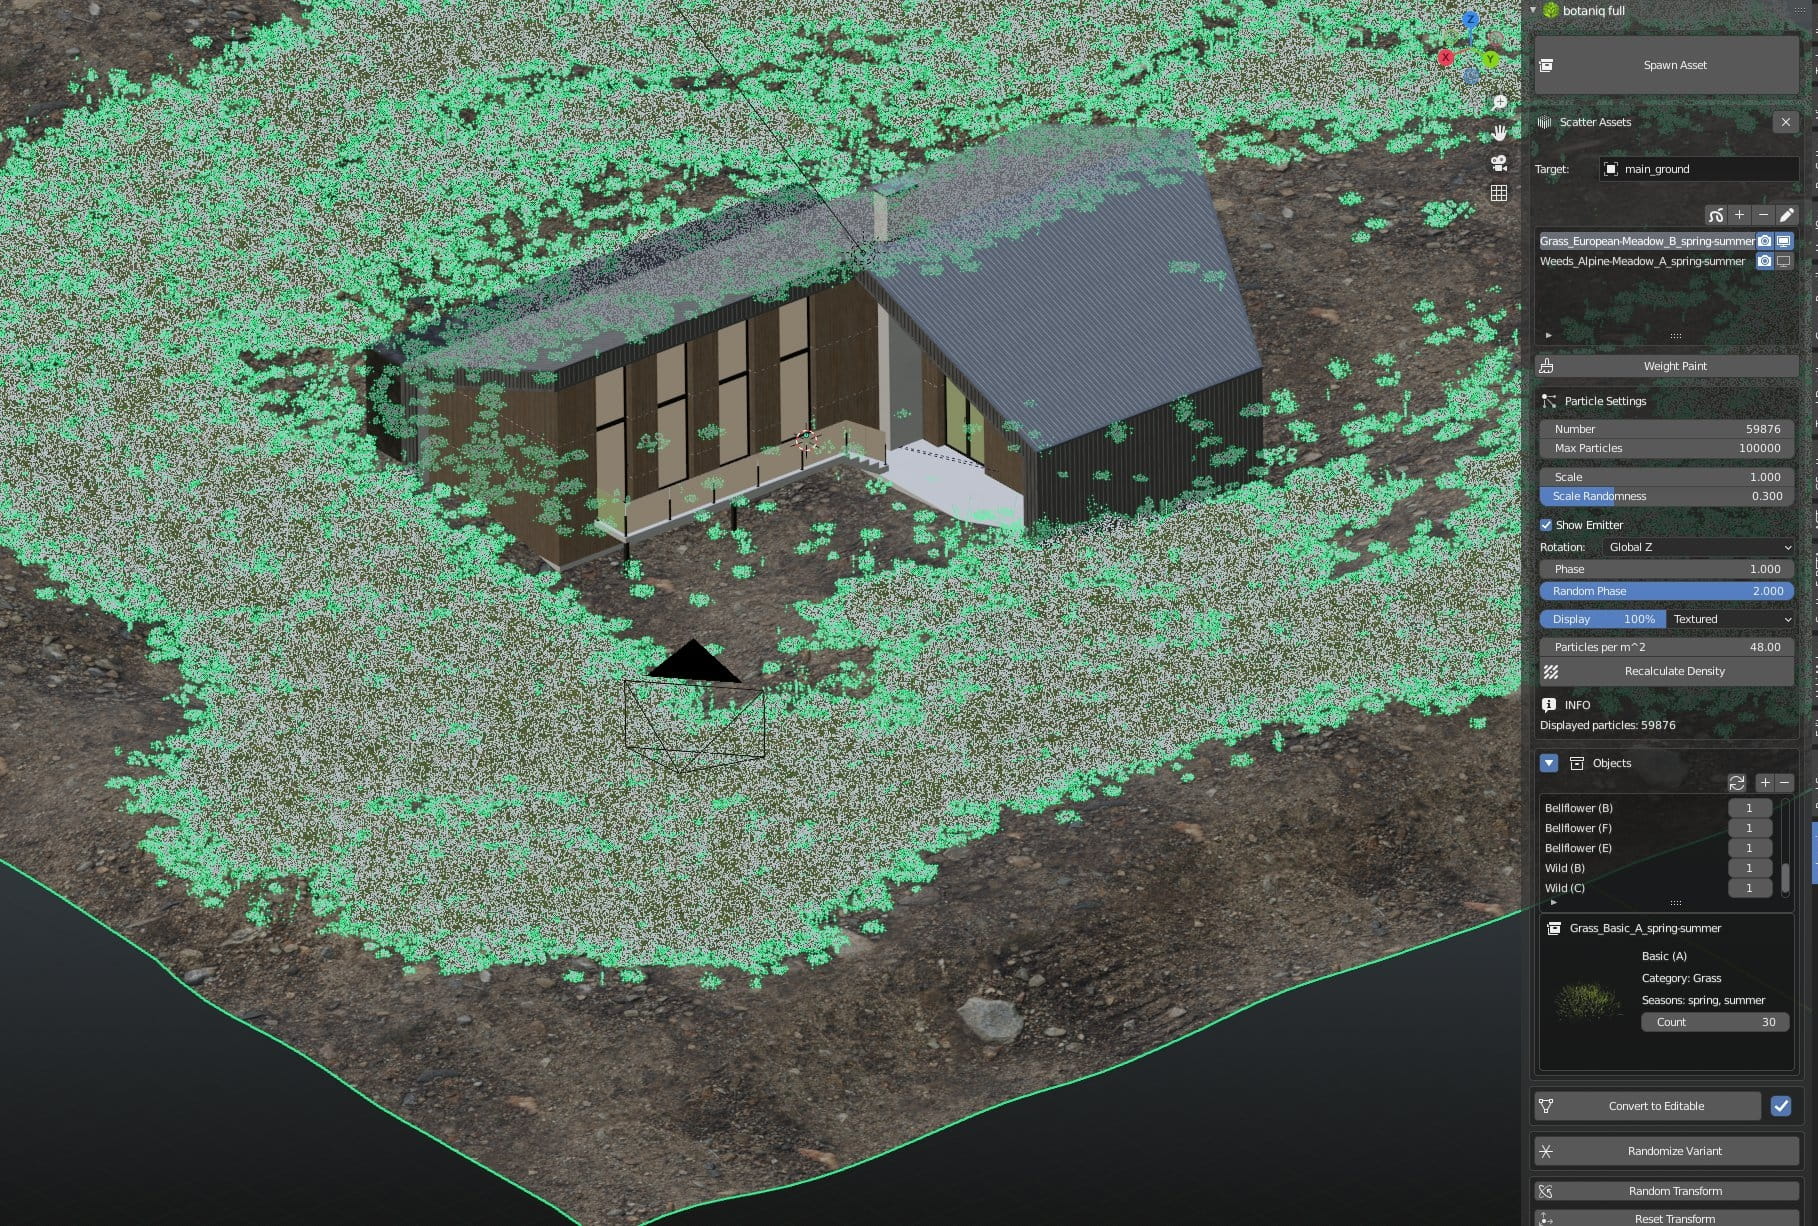
I added a bit of alpine grass for some variation. Well, a little more than a bit - 100 thousands to be exact. total number of scattered assets was 159 thousands at this point and my viewport started lagging, luckily botaniq has a solution for that - I could reduce the number of particles visible in viewport as much as I wanted.
I reduced the number of visible particles to 15%.
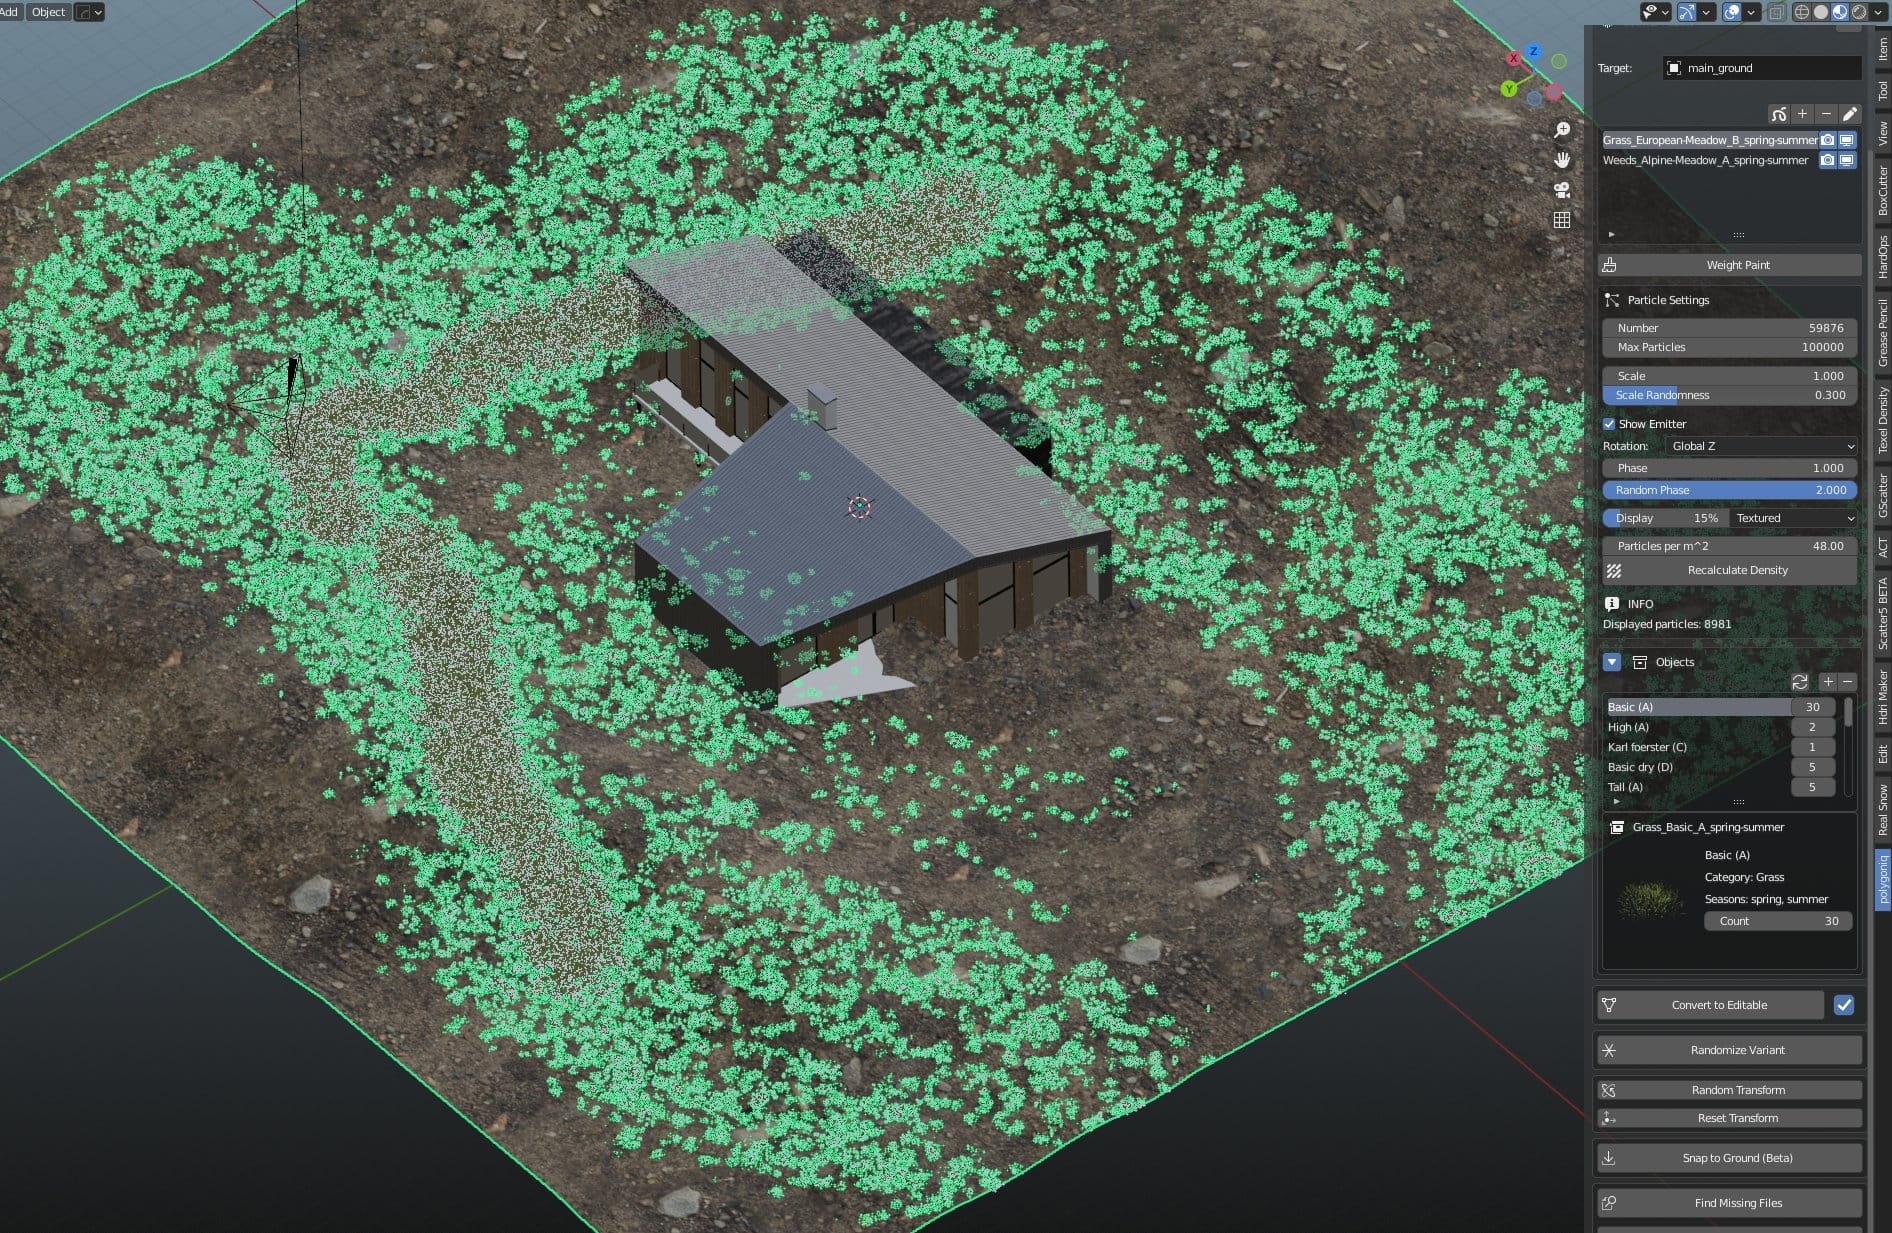
Now everything works smoothly and almost all assets are here. Let’s check it out!
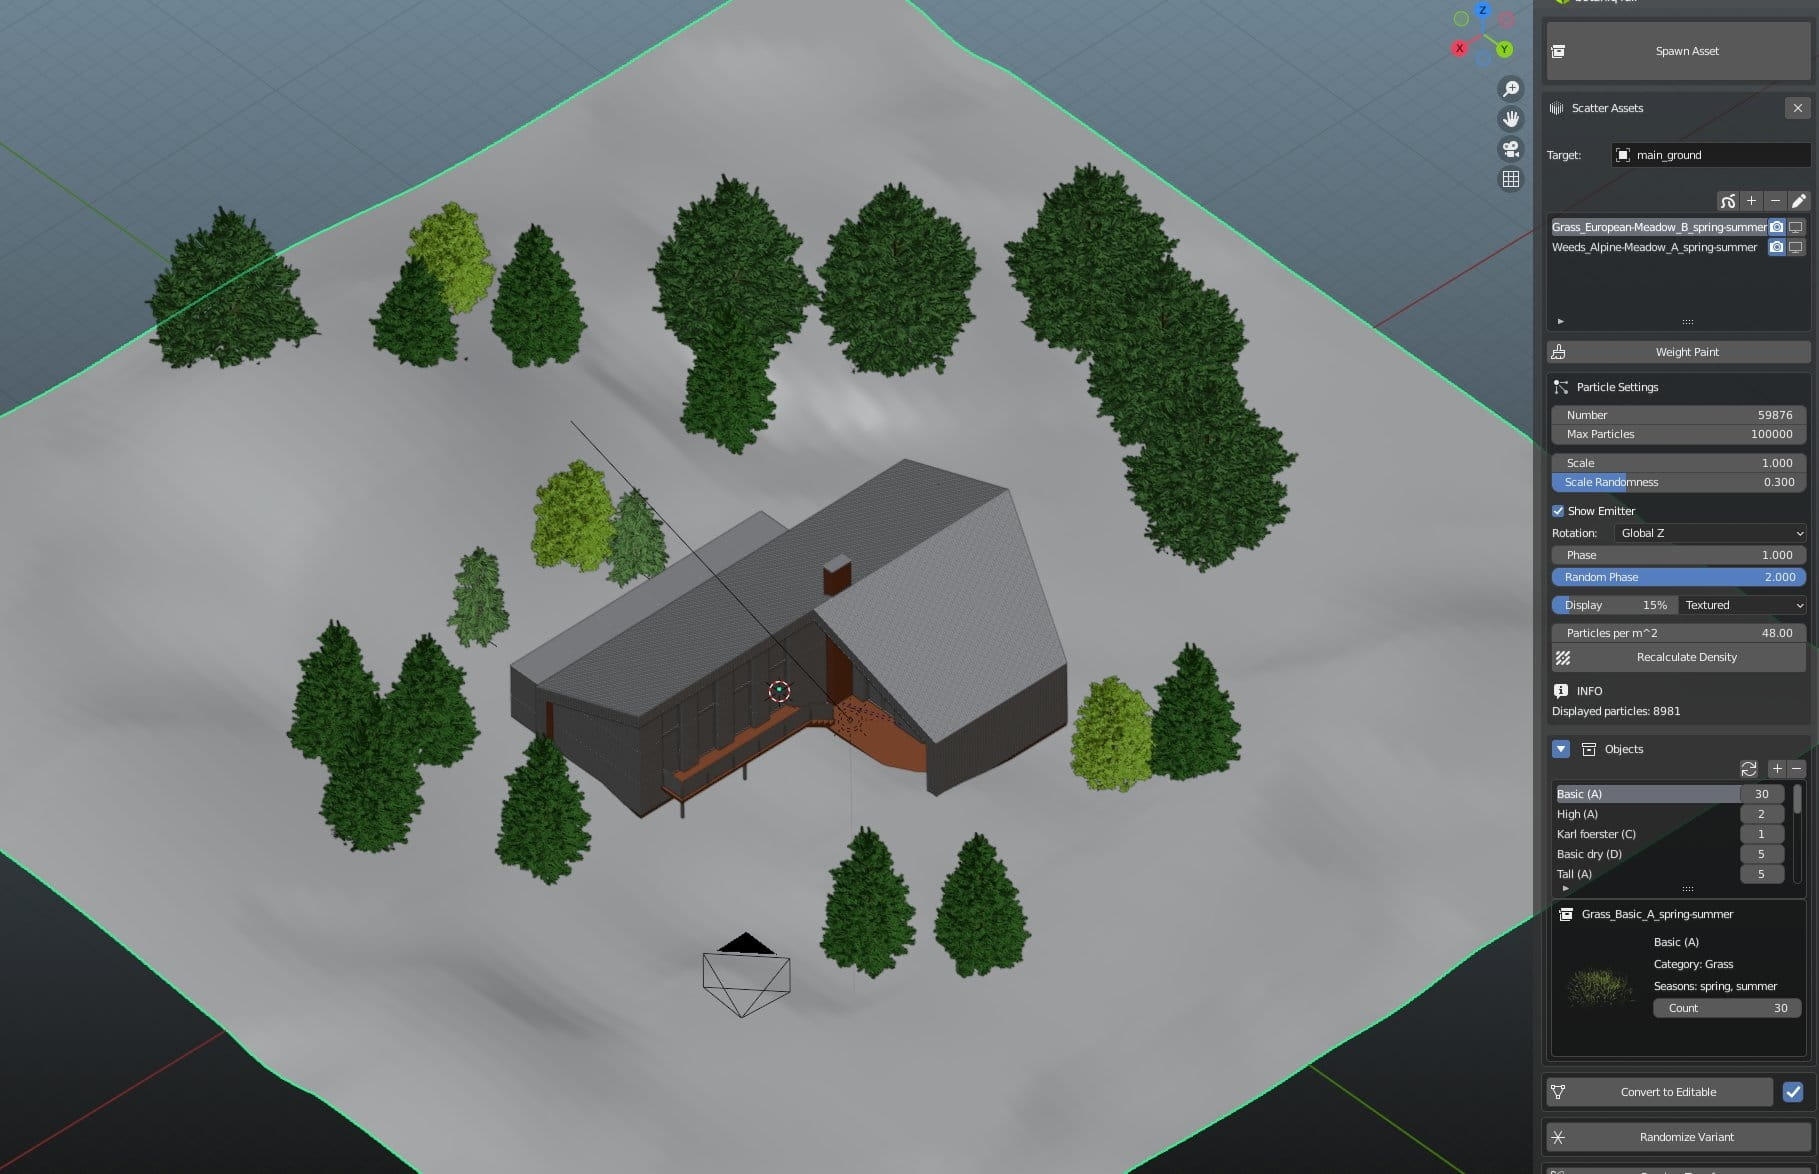
Looks better already, but I need some trees to hide the empty space behind the building. Botaniq can help me with that too. I added a third layer of foliage - "tall grass", but reduced a scale a bit.

The plugin comes with a wide library of trees, flowers, shrubs and many other assets suited for every season. Here you can see corniferous trees selection.

I addes some trees, one by one, placed them around the house, I could use some variations, but in this case the only thing I needed to avoid repetition was rotating some models on Z axis.
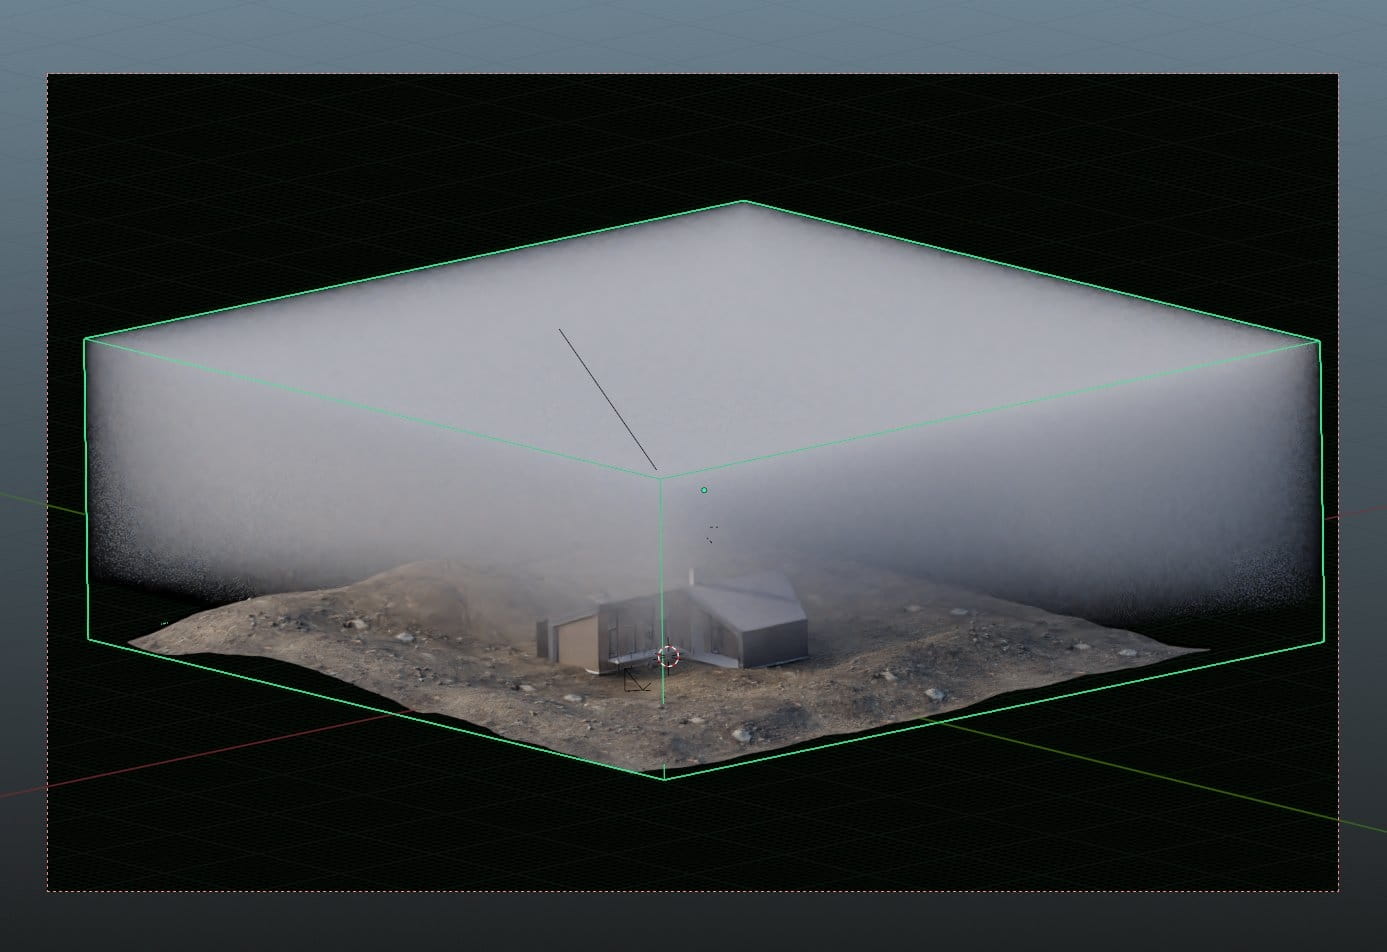
I wanted to introduce some atmosphere to the scene and I think that one of the best solutions for that is using volumetric materials in Blender. I created a Cube and changed it visibility to “only wireframe” in Blender, so it will not obstacle my view during work.

I assigned Volume Scatter material to it. I also played with rotation, to change the positioning of the fog.

This way, as you can see, the fog is more dense further from a camera and it almost is non-present around the house model, which is perfect for - me - I didn’t want it to hide any details of the house I was going to render, I only needed it as a moody background.
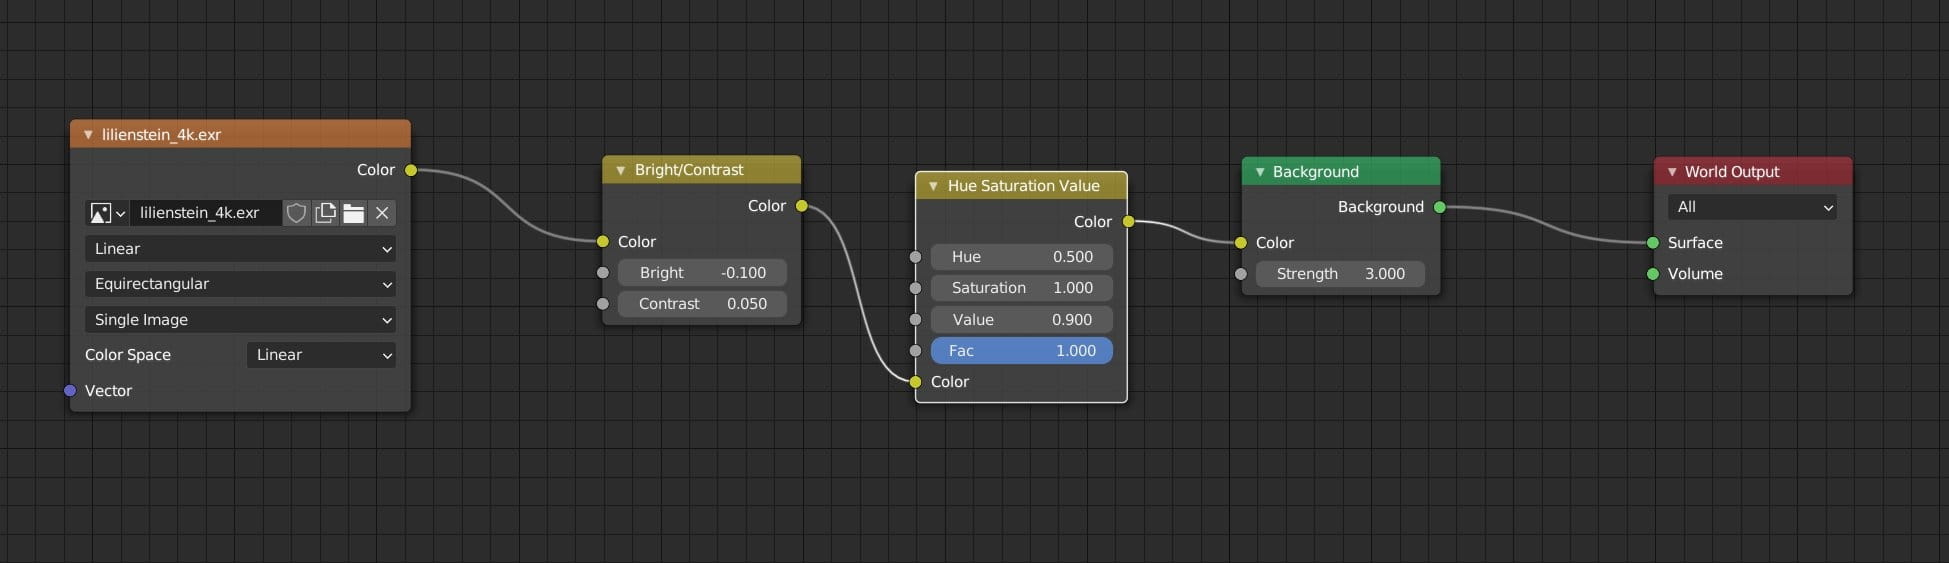
I decided that I will use HDRI map to lit my scene. I used Lillenstein map from HDRI Haven.
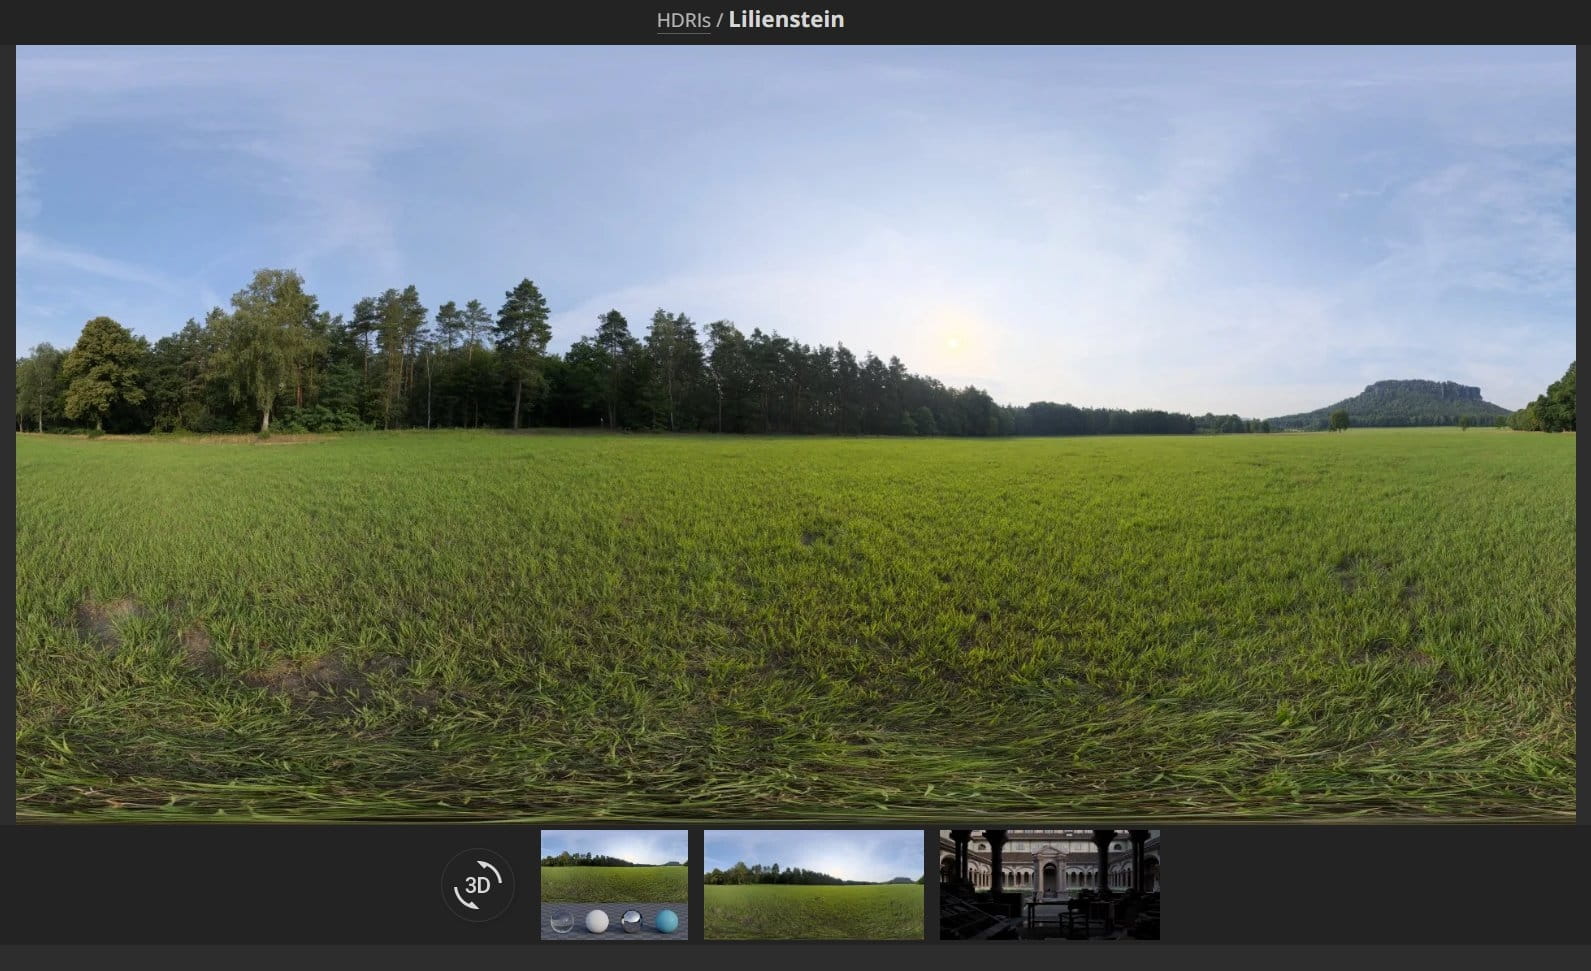
...and tweaked it a bit with nodes (brightnes, contrast, etc.).
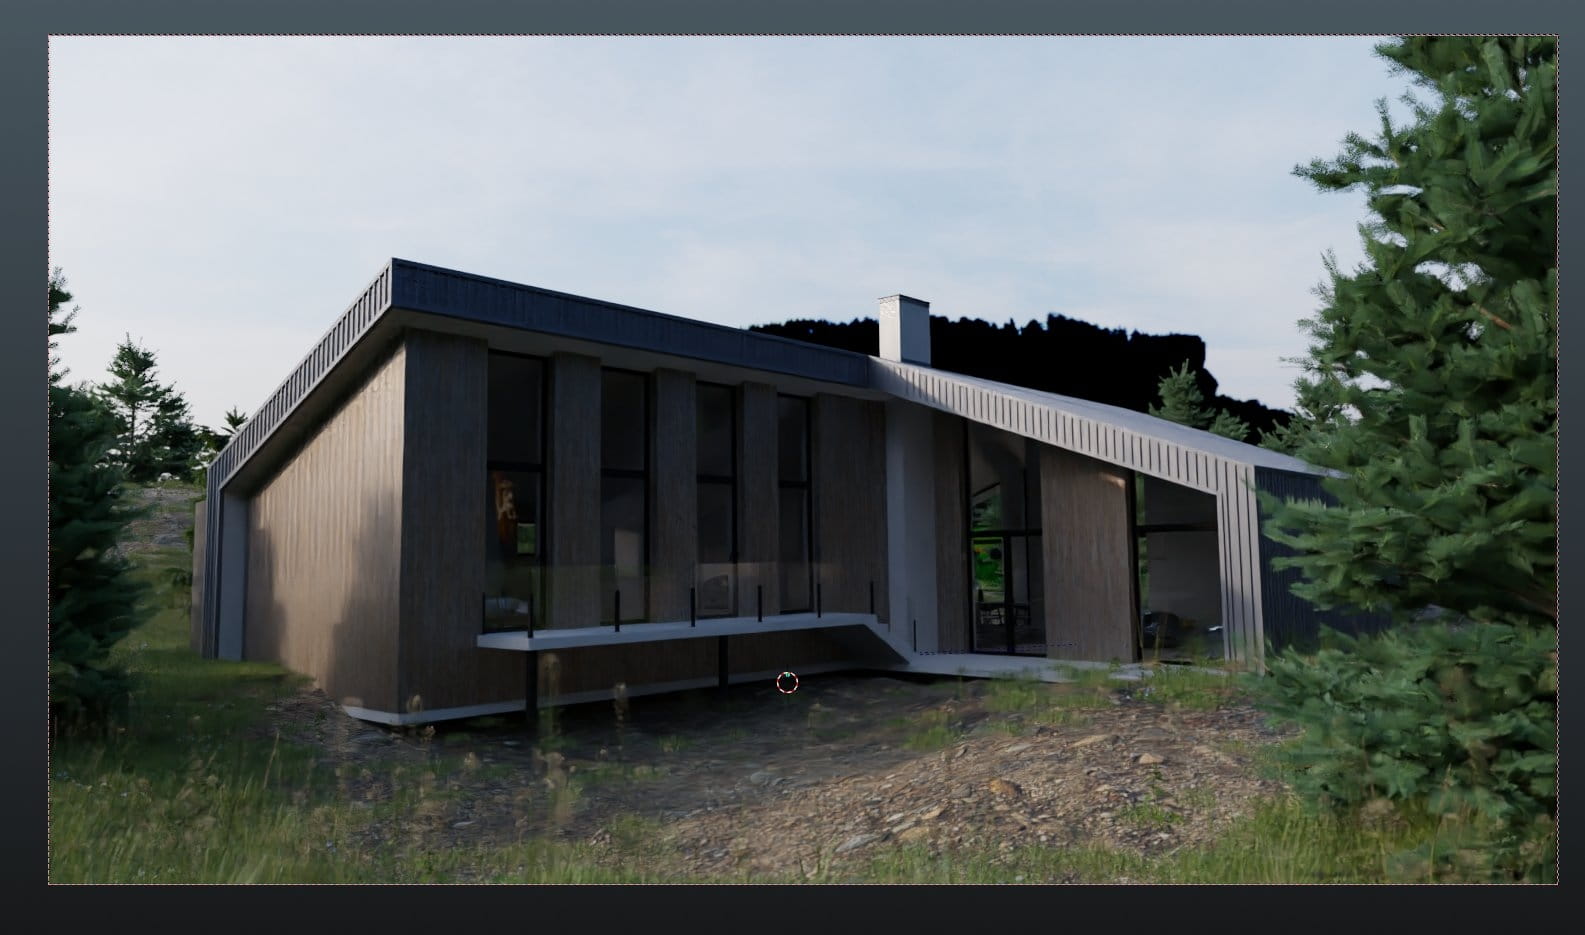
Nice! it is starting to look like a gloomy, mountain night scene with a cosy cabin. The problem is that cabin does not look cosy at all, it is dark and abandoned. Let’s change that.
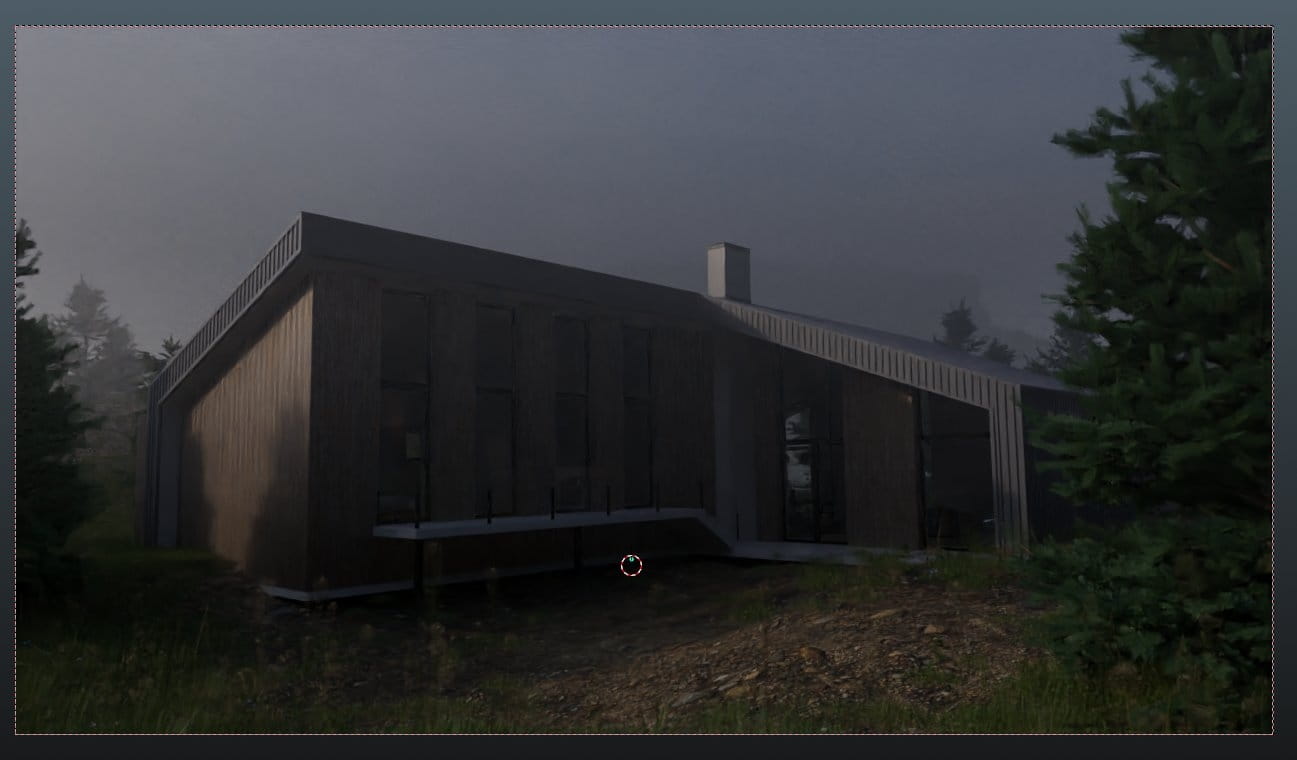
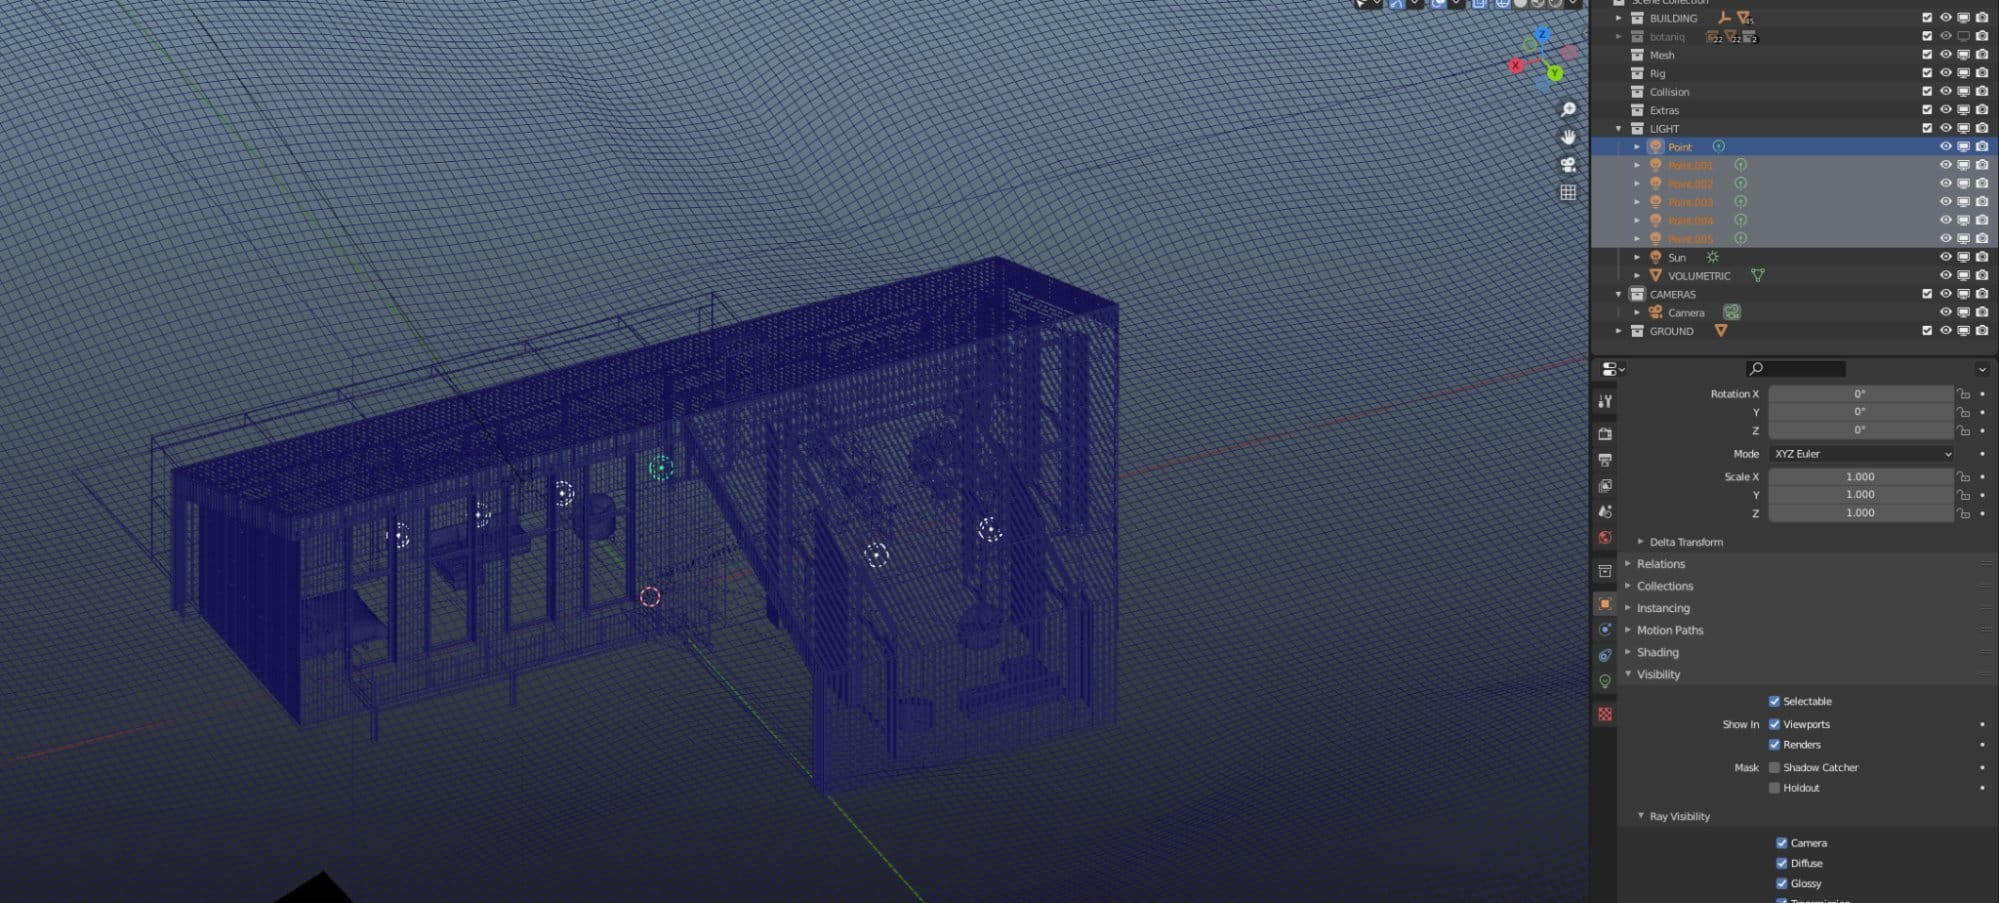
I needed some interior lighting to brighten my hero building. So I I used six point lights in Blender.
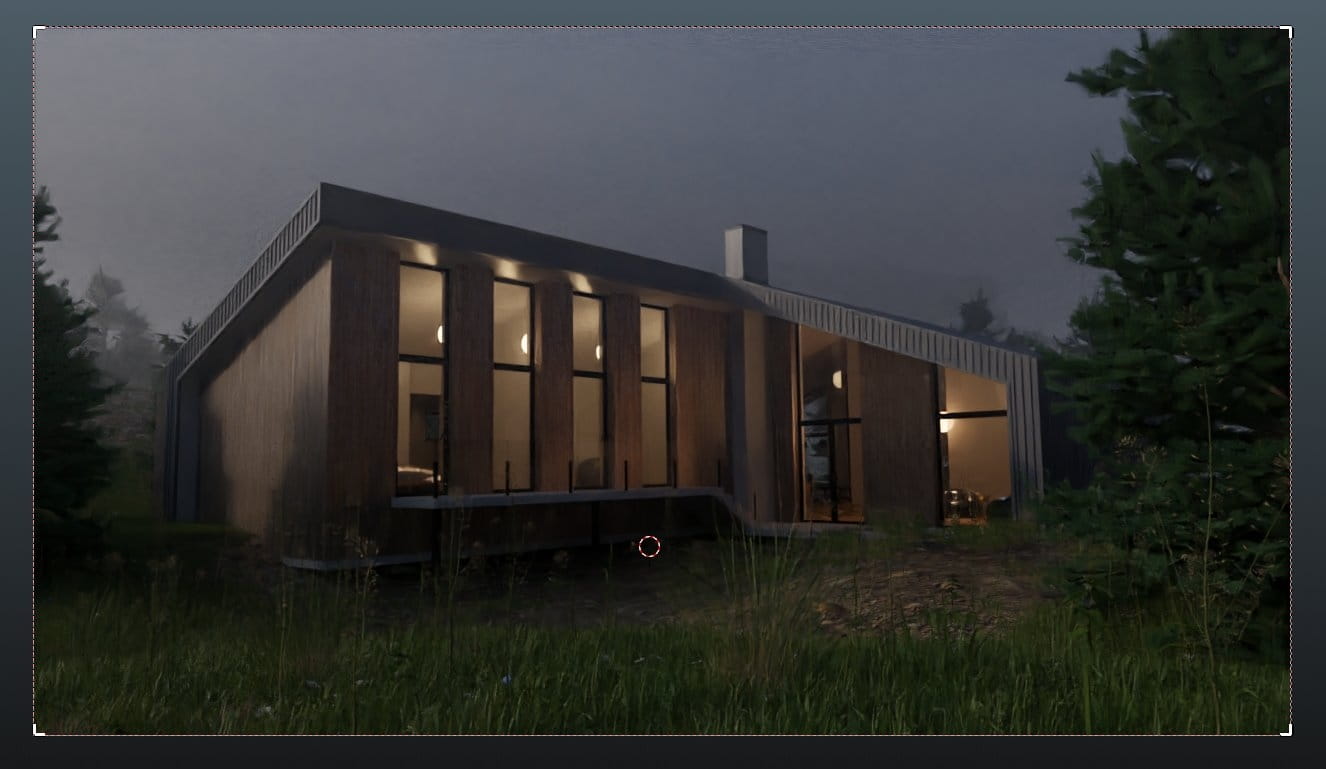
Much better now! The last thing is to use Depth of field of the camera to blur foreground greenery.
Ok. I think that this image is ready for post-production. I use Davinci Resolve in my daily video work, it is one of the most sophisticated apps for working with color, so I figured that it will be a perfect soft for color grading. Luckily, Blender can export OpenEXR files, that are perfect for grading.
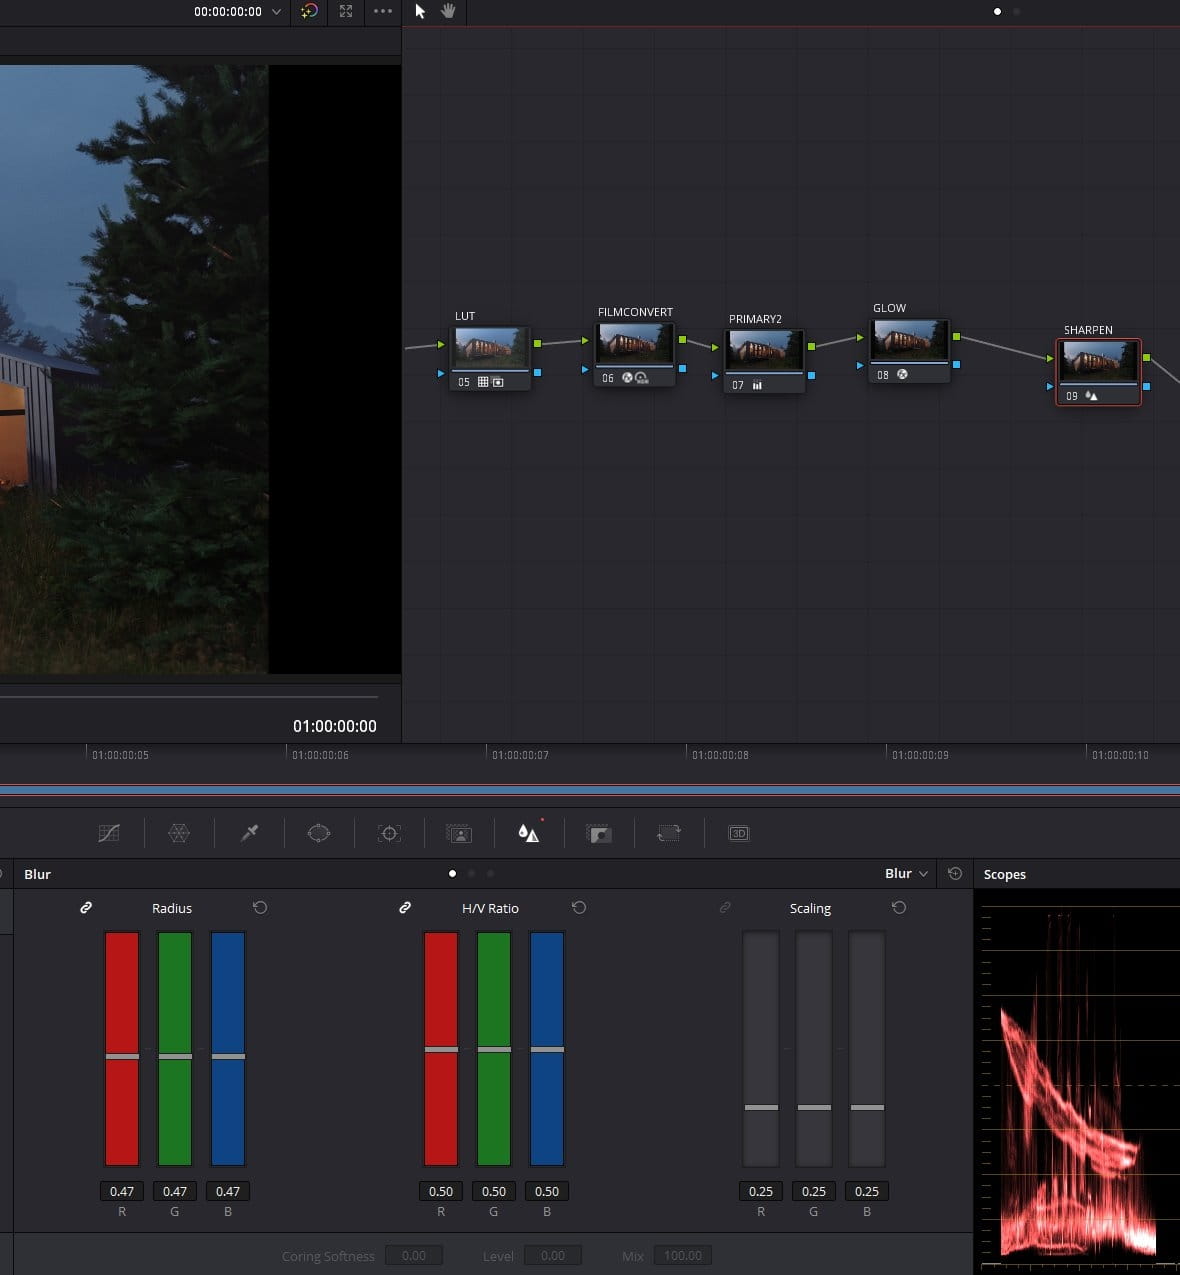
This is like my Node Tree looks like in Davinci Resolve. It's not really that complicated - grading still images is fun and simple!
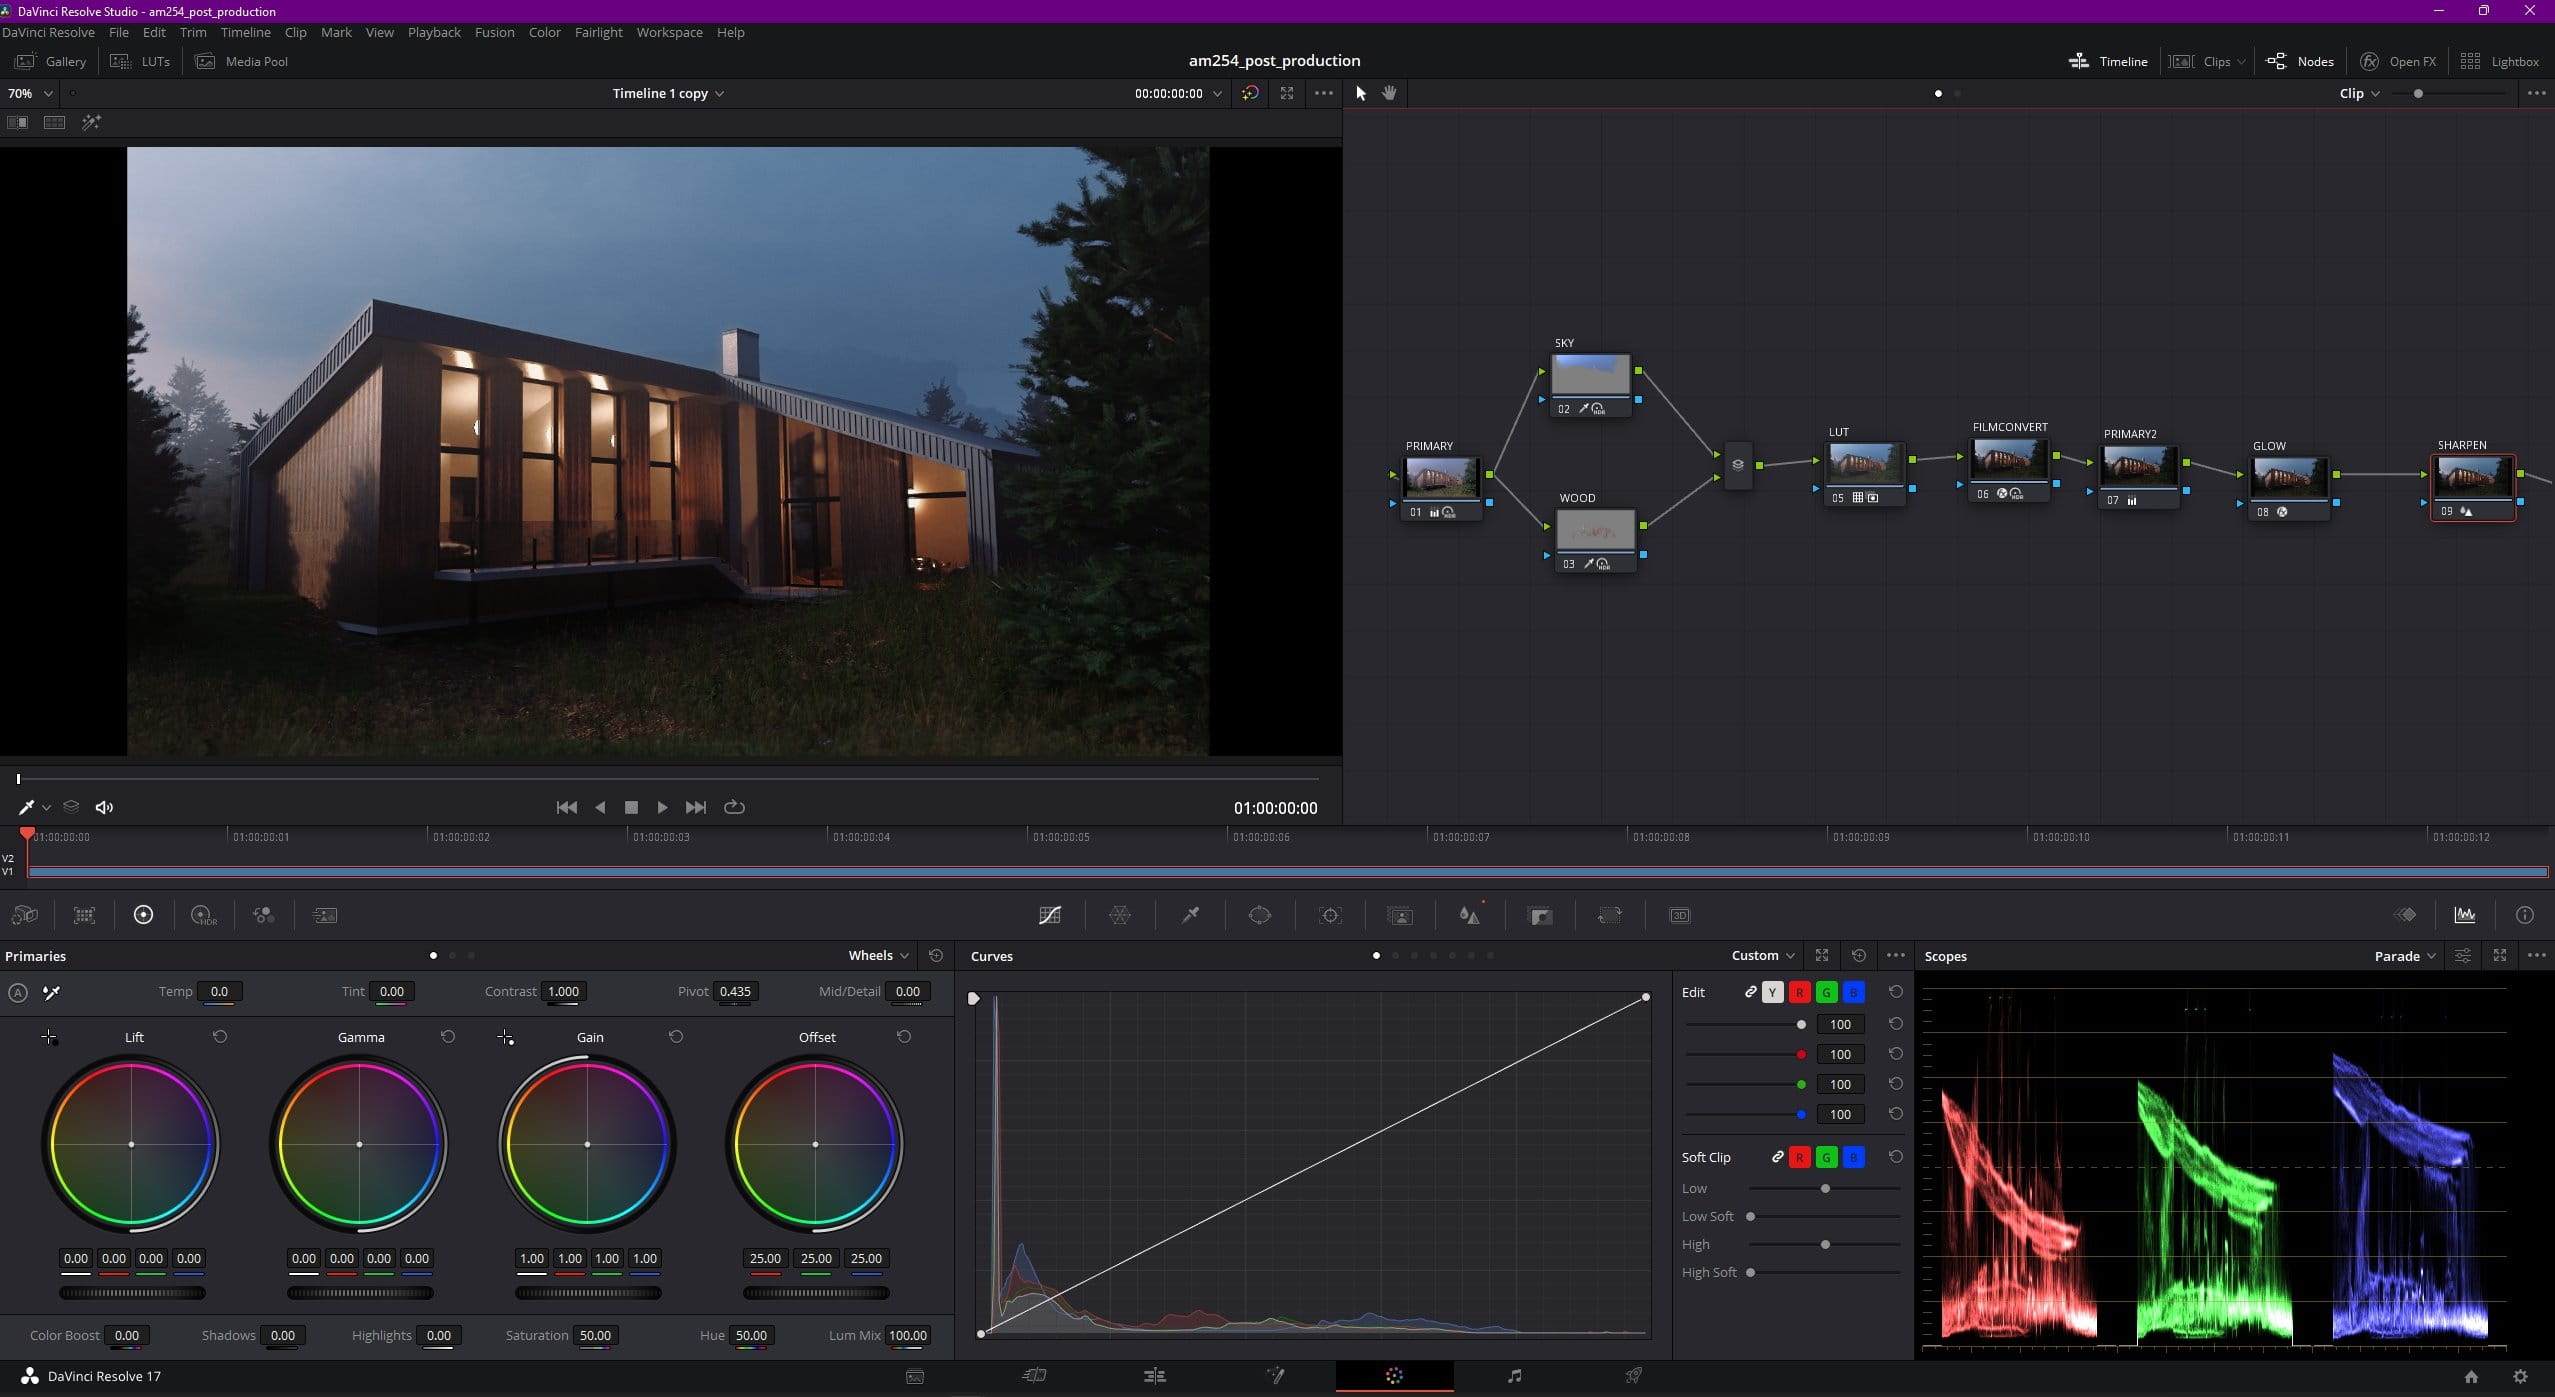
My first node is "primriy controls node" - I tweaked shadows and light tones a bit with the wheels and added a bit of saturation to the image.

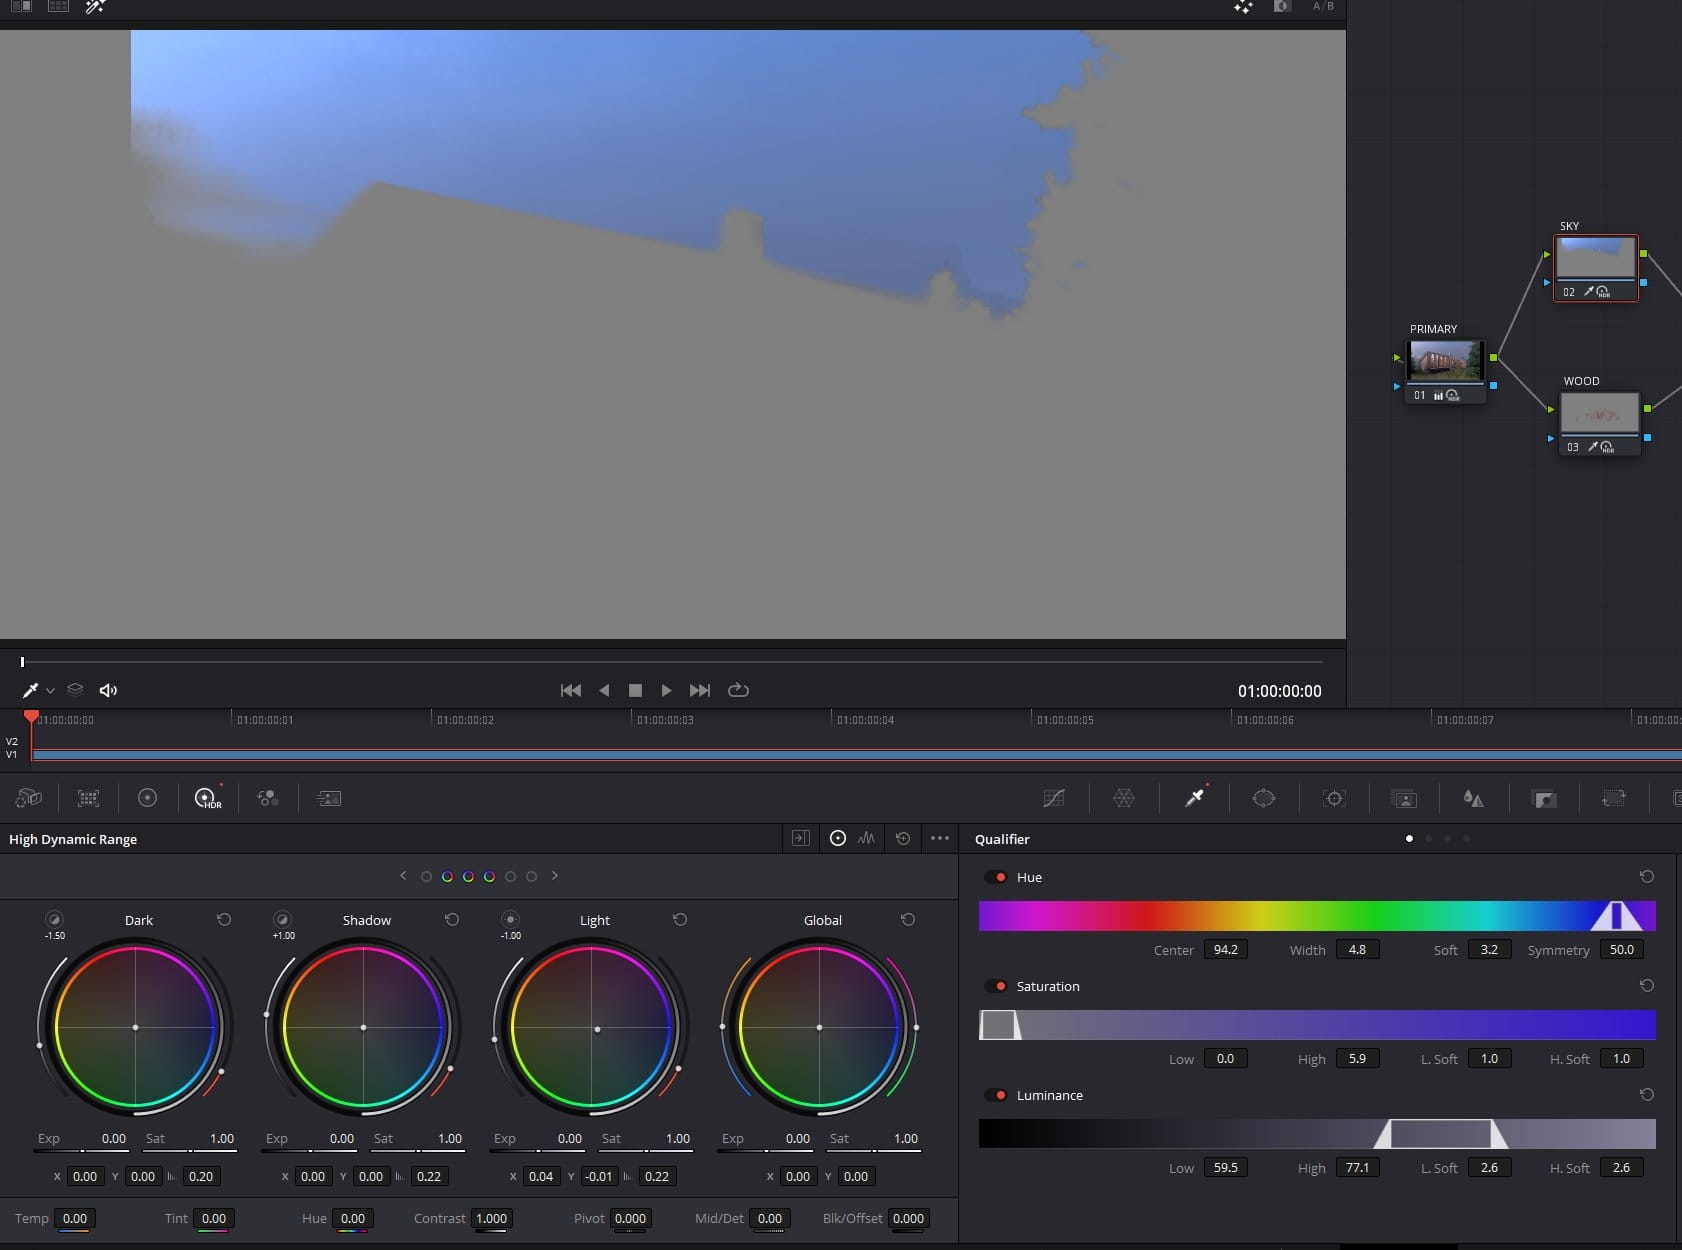
The next node was made for tweaking sky tone. I selected sky color with eye-dropping tool and tweaked this mask a bit with the sliders, then I added a bit og blue tone to the sky.
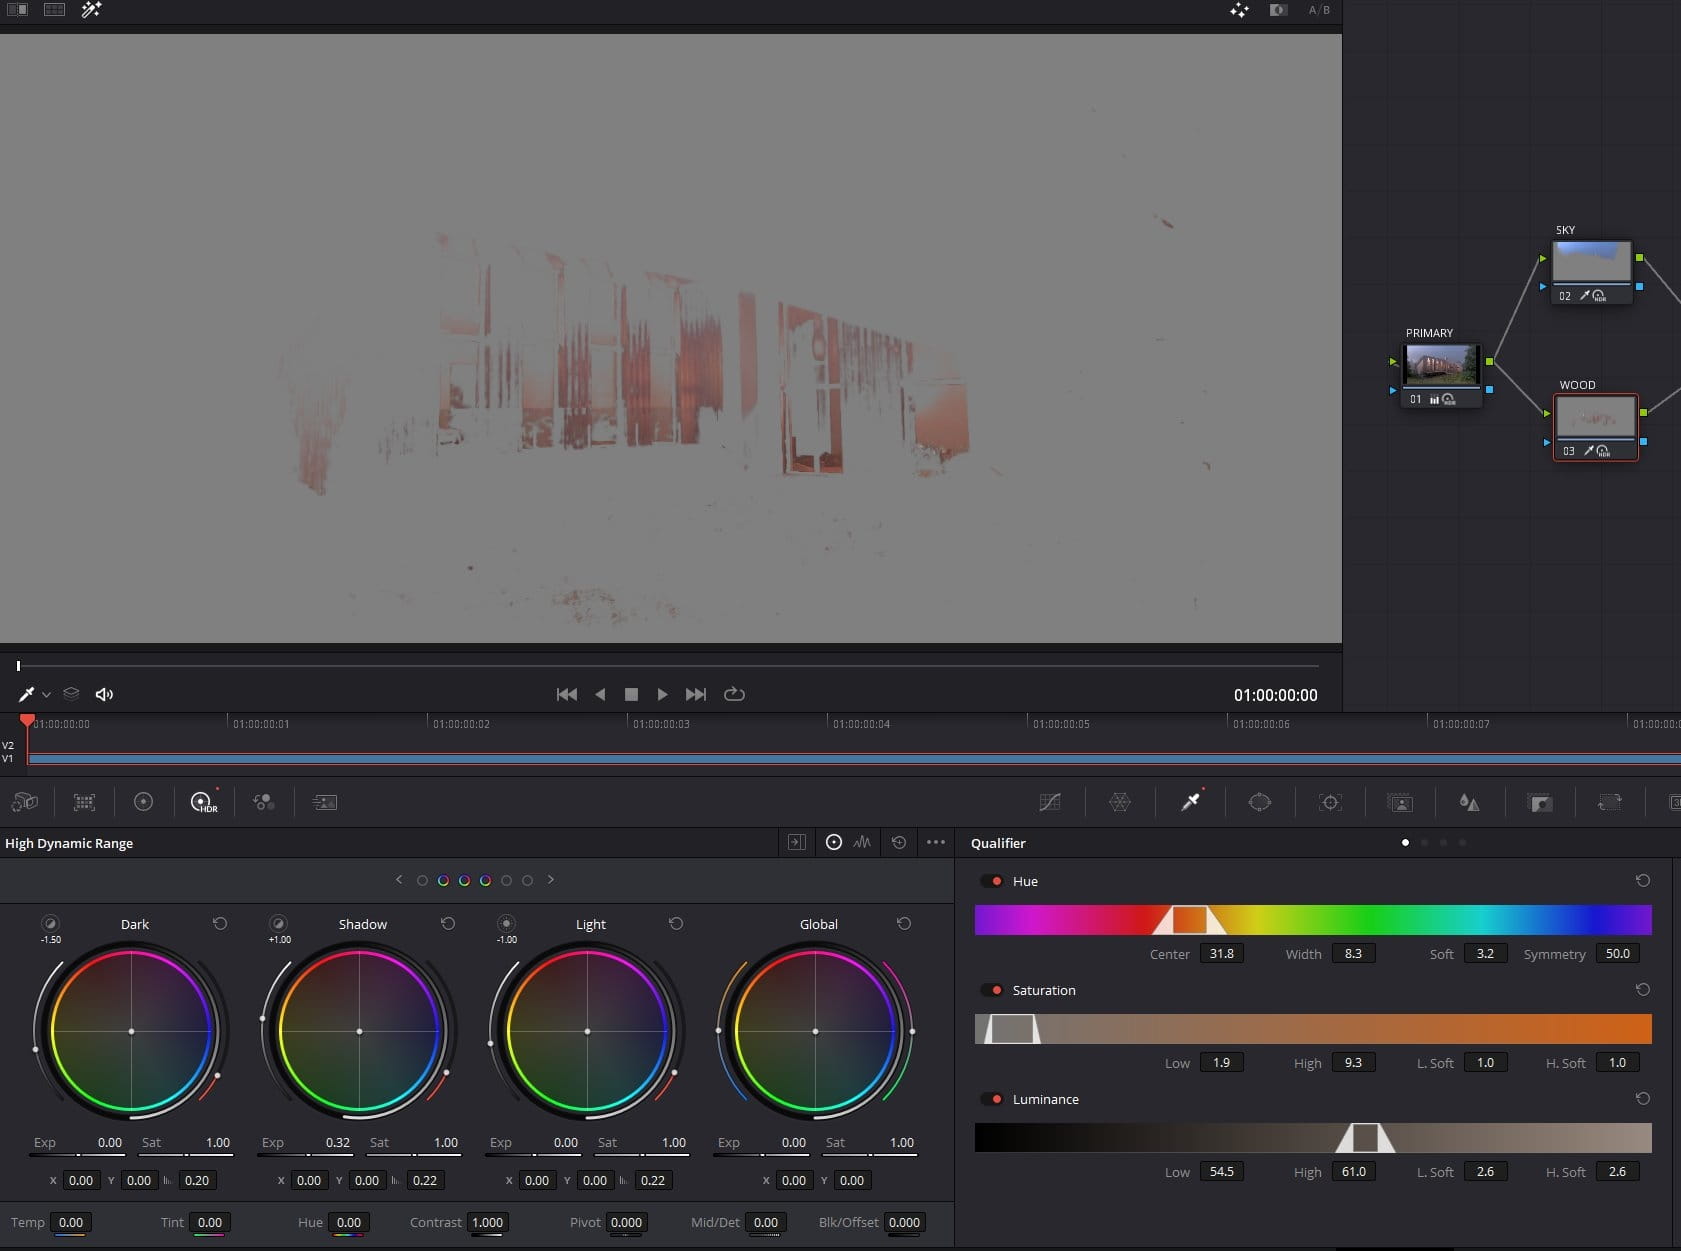
I wanted the wood to be a bit lighter so I selected only wood color and tweaked it in another node.
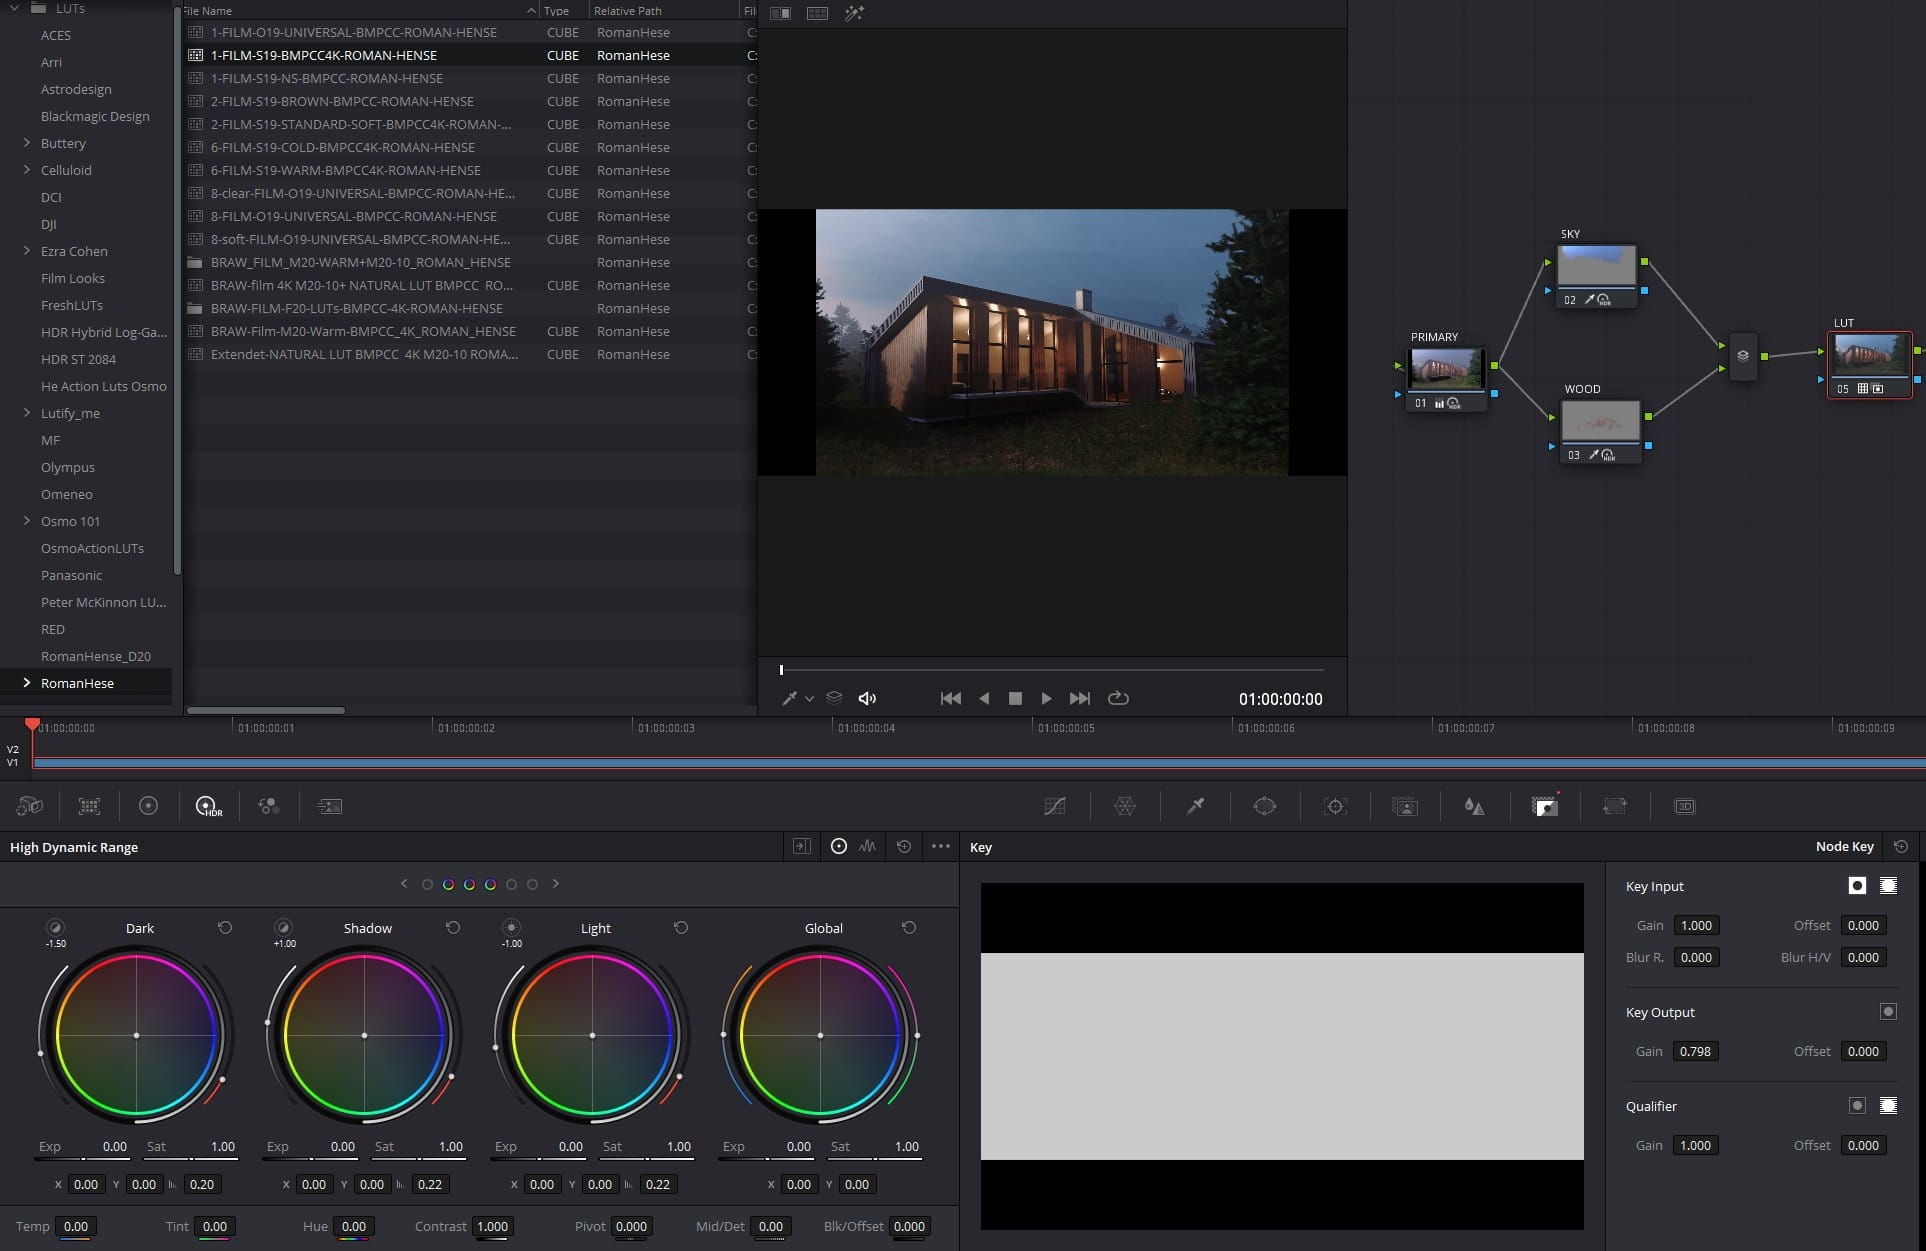
The next step is a little cheat - I used LUT from Roman Hense to adjust overall look of the image. I dropped the amount of influence of this node to 0.798 as you can see.
Another "magic" node is FilmConvert tool that lets you to simulate different analog film looks. I used Kodak KD 5207 to bring some vintage feeling to the image. This node also adds a little grain to the final image.

I added a glow to the light sources with Sapphire Glow node. But you can use also stock Davinci glow effect - it works really well.
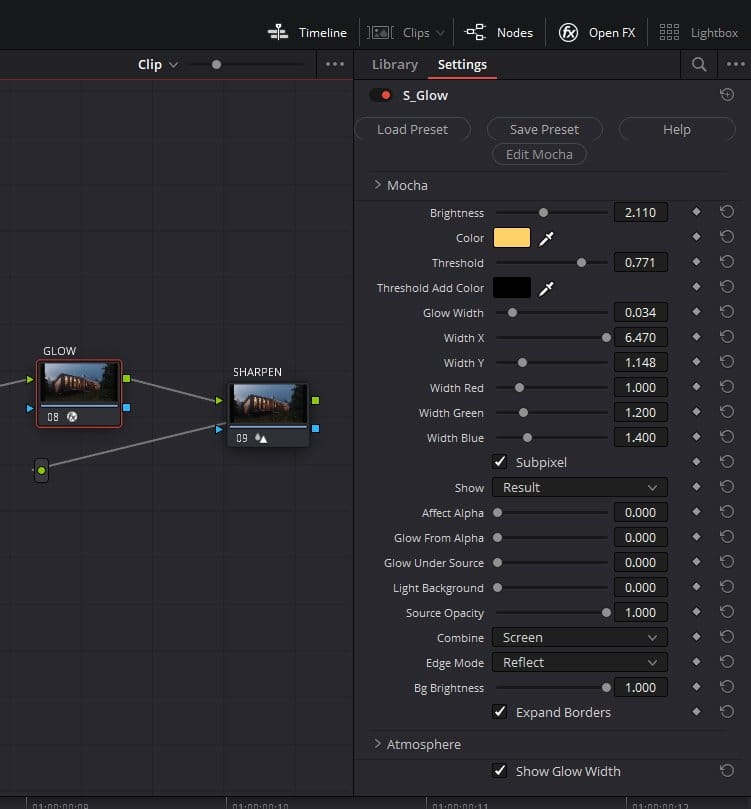
At the end I sharpened the image - in DaVinci you can do it by pulling radius to 0.47 and it is enough in the most of the situations.
And here we have it - the final image after post-production :)
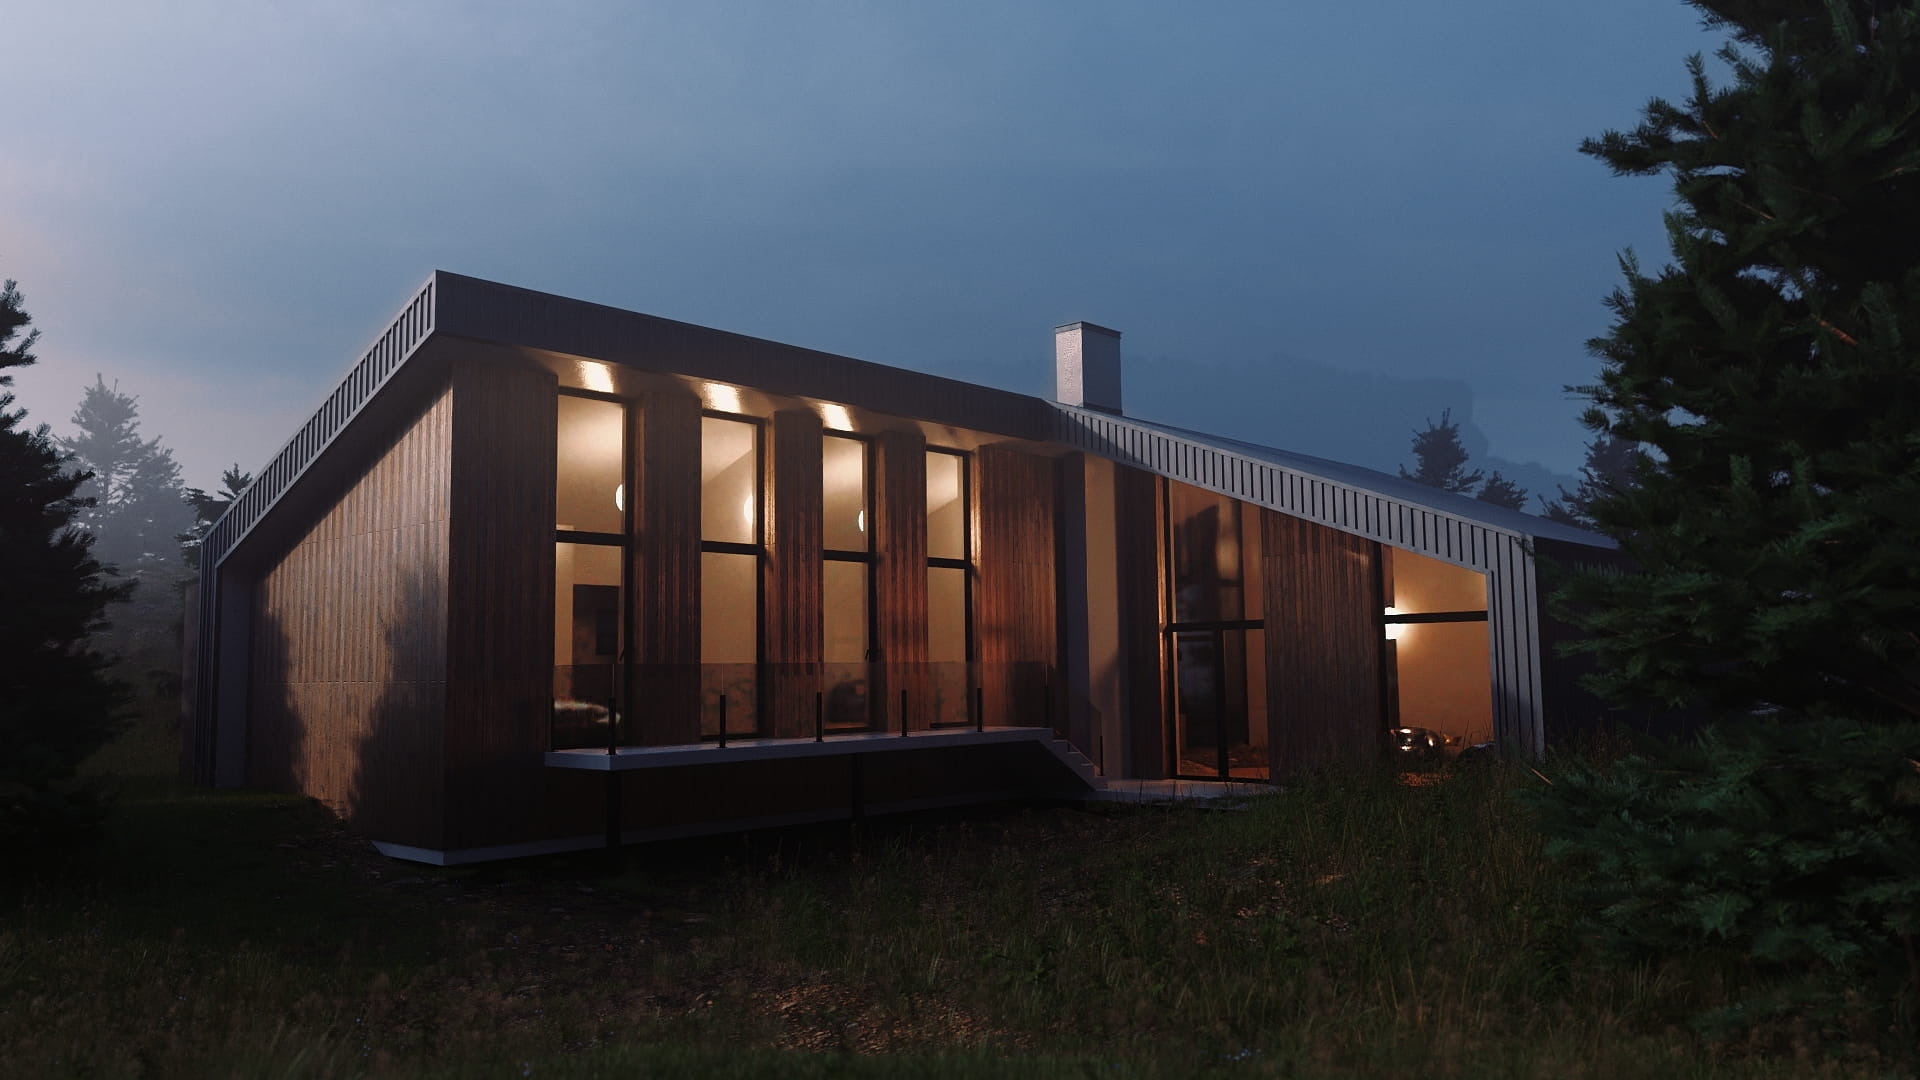
Hope you liked this tutorial! Happy rendering!


LEAVE A COMMENT


|

|

|

|

|
 Customer zone
 Your special offers
 Your orders
 Edit account
 Add project
 Liked projects
 View your artist profile
COMMENTS