How To Make Your CGI Walls More Realistic
Realistic walls with noise modifier.
Total: € 0
Continue Shopping
In accordance with the art. 13 section 1 and 2 of the European Parliament and Council Regulation 2016/679 of the 27th April, 2016 on the protection of natural persons, with regard to the processing of personal data and on the free movement of such data, and repealing Directive 95/46/EC (General Data Protection Regulation), hereafter RODO, I hereby inform that:
1. EVERMOTION S.C., 8 Przędzalniana Str., 15-688 Białystok, Poland is the Administrator of your Personal Data (APD)
2. Data Protection Inspector can be reached through e-mail: iod@evermotion.org
3. Your personal data are to be processed on the basis of art. 6 section 1 letter a, b and f of RODO in order to:
a) prepare, conclude and execute the agreement and for other purposes approved by you,
b) to execute the legitimate interest like marketing of products and the agreement, claim assertion or defence against claims resulting from the law regulations.
4. Entities entitled to the reception of your personal data may be the authorised public bodies; mail providers; providers of the services covered by the agreement; responsible for debt recovery, keeping the archives, document utilization, legal consulting, technical services, IT services and accountancy.
5. Your personal data shall not be transferred to the third country, nor to the international bodies.
6. Your personal data shall be processed within the period of the agreement and upon your additional consent until you withdraw it. APD shall keep the data for the period of any civil law claim execution connected with the agreement.
7. You have the right to demand an access to your personal data, to correct or to delete the data if there is no other basis for the processing or any other purpose of such processing or to limit the processing of the data, to transfer the data to another administrator and to raise objections to the further data processing if there is no legal basis for further processing and to withdraw any previous consent.
8. You provide the personal data voluntarily, however they are necessary to conclude the agreement. The refusal of providing such data may result in the refusal of the agreement conclusion.
9. You have the right to lodge a complaint to the Personal Data Protection Office when in your opinion the data processing violates the regulations of General Data Protection Regulation of the 27 April, 2016 (RODO).
10. Your data will be automatically processed, including the form of profiling.
11. You are obligated to forward above mentioned information to your representative, especially if you appointed this person in the agreement as the contact person or as the representative for the agreement execution.

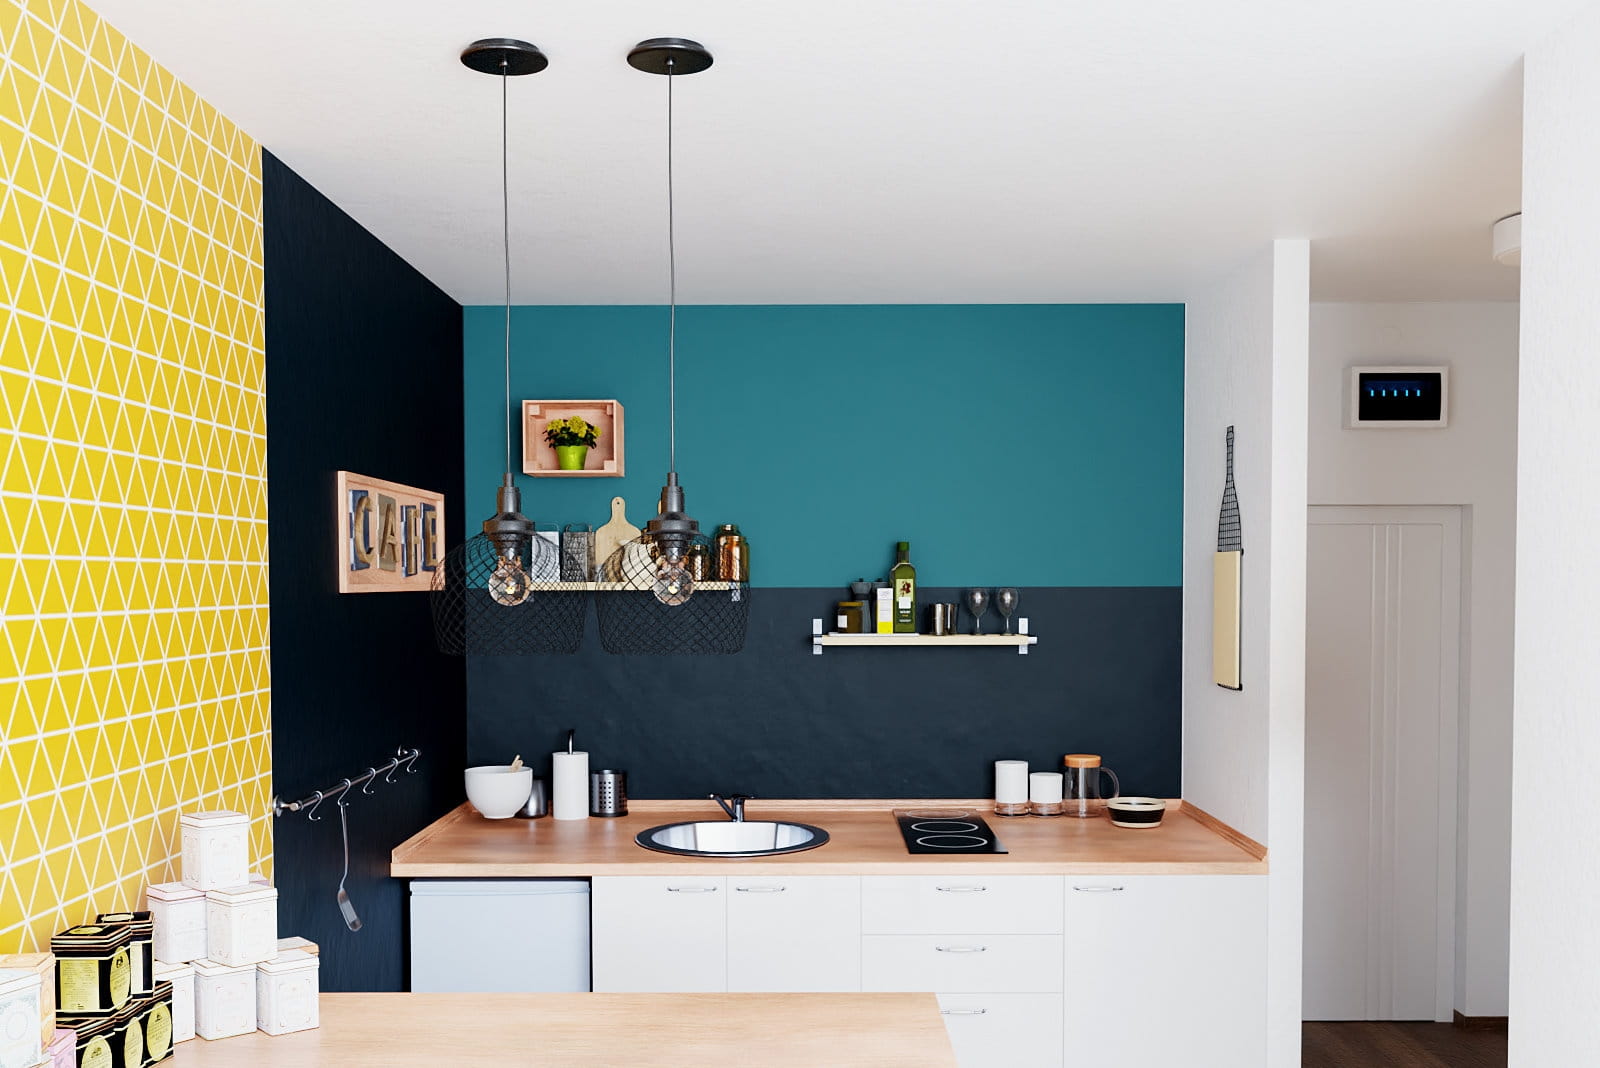
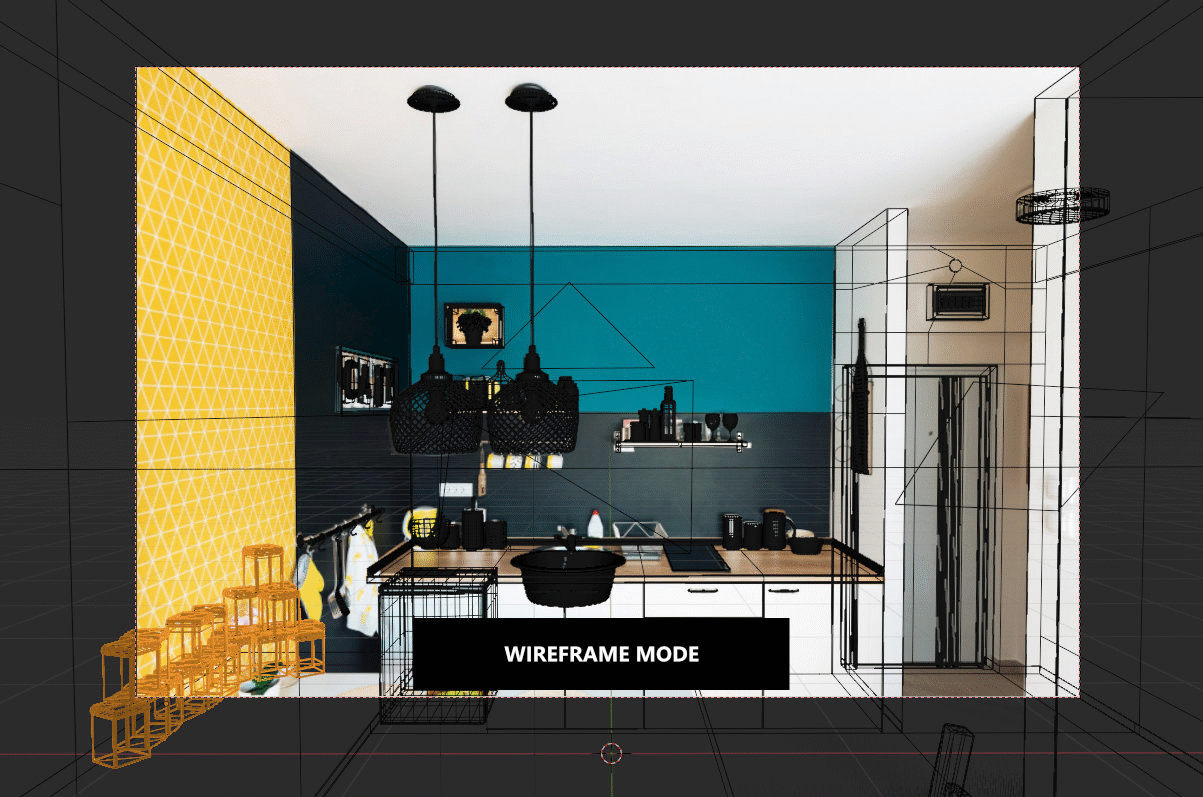
Final render after slight post-production in Affinity Photo.
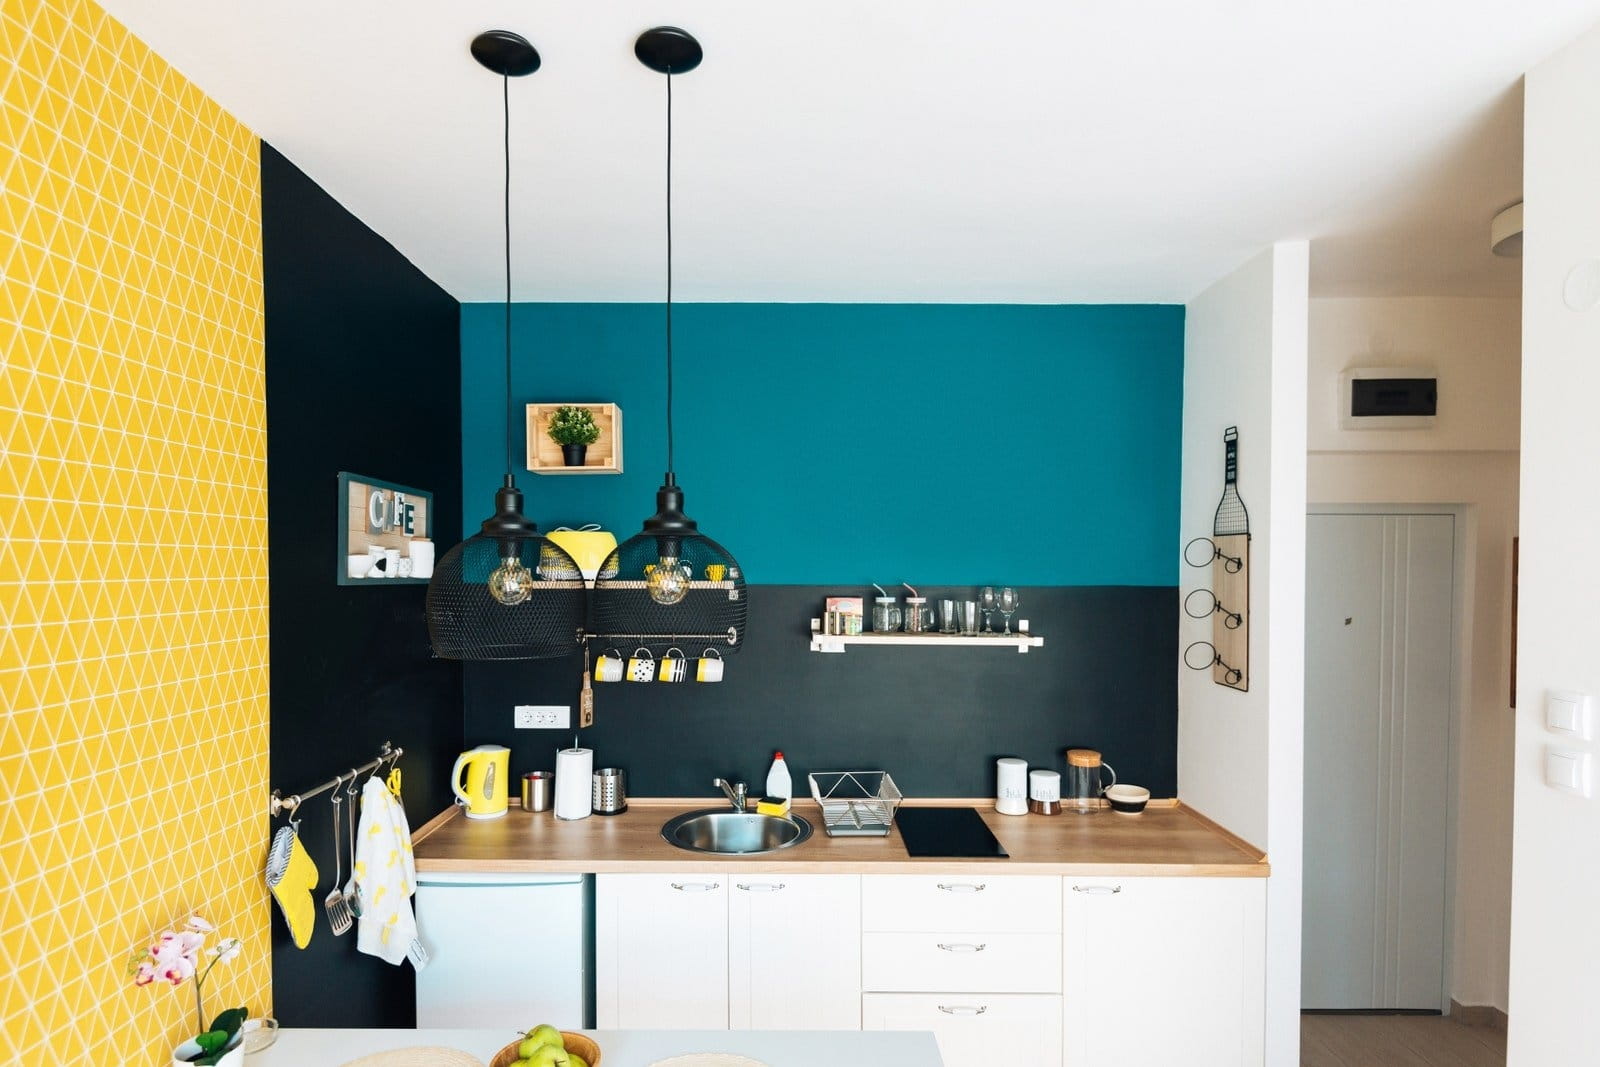
This simple interior was completely modeled in Blender, textured in Substance Painter and rendered in Cycles. Work on it was made easier by a few additional applications:
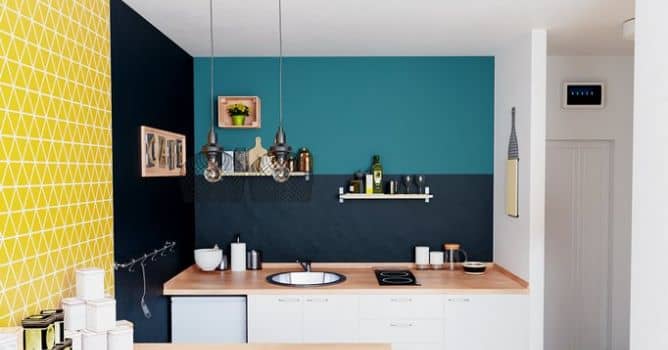
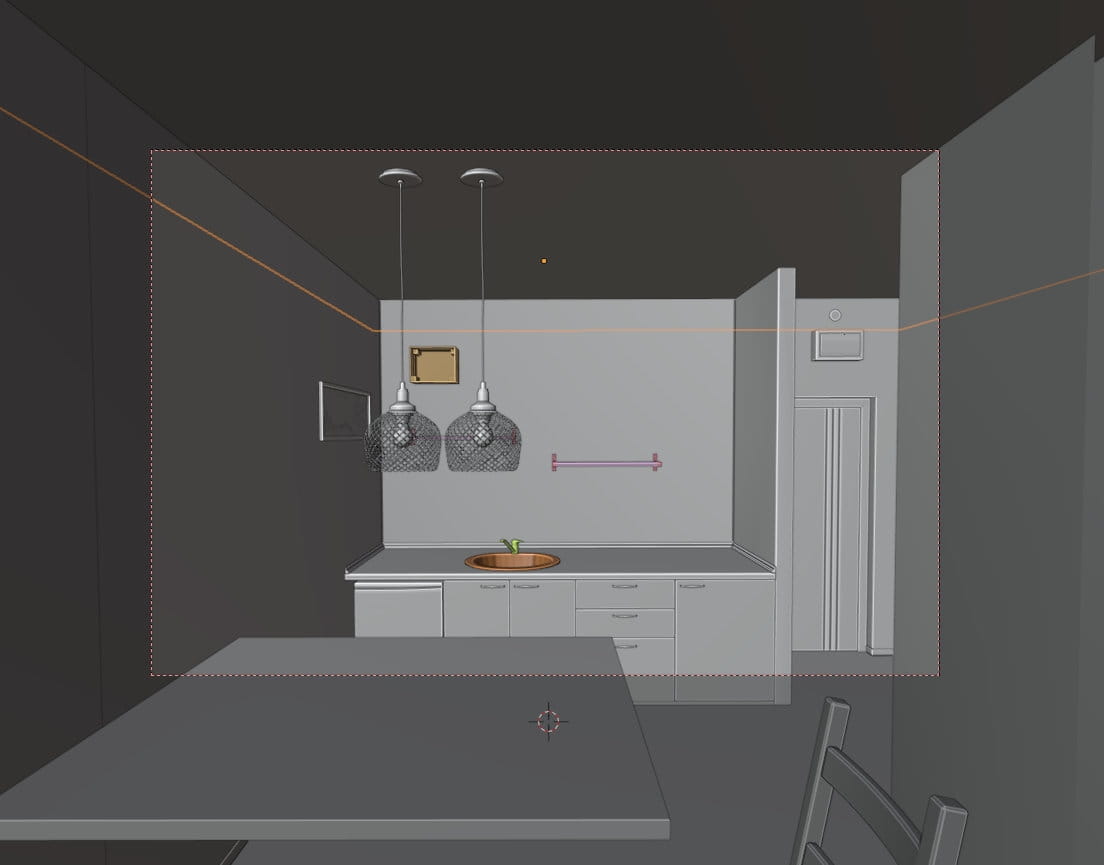
Here is the reference on the basis of which I created my visualization. It is quite a simple scene, but pleasing to the eye - here we have a small kitchen with a refrigerator, sink and kitchen utensils. My goal was to match this frame, even with its imperfections, like overexposed furniture, etc.
fSpy
To best match the Blender camera image to the original photo I used fSpy, a free perspective matching program based on reference photos. Its operation is well described in the training materials available on the developer's website so I will not cover everything here. The philosophy is simple - you load the reference photo into the program, you tell the program where the main lines of perspective are and it calculates the camera's field of view and its distance from the object on their basis. Data from fSpy can be imported to Blender with a plugin with one click. In Blender, we get a scene with a reference image and a ready camera.

fSpy settings that were used for this particular photo.
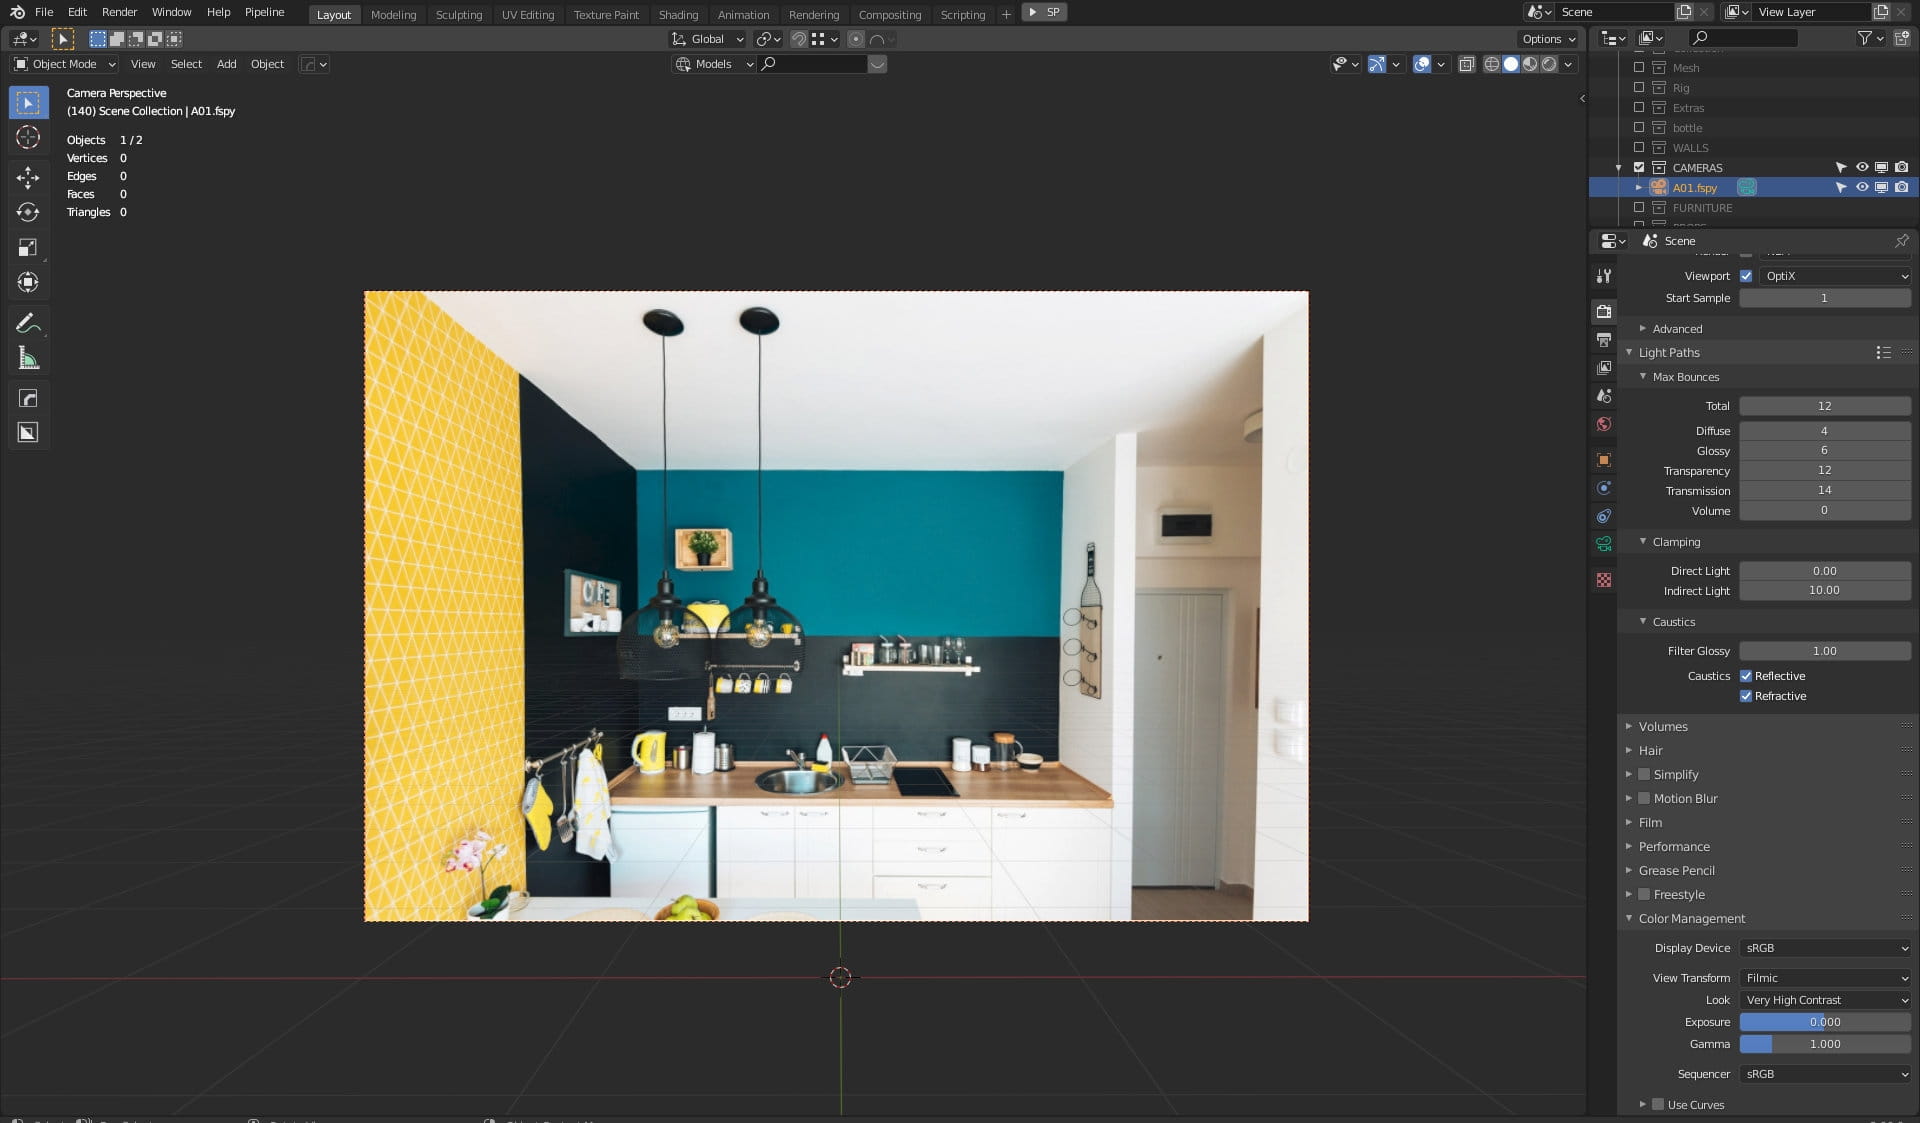
After importing my scene looks like this - a background image and matched camera, we can start modeling.
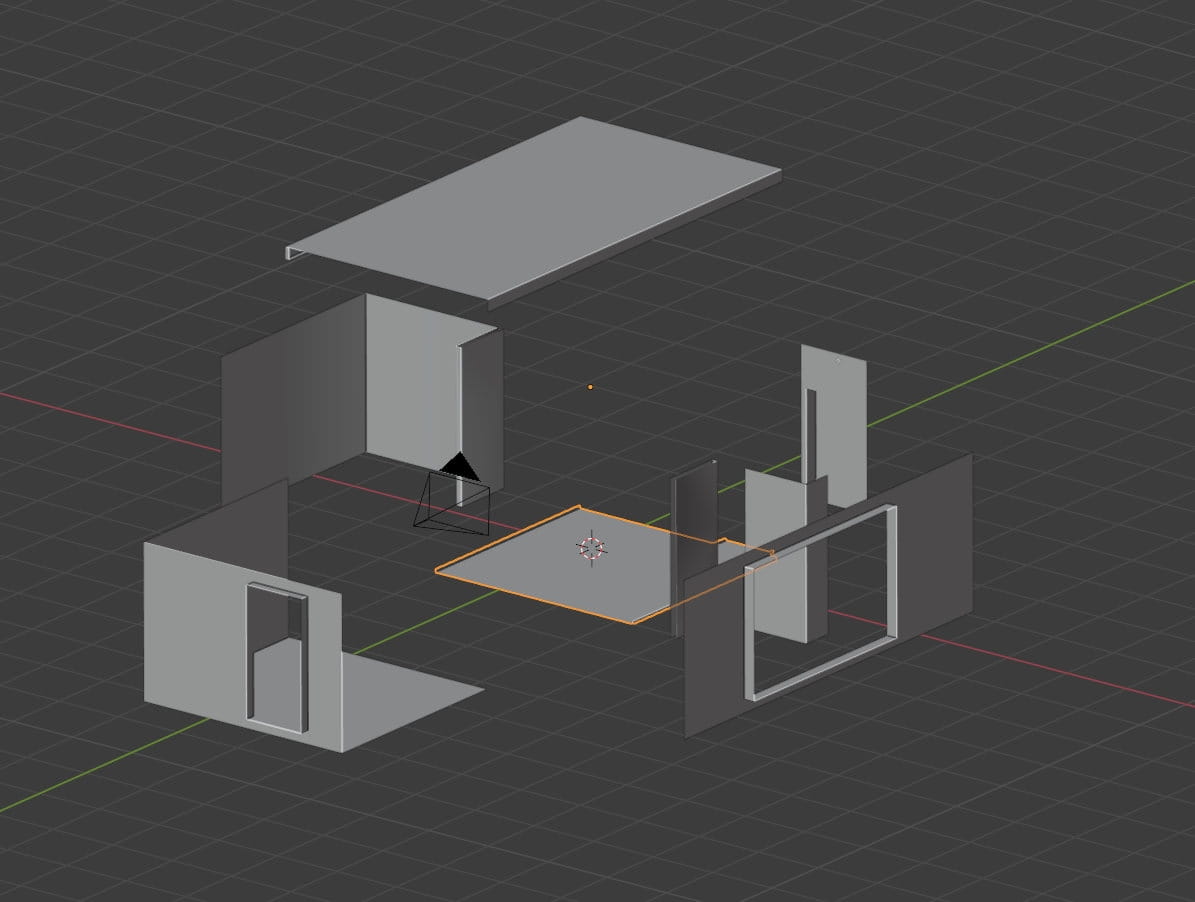
At the beginning, of course, I modeled the elements of the building - there is nothing difficult here - we create a cube, divide it into individual walls, make some extrusions for windows, etc.
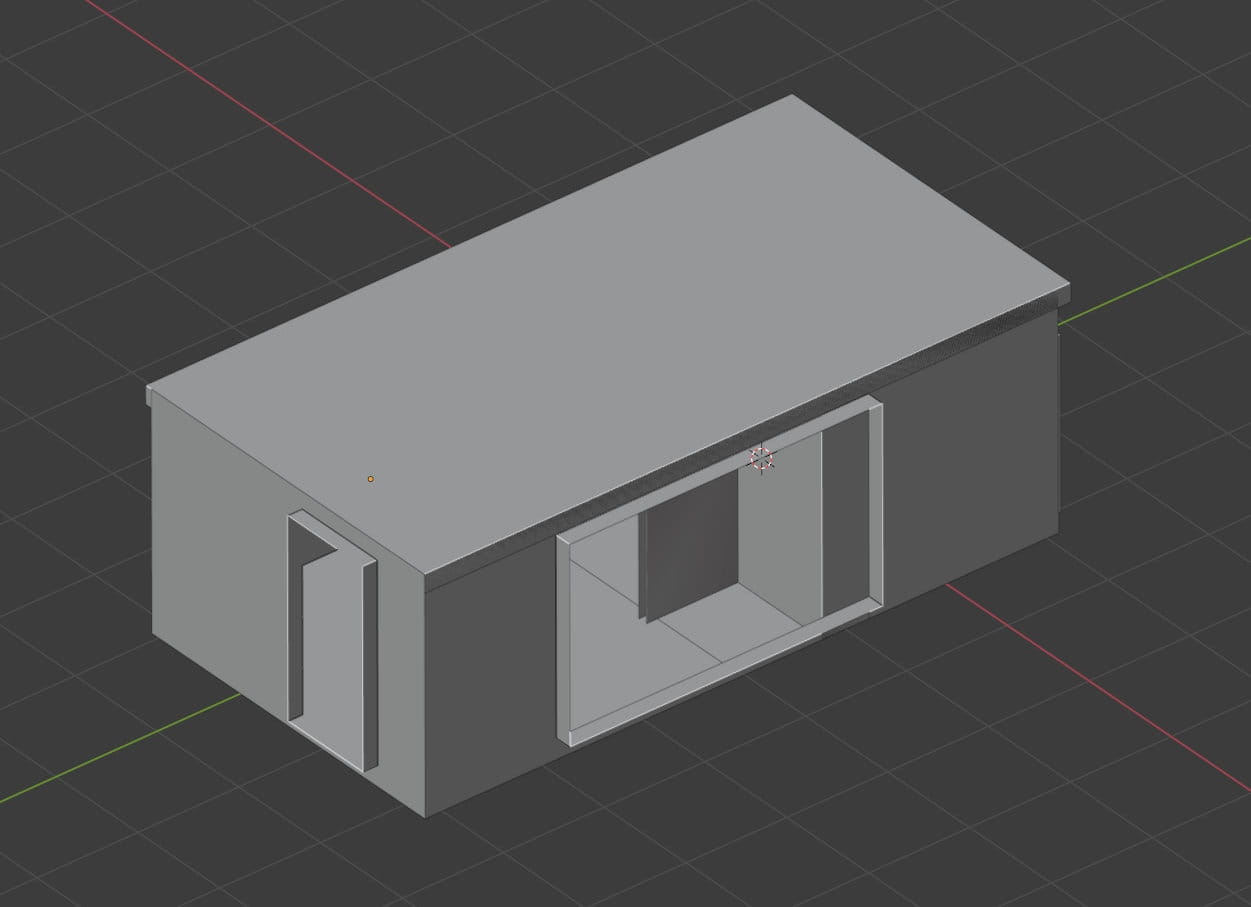
Of course, you have to decide which objects to leave connected and which not, but with such a small stage it is more a matter of preferences than technical requirements.
And this is how it looks like from camera perspective.
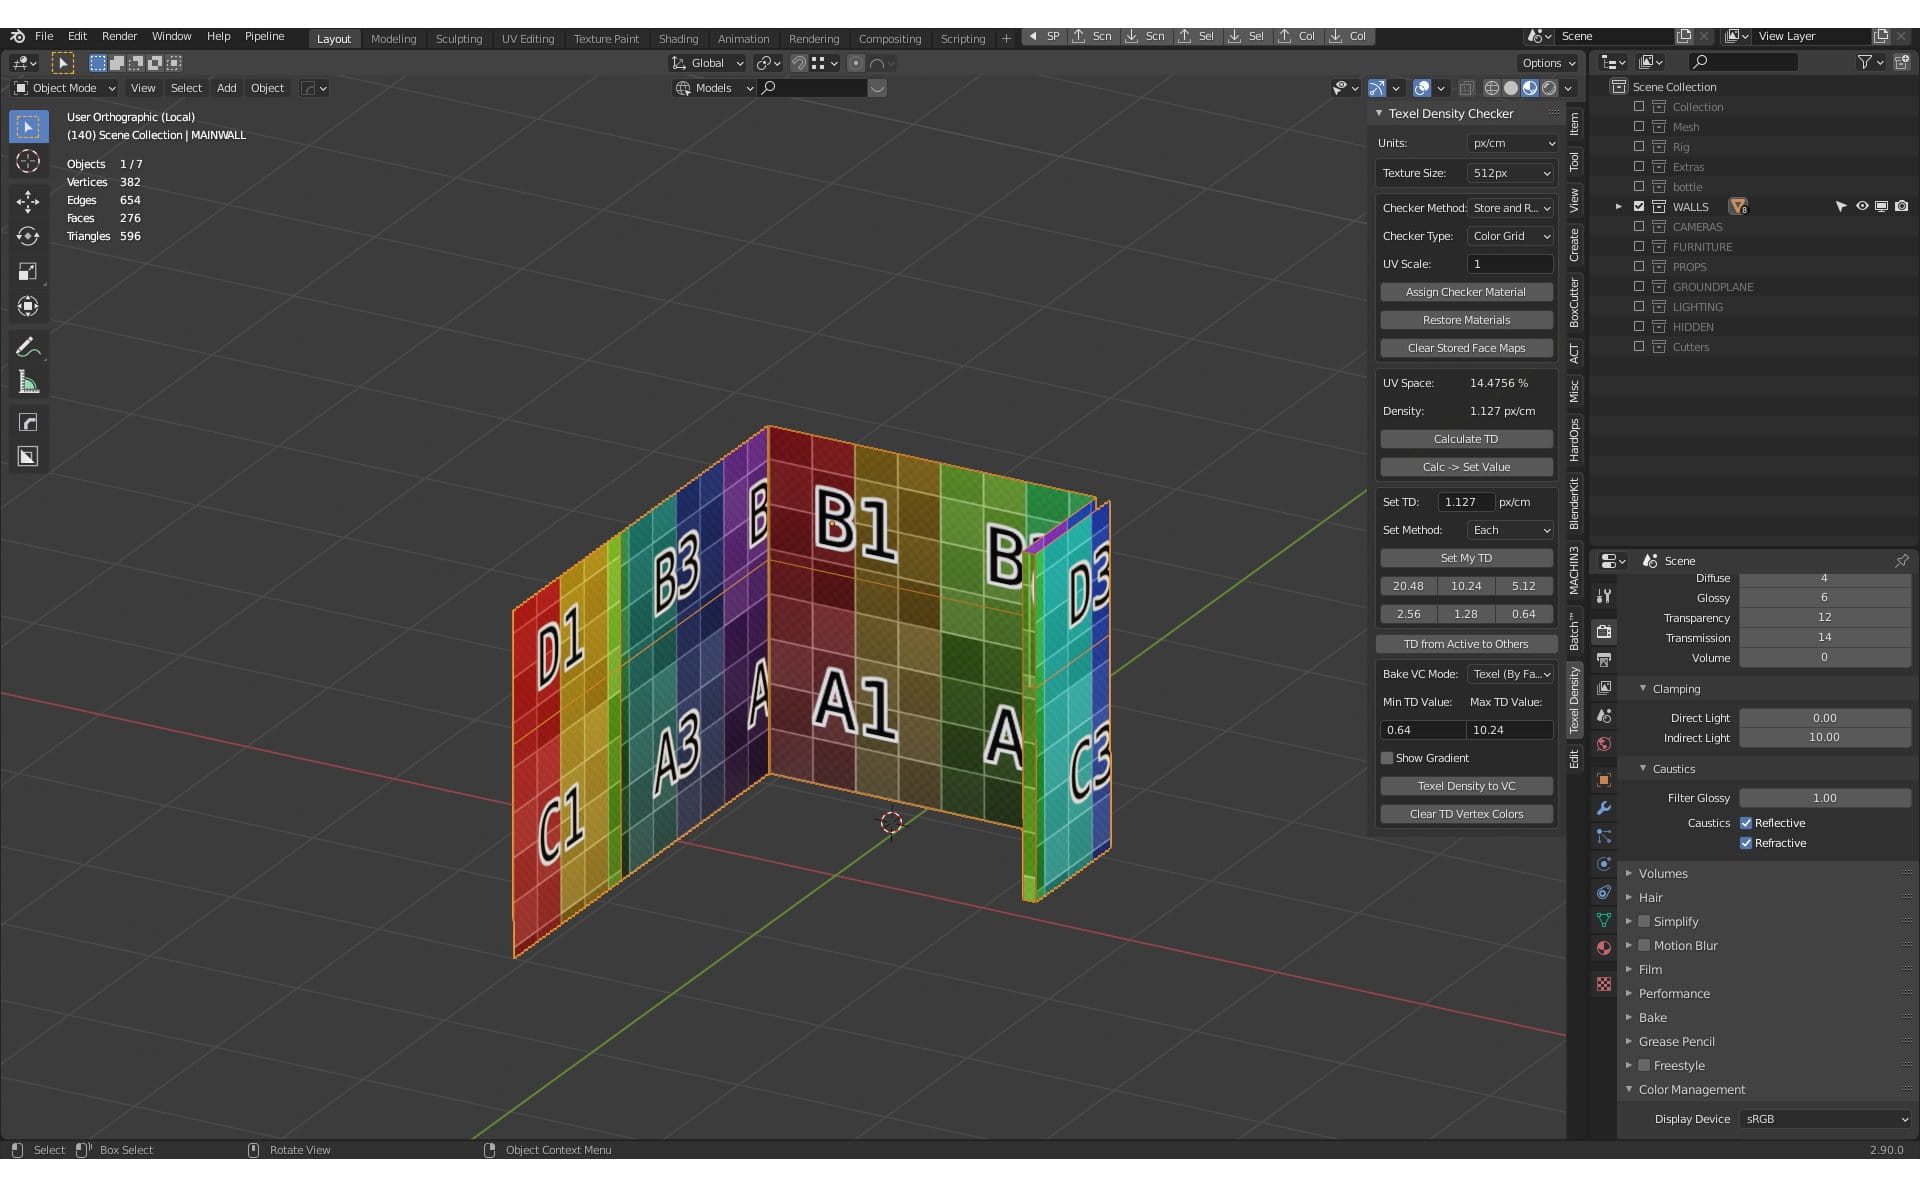
I used Texel Density checker to look at the quality of my unwrapping. It not only lets you assign UV checker map in one click but also lets you to match your texel density between your objects, which helps with consistency.
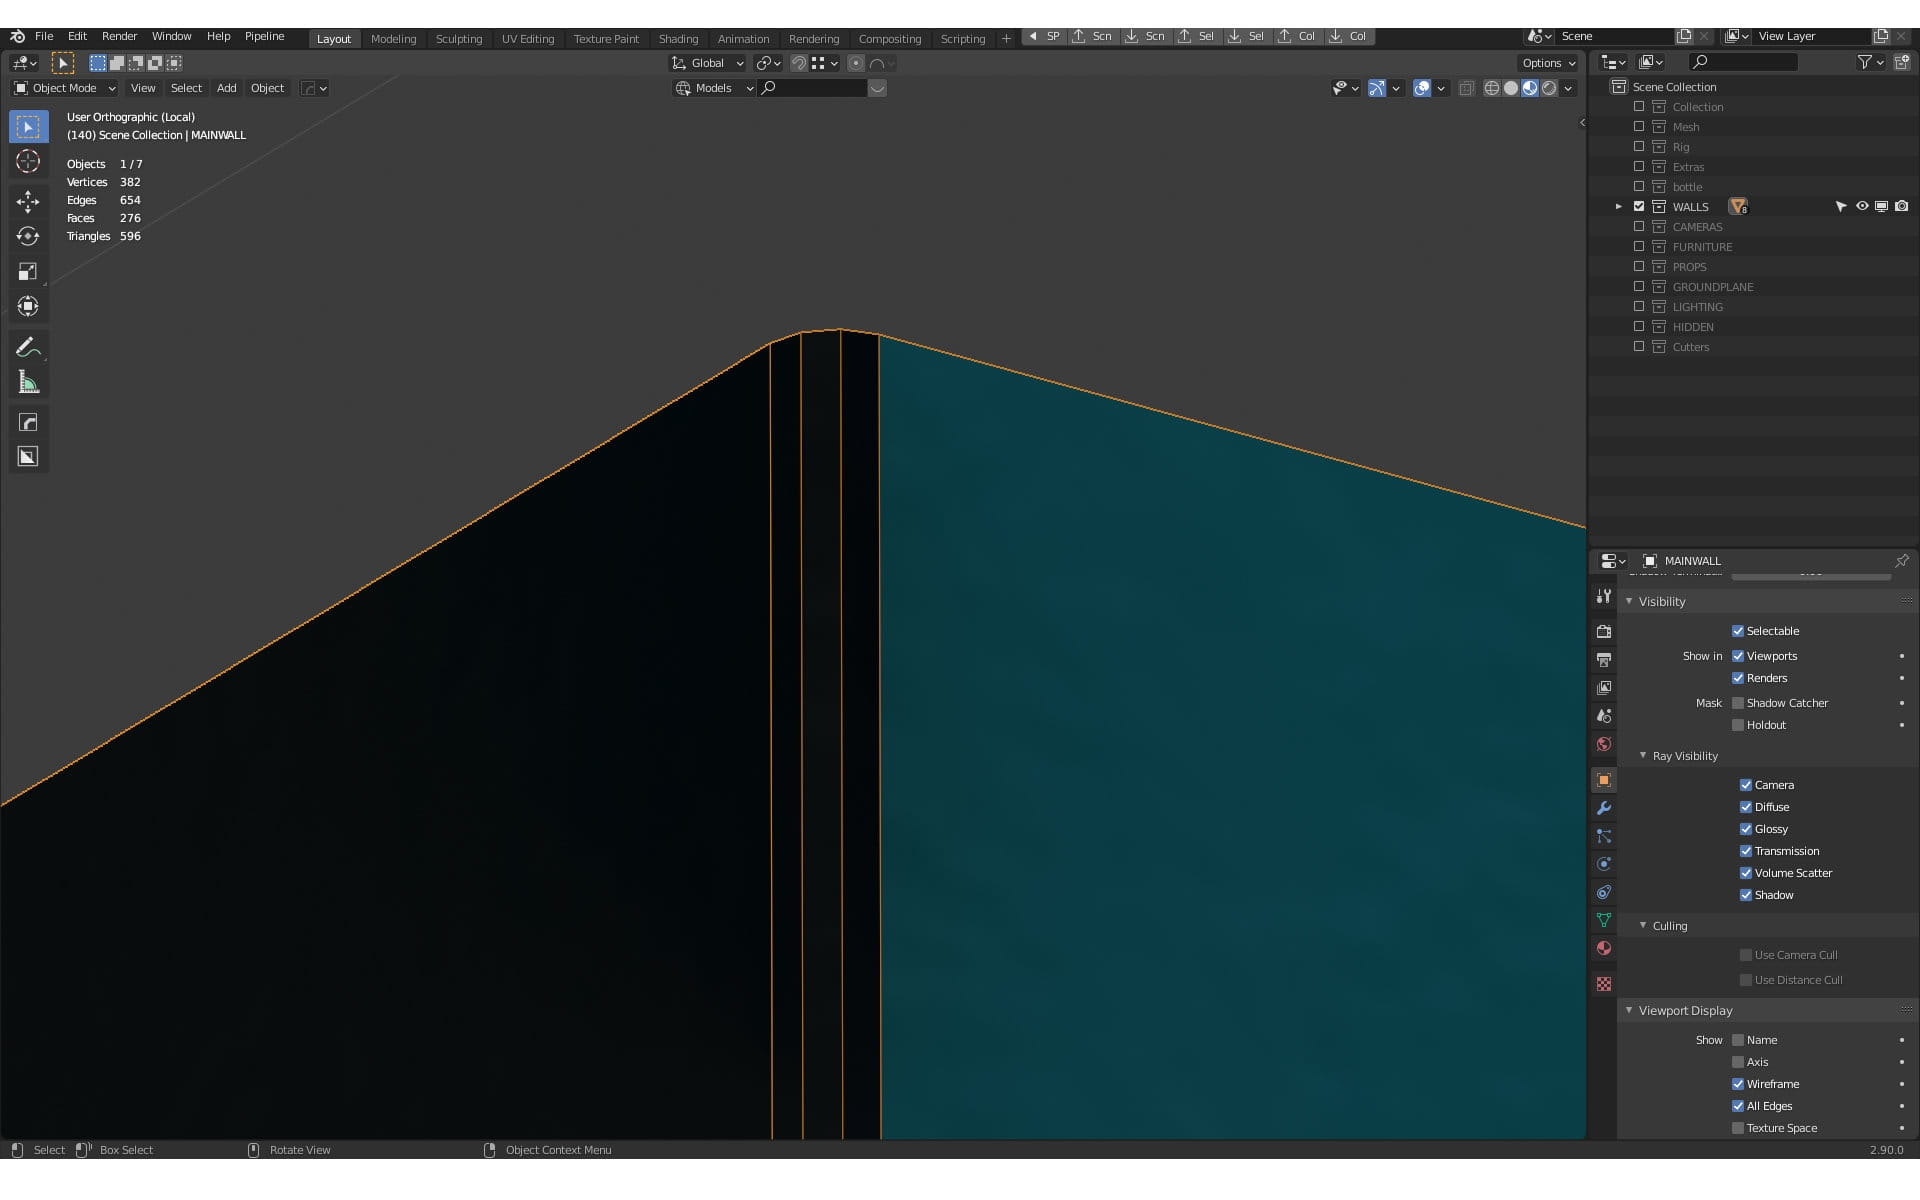
I decided that walls that are most prominent will not be separate objects, instead I ade one object with a slightly beveled corners, it adds a tiny bit of realism here.
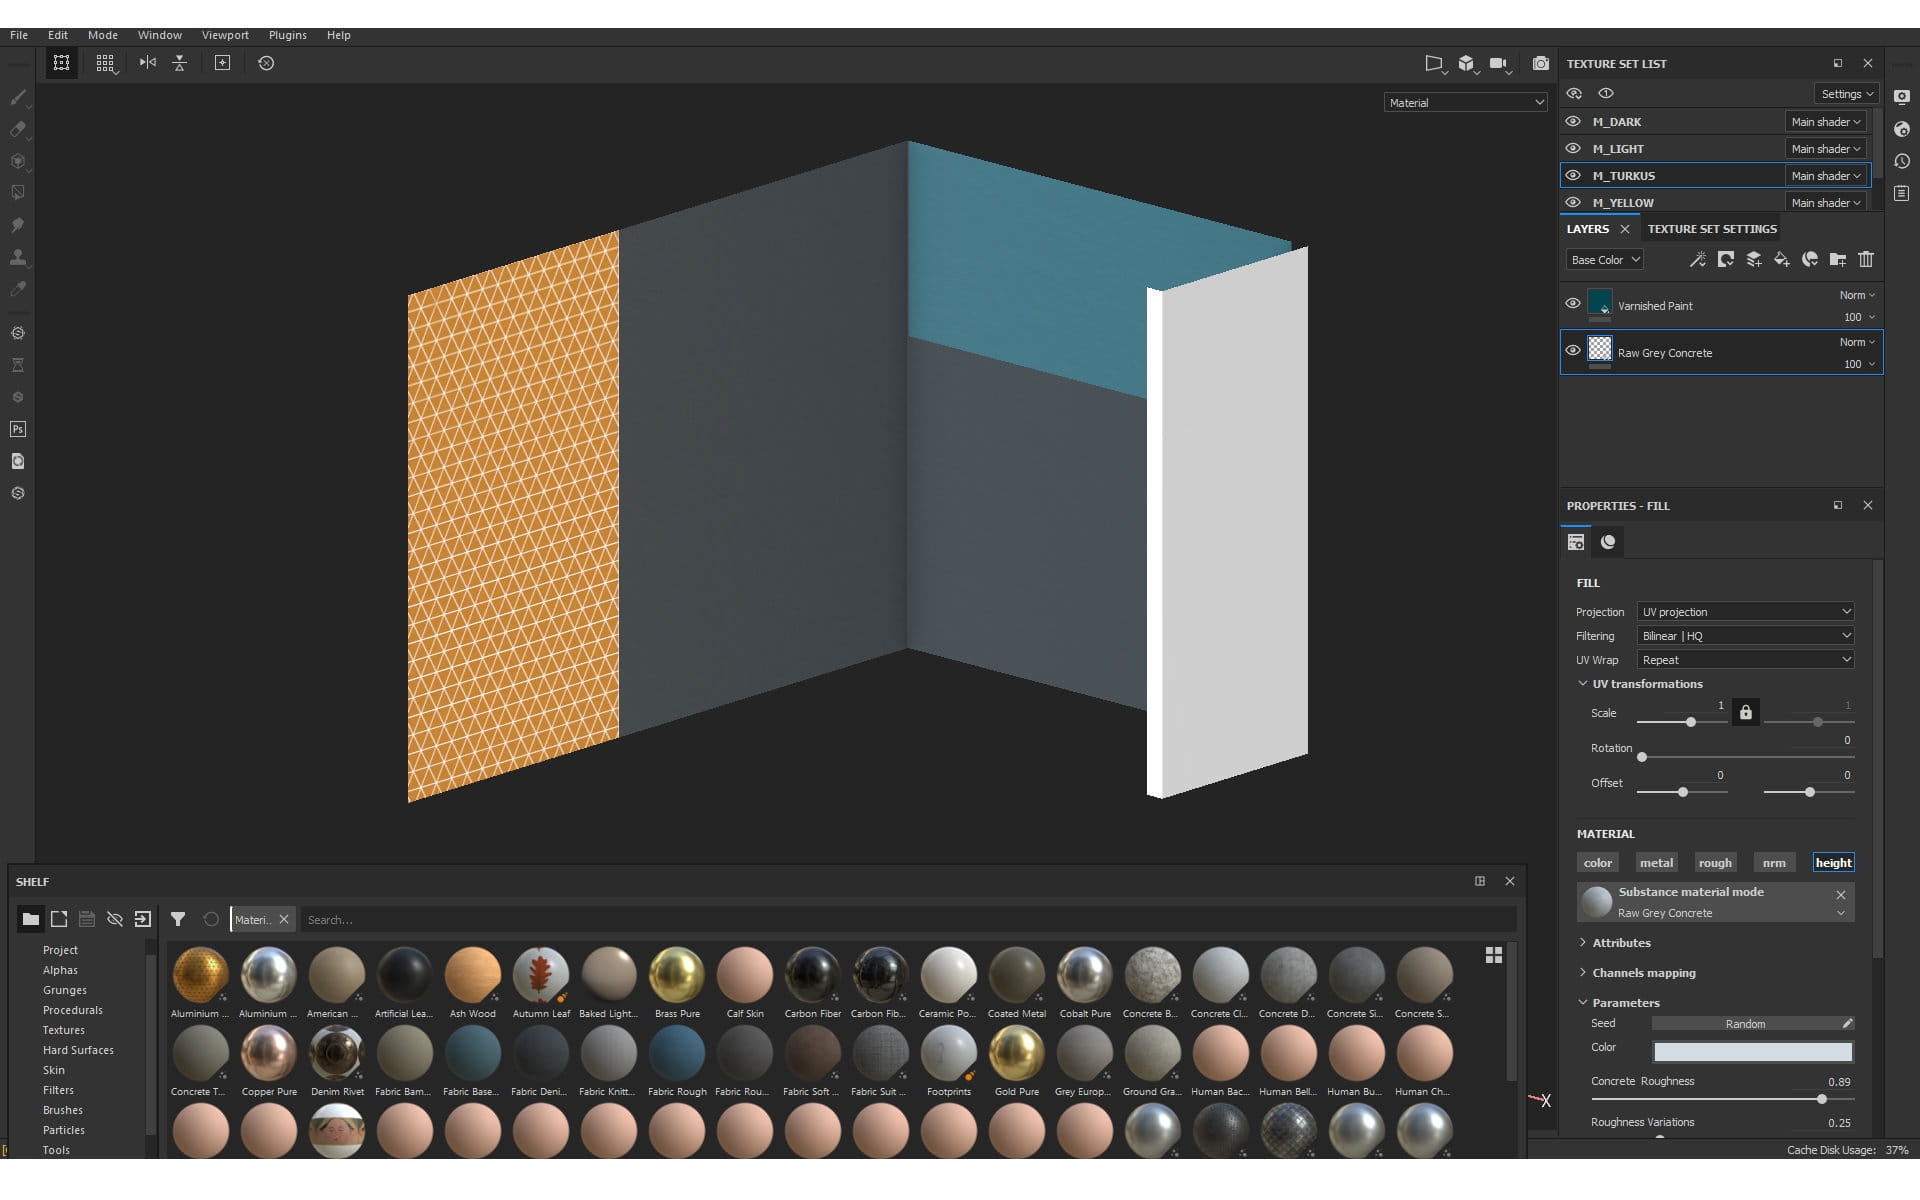
Walls textured in Substance Painter, two layers, one for height variations and one for color.
I added all materials in Substance Painter, using Substance Blender add-on - it lets you to export model to new Substance Painter instance in one click and then, after exporting textures in Substance Painter, you can import textures and set up the material in one click also. Very fast workflow, no hassle, recommended.
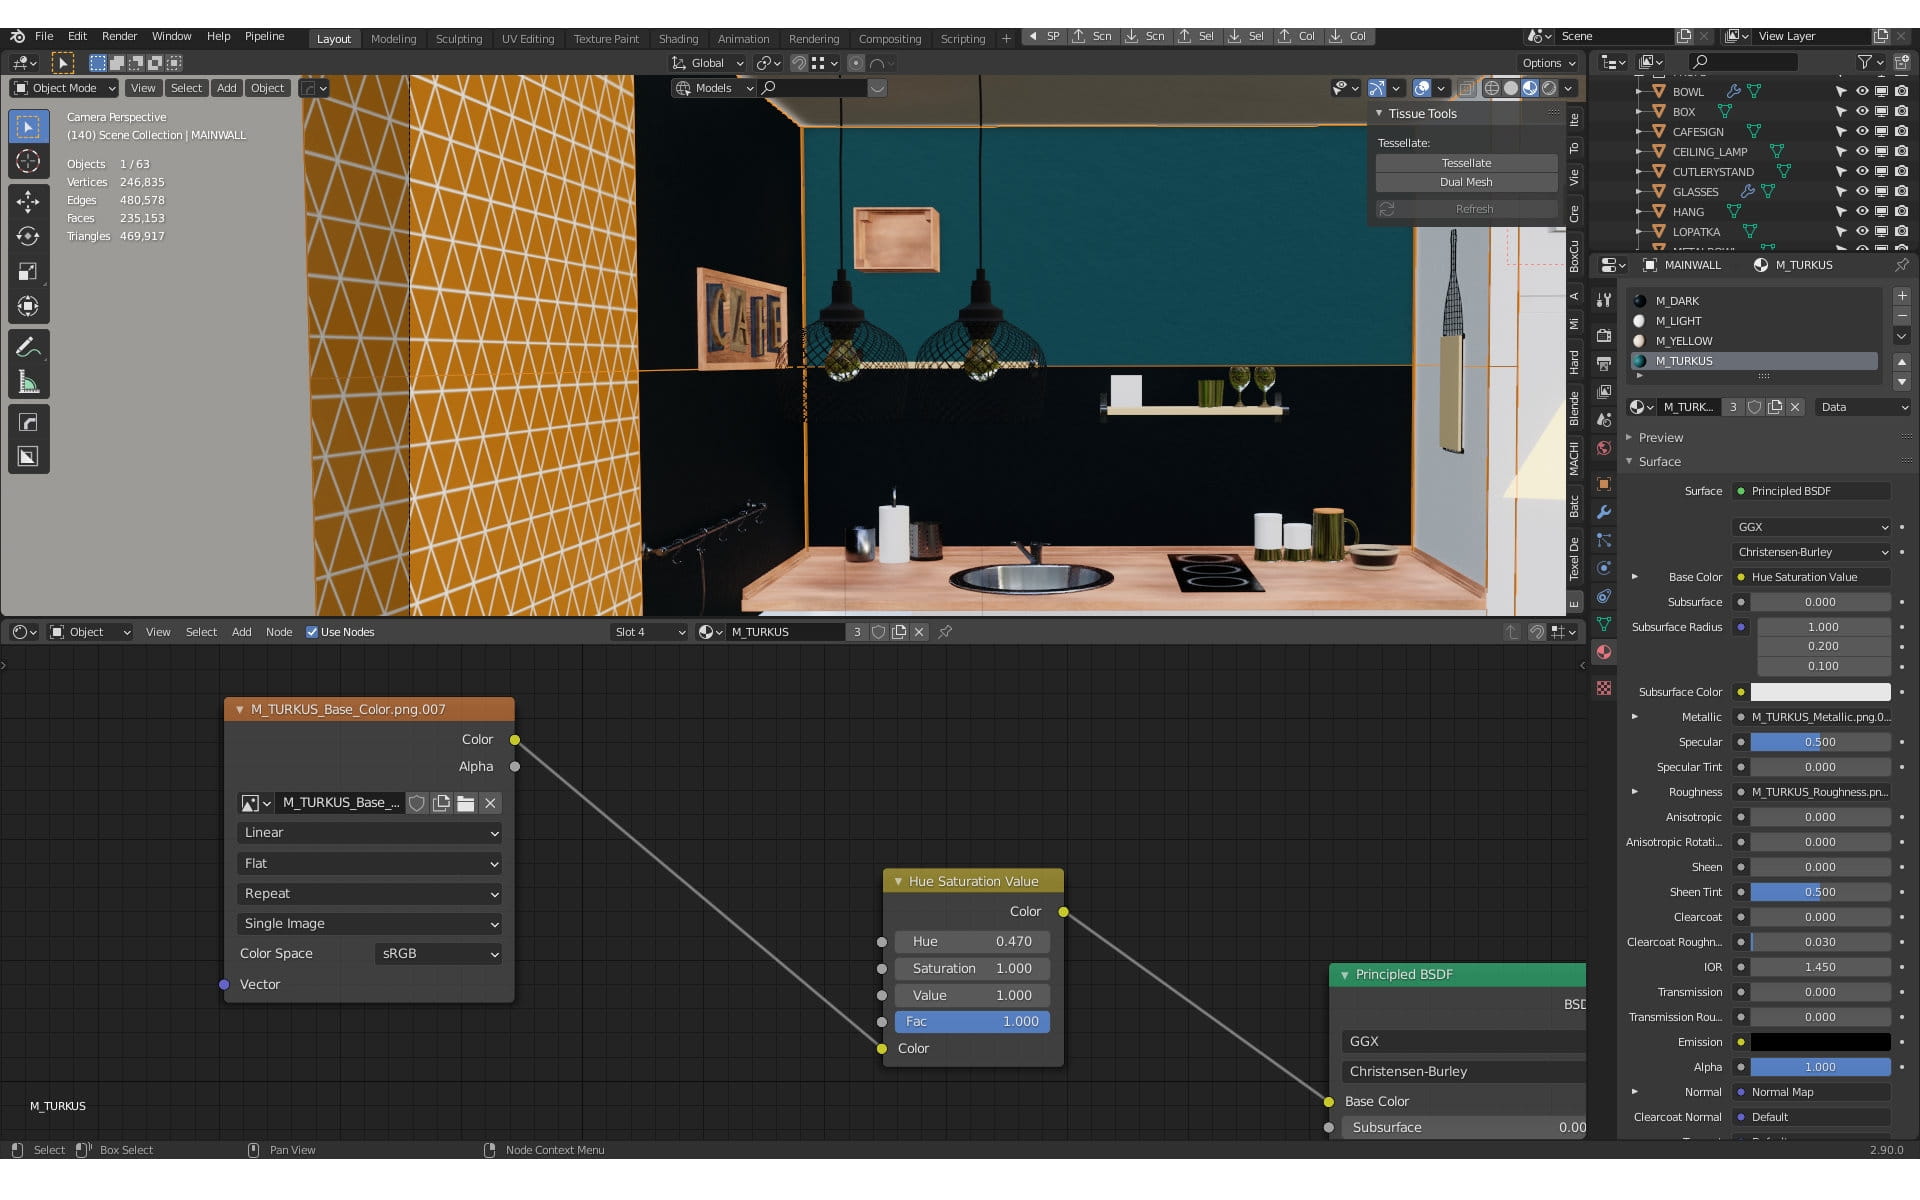
Sometimes material in Blender looks different than in Substance Painter (due to different lighting and rendering engine). In this case I just used "Hue / Saturation" node to make final tweaks to color and intensity of the diffuse channel.
What is the GREATEST feature of Blender 2.90 (for me)? Absolutely denoising in viewport! You get really fast preview of your scene and lighting, without waiting - it really speeds up the creativve process and makes it more artistic and fun!
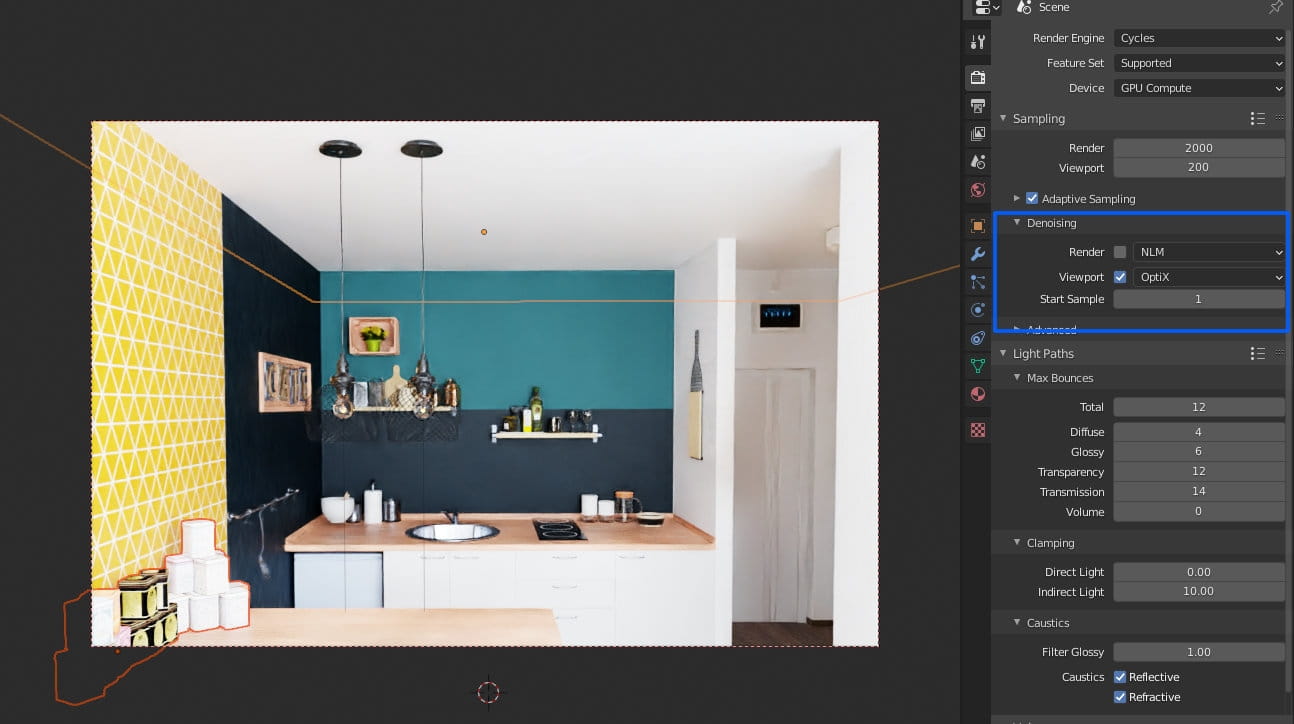
Denoising features are straight-forward. For Optix denoising you need Nvidia card though. Other cards can use Intel denoising.
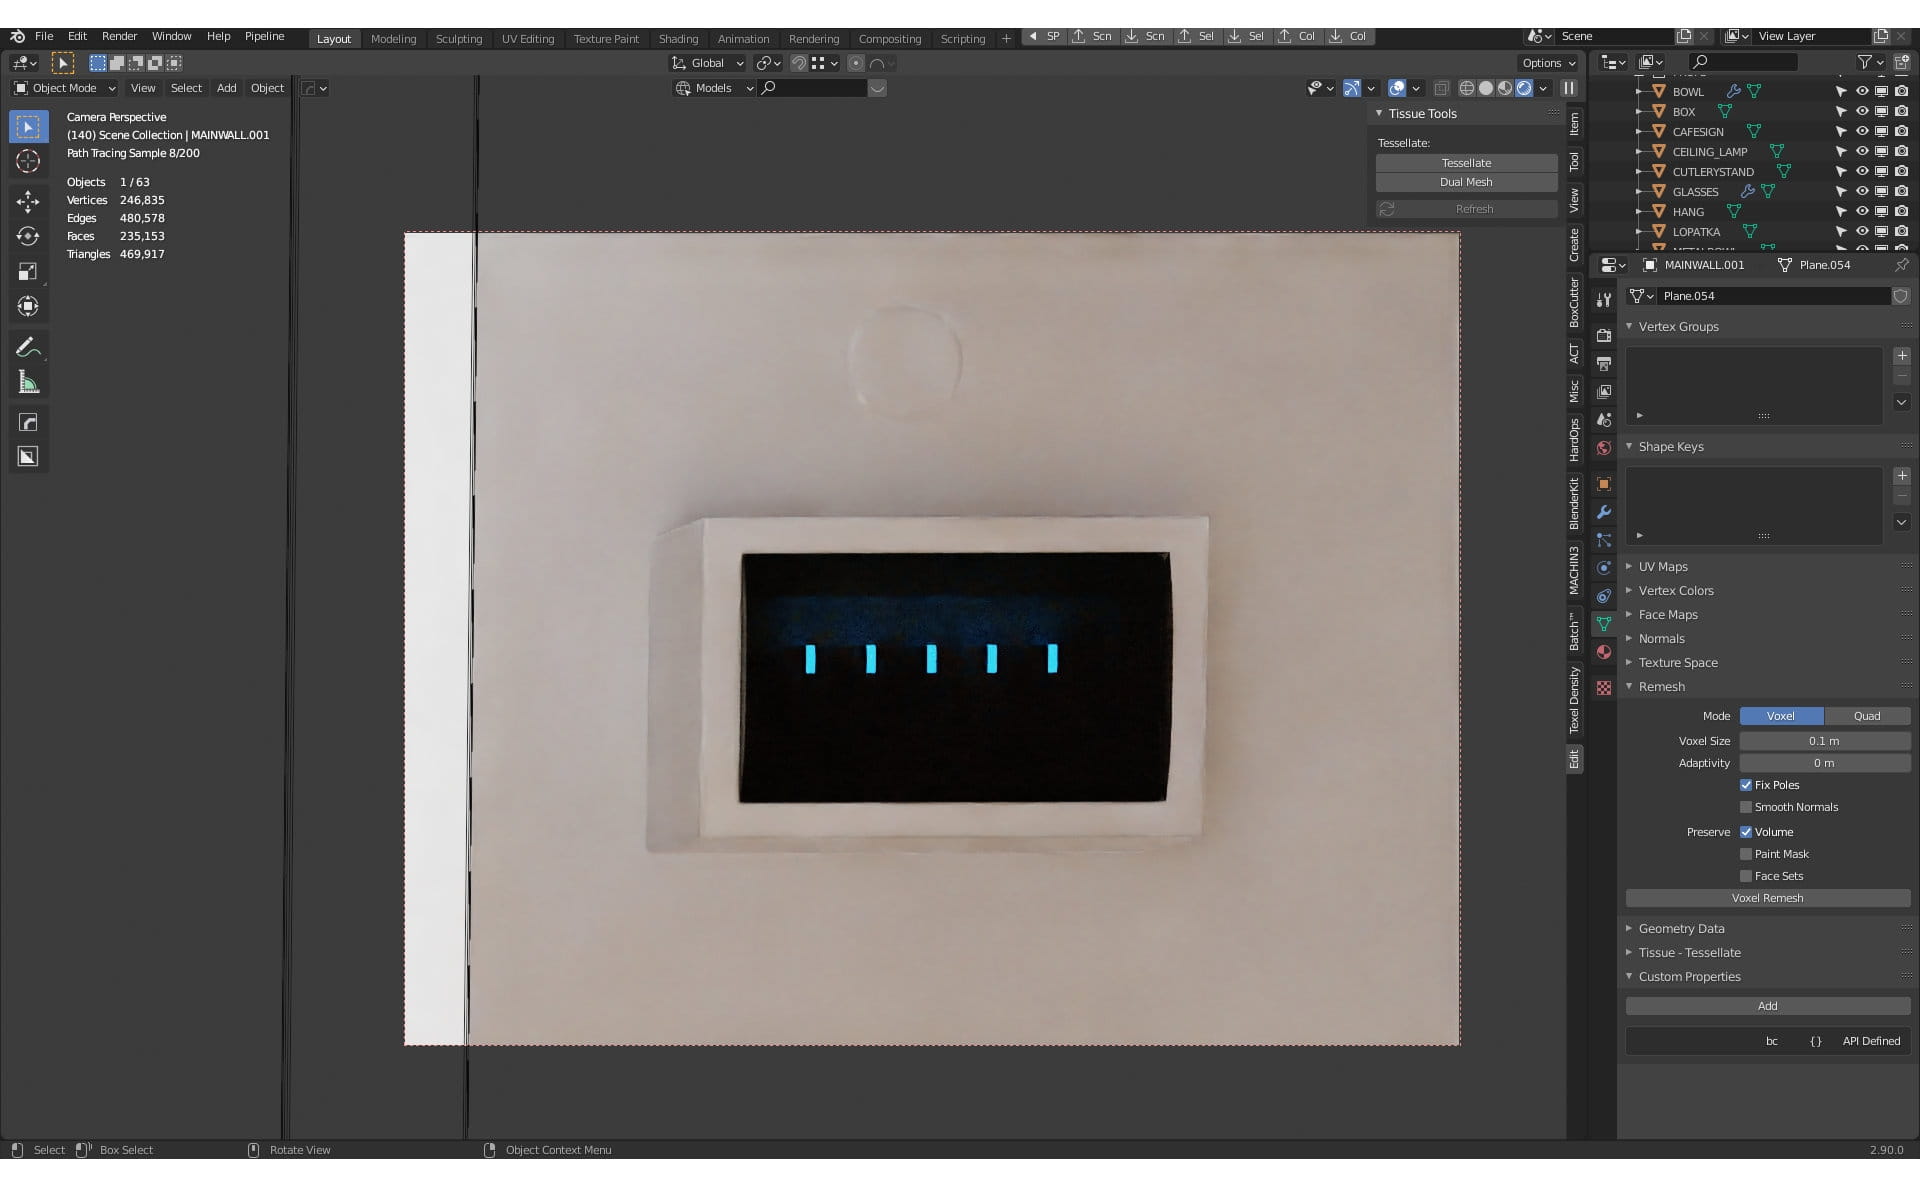
My fuse box has some blueish lights (I added them just for fun).
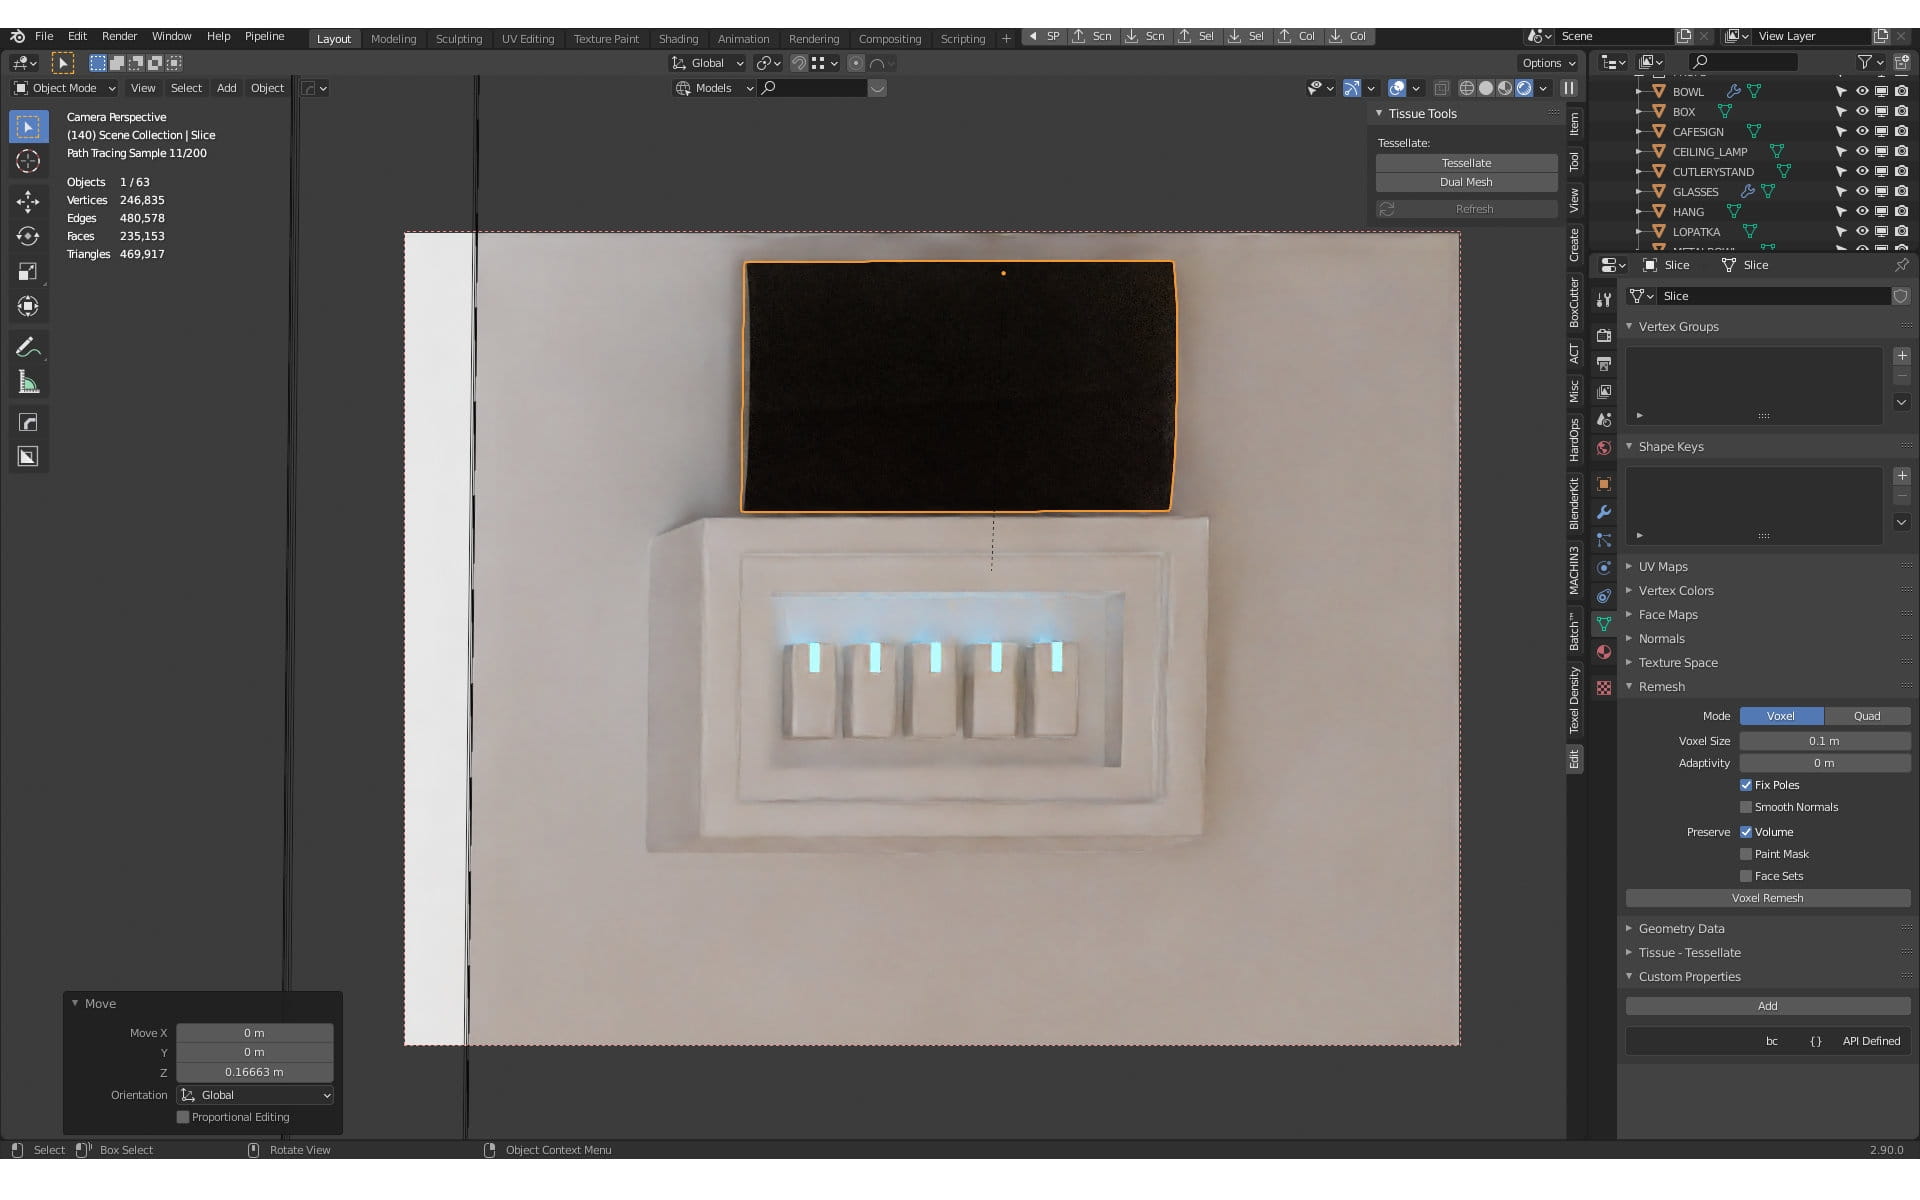
And that's how it looks like when you take off plastic cover.
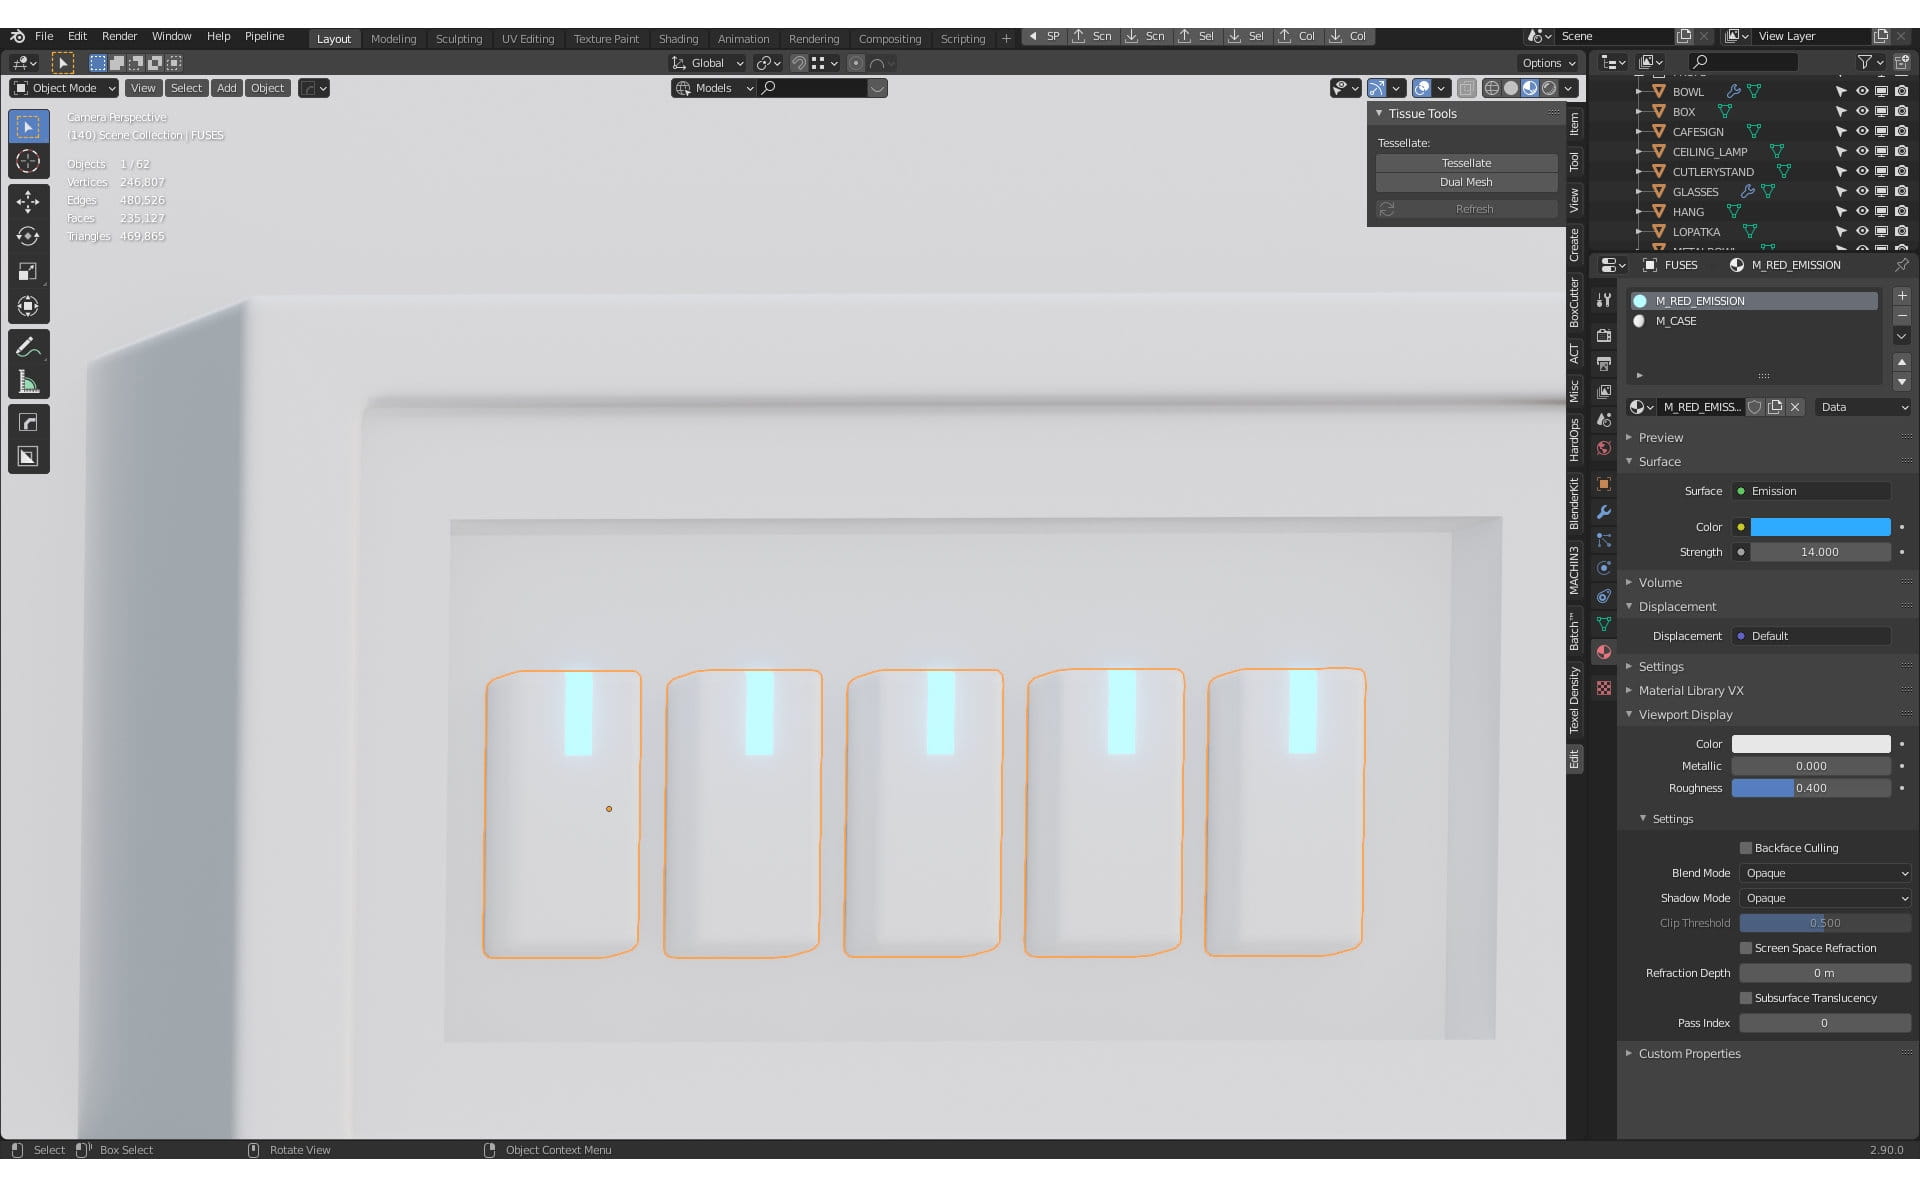
Fuses meshes.
The next step was modeling props and furniture. There aren't a lot of complicated shapes here, so I relied heavily on box modeling.
There were two exceptions though...
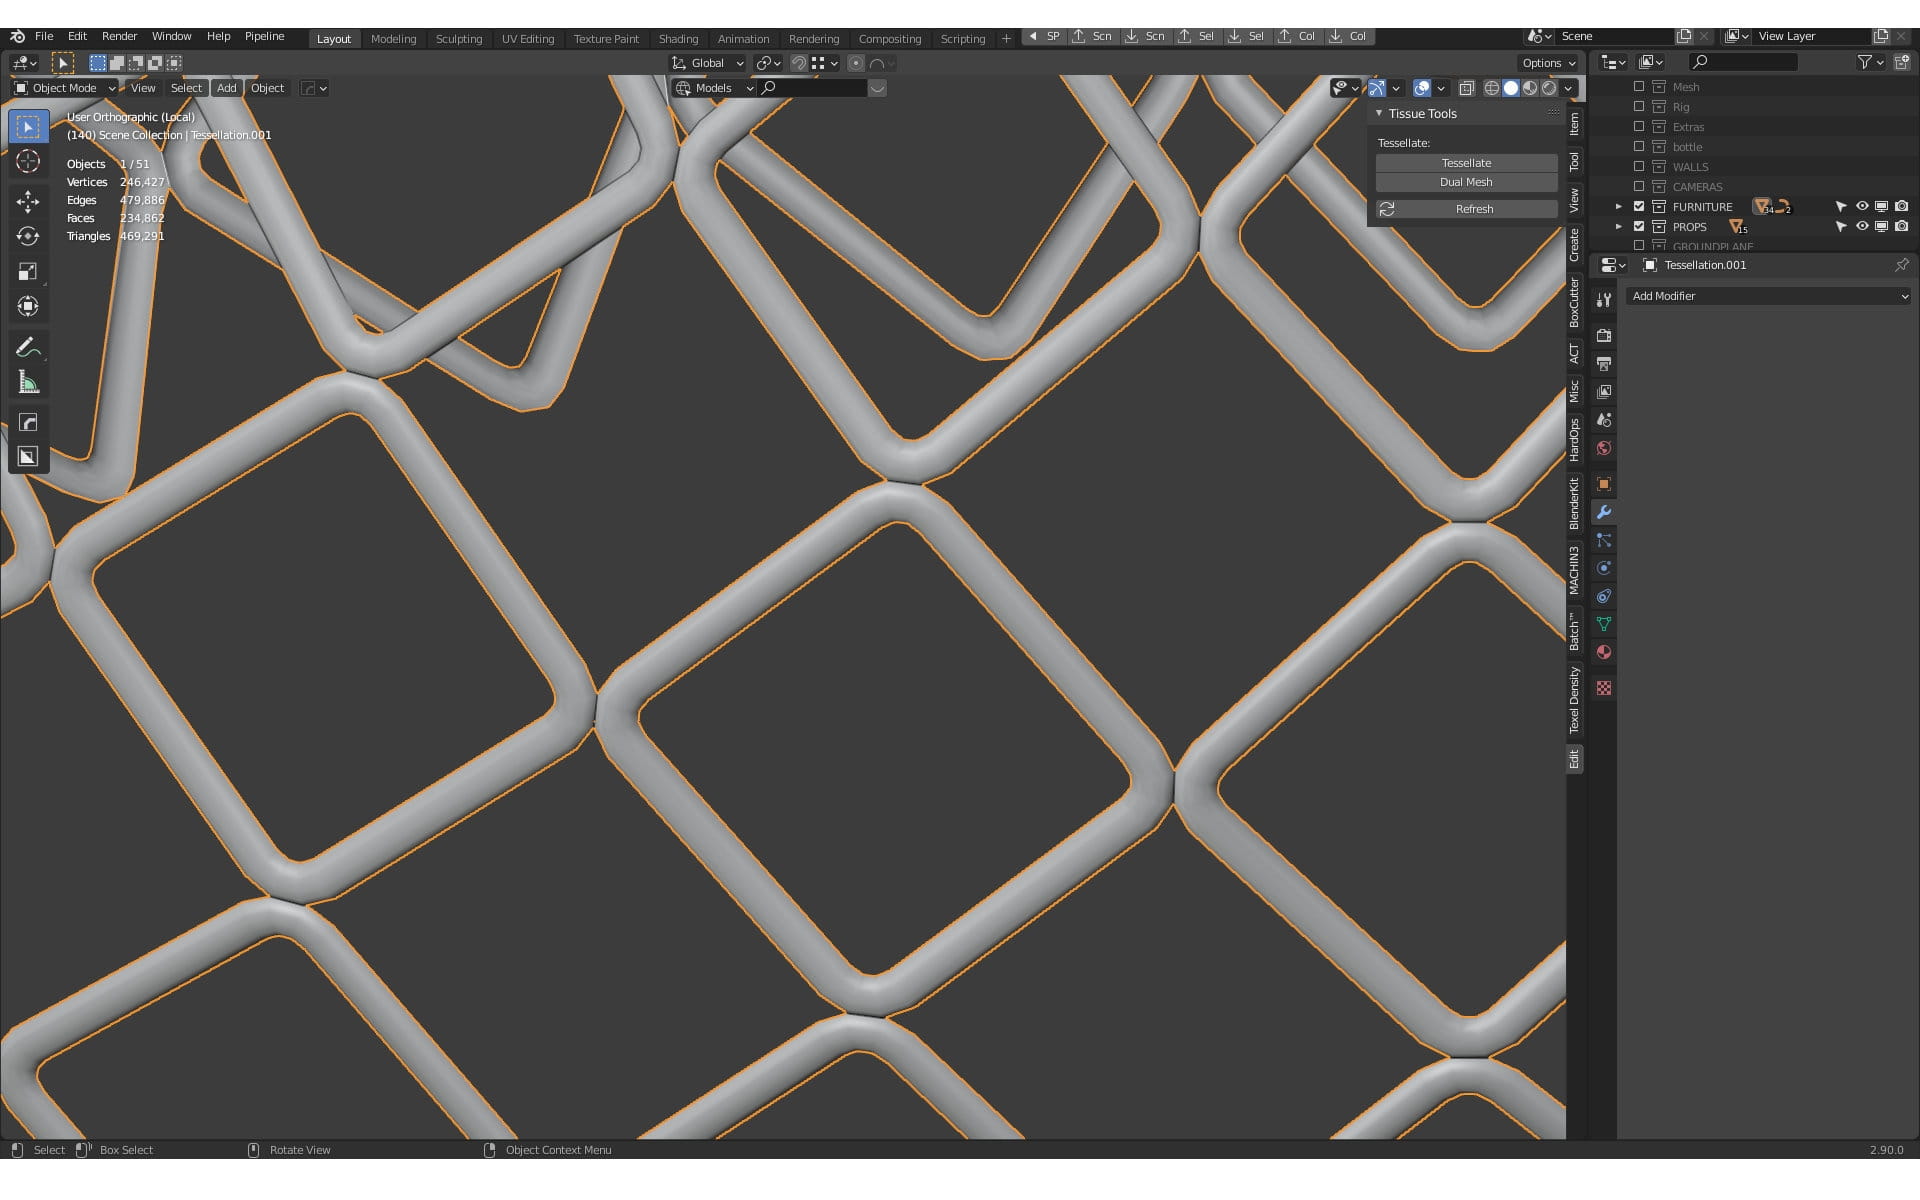
This is a mesh of hanging lamp, I made it using Tissue add-on - just modeled one rhomboidal shape and used lamp shade as a target. Tissue is a great add-on if you want to make some creative tiling of a pattern based on object to a surface of another. Something like "Cast" modifier, but it works with any target shapes effortlessly.
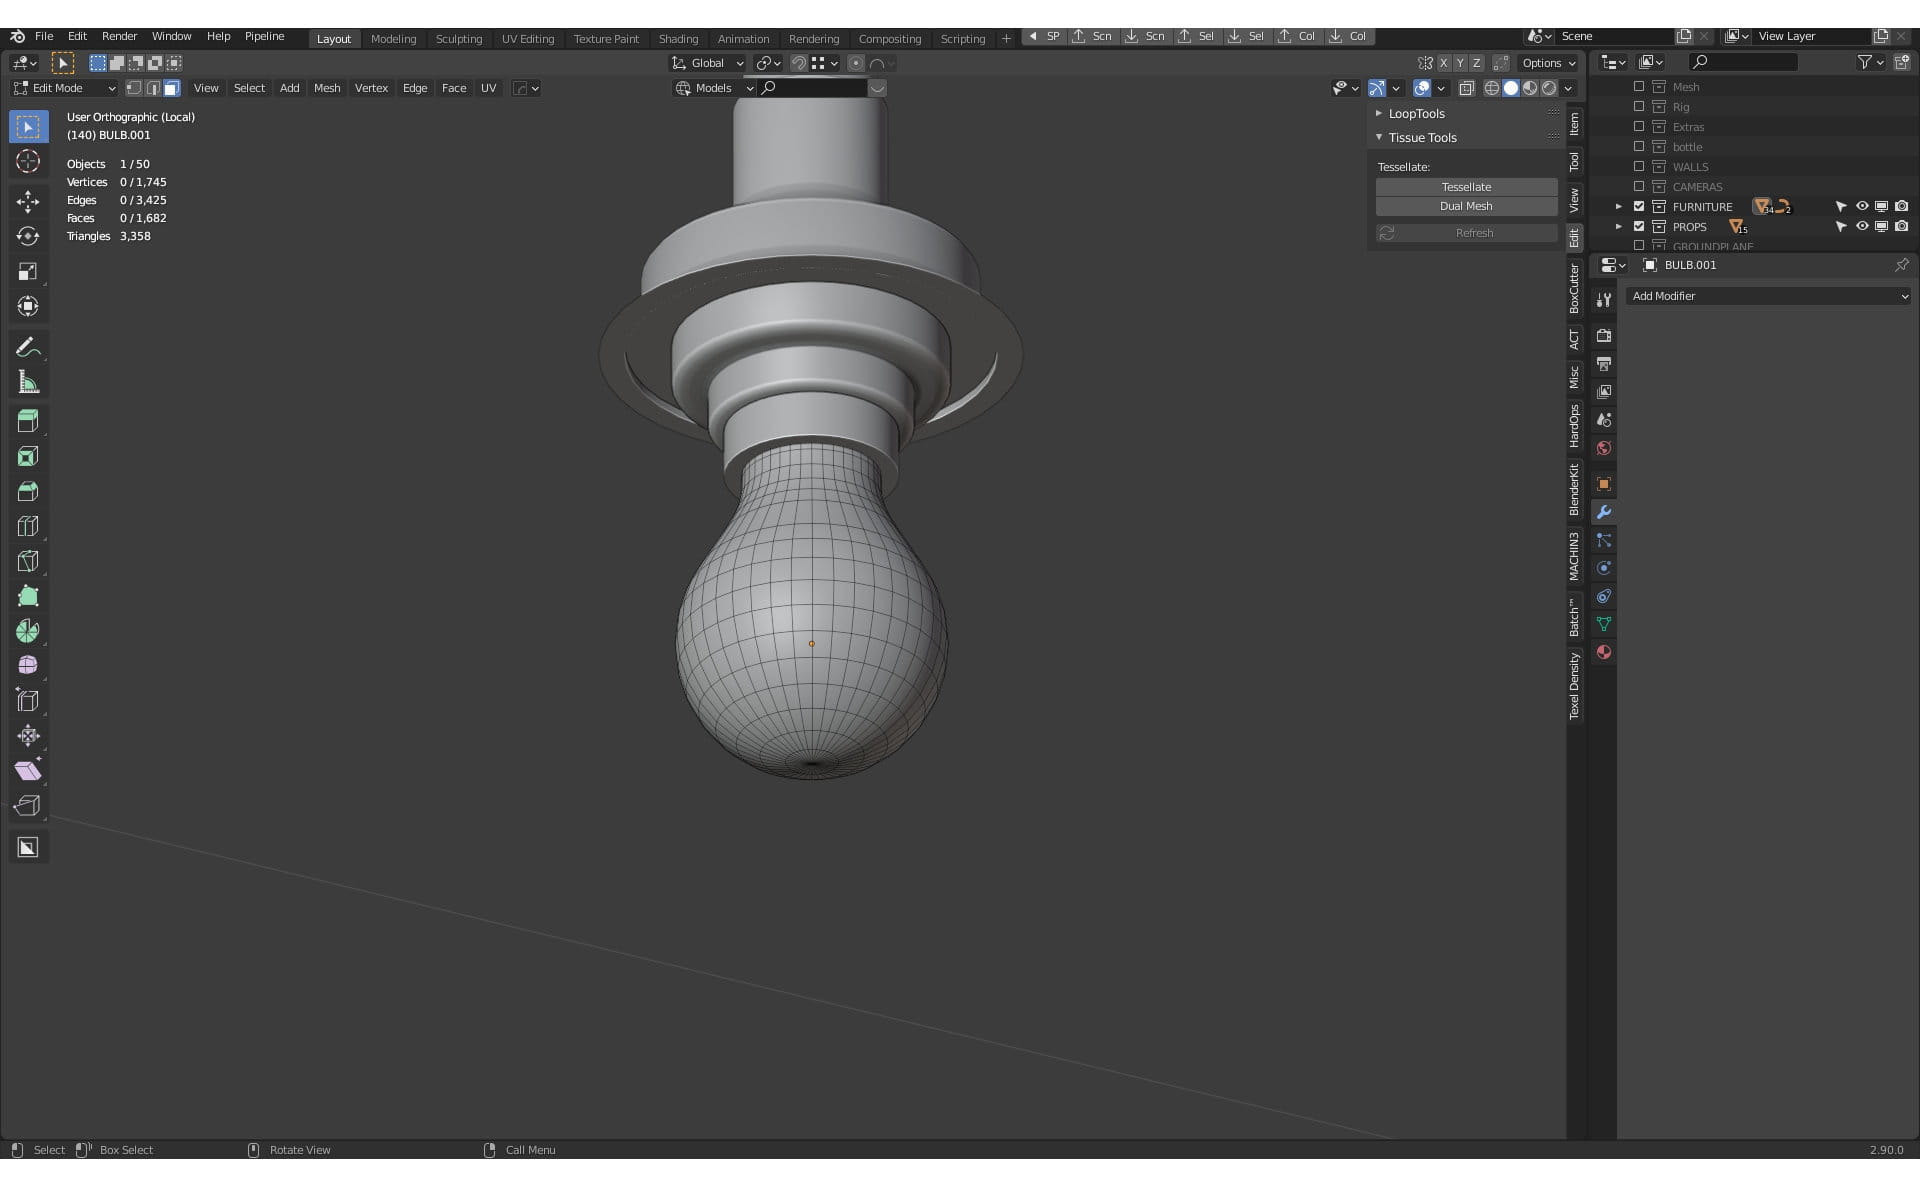
A bulb is made of a simple sphere that was extruded using proportional editing.
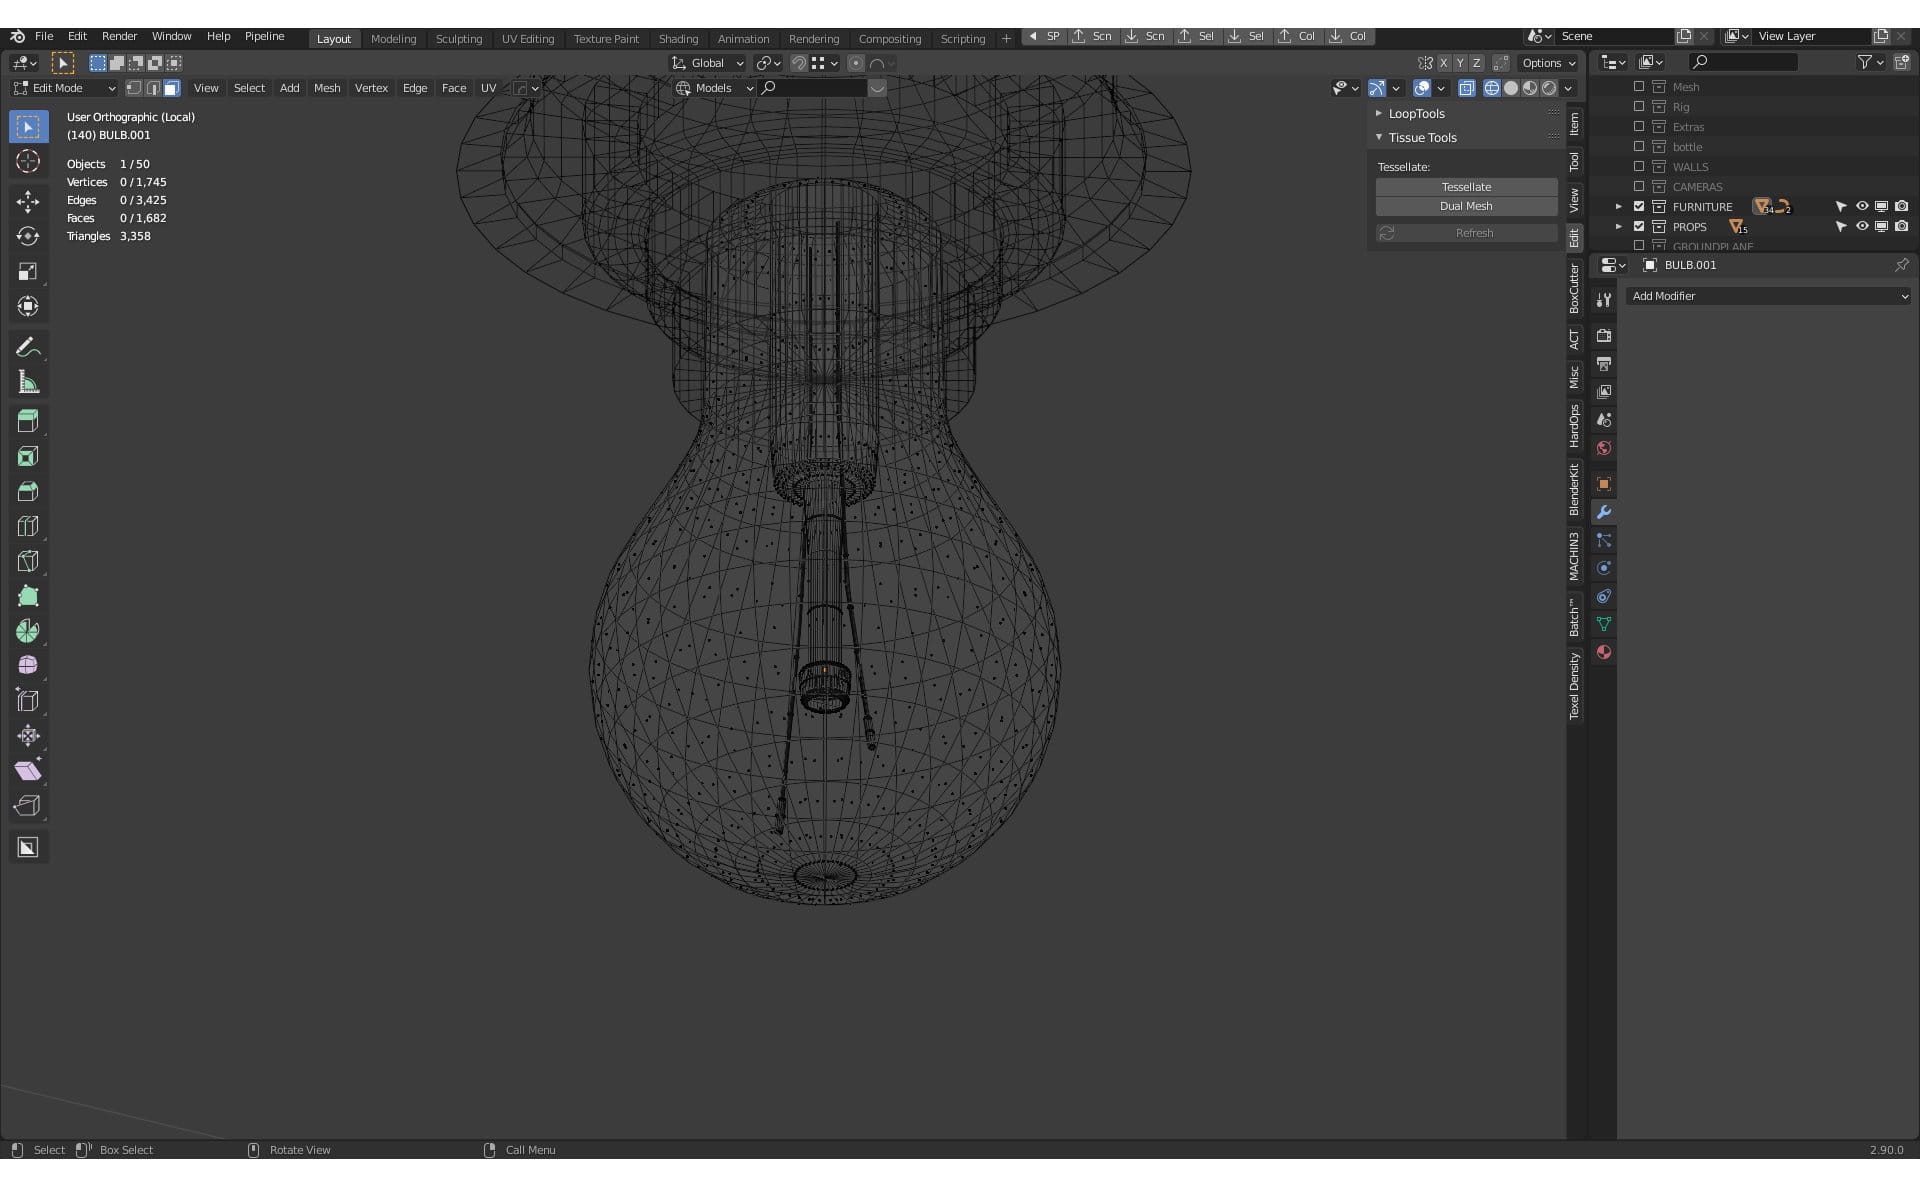
I modeled also the inner parts of a bulb - it is one of key objects in the scene, it has to look detailed. It is also kind of a vintage lighting - more decorative than functional.
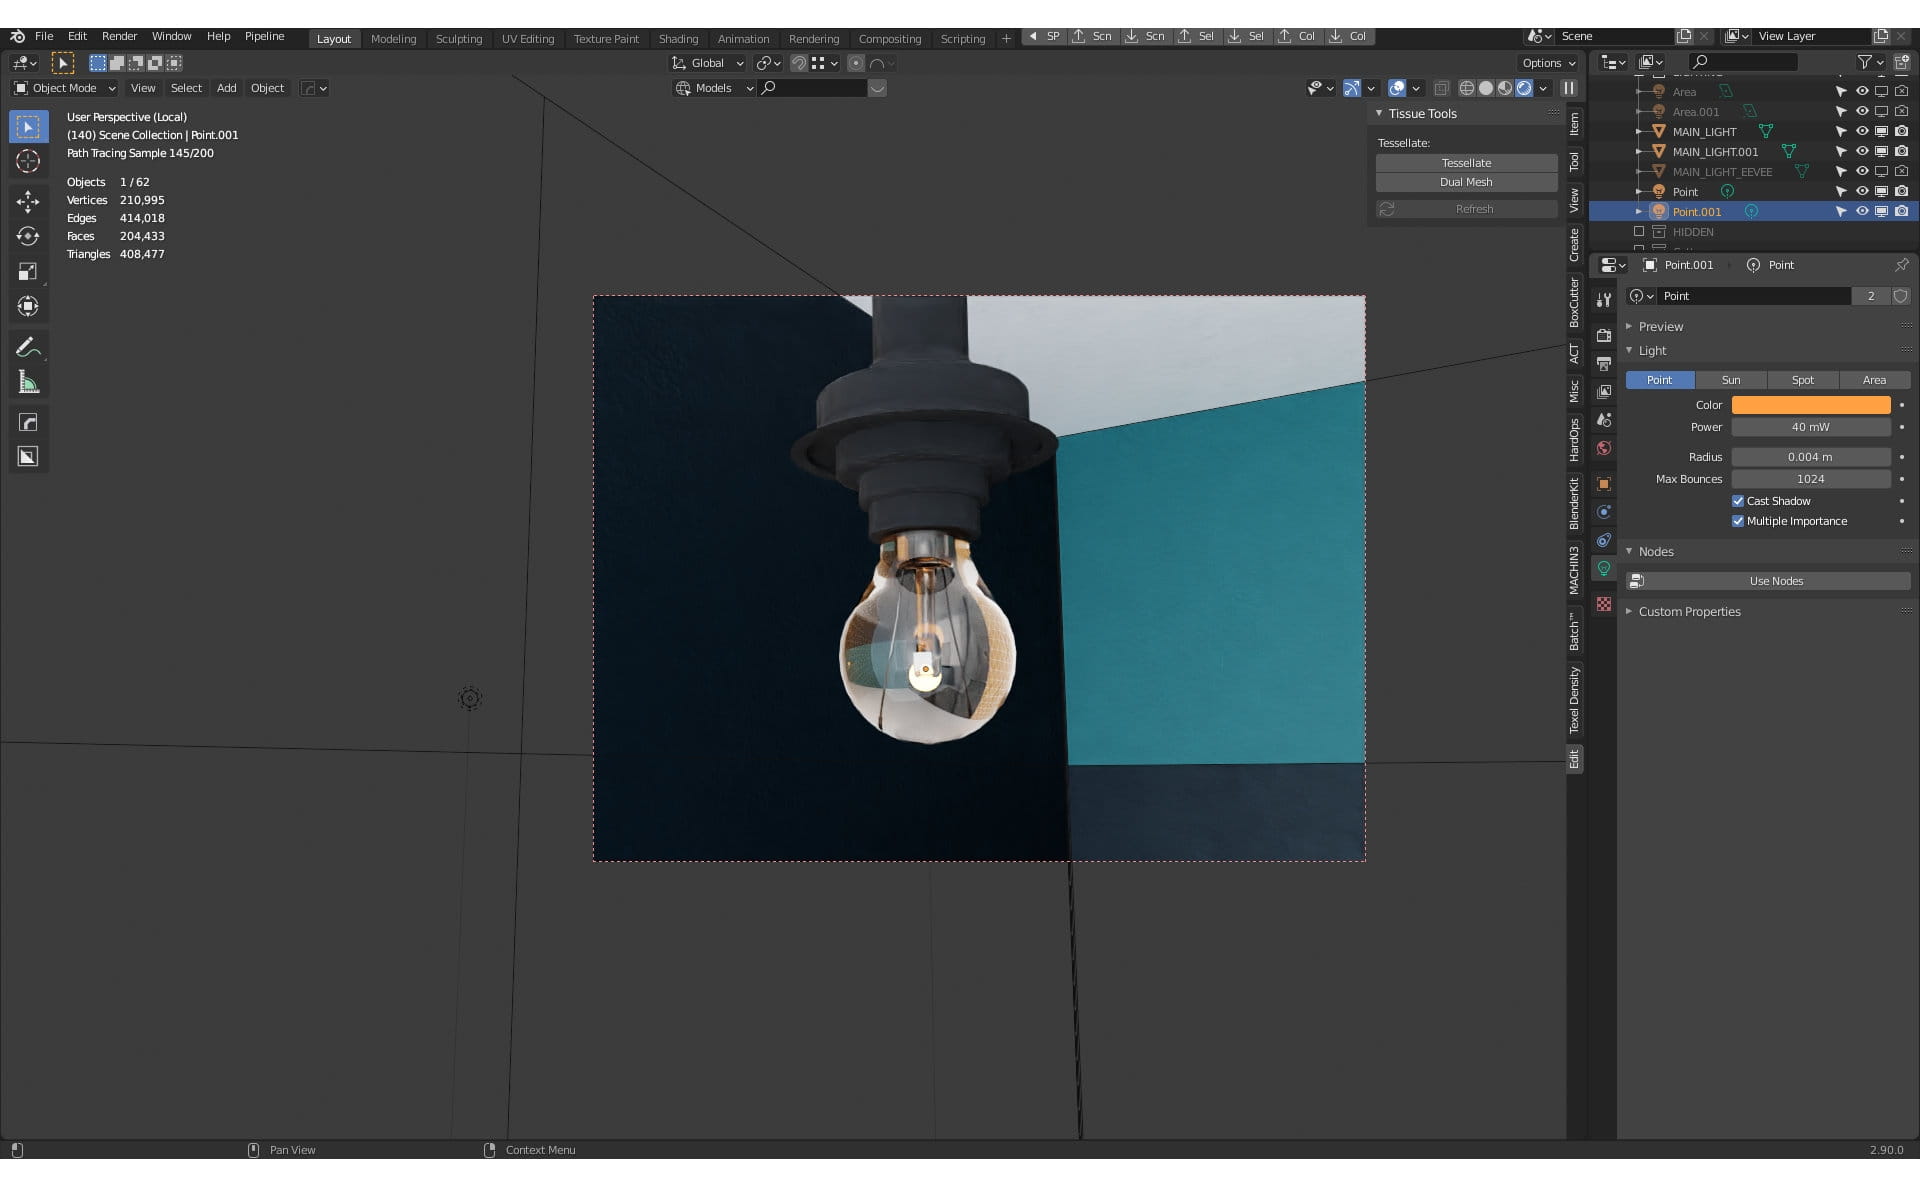
There is a point light inside bulb with a very weak orange tint.
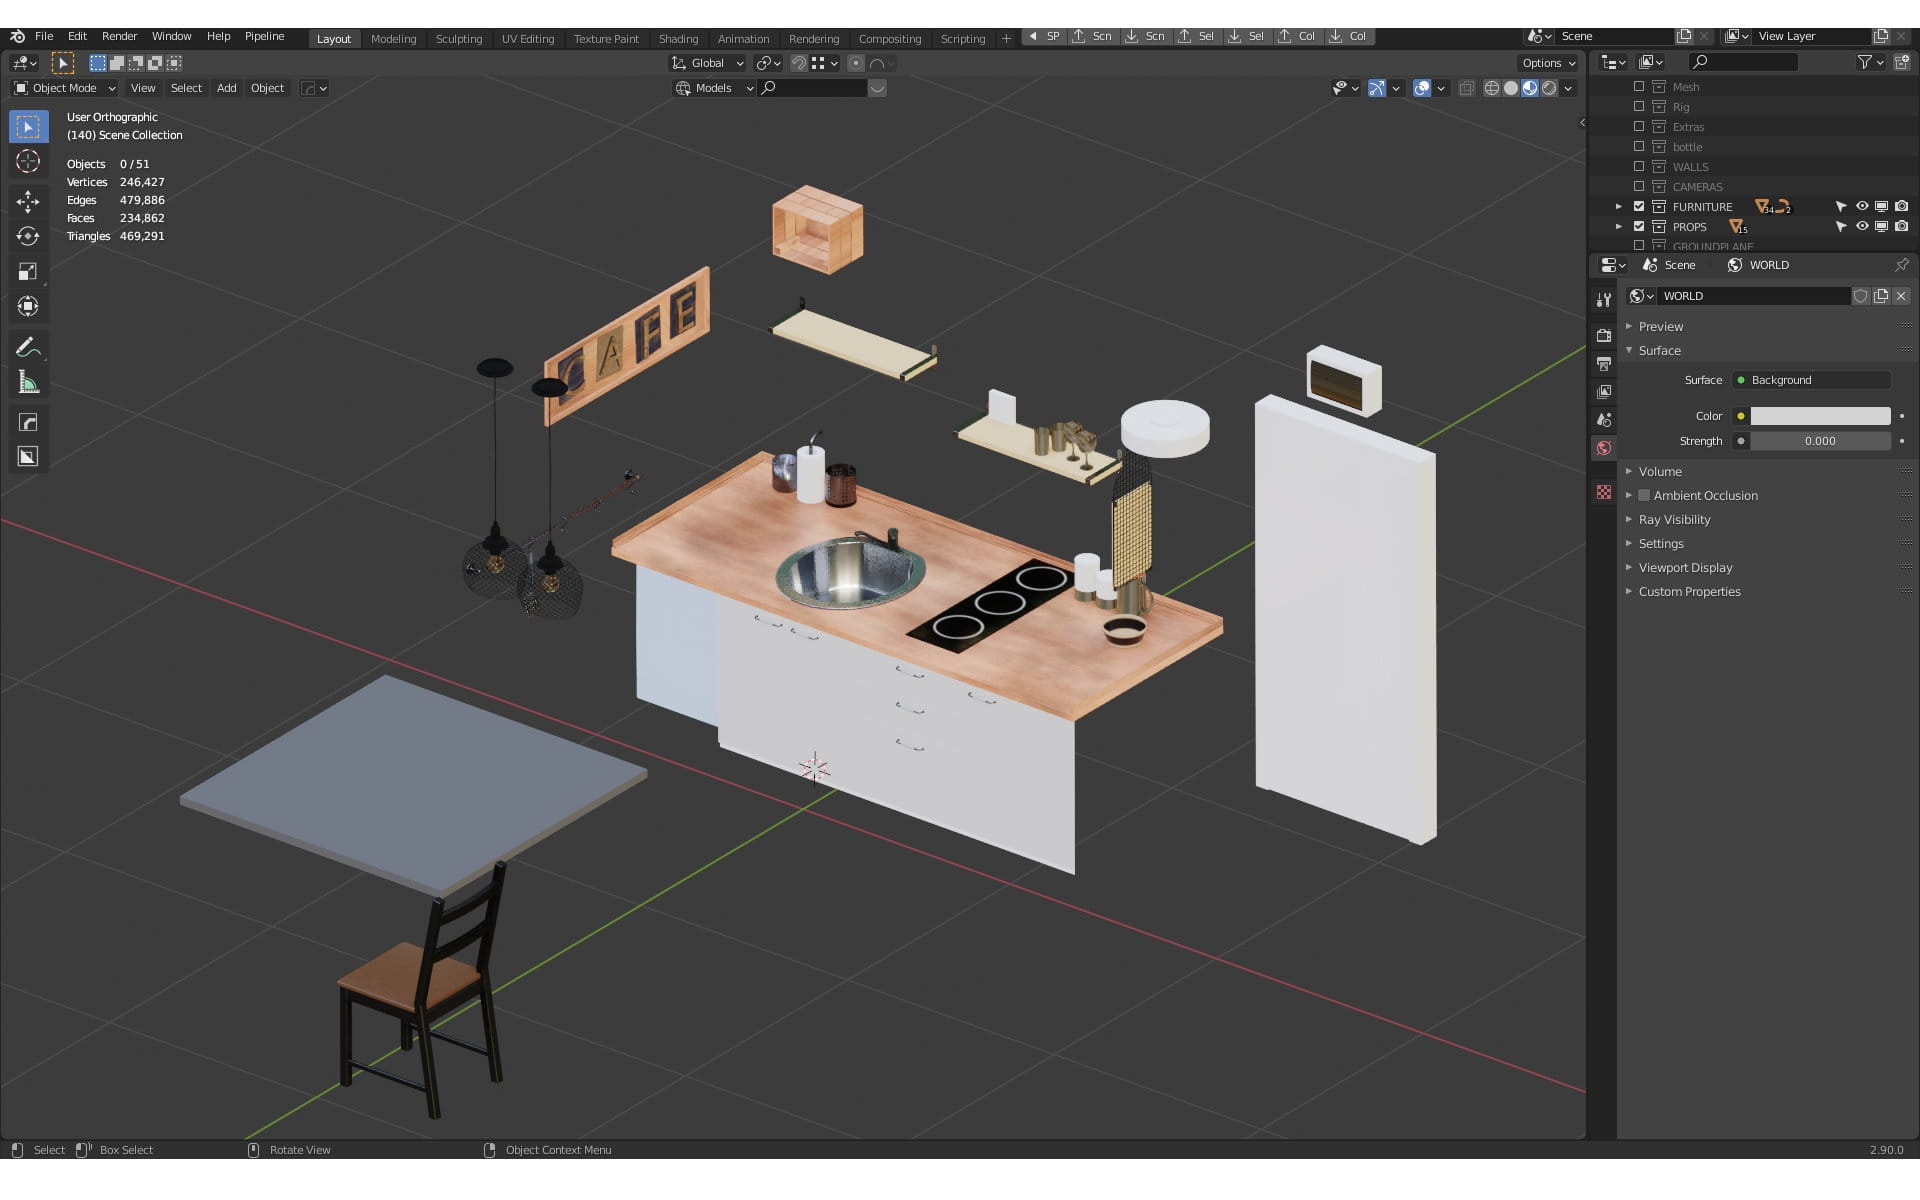
Almost all my props are on place, but I need more. I decided not to waste more time on modeling my own props, I just imported props from Evermotion Shop.
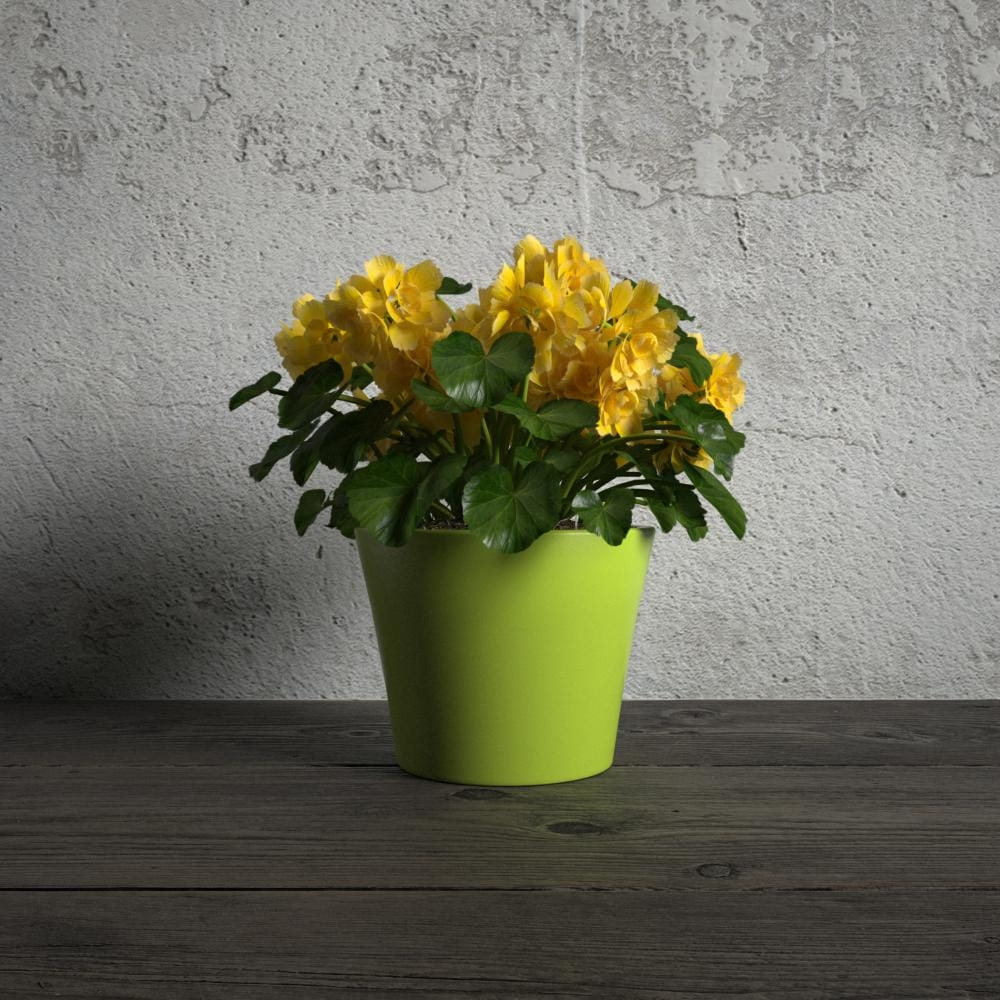
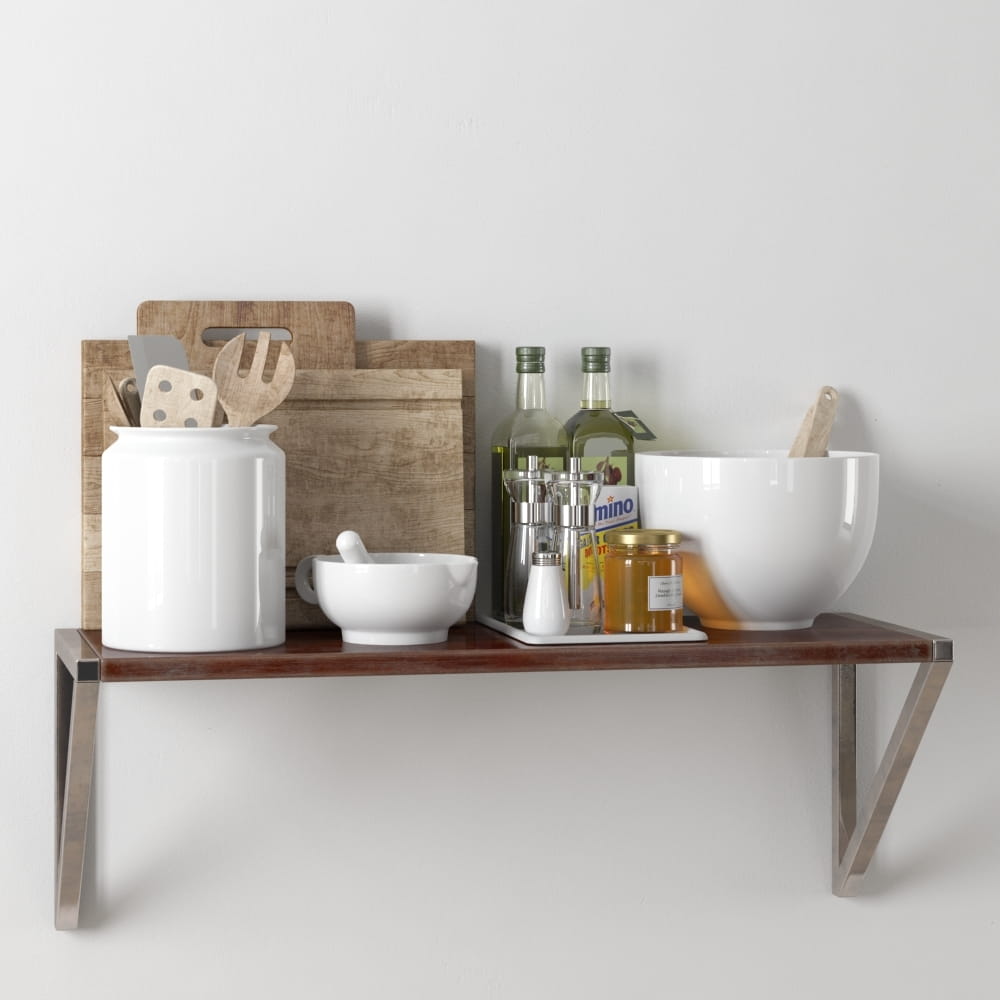
To enrich the scene, I imported several Evermotion models - a flower from the Archmodels vol. 173 collection and kitchen props from Archmodels vol. 134.
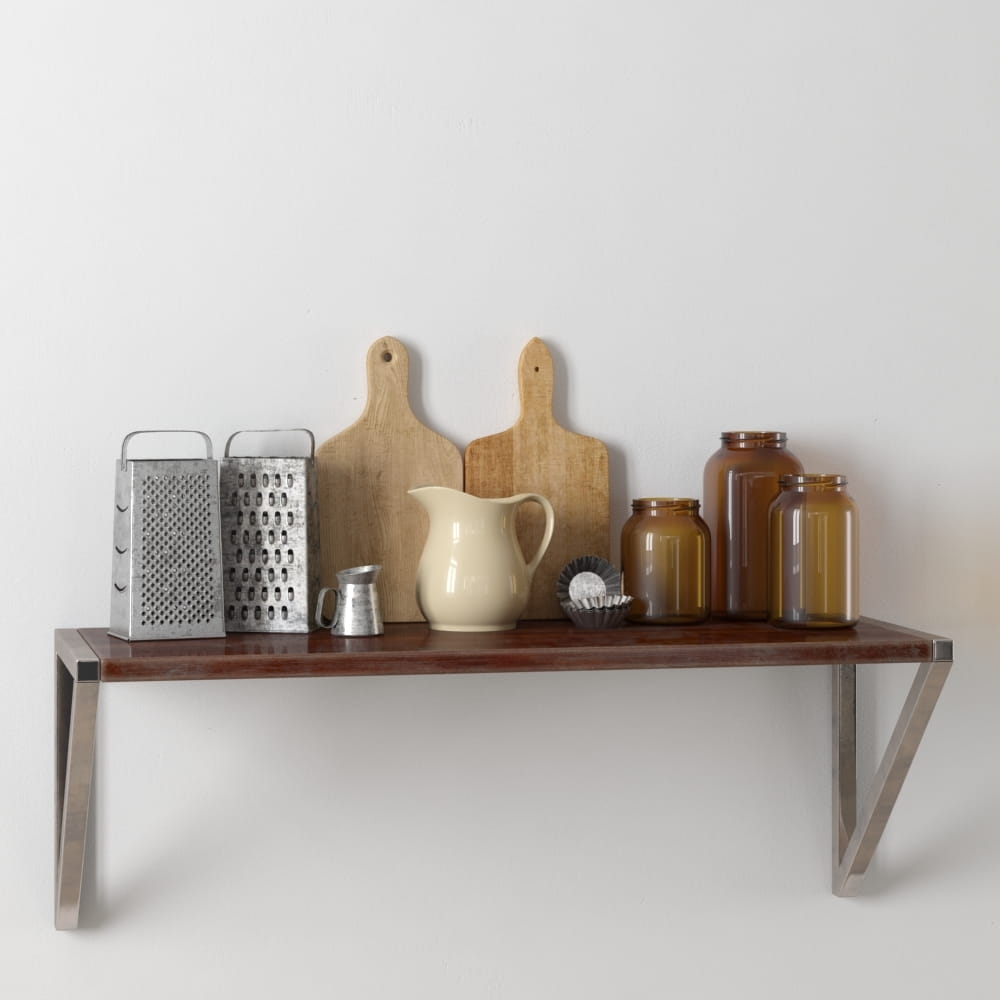
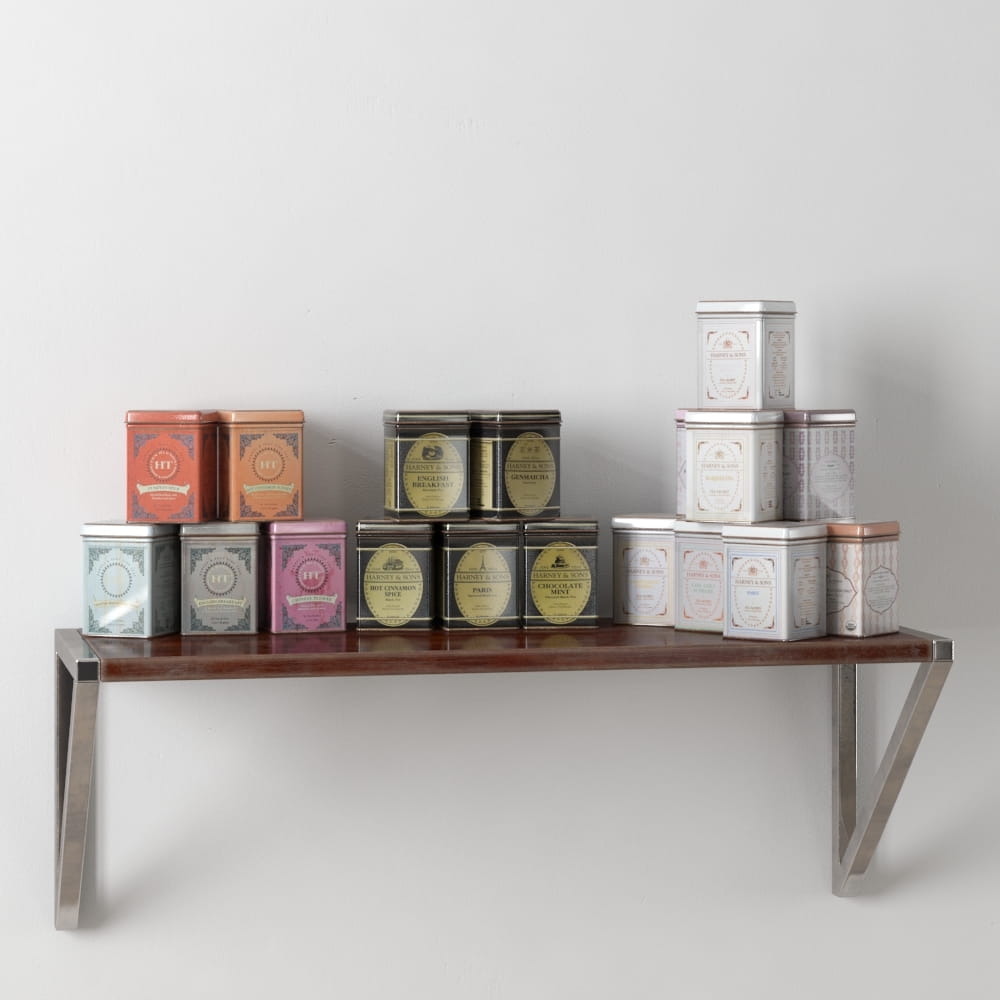
Even though these models were made mainly for 3ds Max / V-Ray users, I could easily use them with Blender / Cycles. All new Evermotion models come with MAX, C4D, FBX and OBJ formats. Blender can import FBX and OBJ files. MAterials are automatically created, but there are some tweaks that need to be made, like transparency for glass, tweaking metallic channel, etc. It takes just a few seconds to match materials in Blender, so we can save a lot of time with these assets.
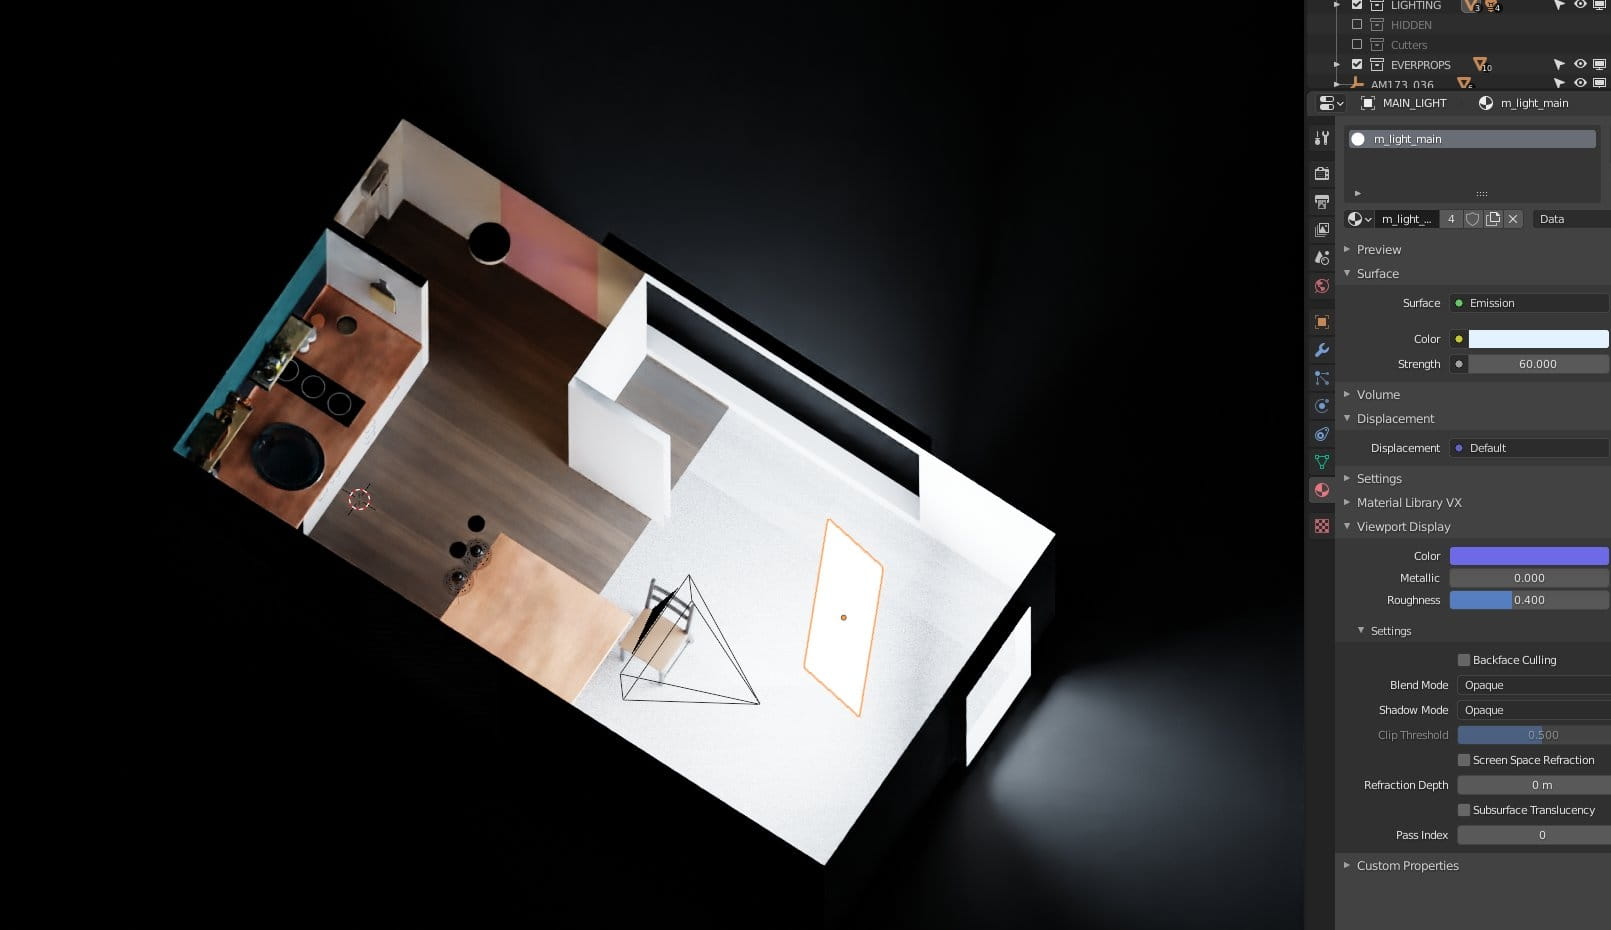
There are two light sources in the scene - one is a big rectangle with white / blueish emissive material
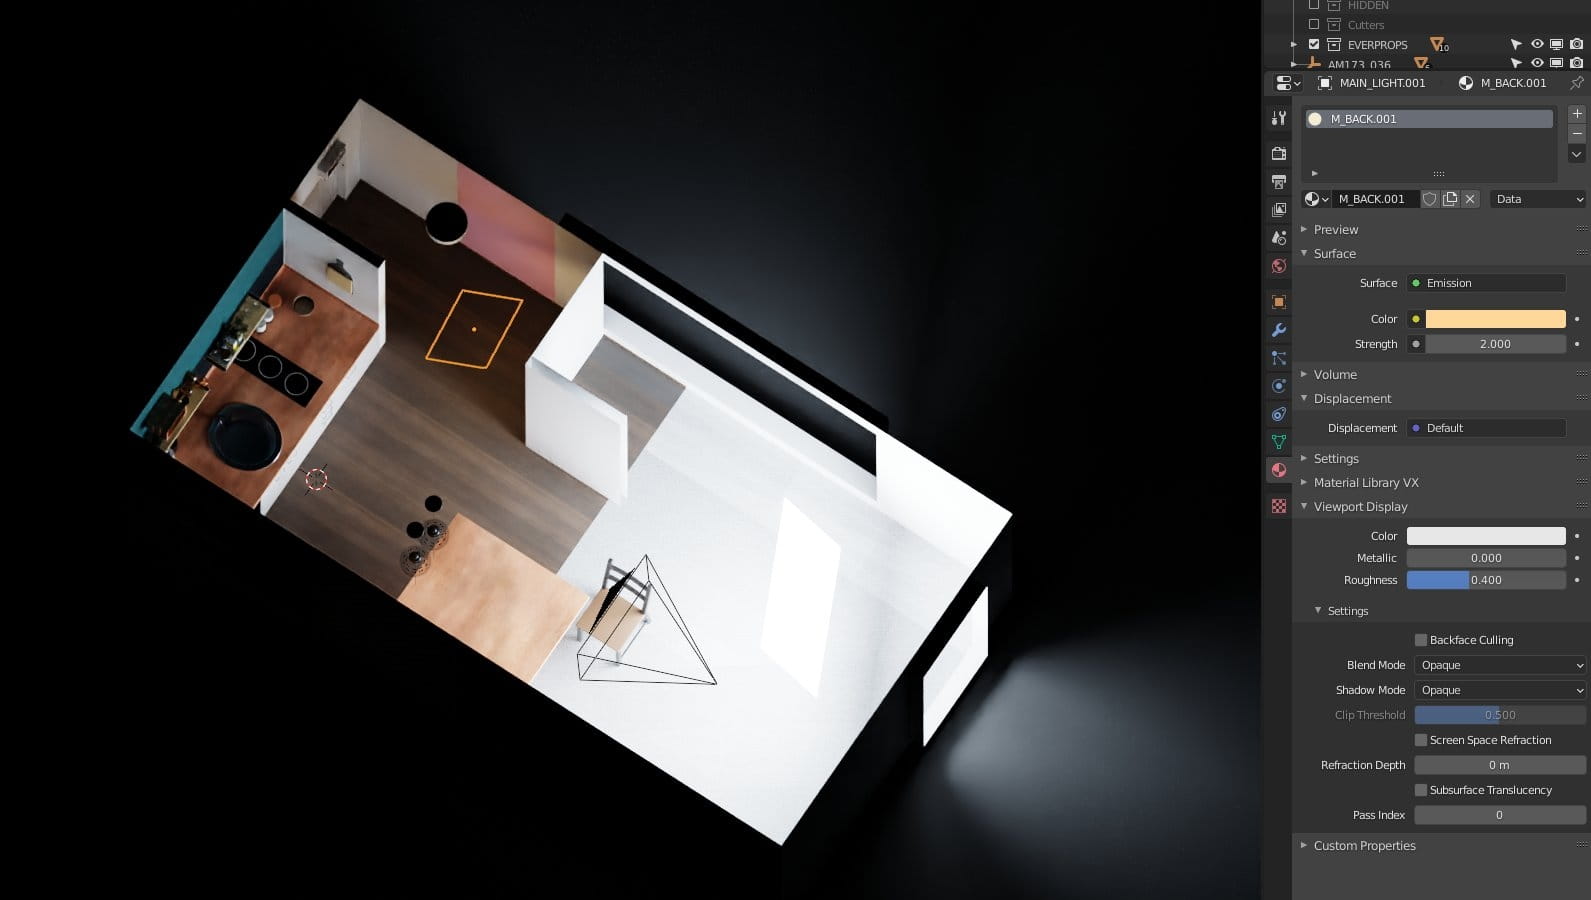
And the second is a small rectangle with orange emissive material.
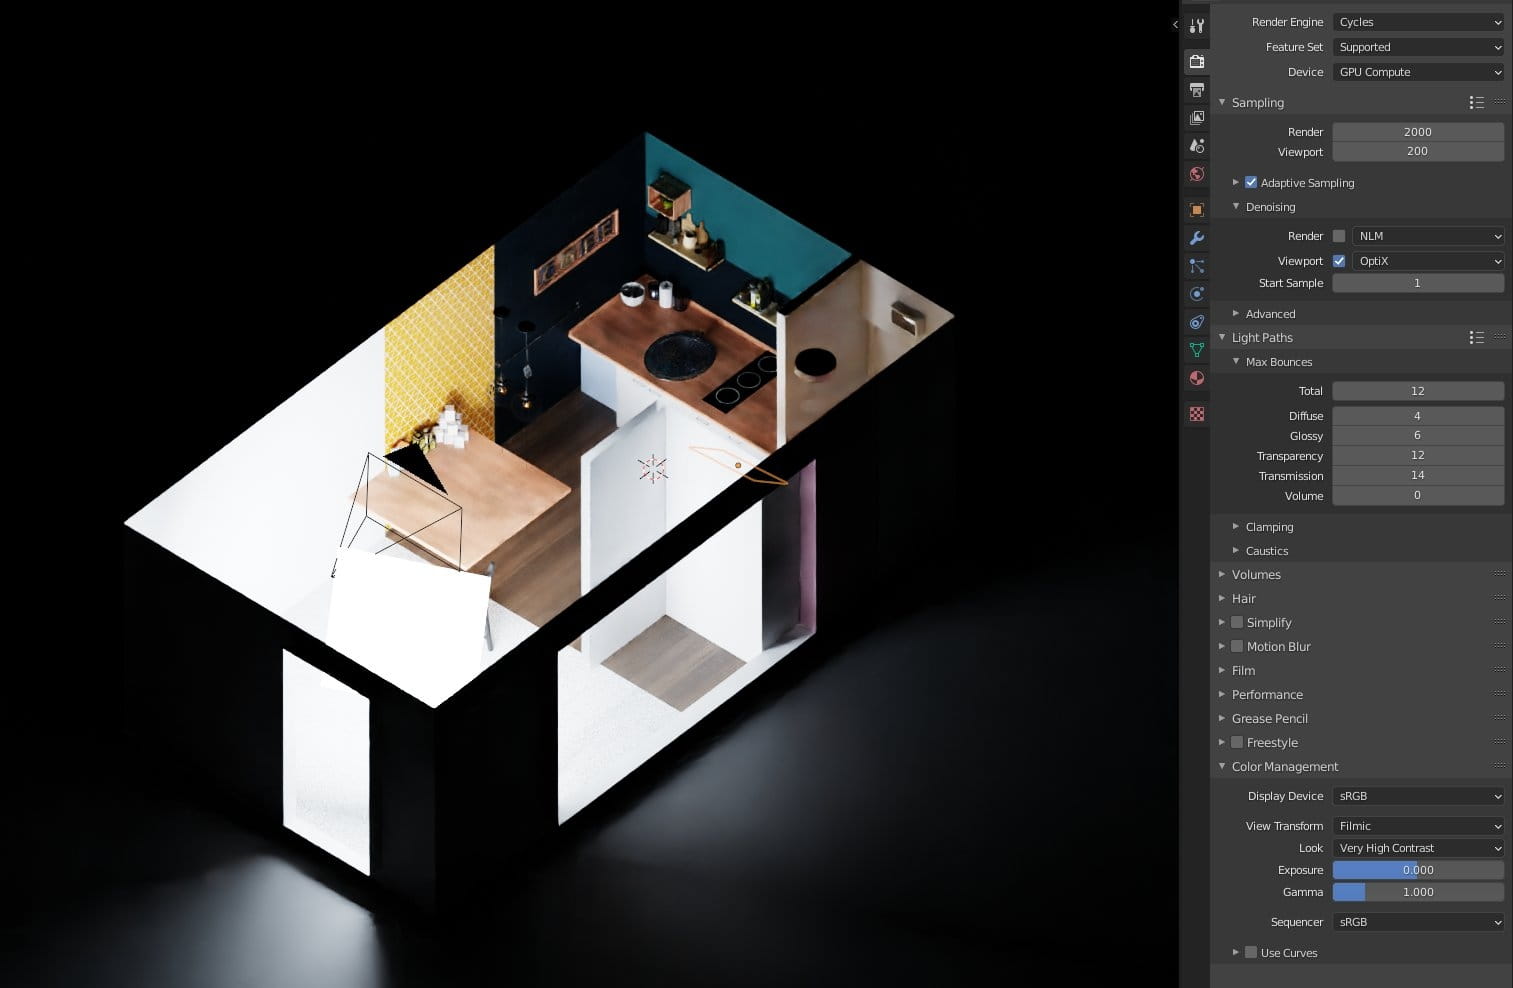
Render settings
That's all, hope you like this small hobby project!


LEAVE A COMMENT


|

|

|

|

|
 Customer zone
 Your special offers
 Your orders
 Edit account
 Add project
 Liked projects
 View your artist profile
COMMENTS