Blender developers were constantly expanding denoising capabilities in the latest builds. In Blender 2.82 we have currently two implementations of denoising for final render - we can use Intel's Open Image Denoiser or NVidia Optix denoiser. In the latest Blender 2.83 alpha builds we can enable also OptiX denoising in viewport.
To use Intel Open Image Denoiser for final rendering, we have to use compositor - add a denoising node and activate additional render passes in Layers panel that will make denoising more effective.
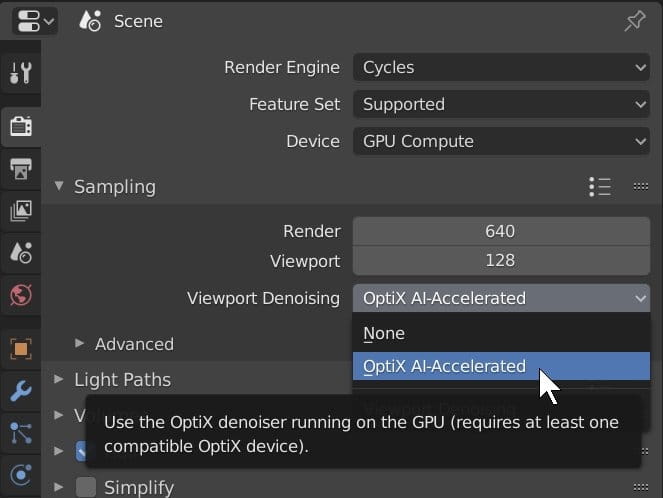
But if you download Blender 2.83 alpha build from Blender website you get access to new options. Go to Render Properties > Sampling > Viewport denoising and (if you have Optix compatible card and you enabled Optix in preferences) you will see two options: none and OptiX Accelerated.
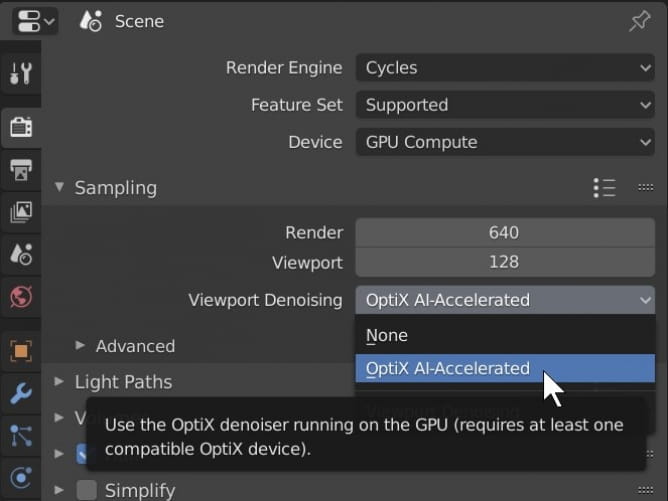
Of course, you need to have a compatible GPU in your PC to activate Optix. Doing this will take a bit of time for the first time for loading render kernels. You do not need to use many samples to achieve good results. 16 samples are fine in the most scenes.
Try the new OptiX viewport denoiser in Blender 2.83 alpha (go to "Experimental builds" page).




 Customer zone
 Your orders
 Edit account
 Add project
 Liked projects
 View your artist profile

















COMMENTS