Removing LUTs from Textures for better results
Remove the LUT from a specific texture in order to get perfect looking textures in your render.
Total: € 0
Continue Shopping
In accordance with the art. 13 section 1 and 2 of the European Parliament and Council Regulation 2016/679 of the 27th April, 2016 on the protection of natural persons, with regard to the processing of personal data and on the free movement of such data, and repealing Directive 95/46/EC (General Data Protection Regulation), hereafter RODO, I hereby inform that:
1. EVERMOTION S.C., 8 Przędzalniana Str., 15-688 Białystok, Poland is the Administrator of your Personal Data (APD)
2. Data Protection Inspector can be reached through e-mail: iod@evermotion.org
3. Your personal data are to be processed on the basis of art. 6 section 1 letter a, b and f of RODO in order to:
a) prepare, conclude and execute the agreement and for other purposes approved by you,
b) to execute the legitimate interest like marketing of products and the agreement, claim assertion or defence against claims resulting from the law regulations.
4. Entities entitled to the reception of your personal data may be the authorised public bodies; mail providers; providers of the services covered by the agreement; responsible for debt recovery, keeping the archives, document utilization, legal consulting, technical services, IT services and accountancy.
5. Your personal data shall not be transferred to the third country, nor to the international bodies.
6. Your personal data shall be processed within the period of the agreement and upon your additional consent until you withdraw it. APD shall keep the data for the period of any civil law claim execution connected with the agreement.
7. You have the right to demand an access to your personal data, to correct or to delete the data if there is no other basis for the processing or any other purpose of such processing or to limit the processing of the data, to transfer the data to another administrator and to raise objections to the further data processing if there is no legal basis for further processing and to withdraw any previous consent.
8. You provide the personal data voluntarily, however they are necessary to conclude the agreement. The refusal of providing such data may result in the refusal of the agreement conclusion.
9. You have the right to lodge a complaint to the Personal Data Protection Office when in your opinion the data processing violates the regulations of General Data Protection Regulation of the 27 April, 2016 (RODO).
10. Your data will be automatically processed, including the form of profiling.
11. You are obligated to forward above mentioned information to your representative, especially if you appointed this person in the agreement as the contact person or as the representative for the agreement execution.
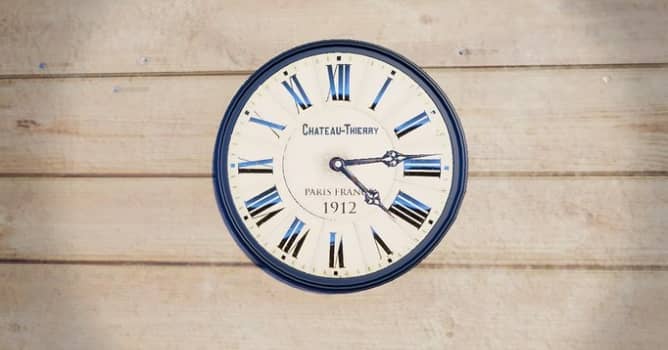

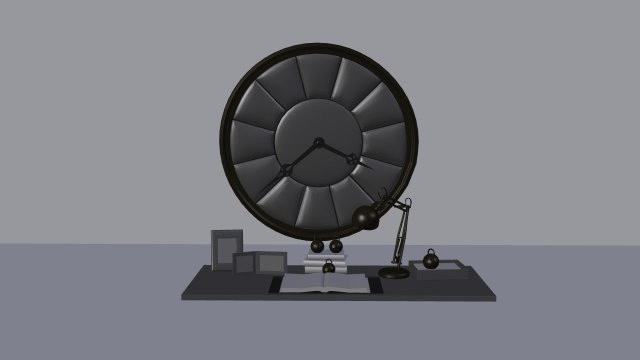
This simple tip will help you to make a simple clock animation in Blender, export it to Unreal Engine, render it, post process it in Affinity Photo and create final AVI file in Blender sequence editor. We will use an asset from Archmodels vol. 188 - the latest clocks, props and gadgets collection from Evermotion.
In this case we could easily abandon some Blender steps and create animation directly in Unreal Engine 4, but I wanted to show this workflow in case you would like to use more complicated animations that you would like to include in your scene in the future. The whole process of making this animation takes no more than 30-40 minutes if you don't struggle in the way.

First, we import our assets into Blender and set up simple background. I used set 10 from Archmodels vol. 188 with nice vintage clock, lamp, books and some small props.I imported them as FBX file, although I could also use OBJ format. Archmodels vol. 188 have also MAX, C4D formats included.
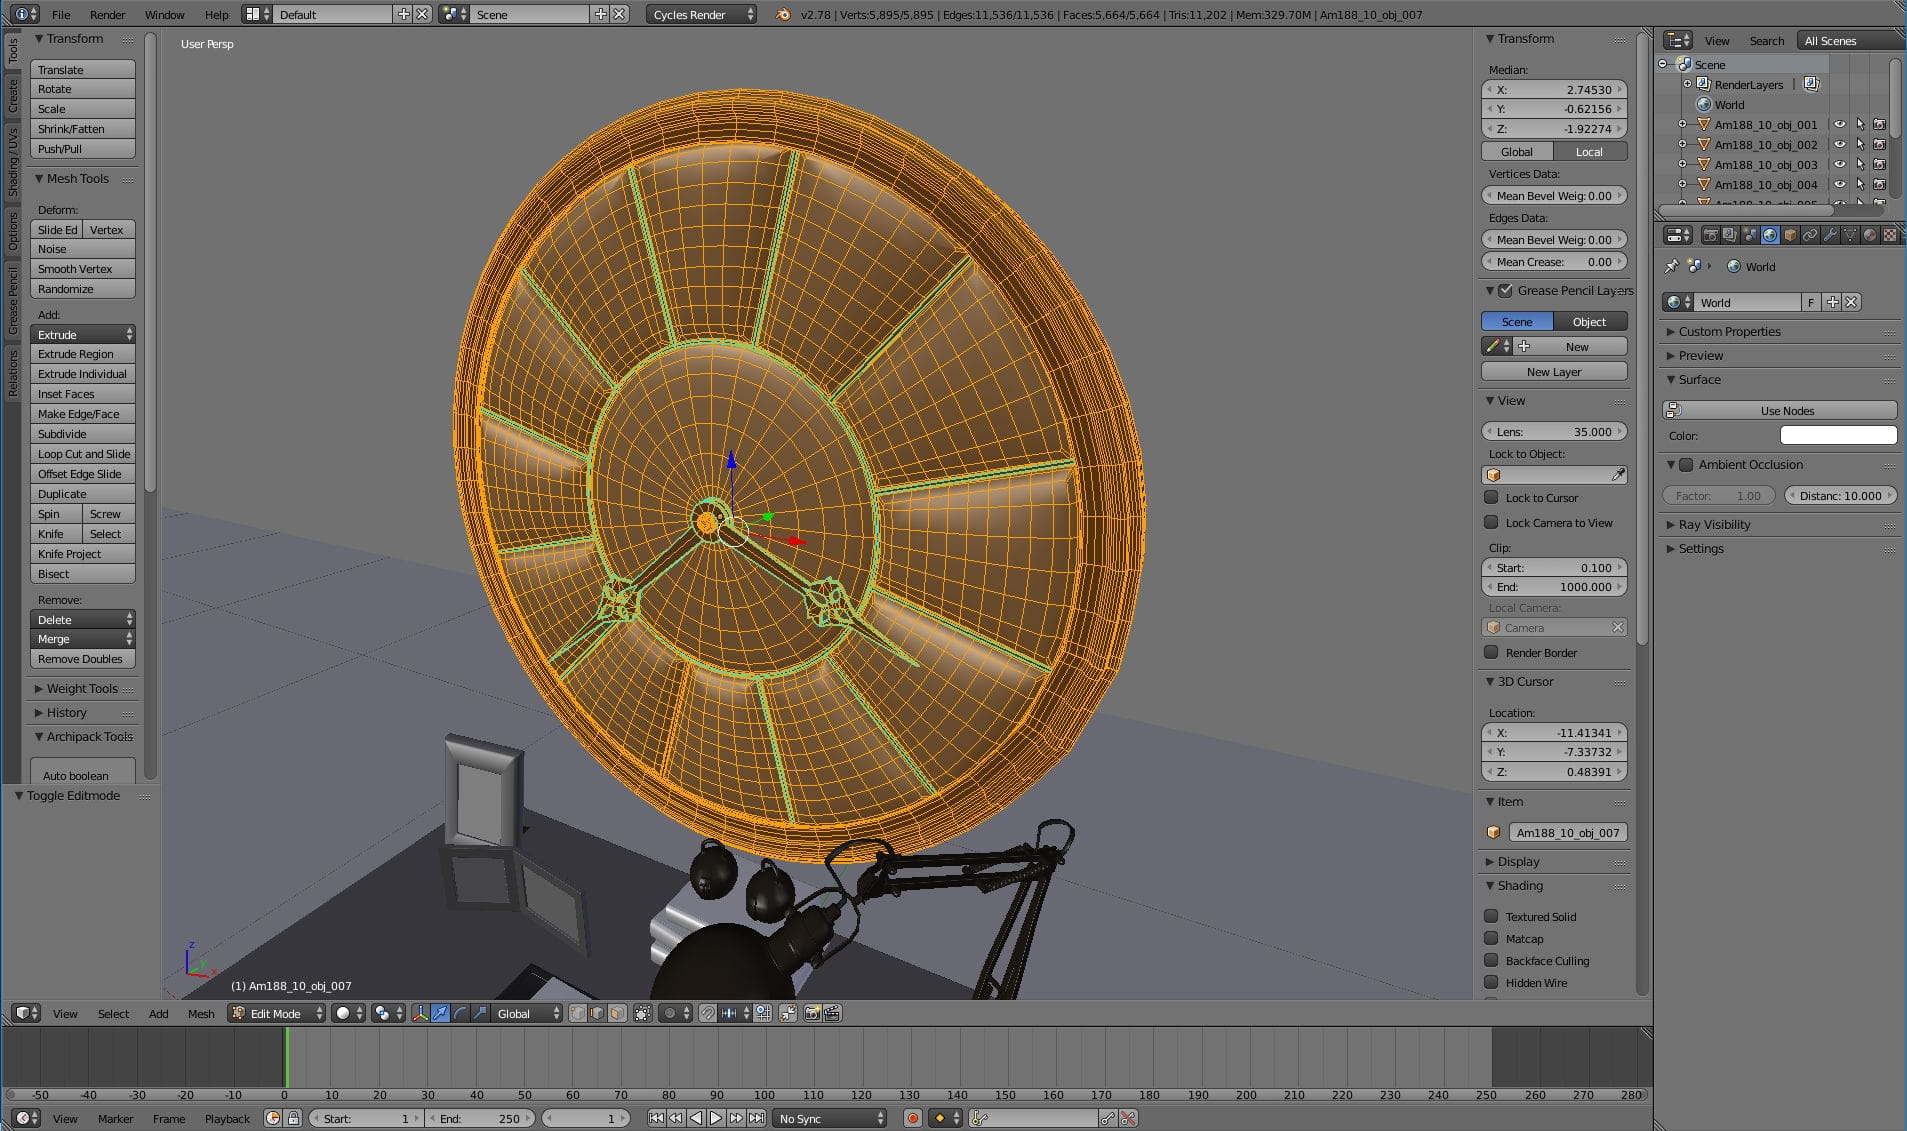
In order to animate our clock hands, we need to separate them from clock face. Let's press TAB to go into edit mode.
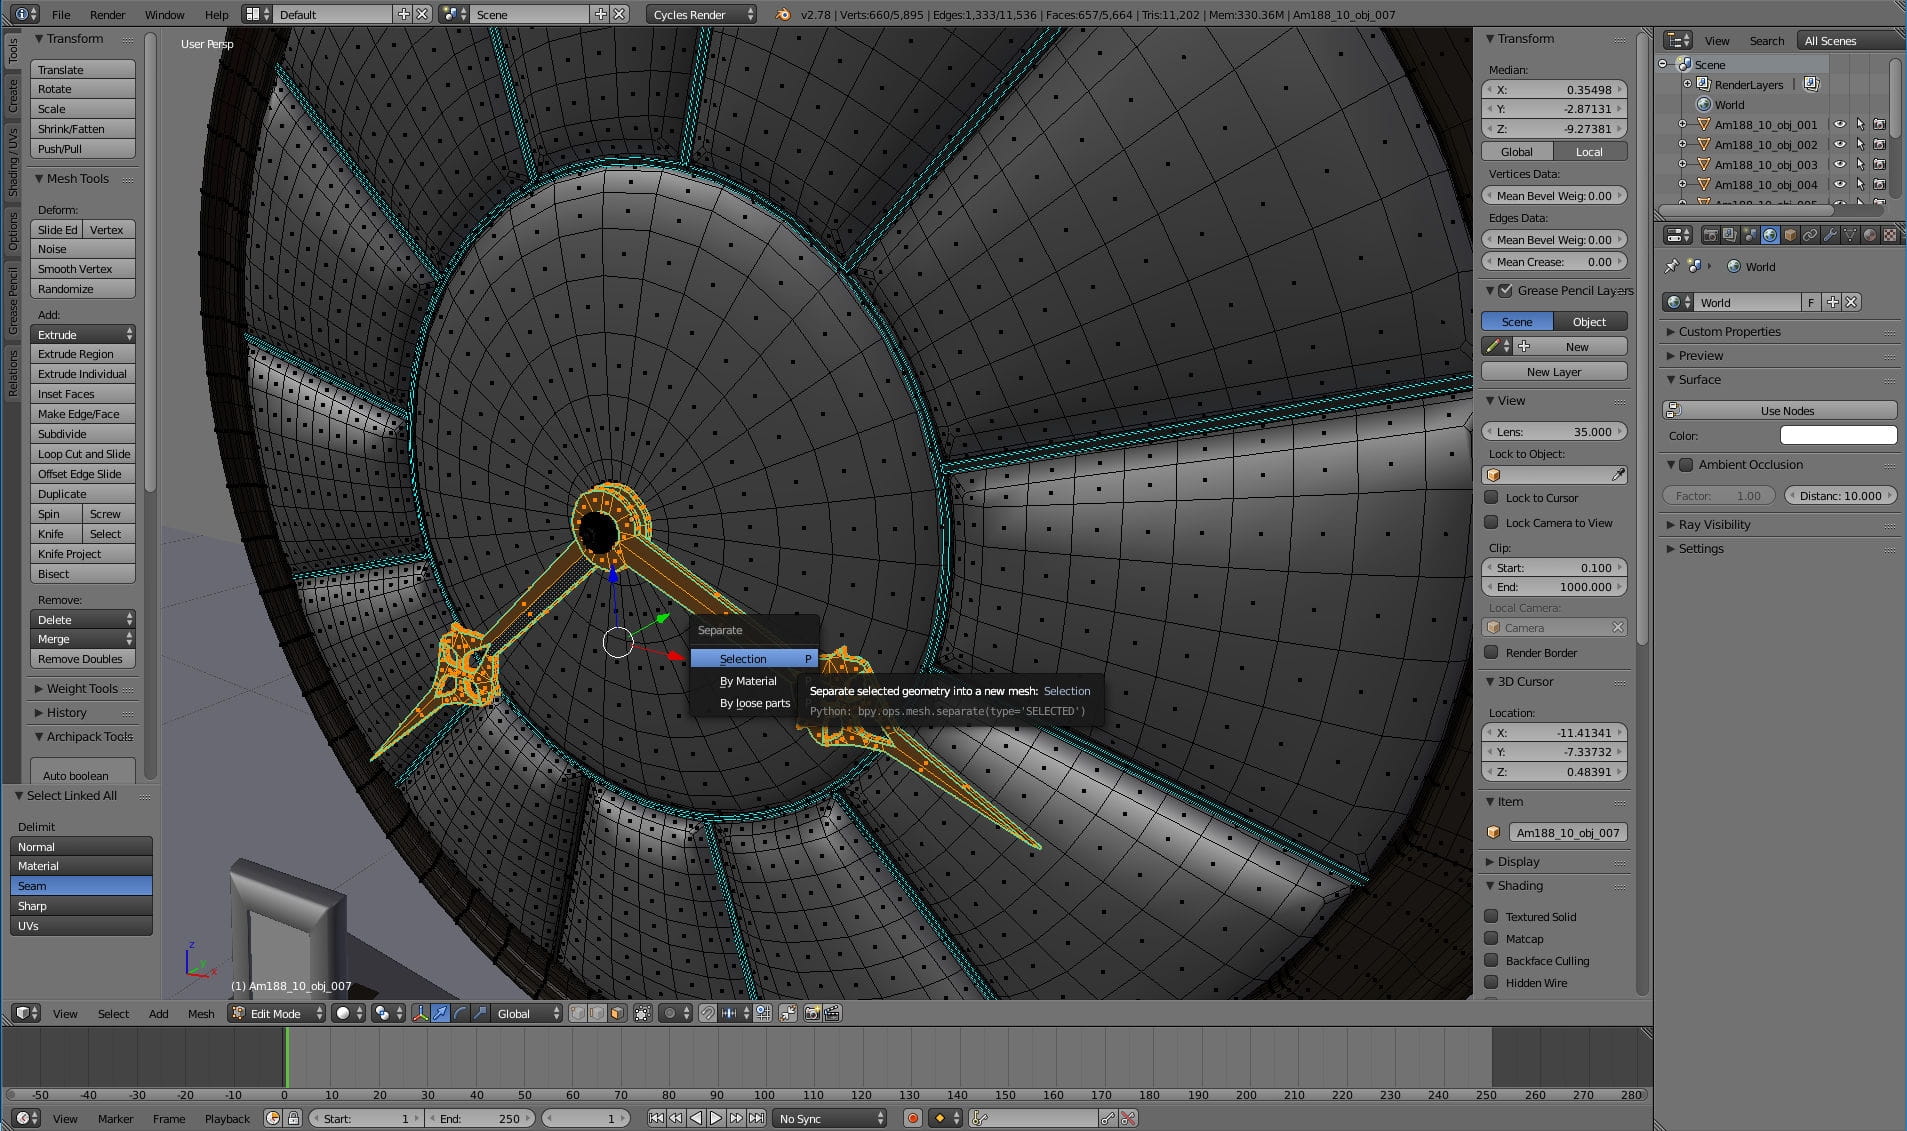
I selected one face of each hand and pressed "CTRL-L" to select linked faces. This way I have whole clock hands selected in three clicks. I pressed CTRL-P to separate faces and used "separate selection" options.
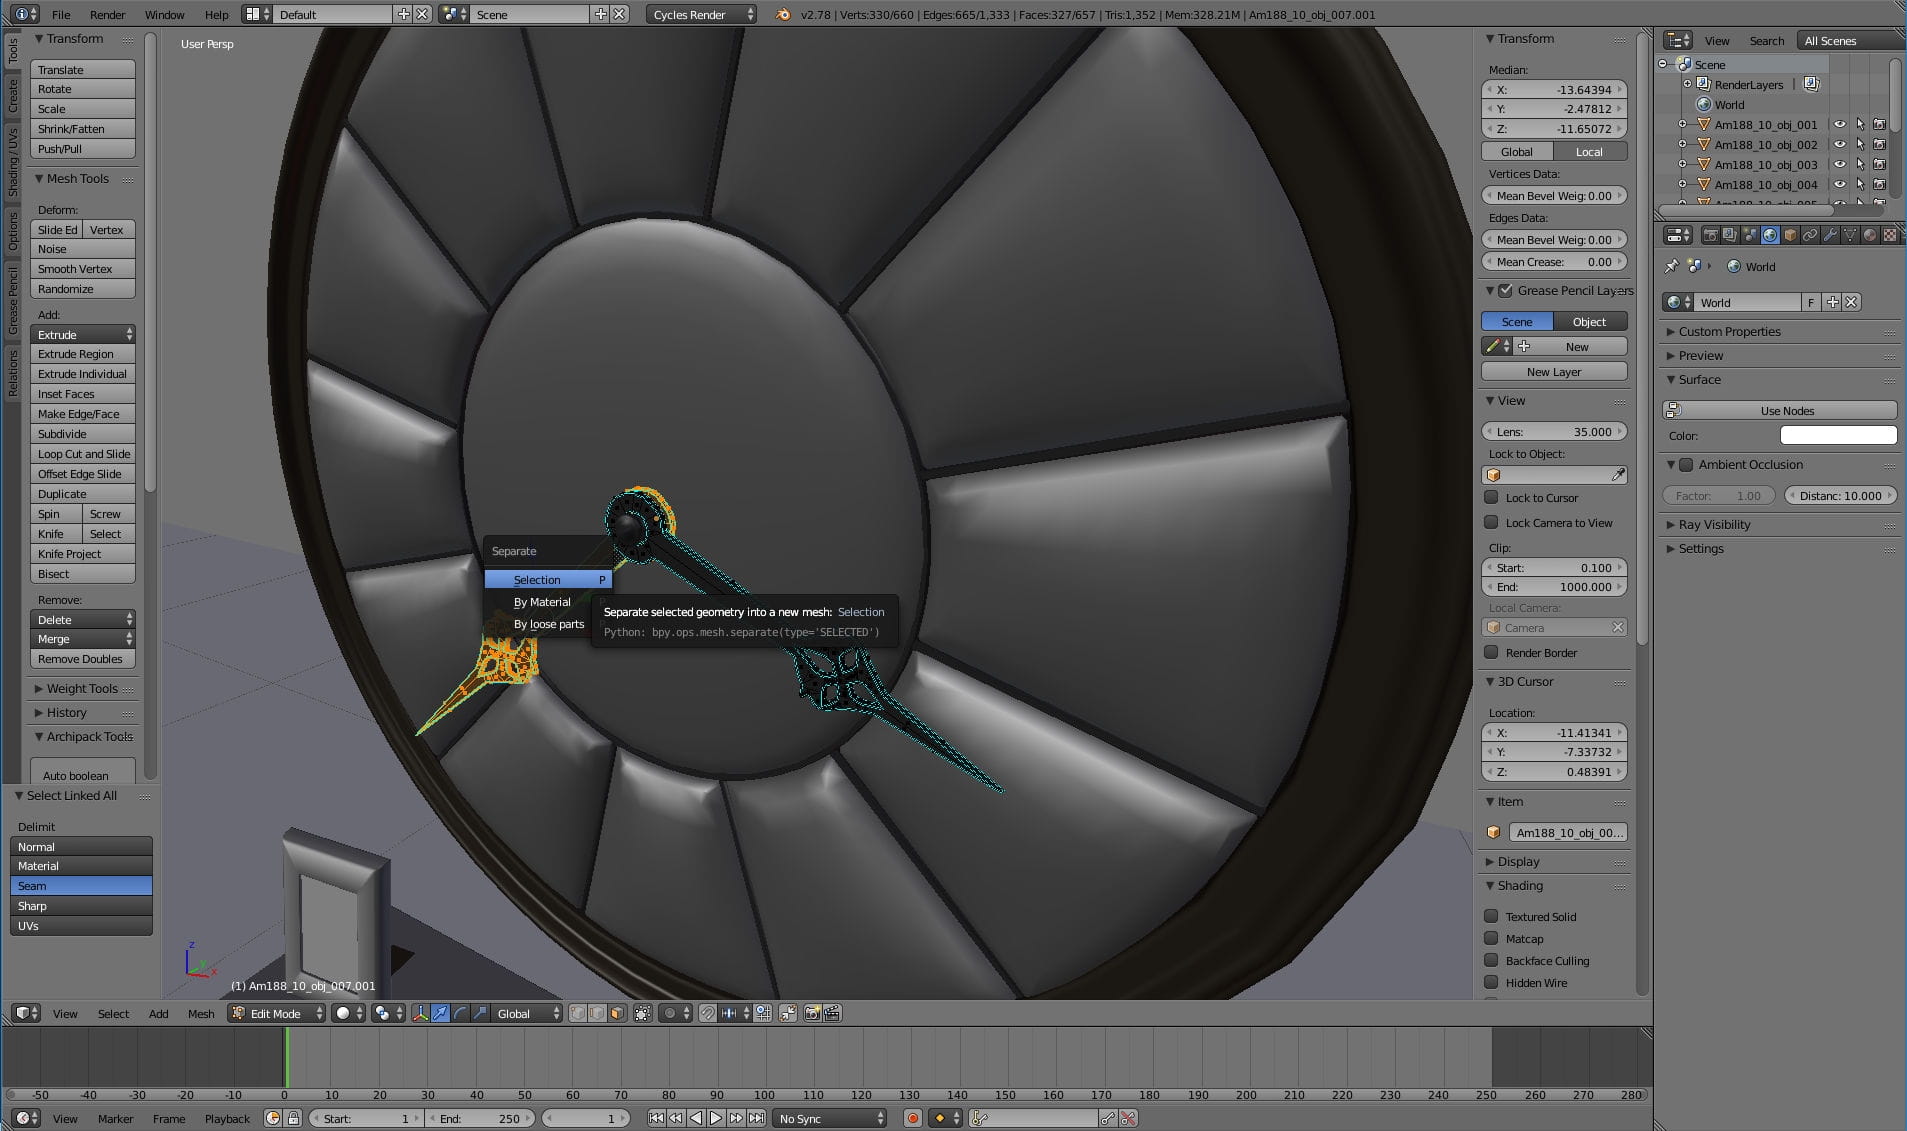
I used the same separation method to separate hour hand from minute thand.
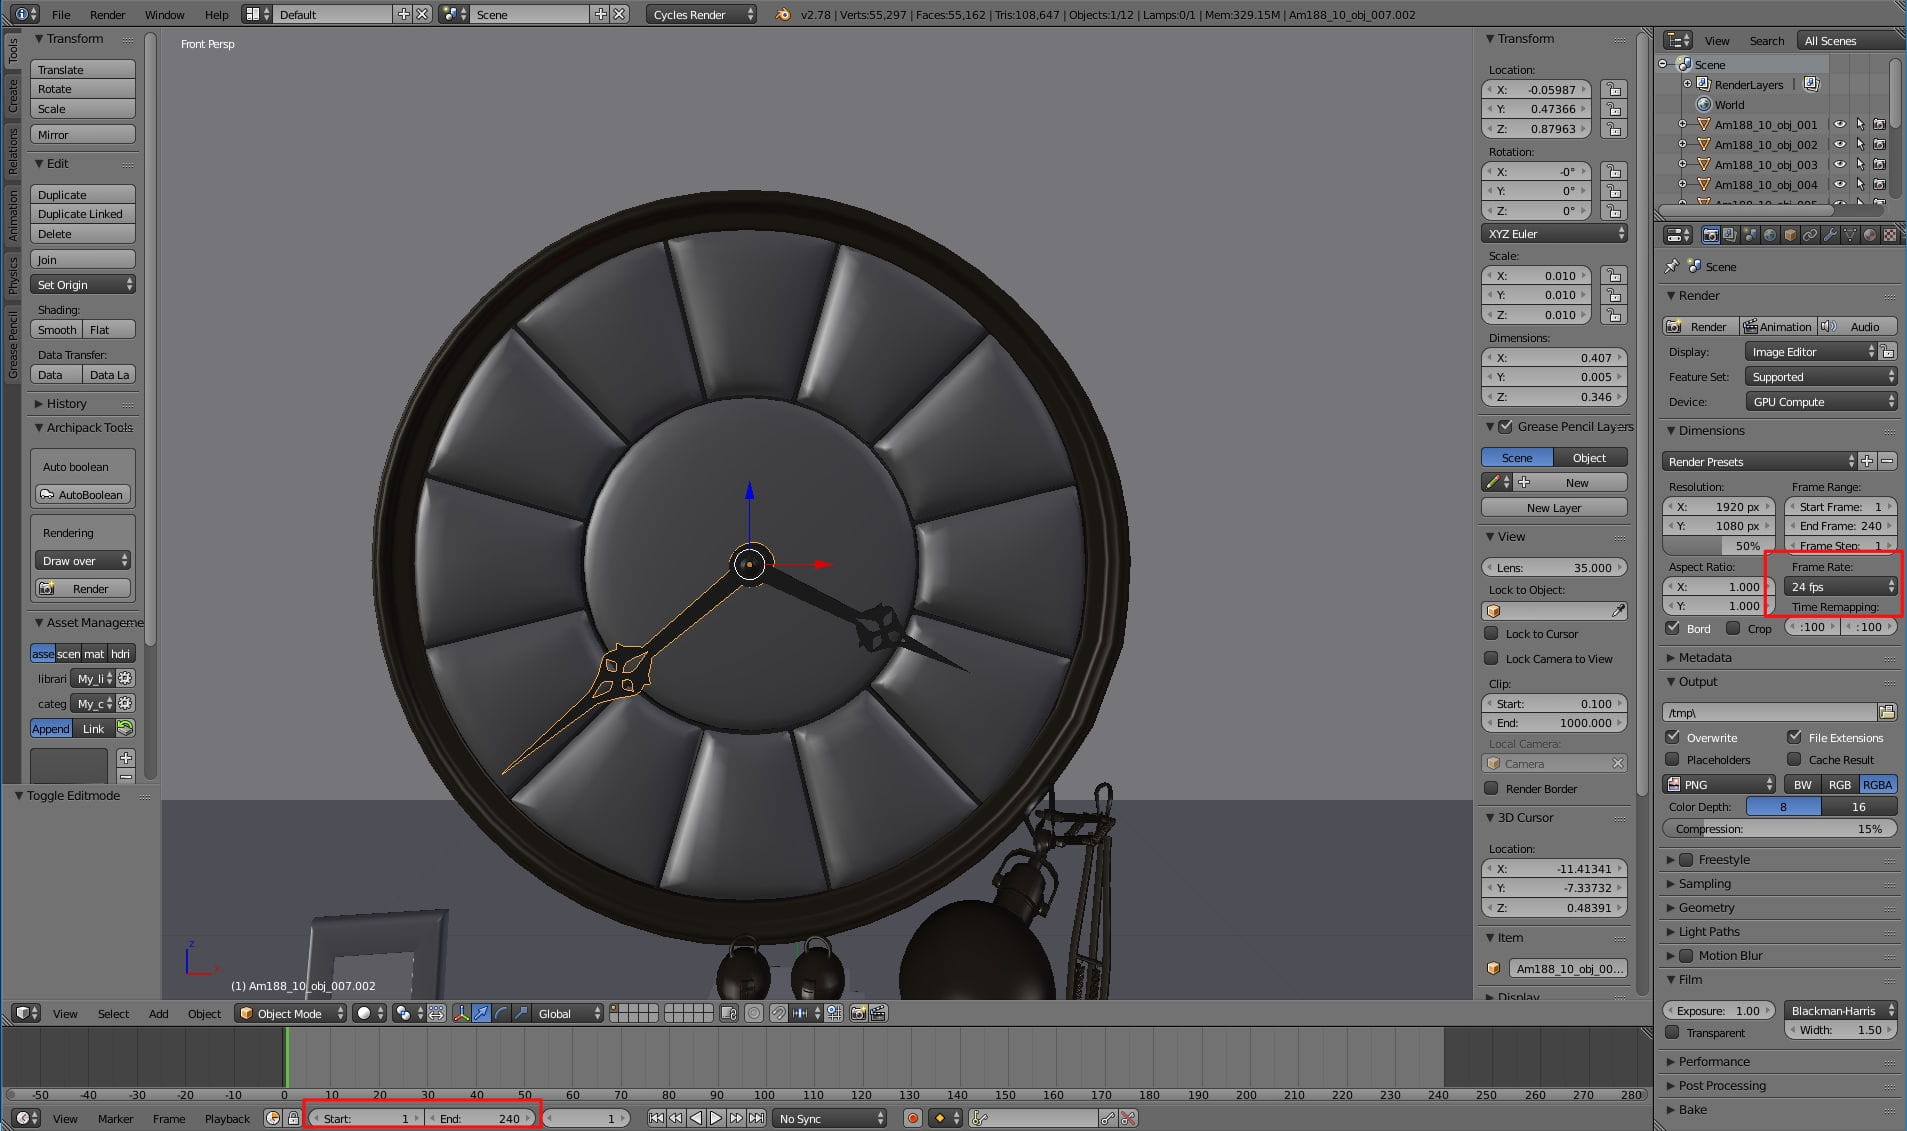
Before we begin animation we need to make sure that we have desired FPS. I used 24 frames per second, I decided that I want 240 frames total. I changed the options in highlighted windows.

I wanted minute frame to rotate 360 degrees after 60 frames, so I choos "LocRot" key set and inserted (I) one keyframe on frame 1, moved cursor to frame 60, rotated the hand (R 360) and inserted (I) another keyframe.
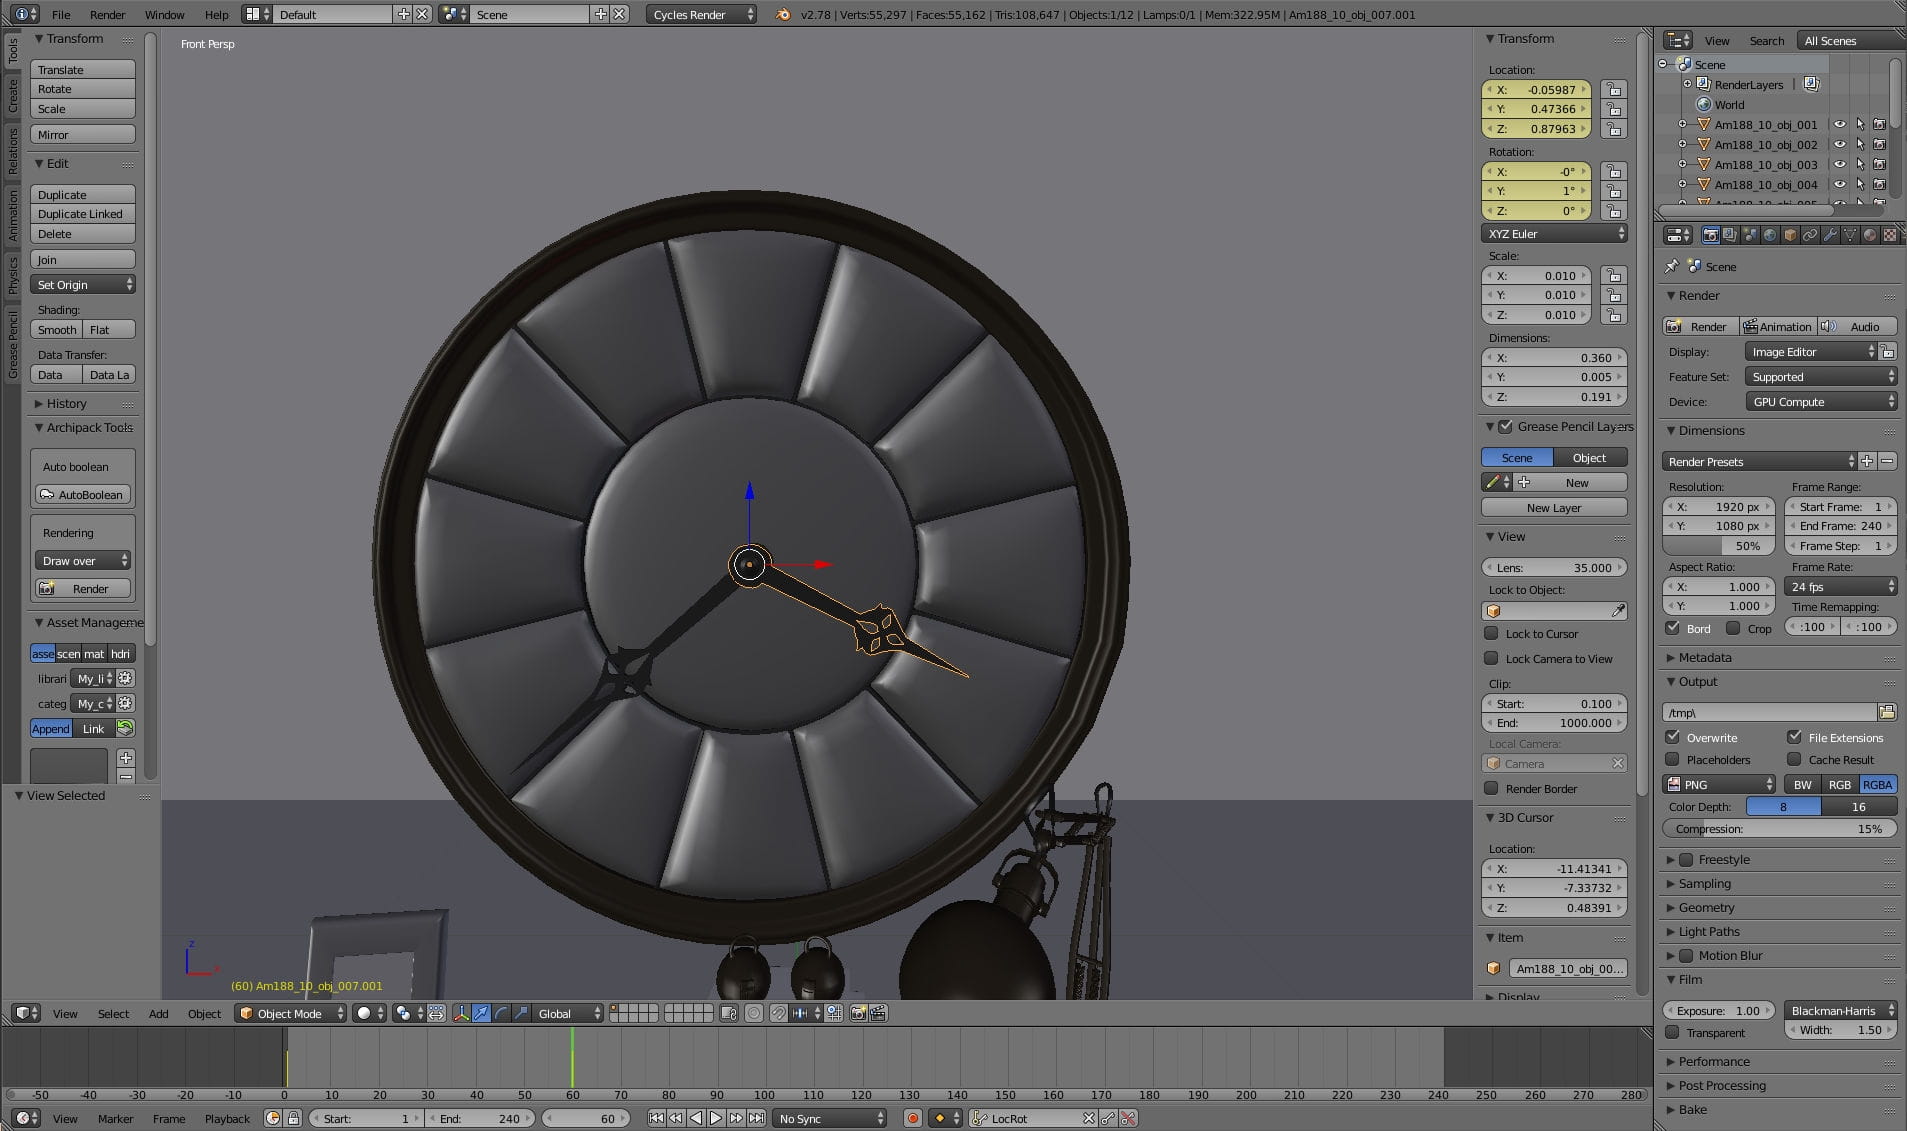
Hour hand moves by 12 times slower than minute hand, so after 60 frames it rotates only by 30 degrees.
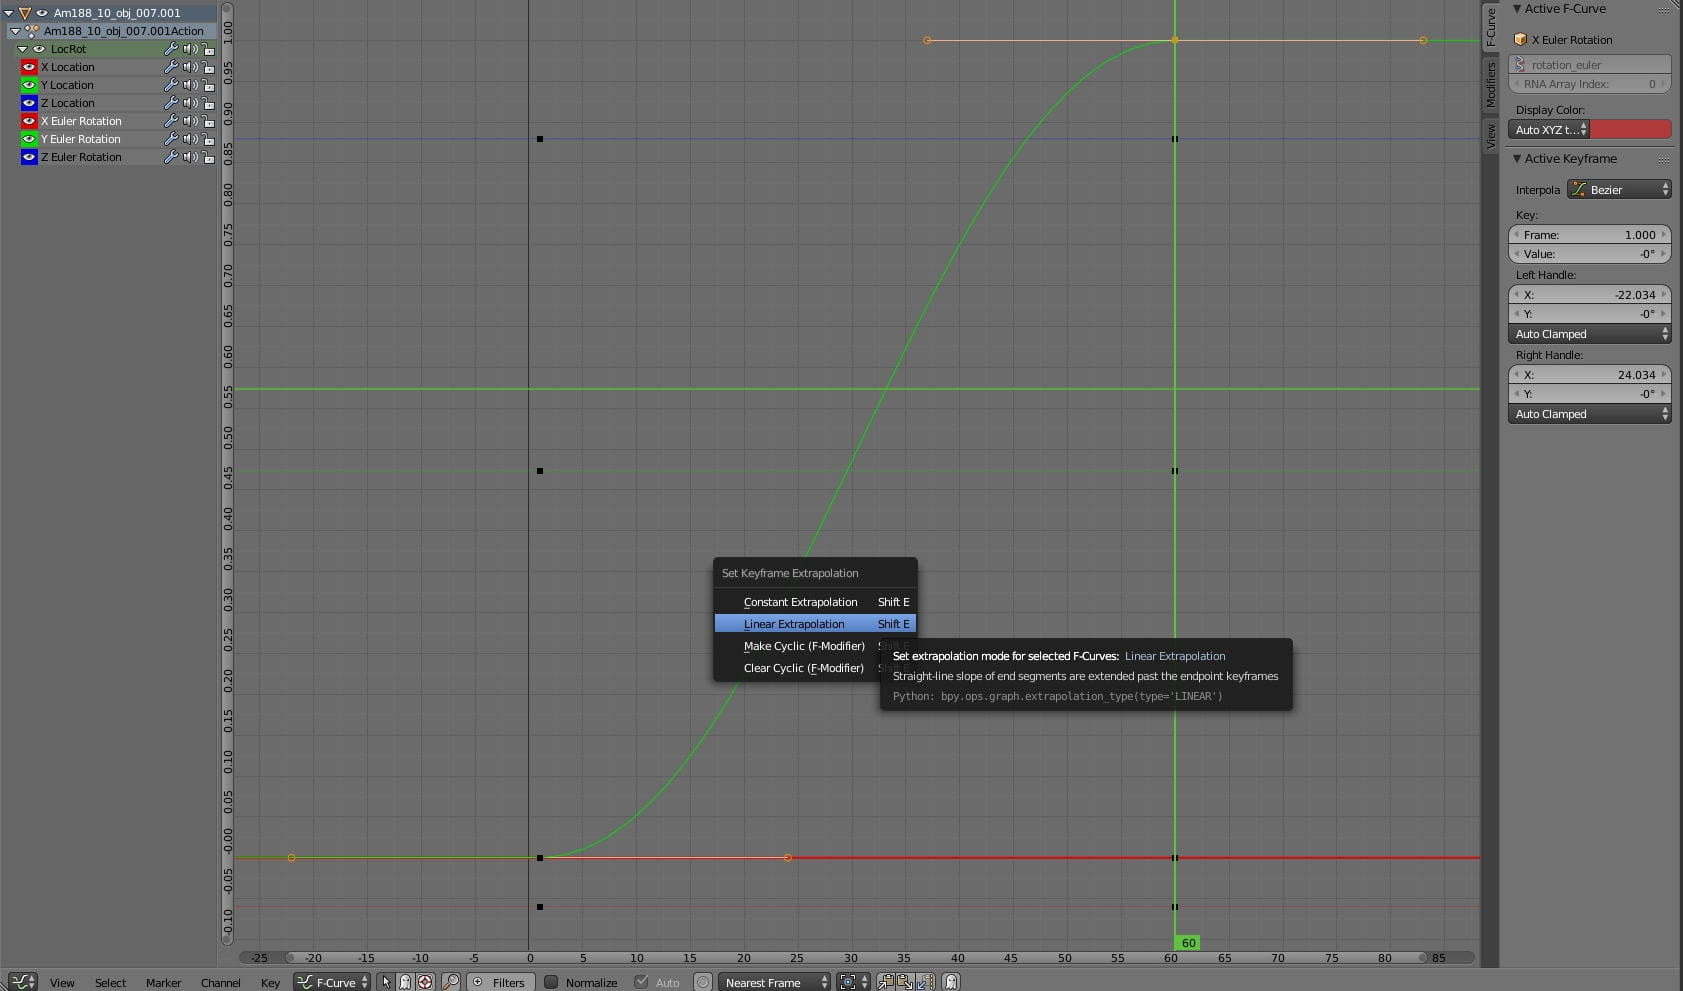
I opened curves editor for each hand (SHIFT-F6) and changed interpolation mode (SHIFT-T) to linear. By default Blender uses bezier interpolation.
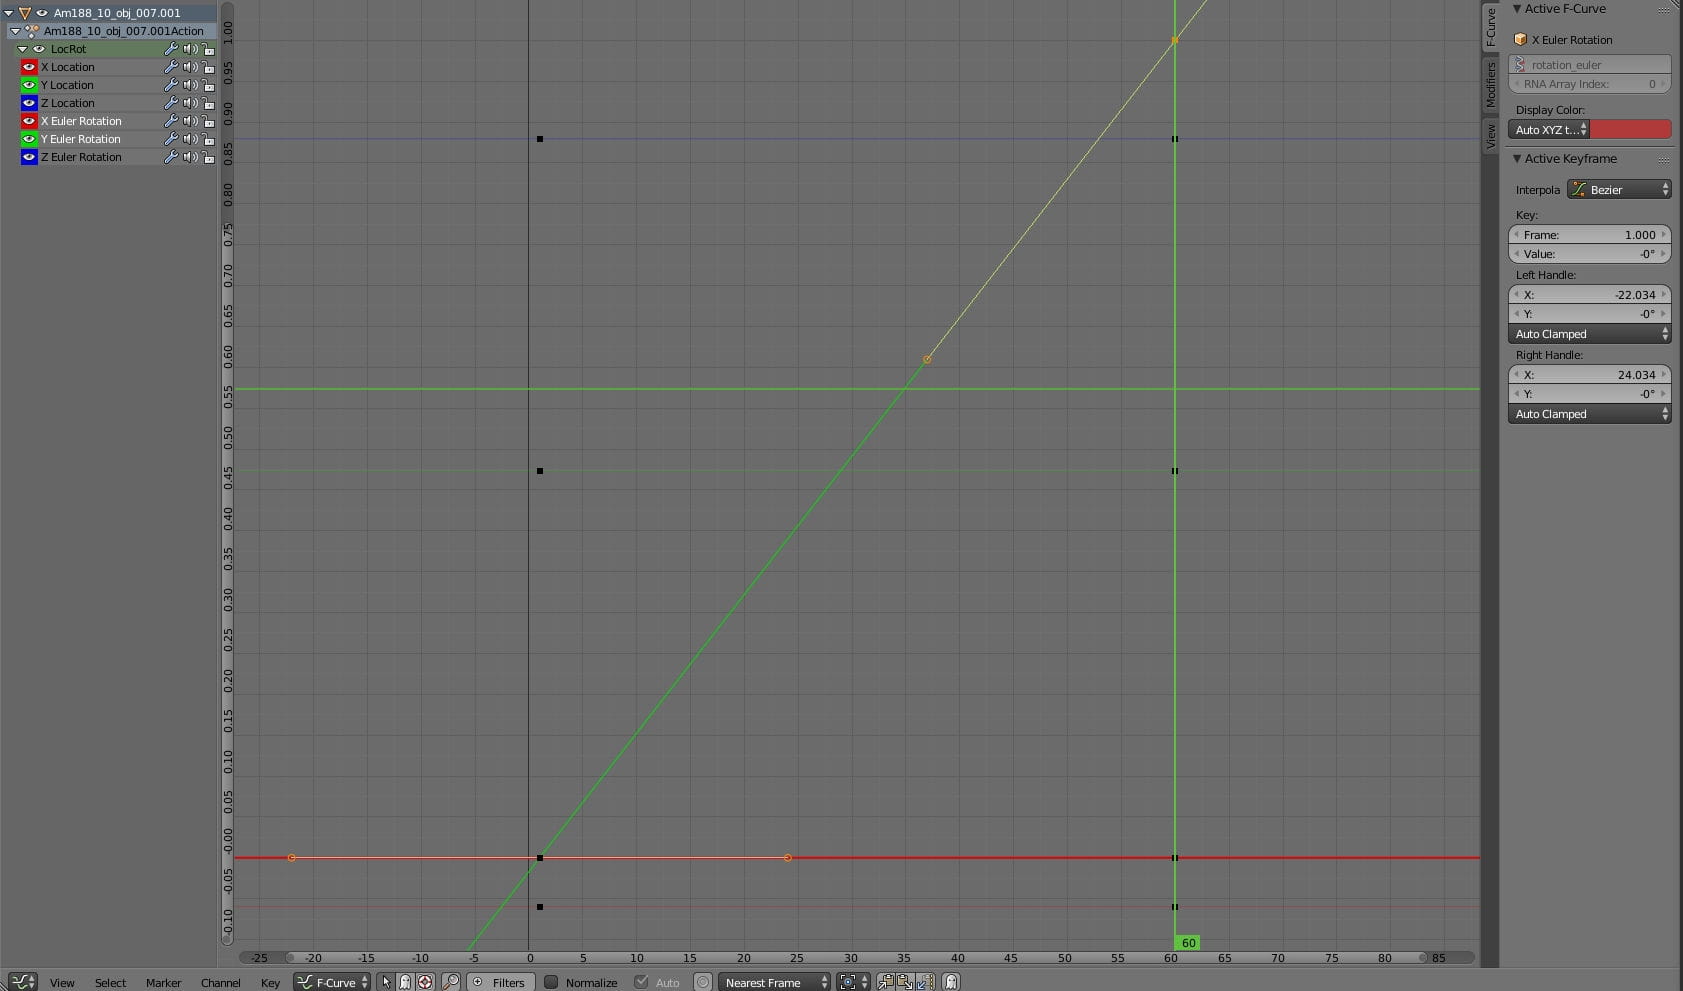
Linear frames interpolation
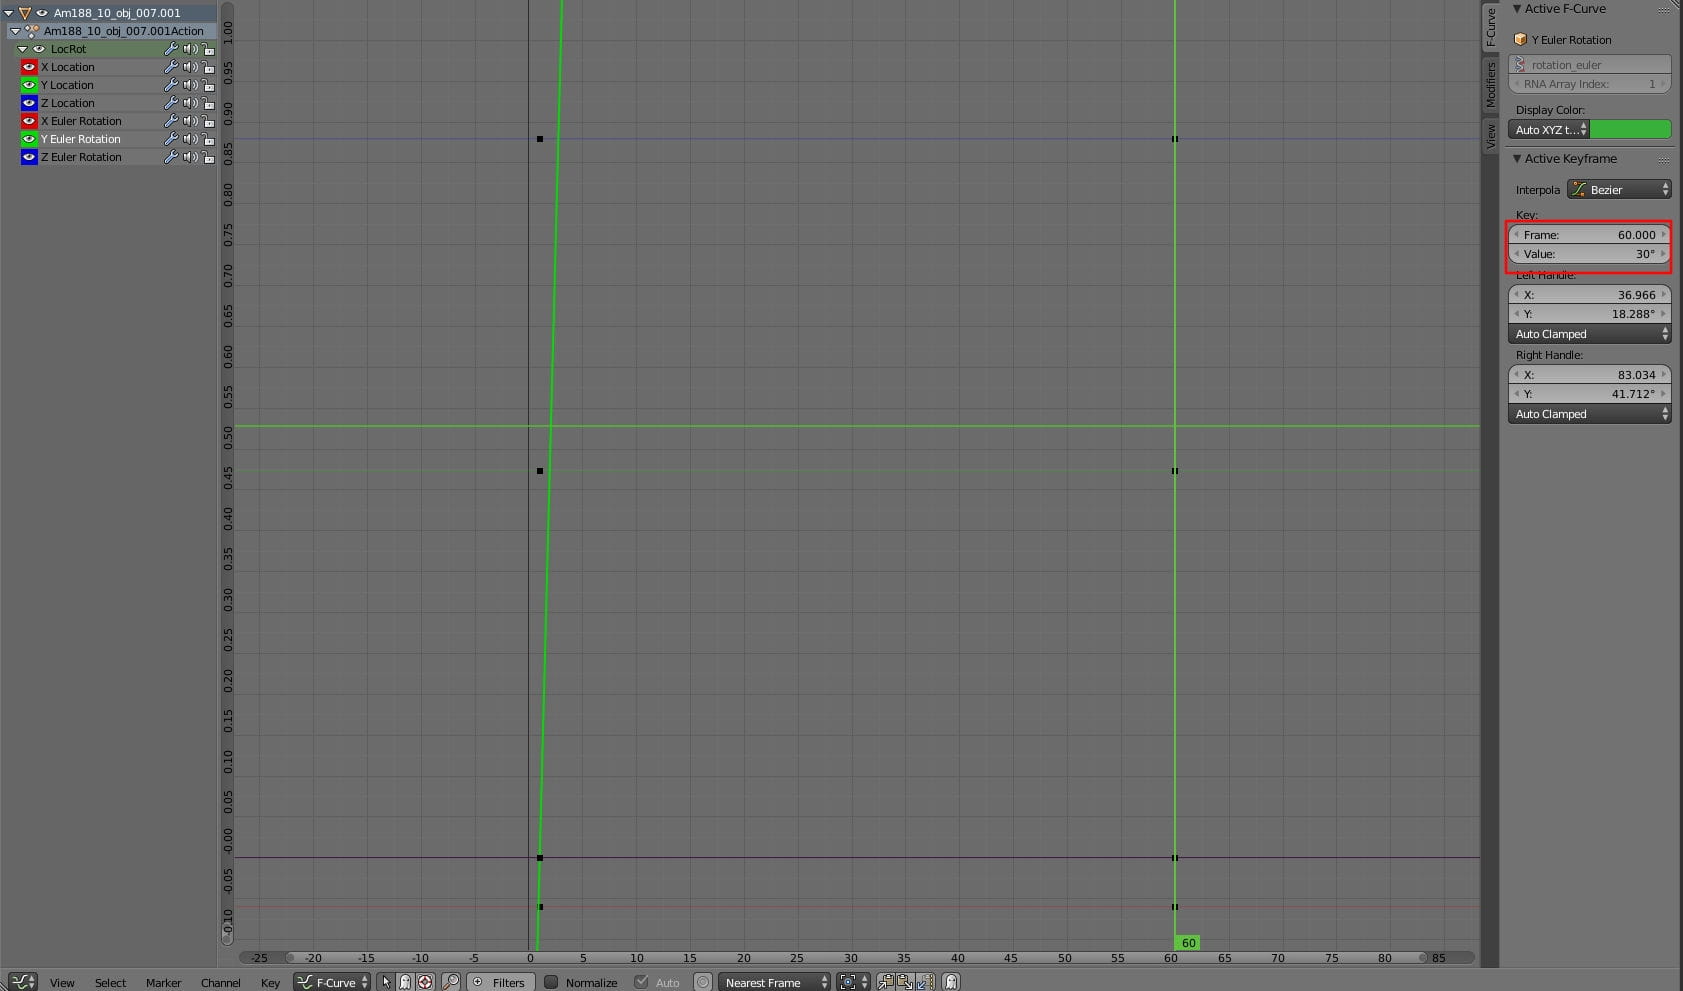
We can change exact point value in curves editor by opening properties panel (N) and dialing desired number in Value box.
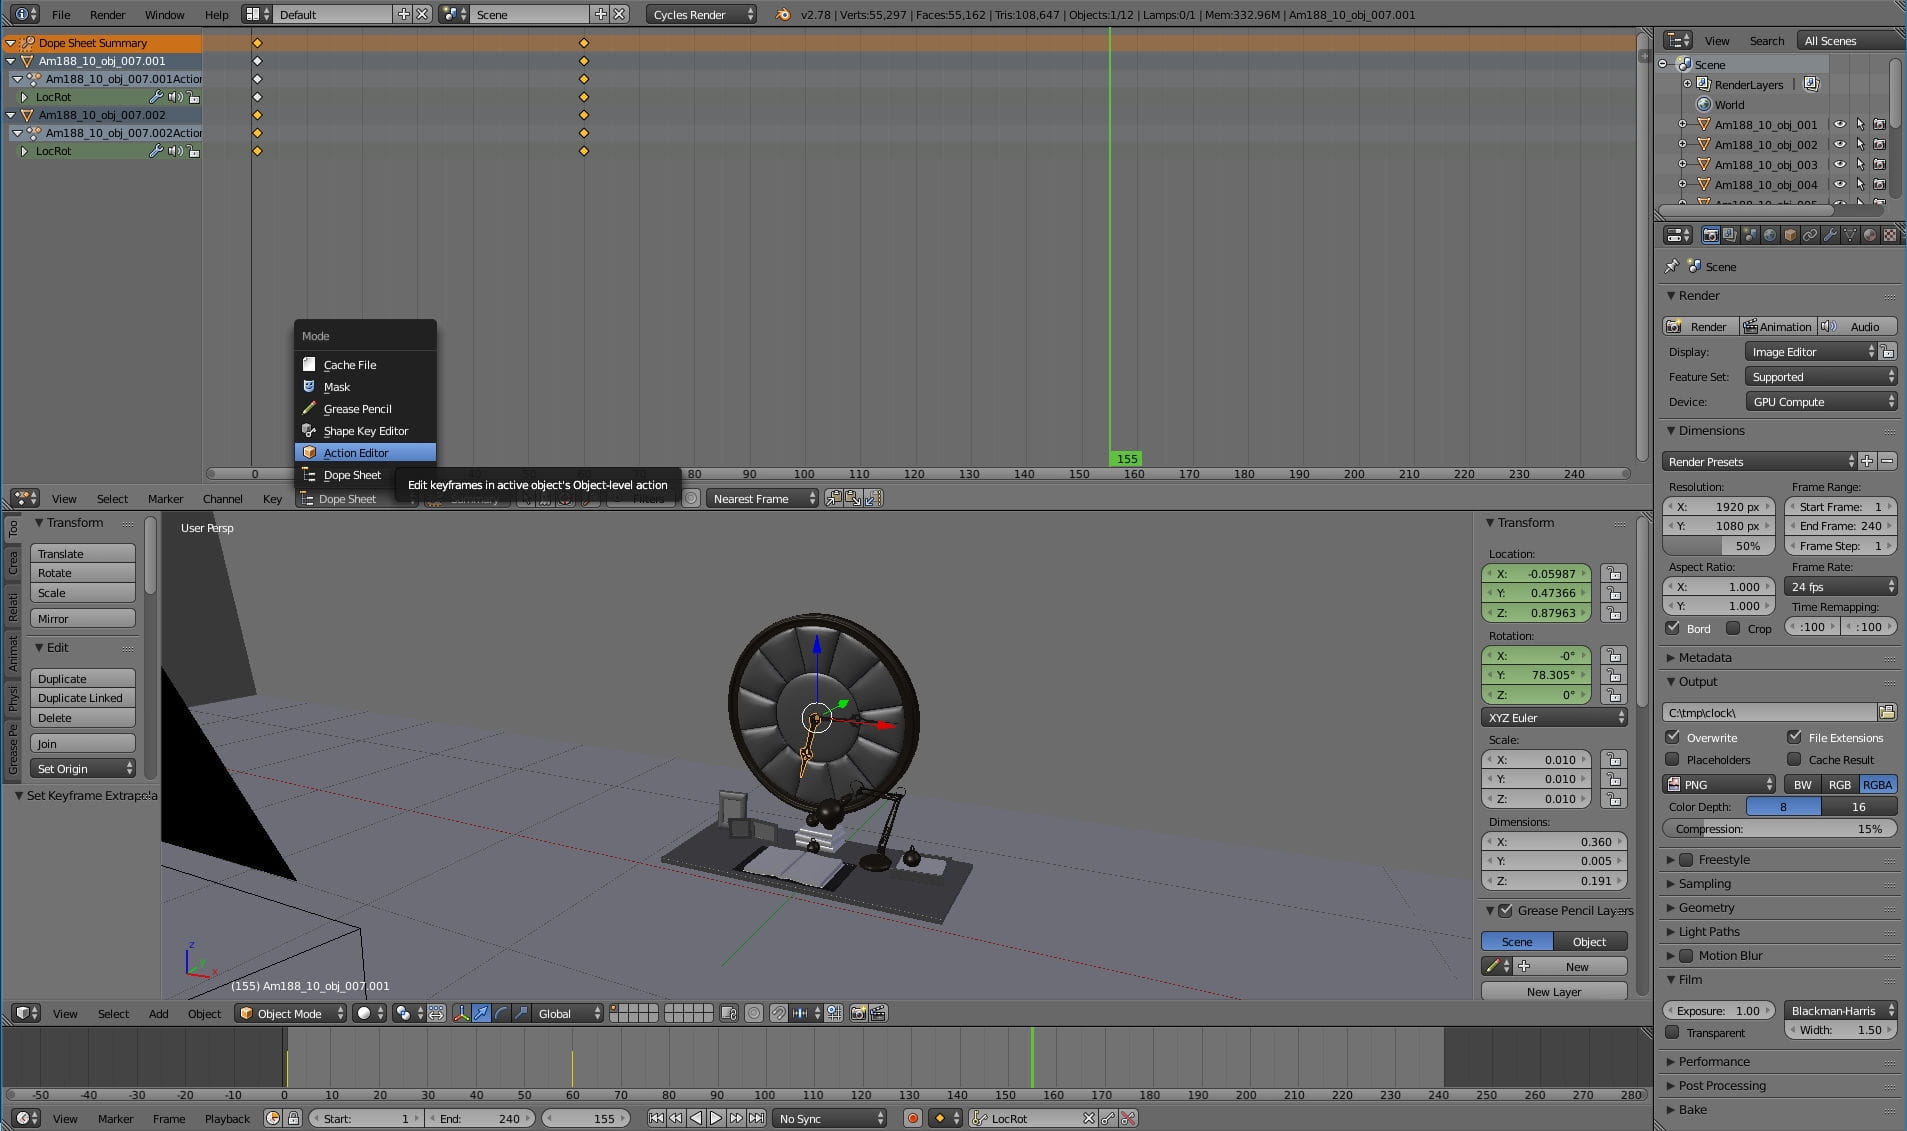
I opened Dope Sheet and choose Action editor mode to see my keyframes.

I pushed two actions to NLA strips, this way I can stack them in NLA editor and have better control over my animation if I want to move more things in the scene. NLA editor allows for blending various animations and change their timing, so I could easily rotate the whole clock and arrows independently.
This is Open GL render from Blender viewport.

I baked (ALT-C in curves editor) animations and exported FBX from Blender (selected objects and baked animations).
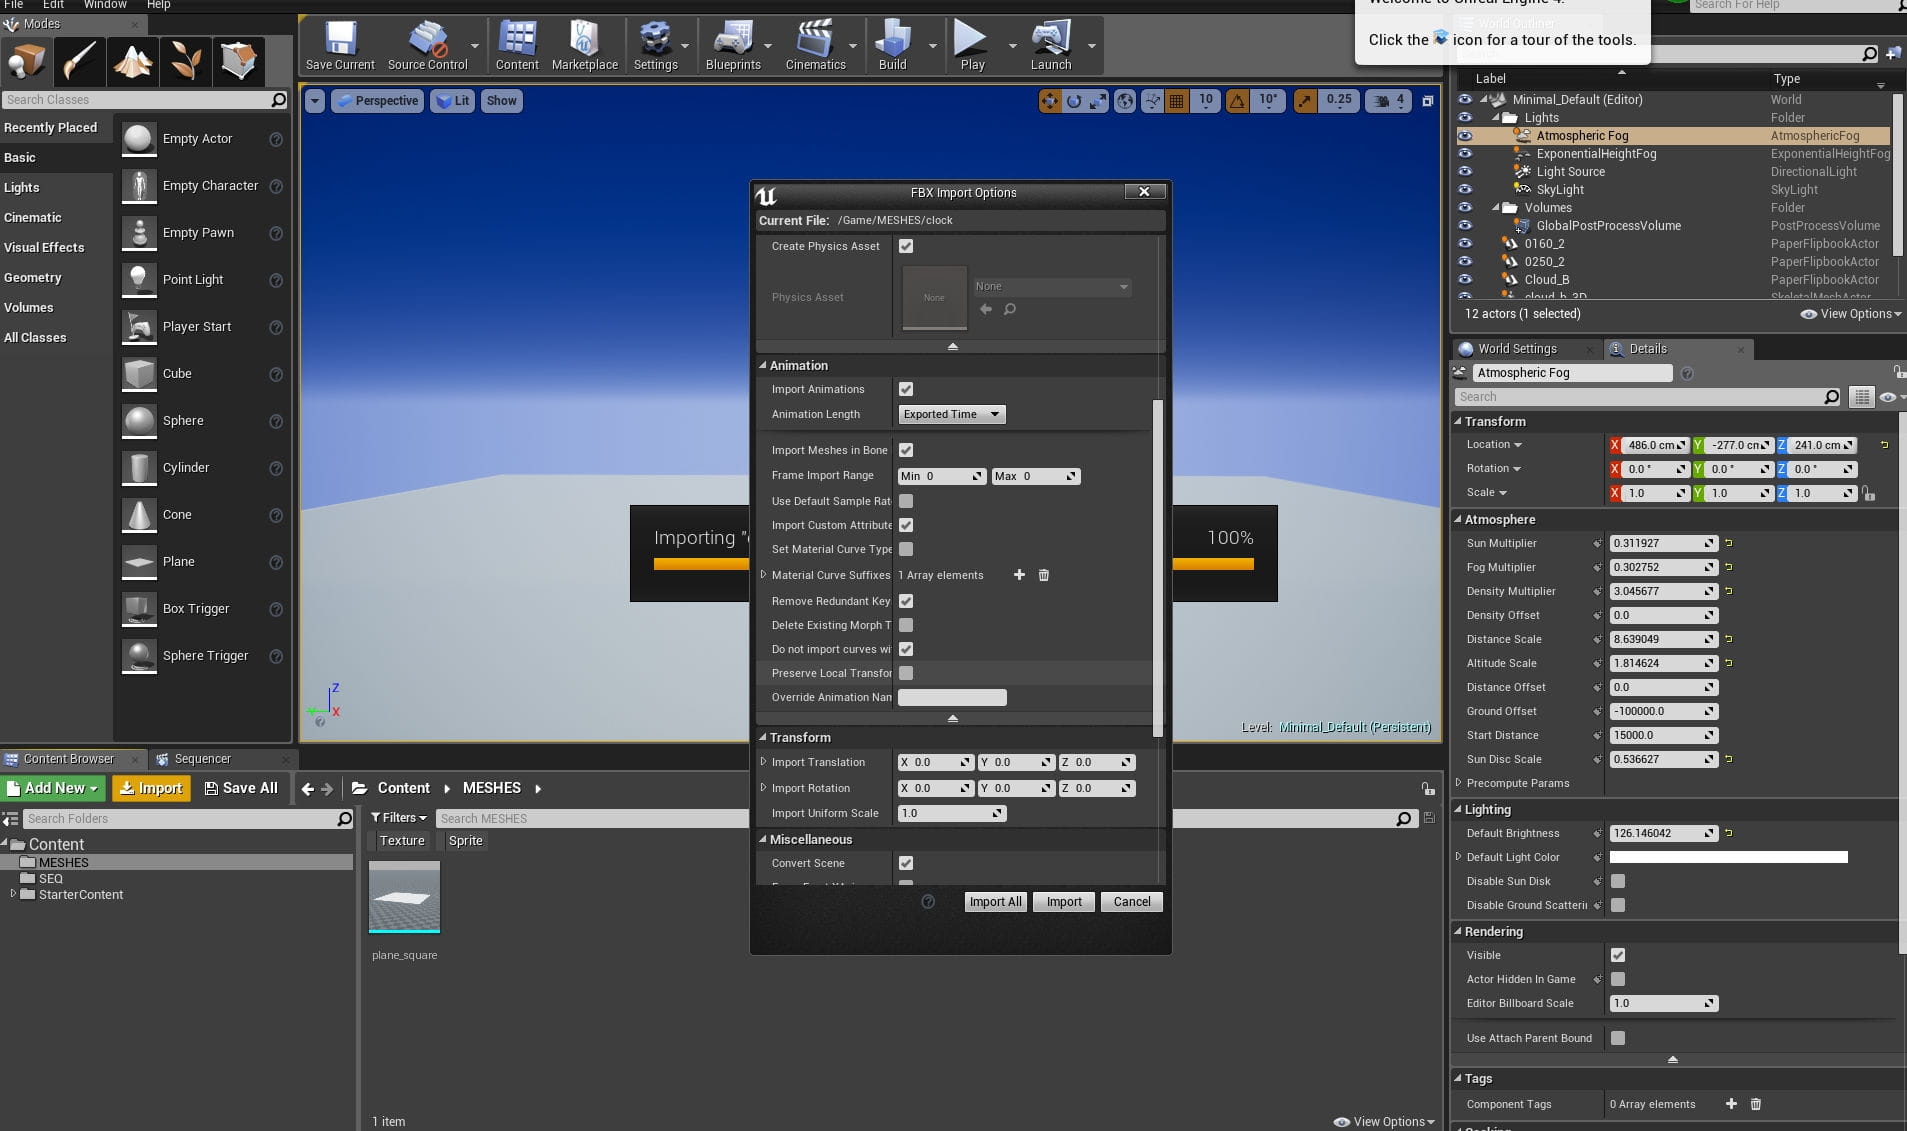
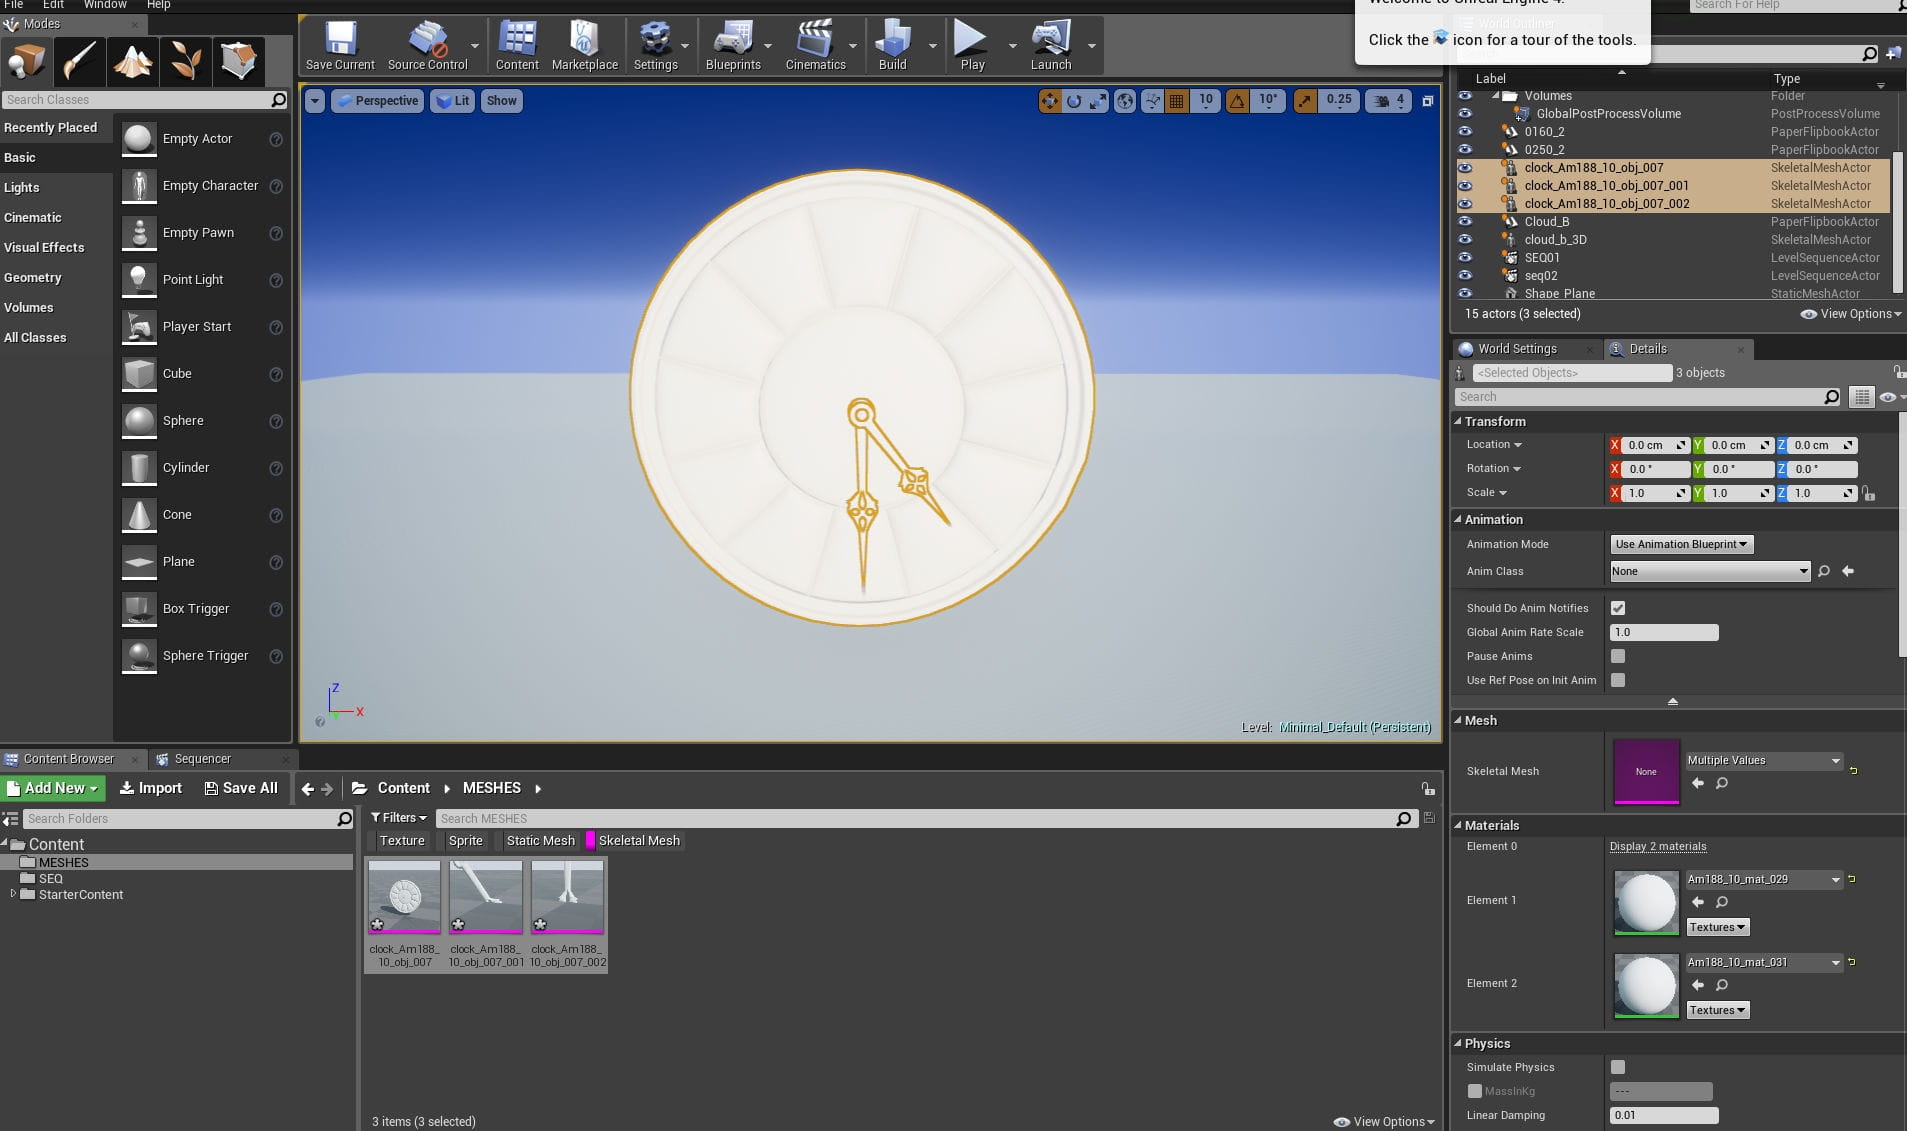
I made a new project in Unreal Editor, created an empty map, dragged directional light, atmospheric fog and skylight and imported my clock assets (clock.fbx).
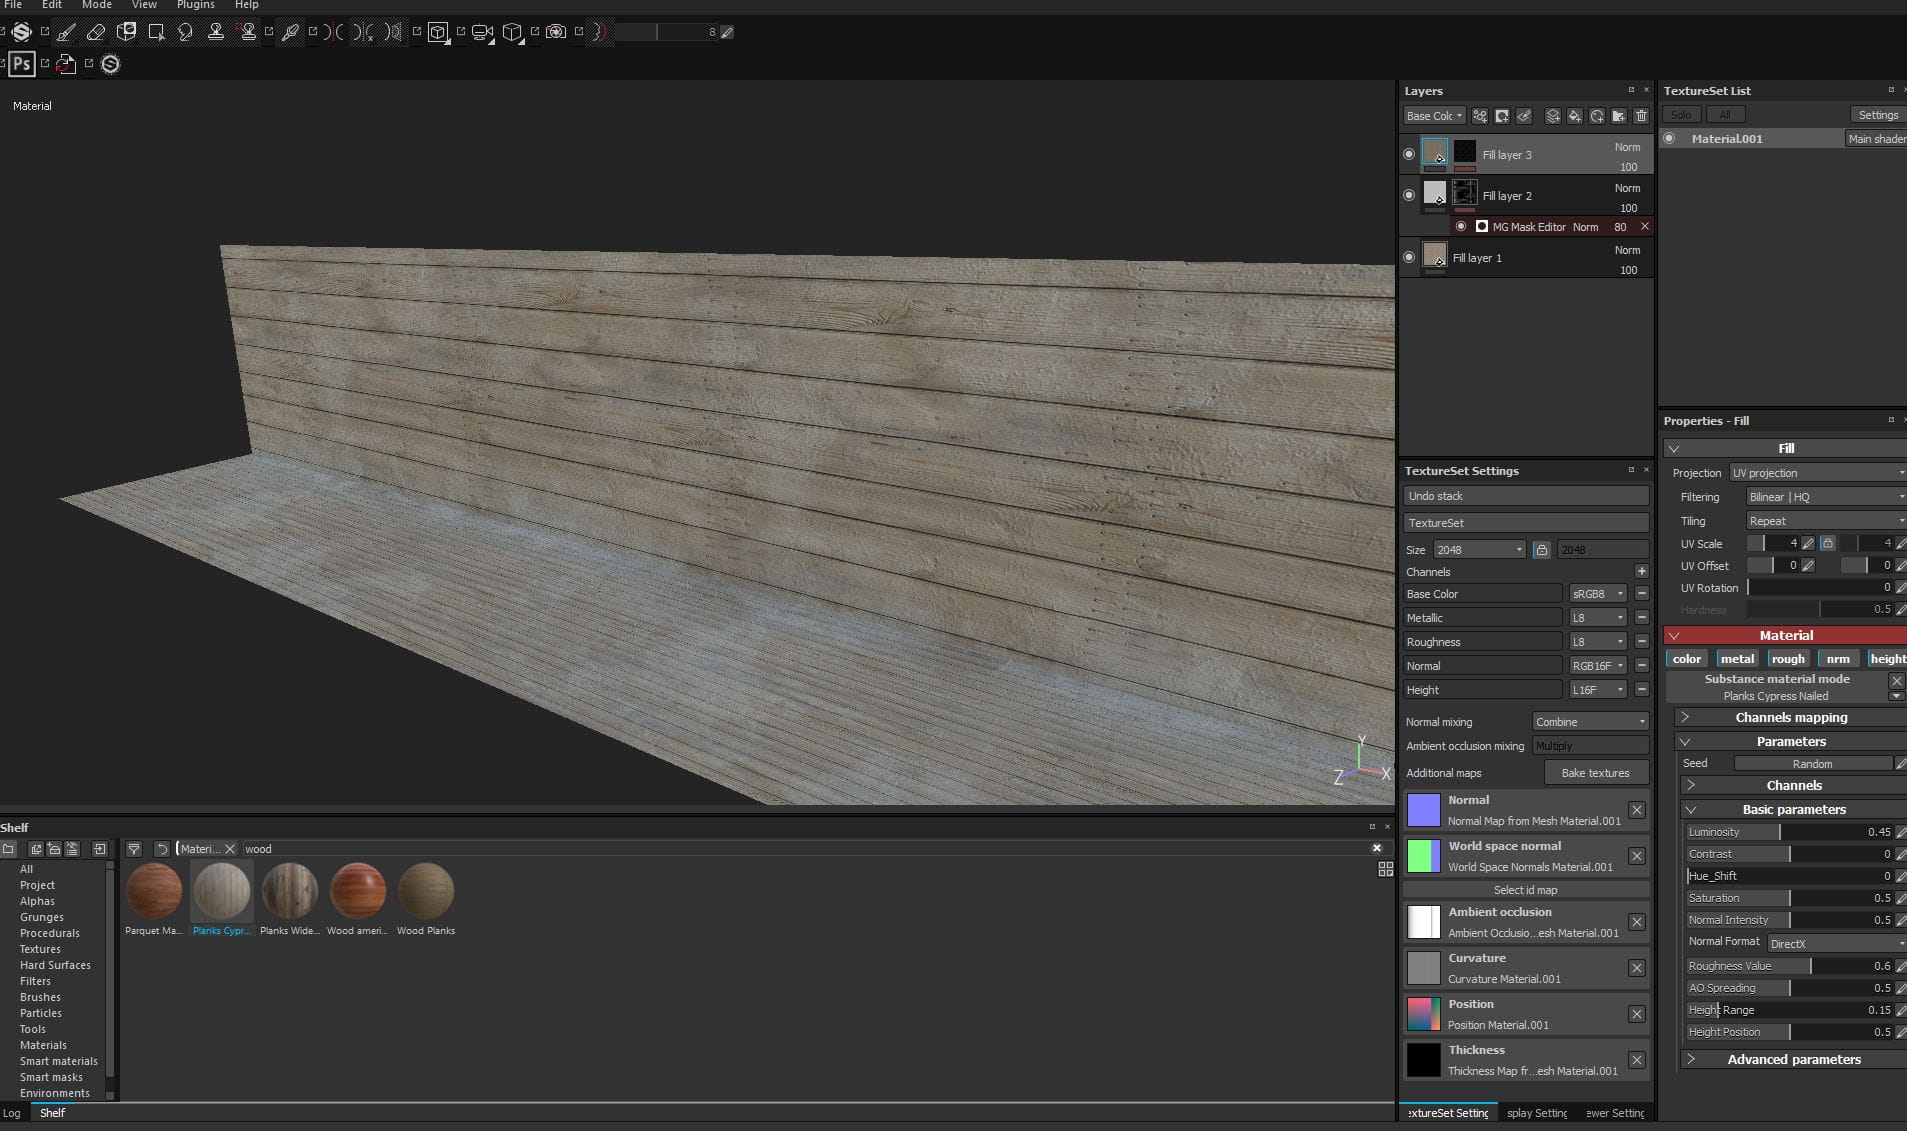
Objects import with default materials, we will need to recreate them in Unreal Engine 4. Clock face is simple - it was already unique UVs, so we can just apply Evermotion maps directly. But there was a need to unwrap clock hands and make some old, rusted metal material In Substance Painter.

Clock hand in Substance Painter: some painted metal with rust and dirt. We export maps as Unreal Engine 4 (packed) in jpg format.
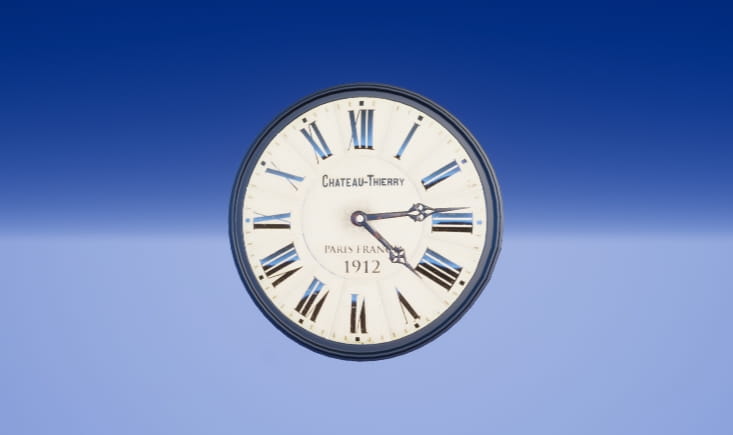
Clock in Unreal Engine 4 with very simple maps.
I decided also to make some fast texture for backdrop.
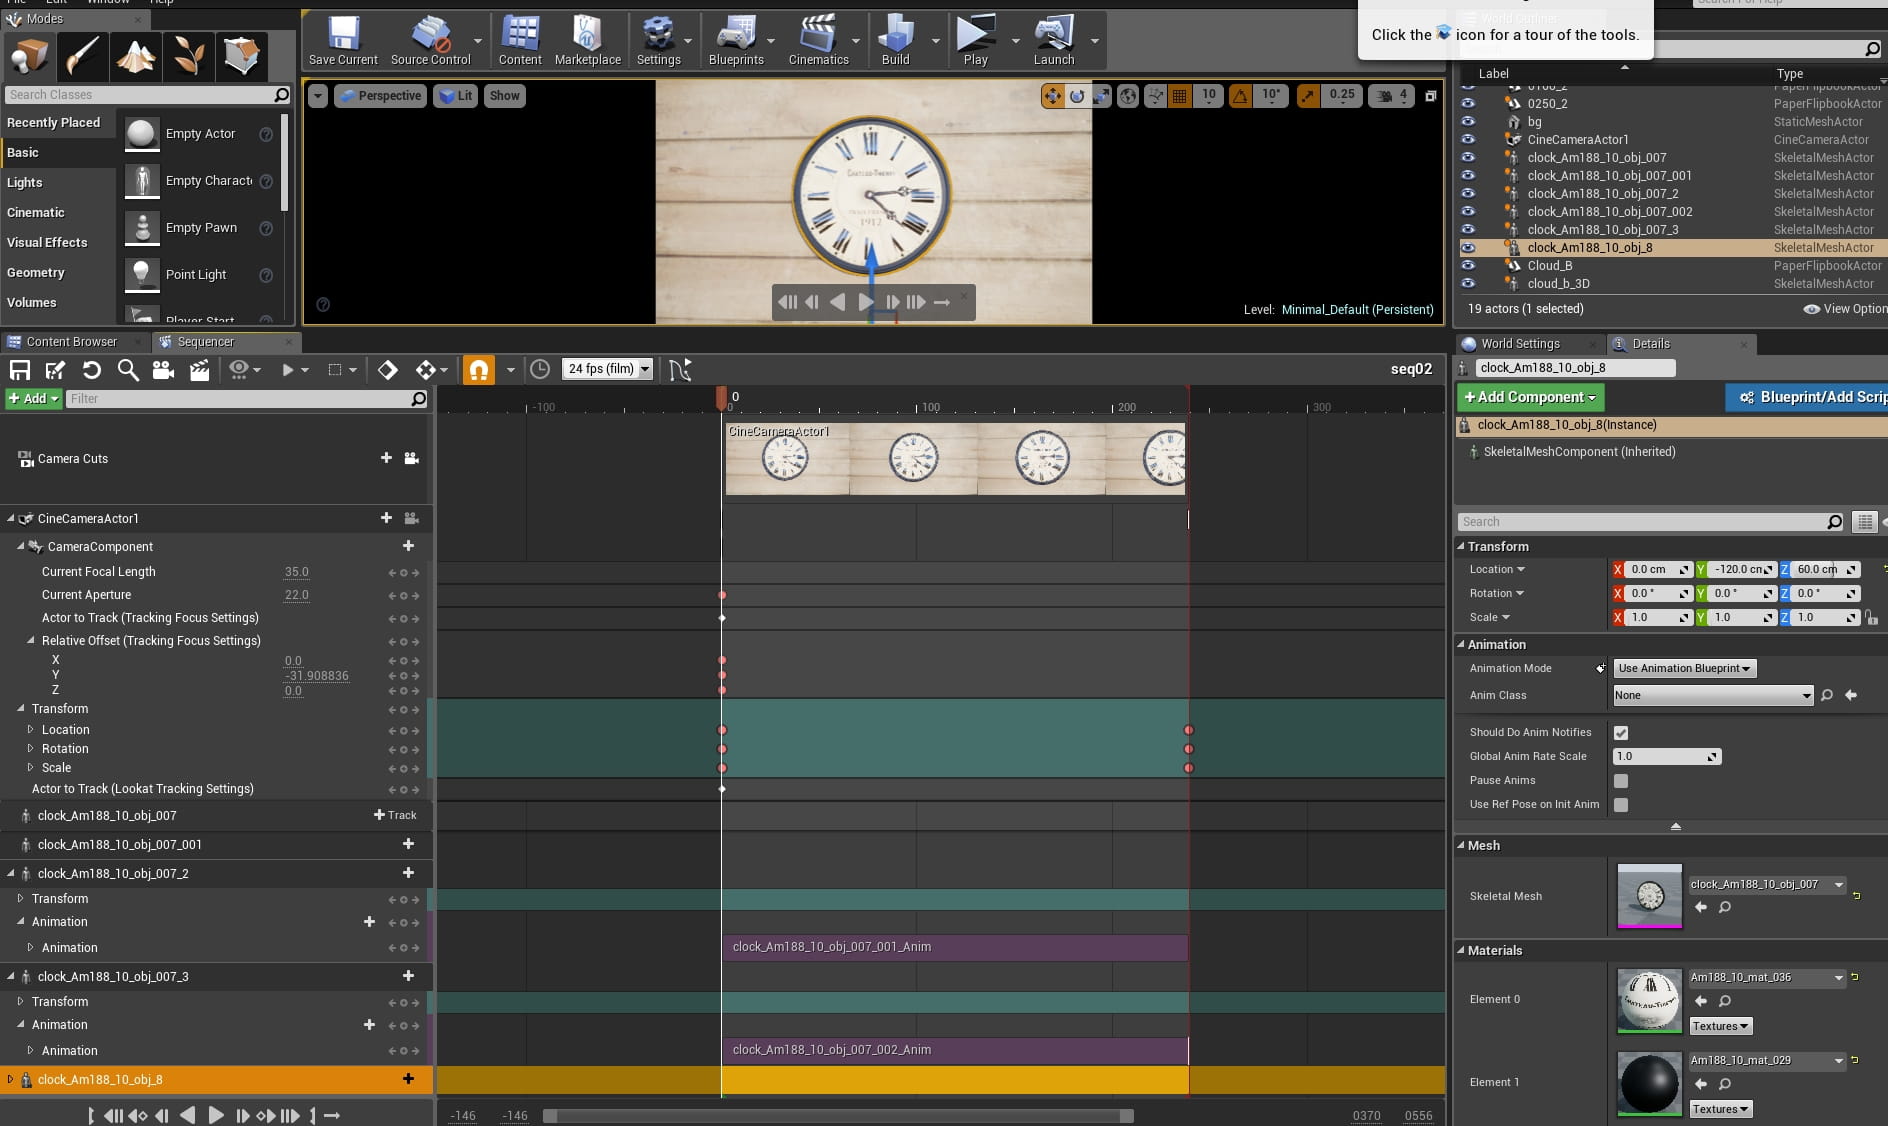
With all assets in place, I could createa level sequence in Unreal Engine 4 sequencer. I added clock hands to sequence and selected their animations strips. I also added some simple camera movement in Unreal Engine 4. I didn't want to use UE4 Depth of Field, so I set "Focus settings" to "None" and changed aperture to 22. This way I could achieve some crisp shots.

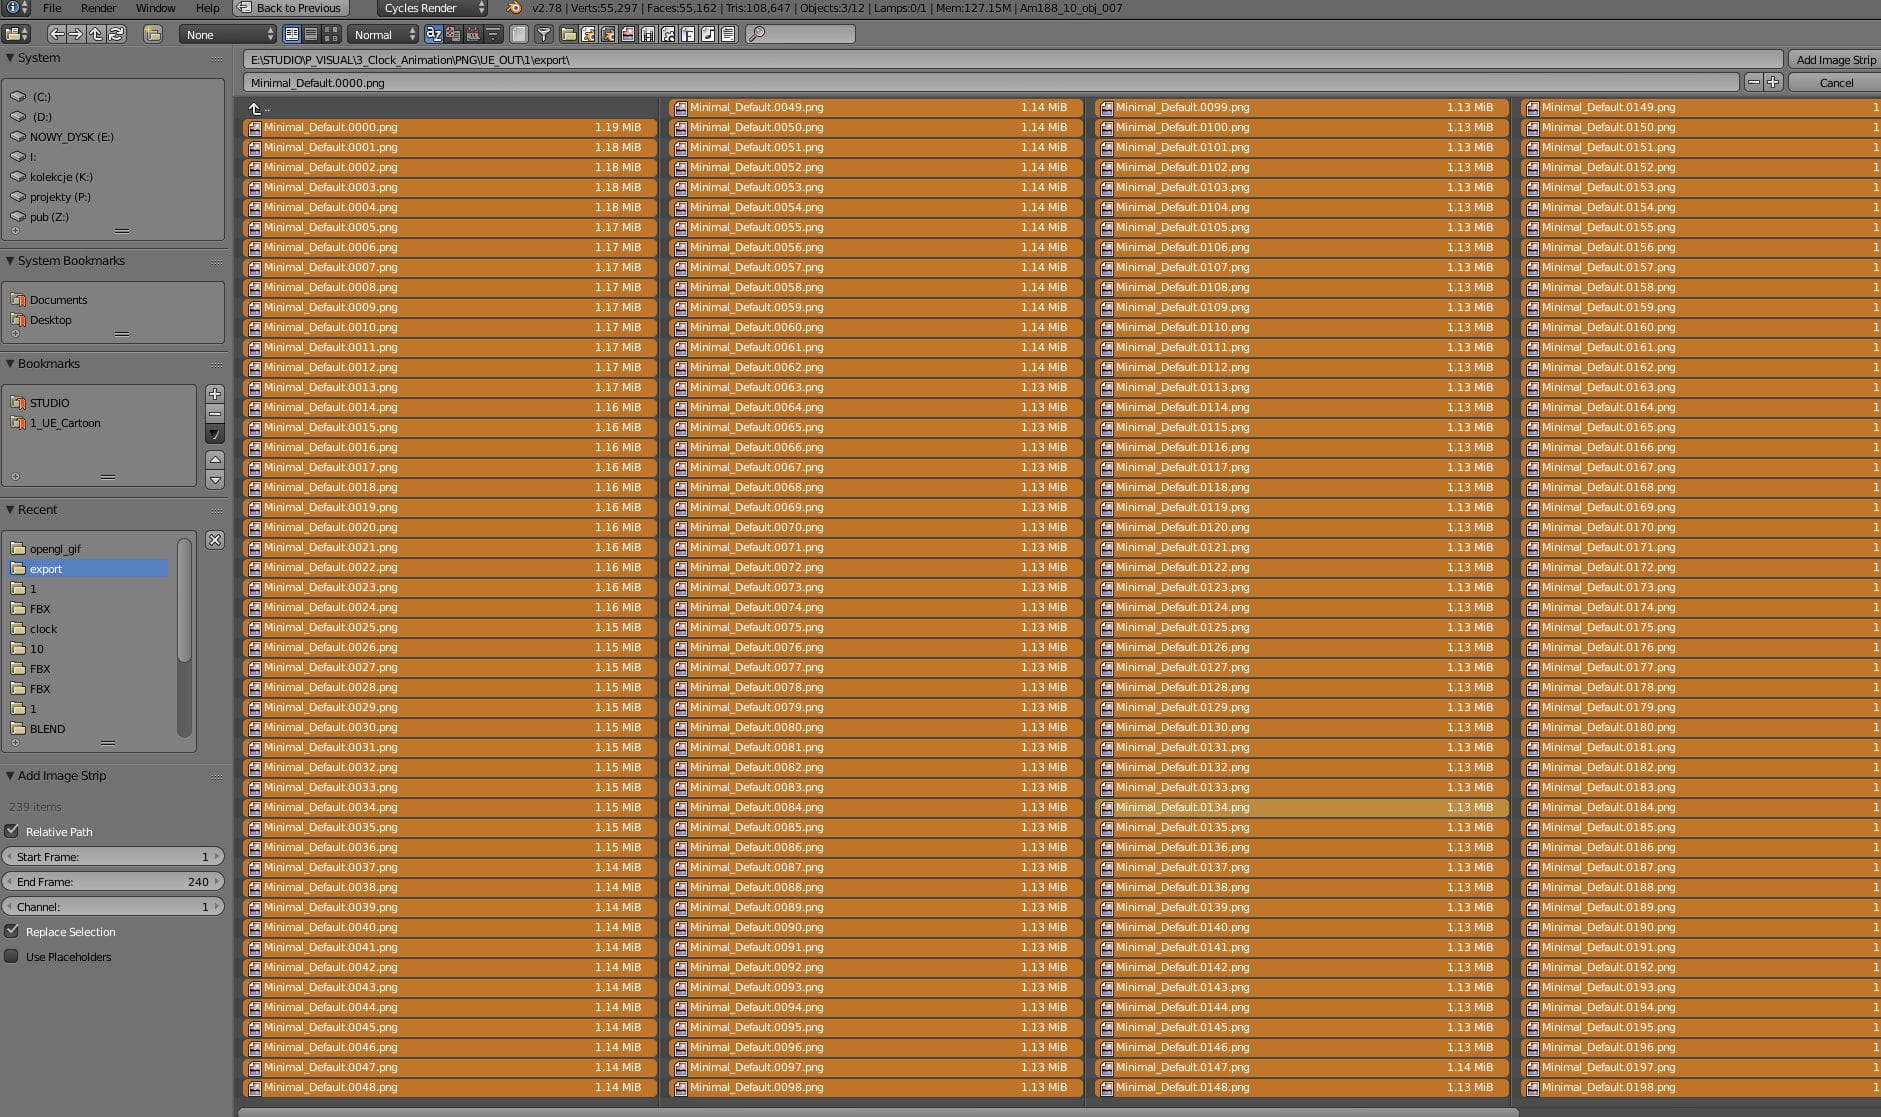
I exported animation from Unreal Engine 4 as PNG files and I launched Affinity Photo (which is in my opinion totally capable of replacing Photoshop when it comes to texturing or post-production). Thanks to UE4 it took literally 30 seconds. Then I opened one frame in Affinity Photoand record a macro with some post-production setup. I added Macro to library. Then I selected "File > New batch job" which allowed me to apply macro to all files and save them in separate folder.
Blender again: I opened Sequence editor in Blender, I chose Add > Images and selected all frames (with CTR-SHIFT click). You need to be sure that you also dial good frame range (in our case: from 1 to 240) in "Start Frame" and "End Frame" boxes.
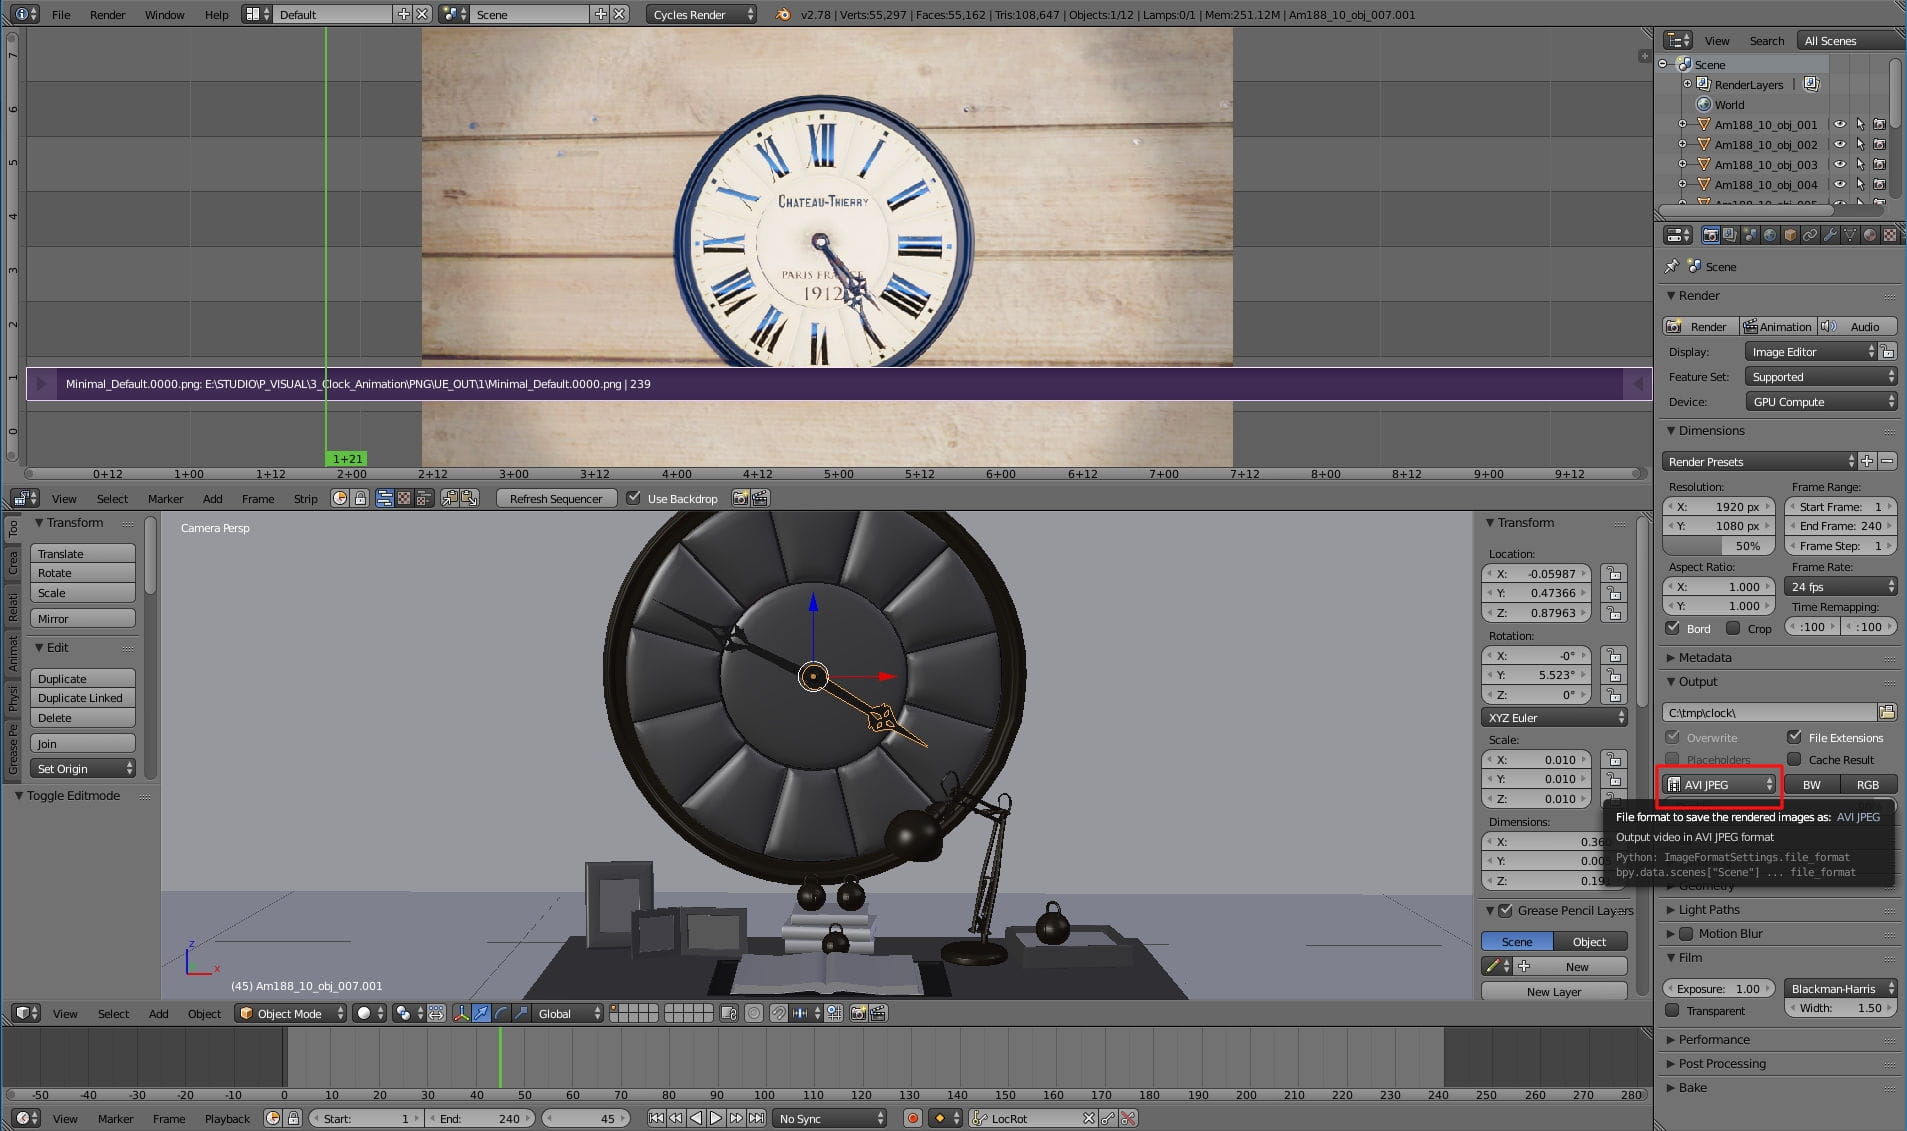
With movie in place we can now export our final AVI file (we could also add music if we would like to). Just select export folder in Render settings and choos AVI JPEG format from the list.
Final animation made in less than an hour.


LEAVE A COMMENT


|

|

|

|

|
 Customer zone
 Your special offers
 Your orders
 Edit account
 Add project
 Liked projects
 View your artist profile
COMMENTS