We have a Gift for You, a FREE SCENE. Happy Christmas!

DOWNLOAD NOW
Search
Cart
Sign in
  • offerCustomer zone
  • offerYour orders
  • offerEdit account

  • offerAdd project
  • offerLiked projects
  • offerView your artist profile

  • Dark mode

We care about your privacy

We use cookies to provide you with the best possible experience. They also allow us to analyze user behavior in order to constantly improve the website for you. The consent is voluntary. You can withdraw it at any time or renew it in Cookie settings on the home page. Withdrawal of your consent does not affect the lawfulness of processing performed before the withdrawal. Privacy Protection Policy
Accept all
Accept selection
Reject all

Making of Willis Tower

Song Fu (Banran)‍ 2014-09-15 09:14 tutorial  > 3ds MAX  > modeling

Arch-viz tutorial presented by Song Fu (Banran)‍.

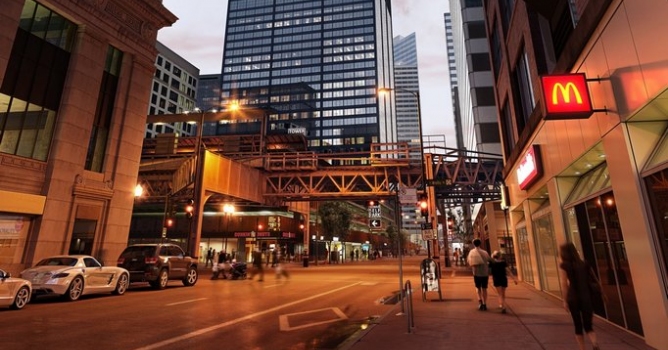
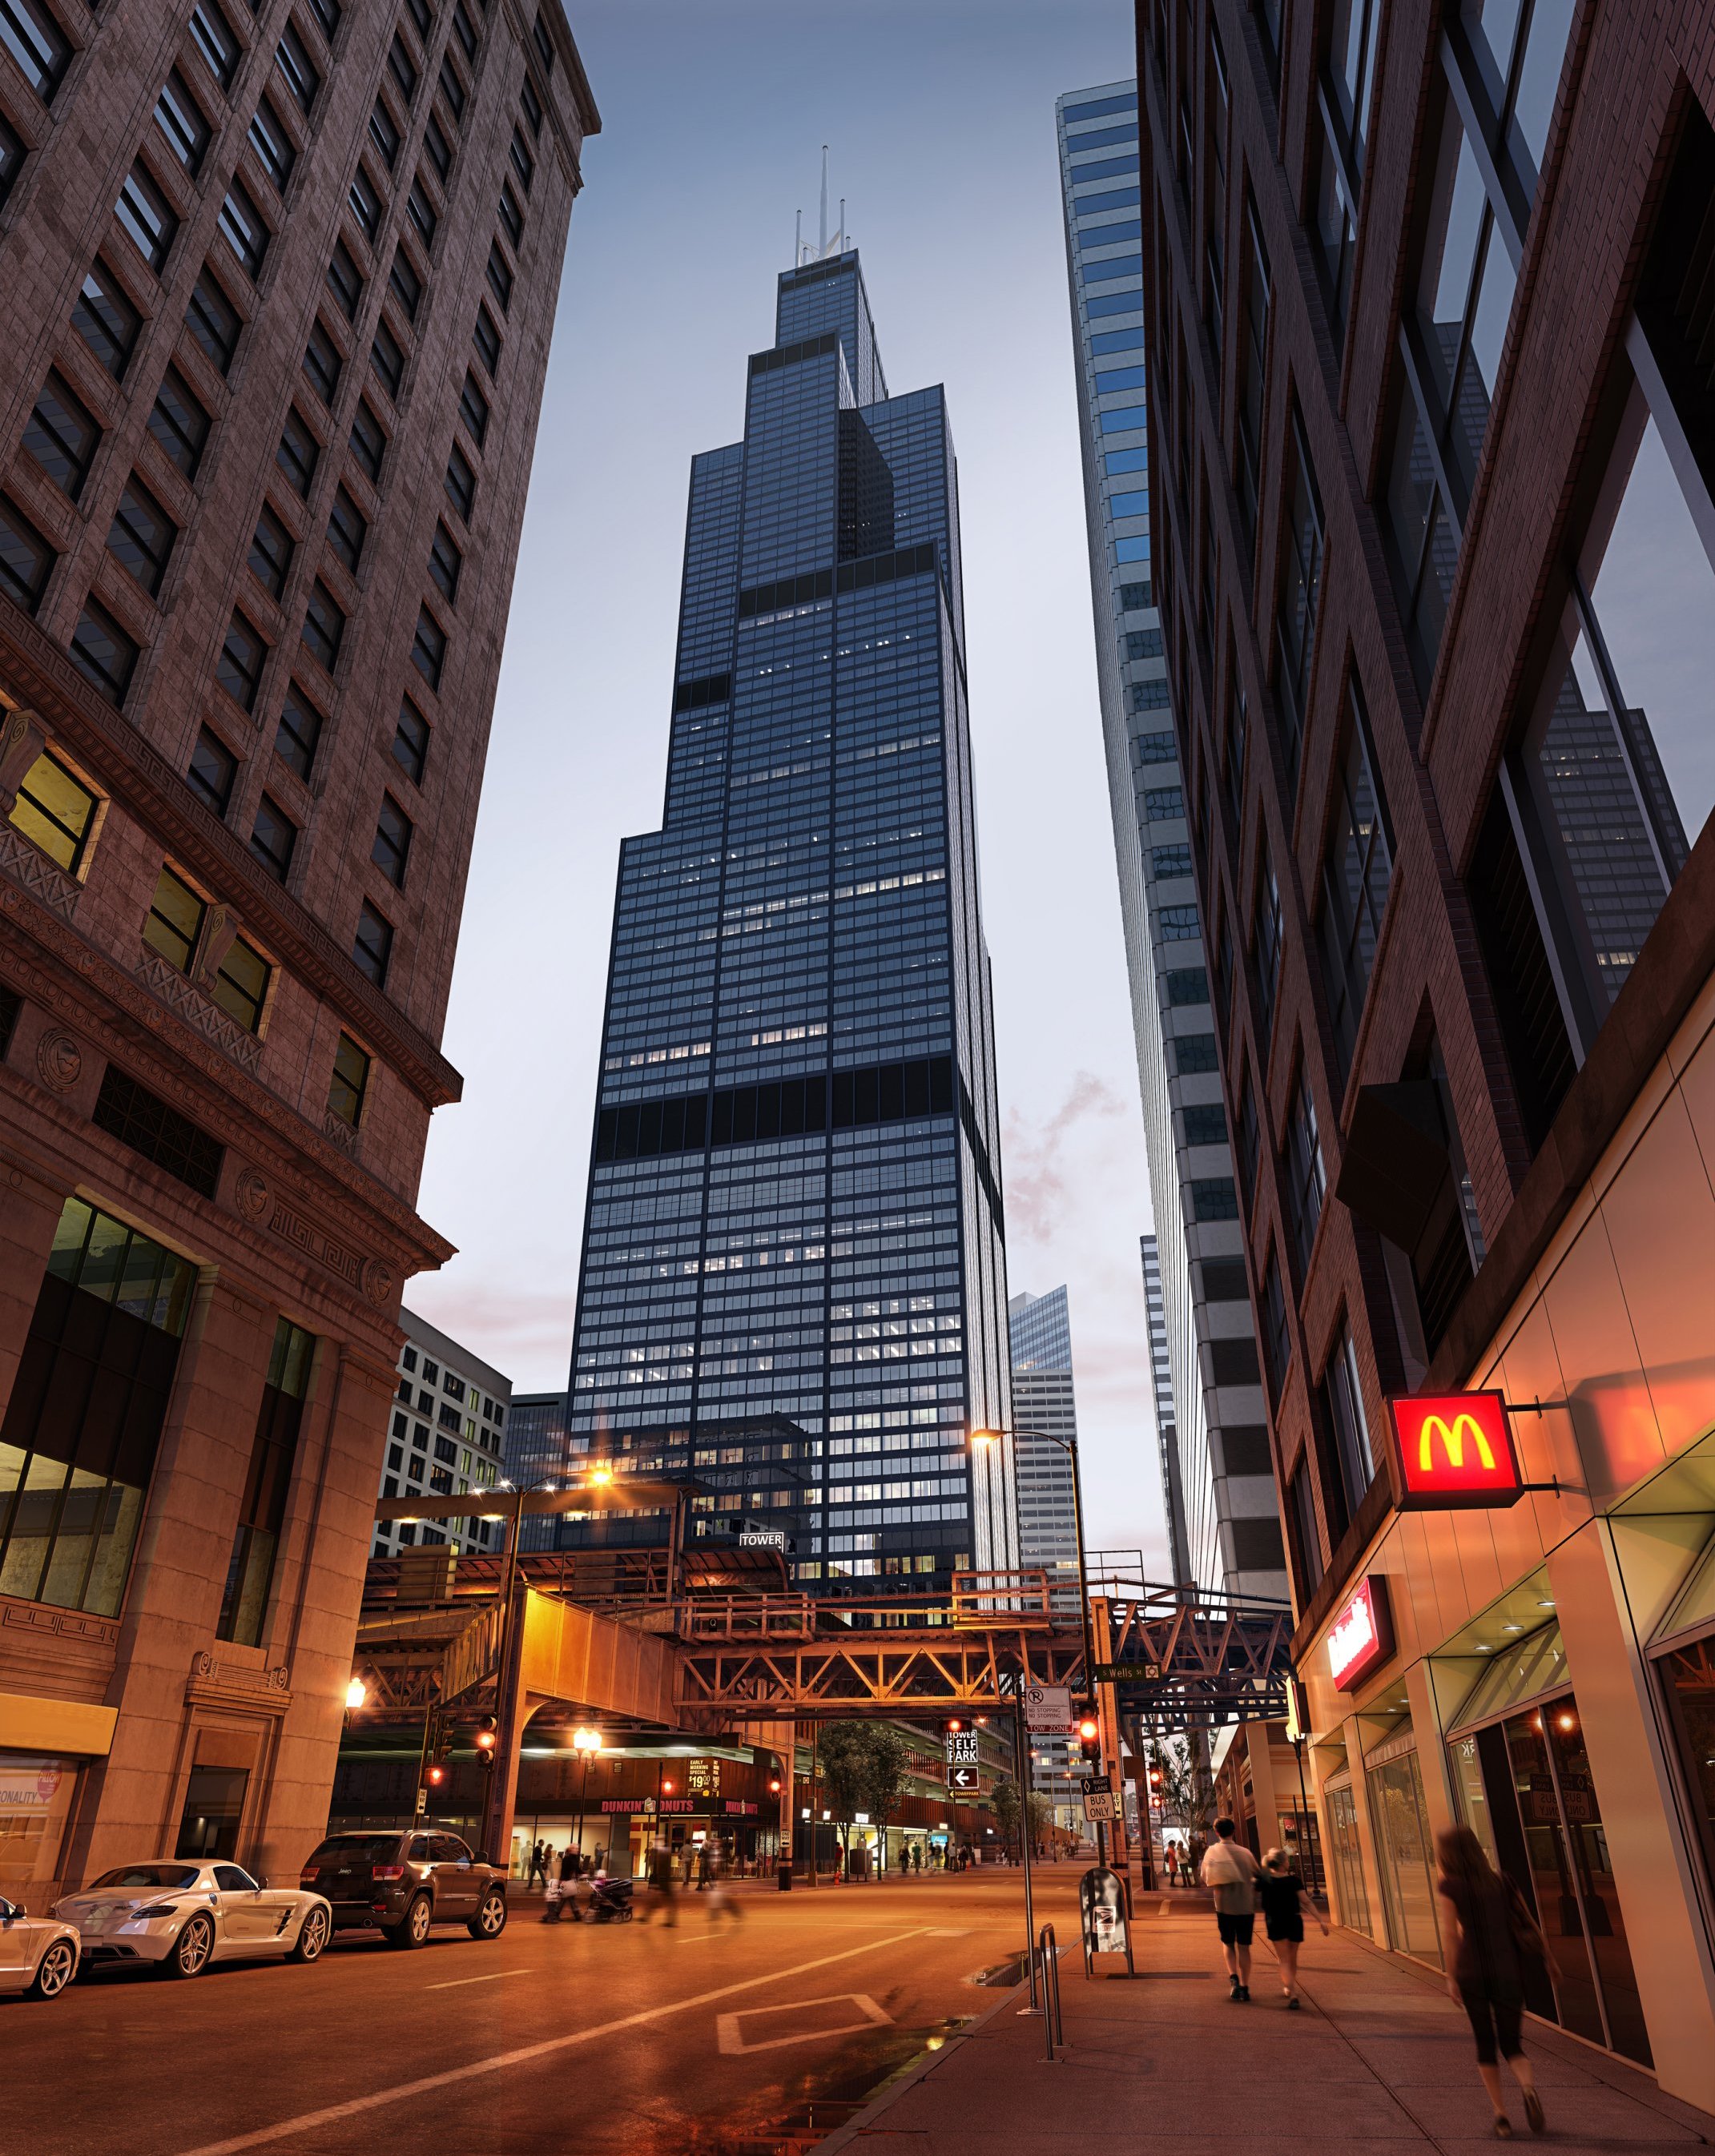
This CGI scene is based on a photo that I like very much. All was recreated using 3ds Max and Vray.

Click on image to enlarge 1_final_walls_nr_2532.jpg

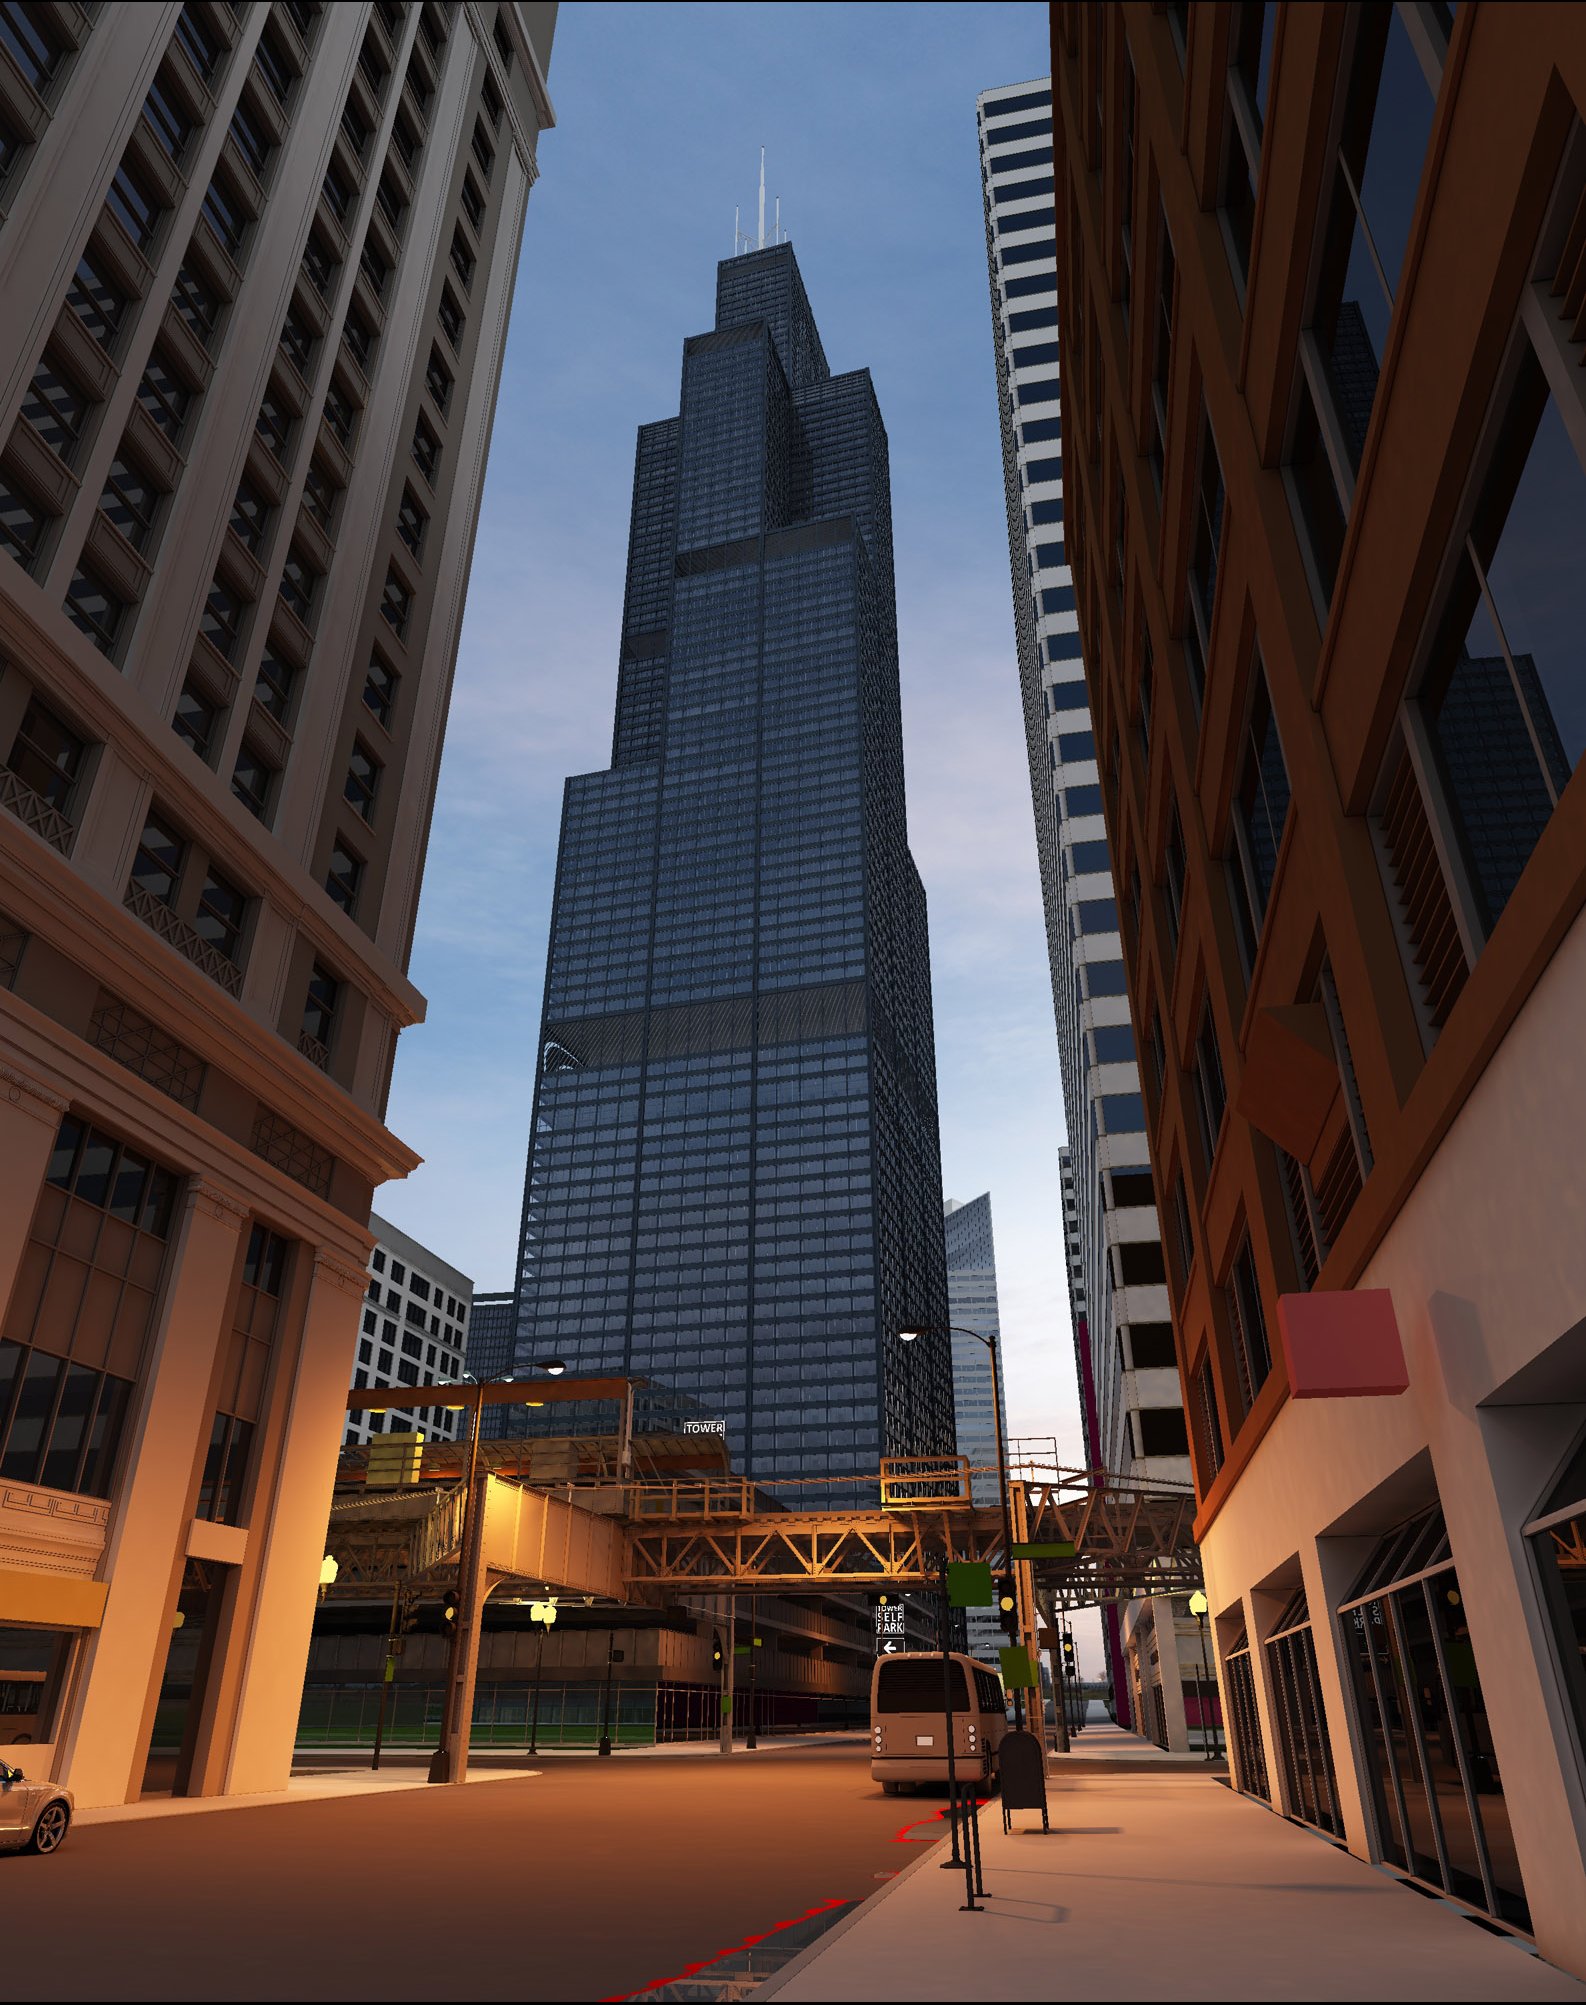
Final image. The workload of this scene is huge, except cars and furniture which can be taken from library all the rest need to be modeled and all those small details require a lot patience.


Click on image to enlarge 2_final_day_time_nr_2531.jpg

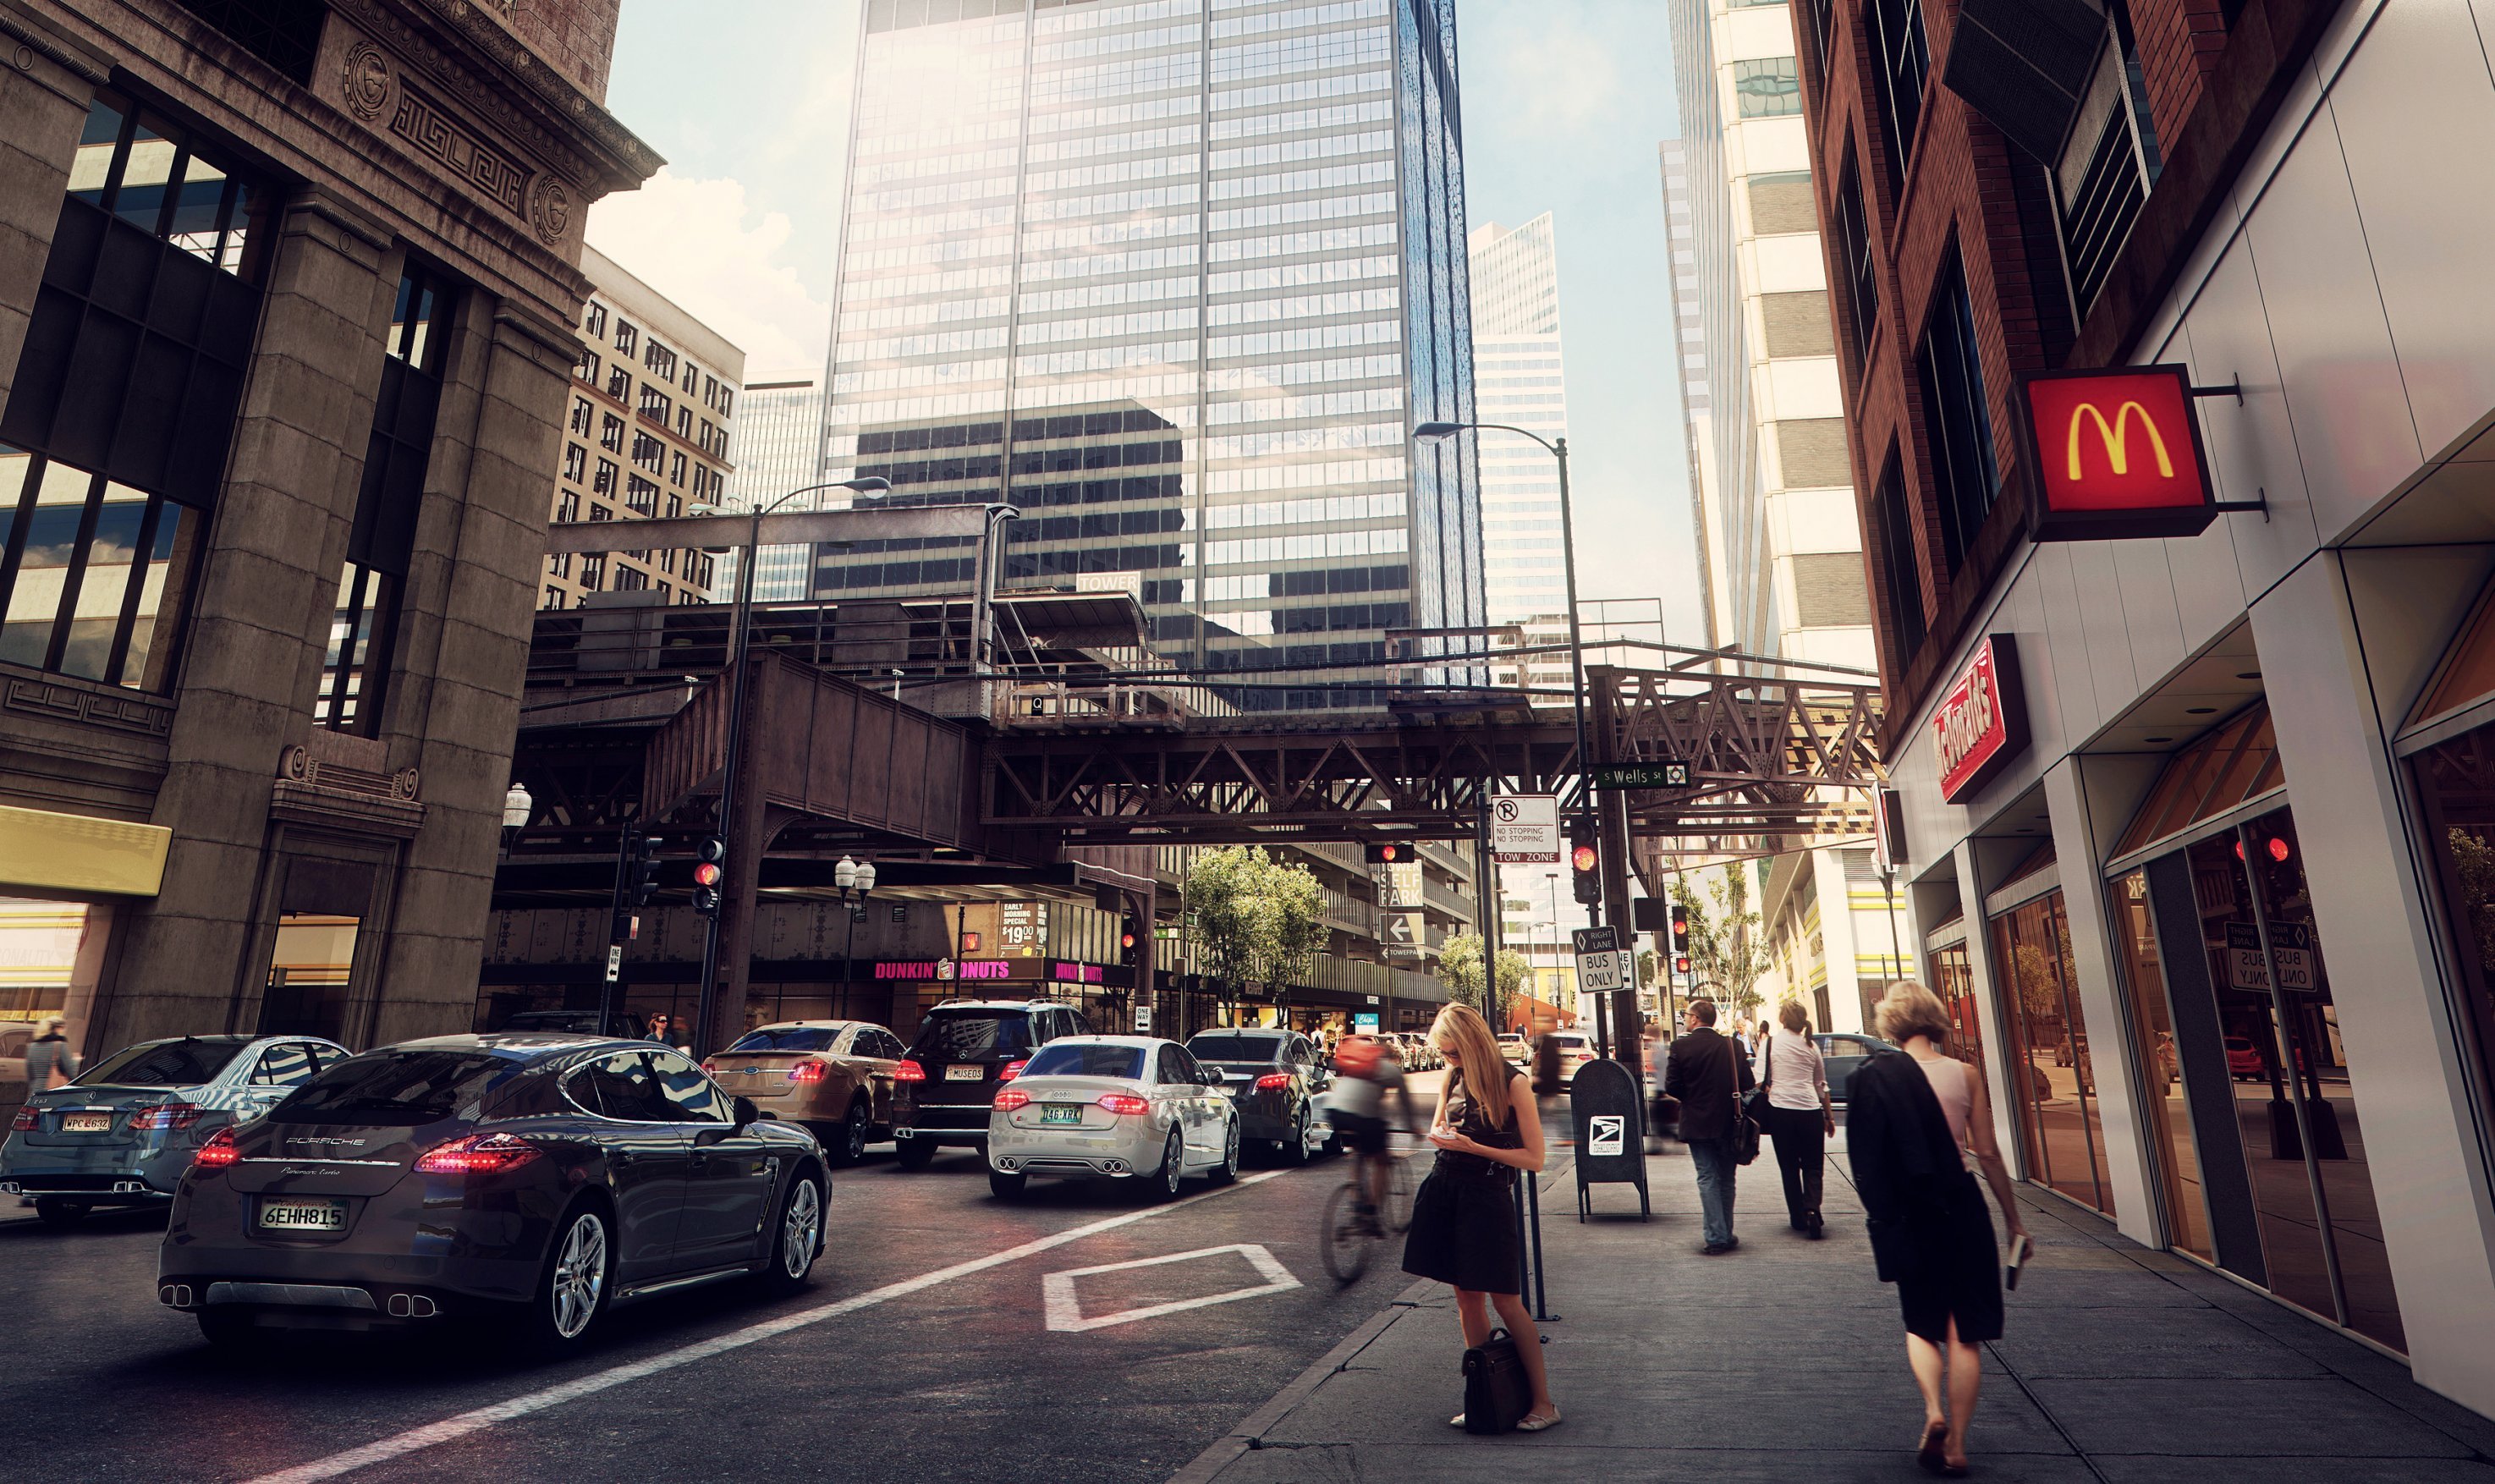
Final image, camera 2.


Click on image to enlarge 3_final_day_nr_2530.jpg

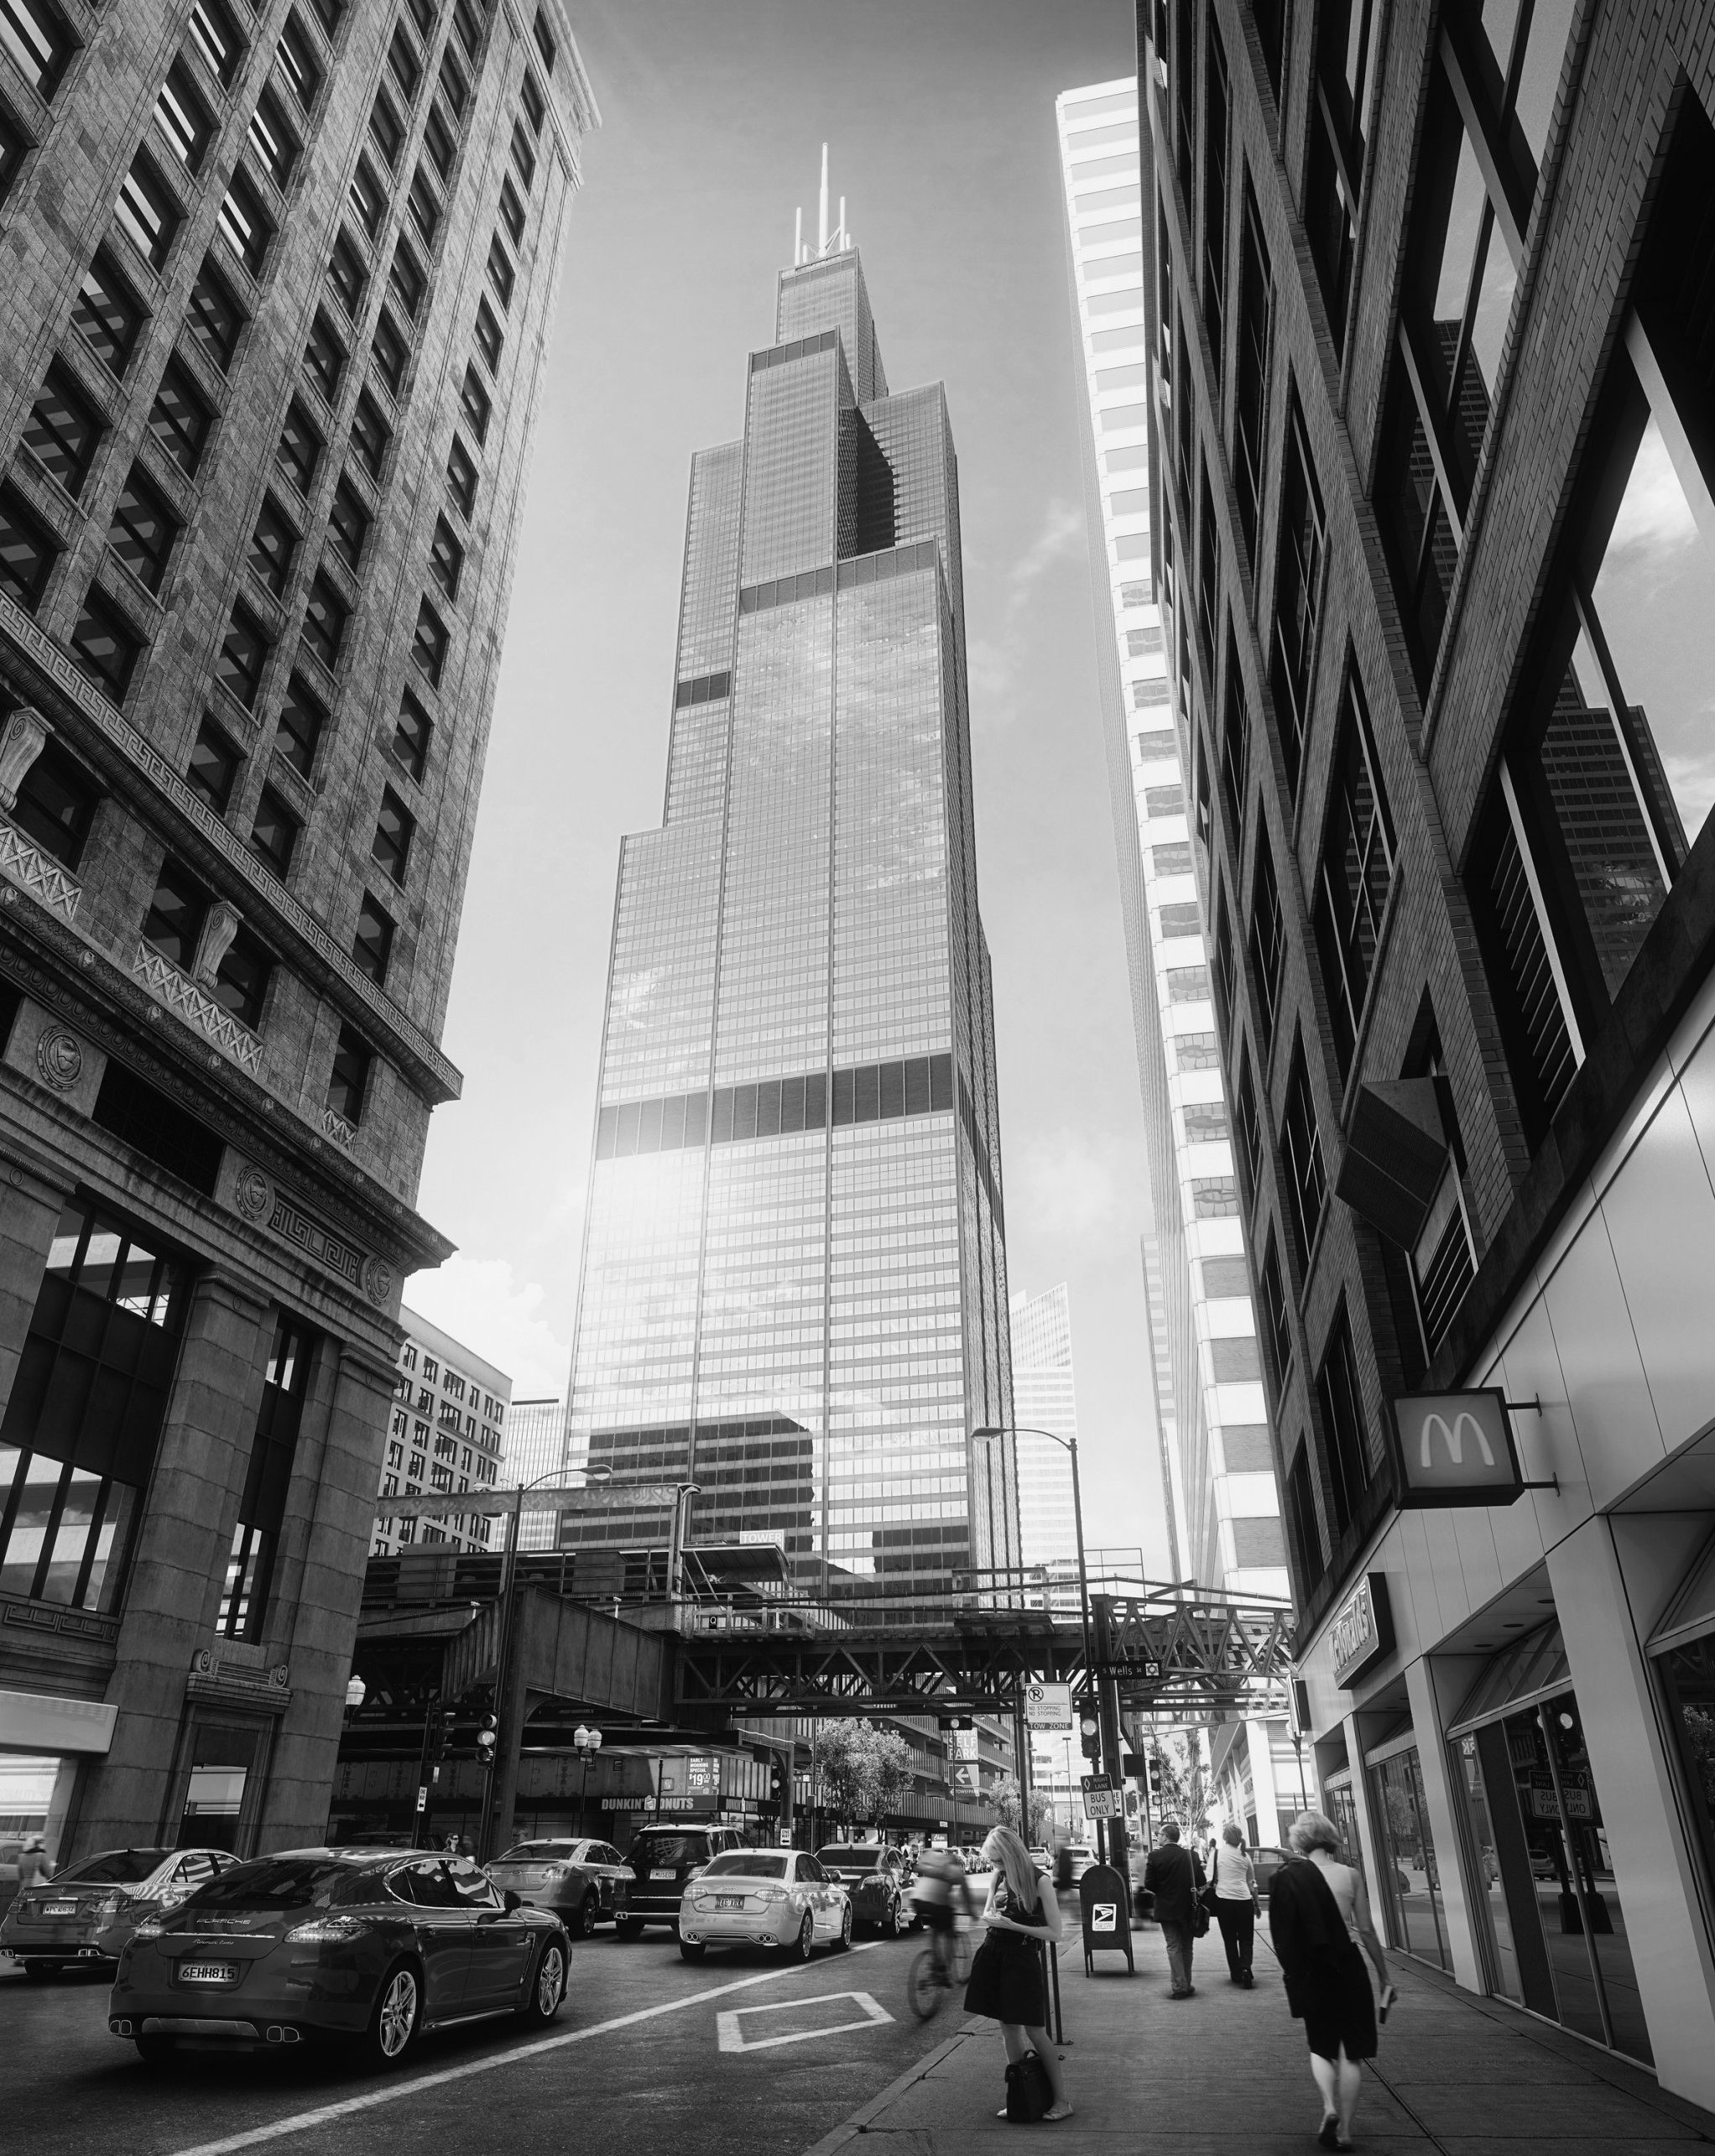
Final image, black & white.


Click on image to enlarge 4_ref_p00_nr_2529.jpg

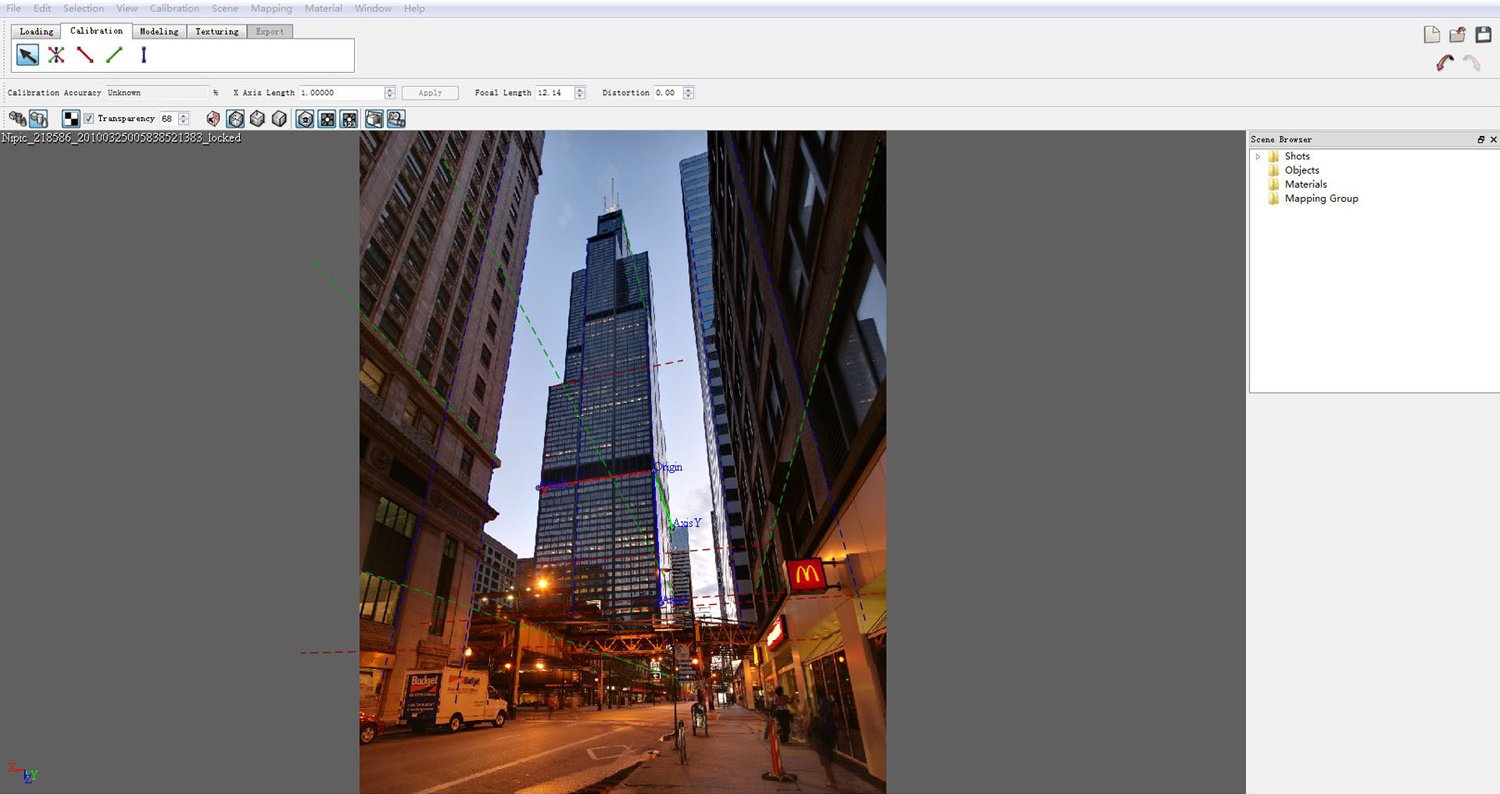
The size of reference photo is 2855 x 3600, at the beginning I had used Autodesk Image Modeler to match the camera of the photo, but now this function is in MAX2014 already.


Click on image to enlarge 5_p01_nr_2528.jpg

Matching photo in Autodesk Image Modeler.


Click on image to enlarge 6_P02_nr_2527.jpg

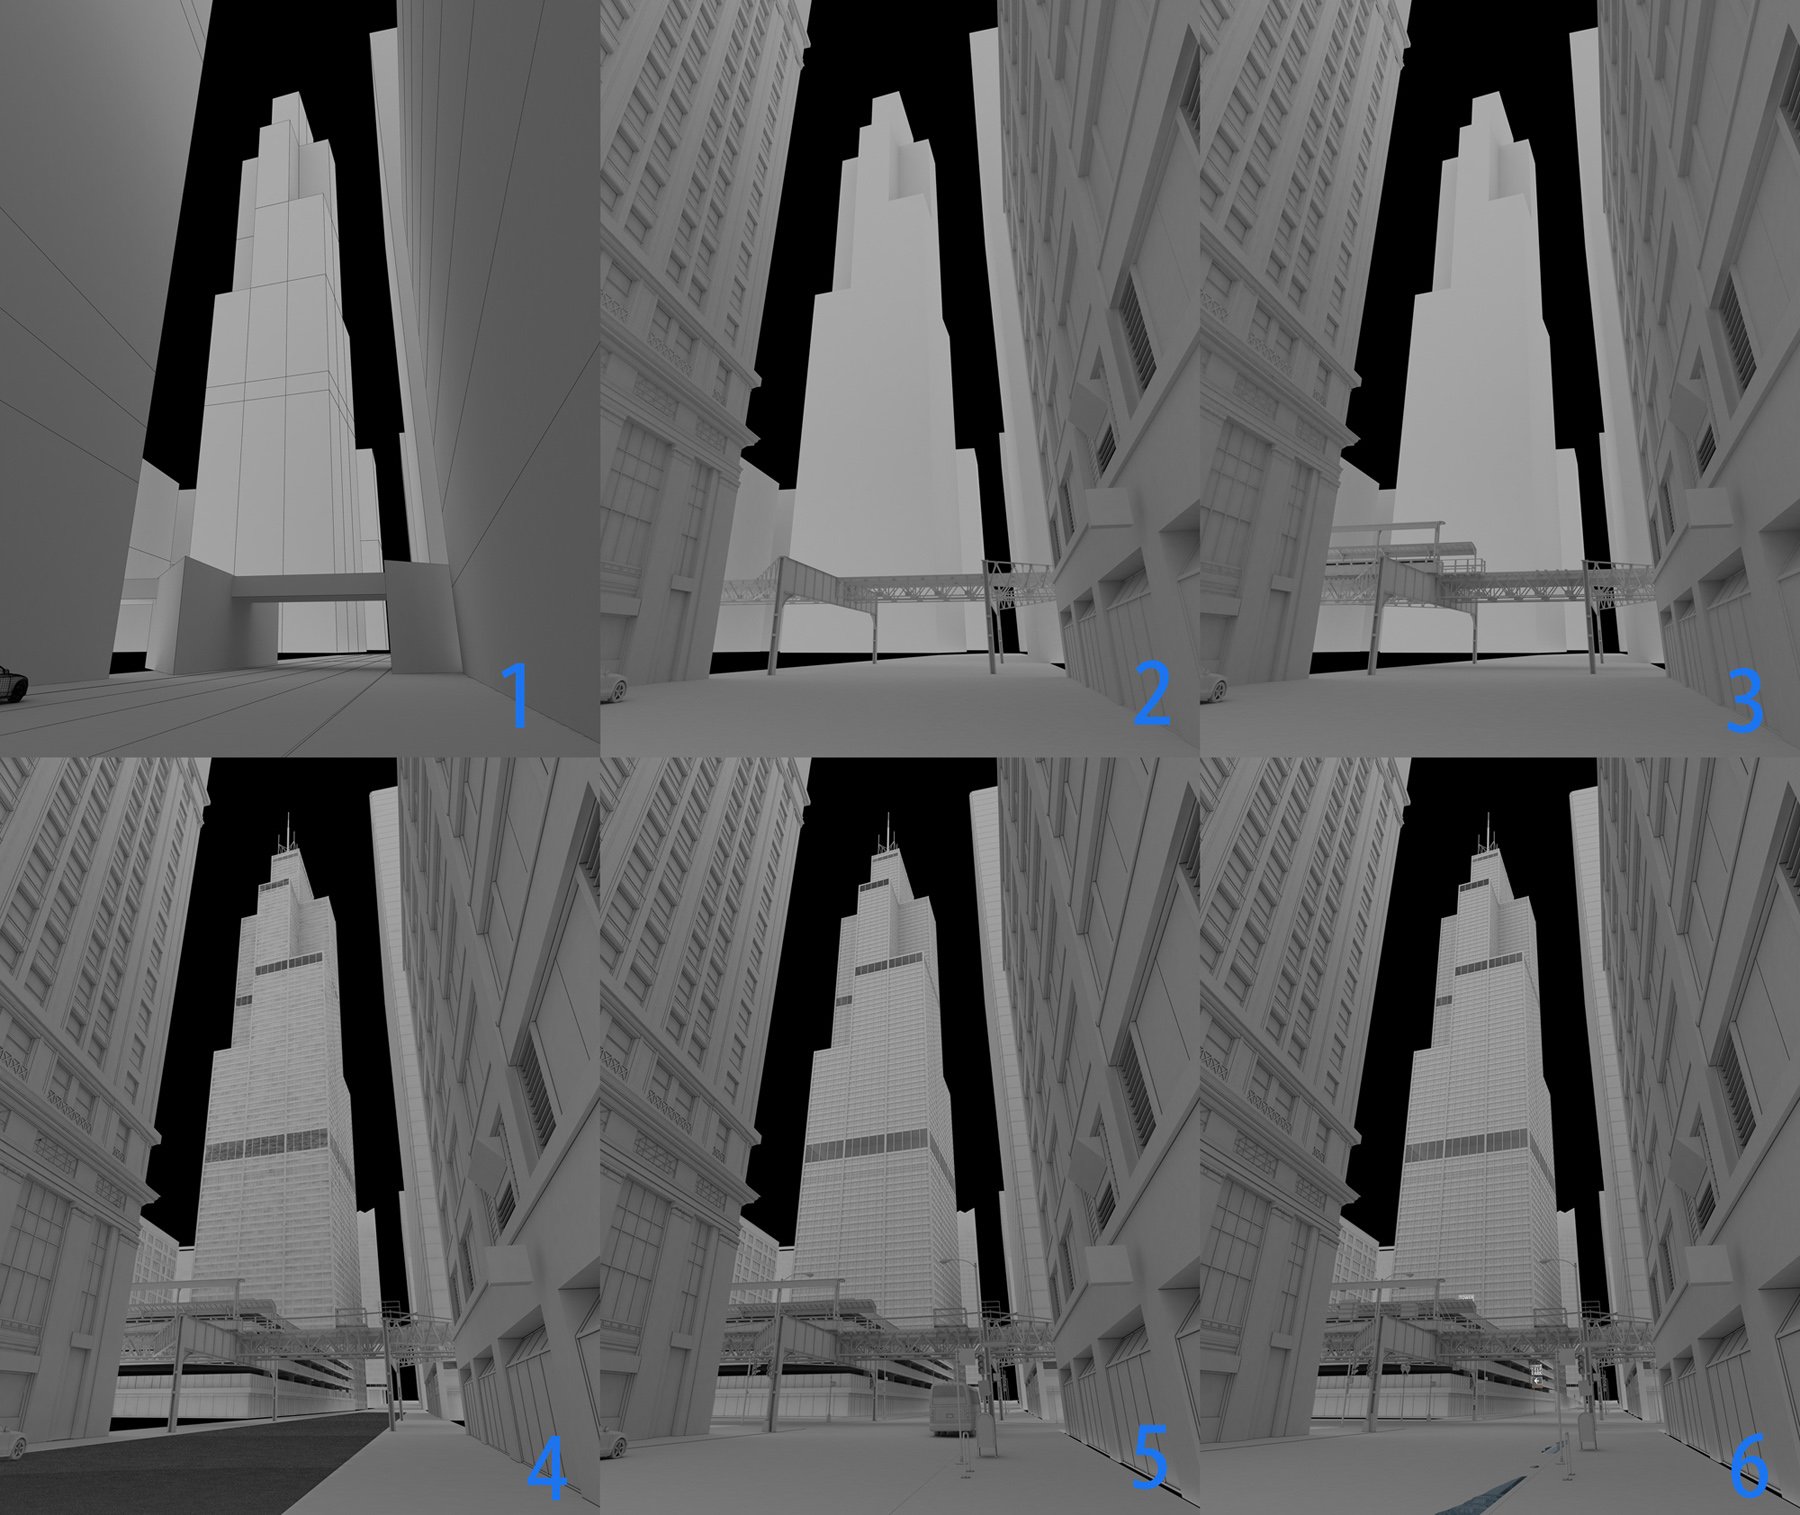
I made some boxes to match the location and volume of the buildings. This cost me about one day as I needed to make this accurate to avoid troubles with details and reflections during later stages. Then I added a car and a bus and measured the heights of buildings to make sure my camera is correct.


Click on image to enlarge 7_p03_nr_2526.jpg

Modeling


Click on image to enlarge 8_p04_nr_2525.jpg

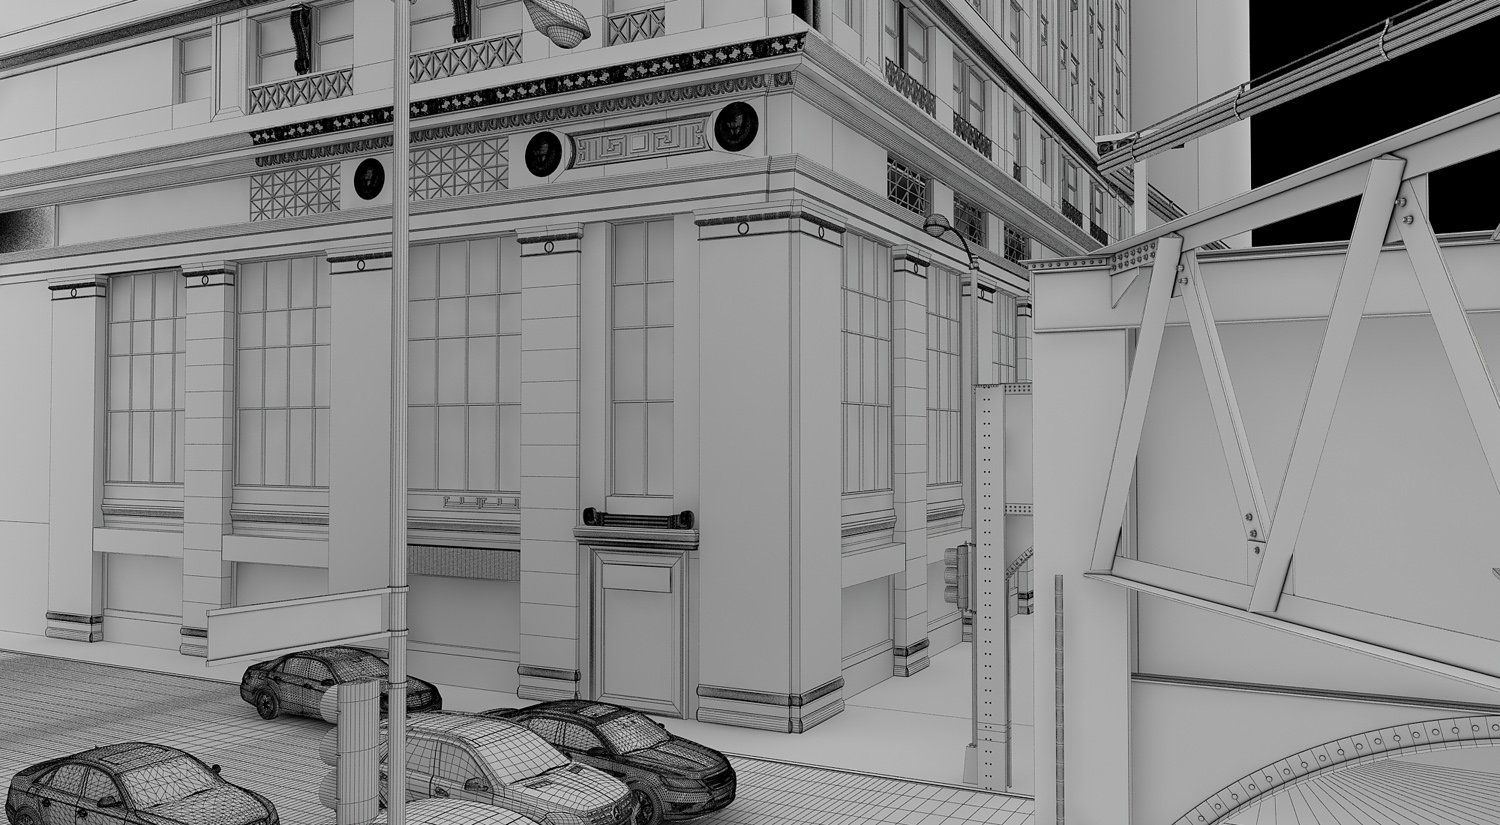
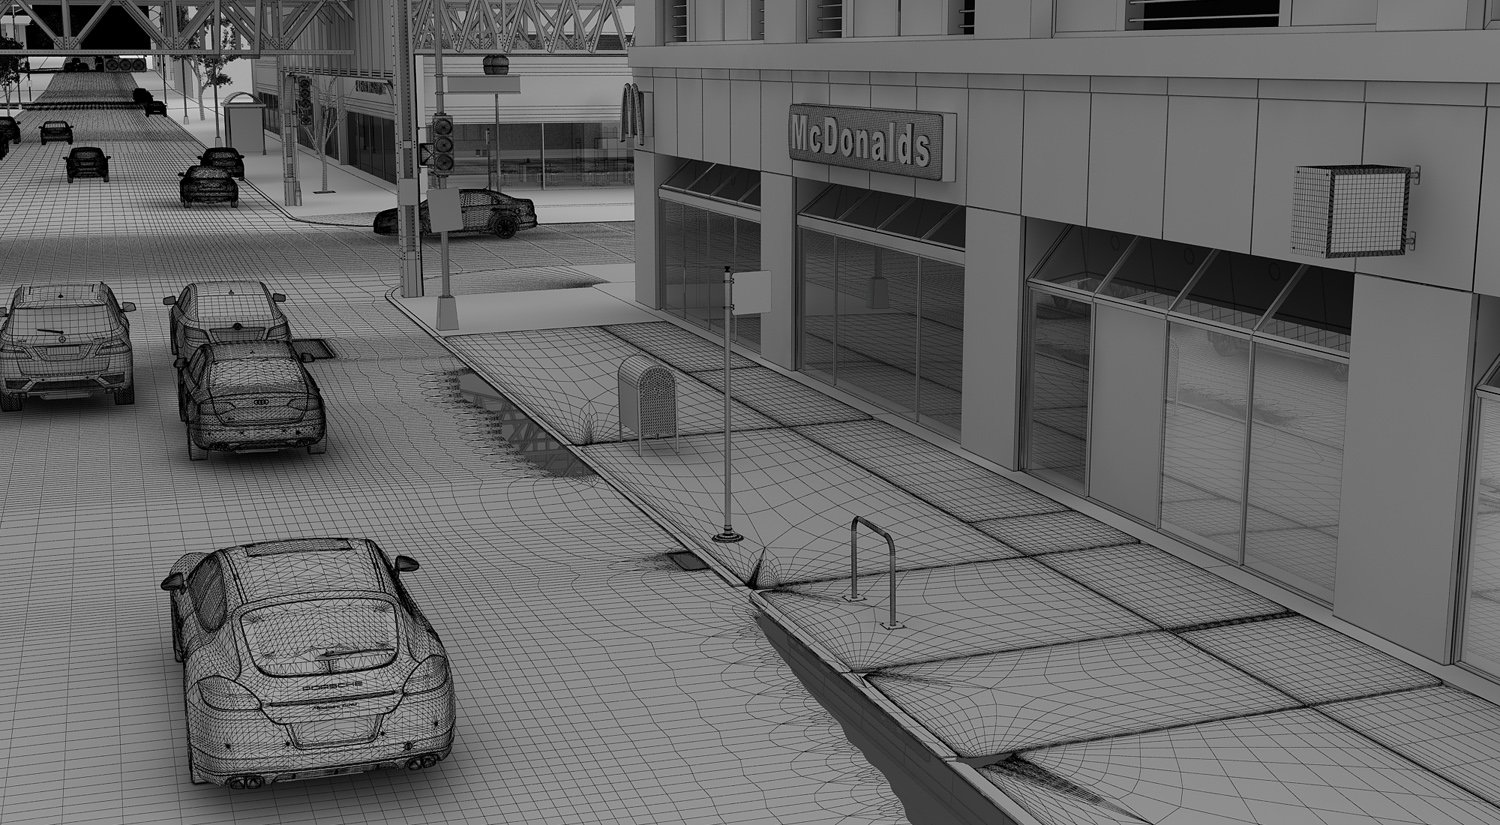
And the rest is to model all details till it's 80% completed.


Click on image to enlarge 9_p05_nr_2524.jpg

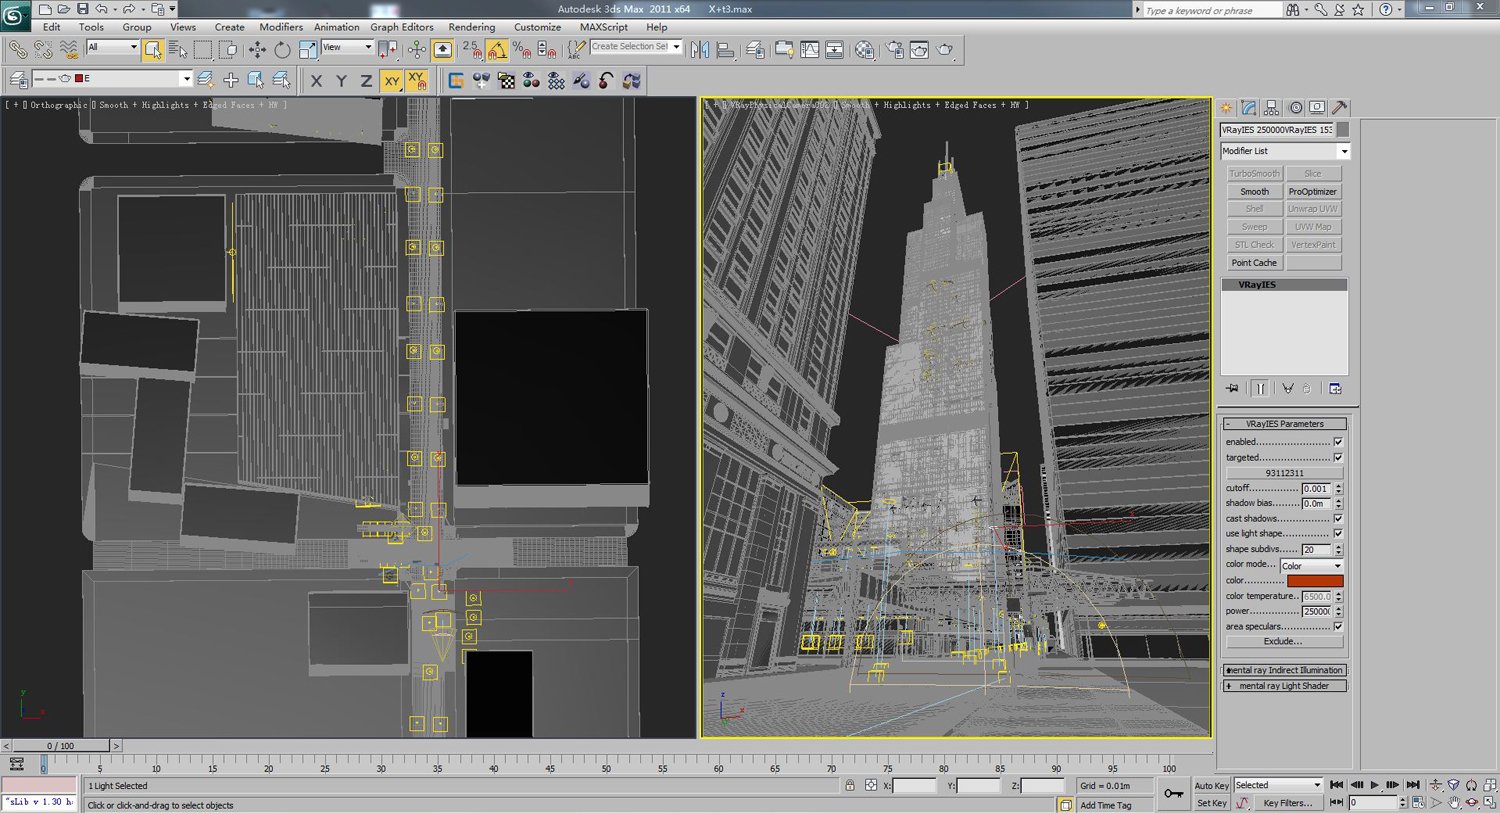
At this point I made a rough lighting to confirm the main lighting location. I mainly used VRayIES. To lighten up an area or one floor I'll duplicate the lights rather than increase the lightness, but this slows down the computer.


Click on image to enlarge 10_p06_nr_2523.jpg

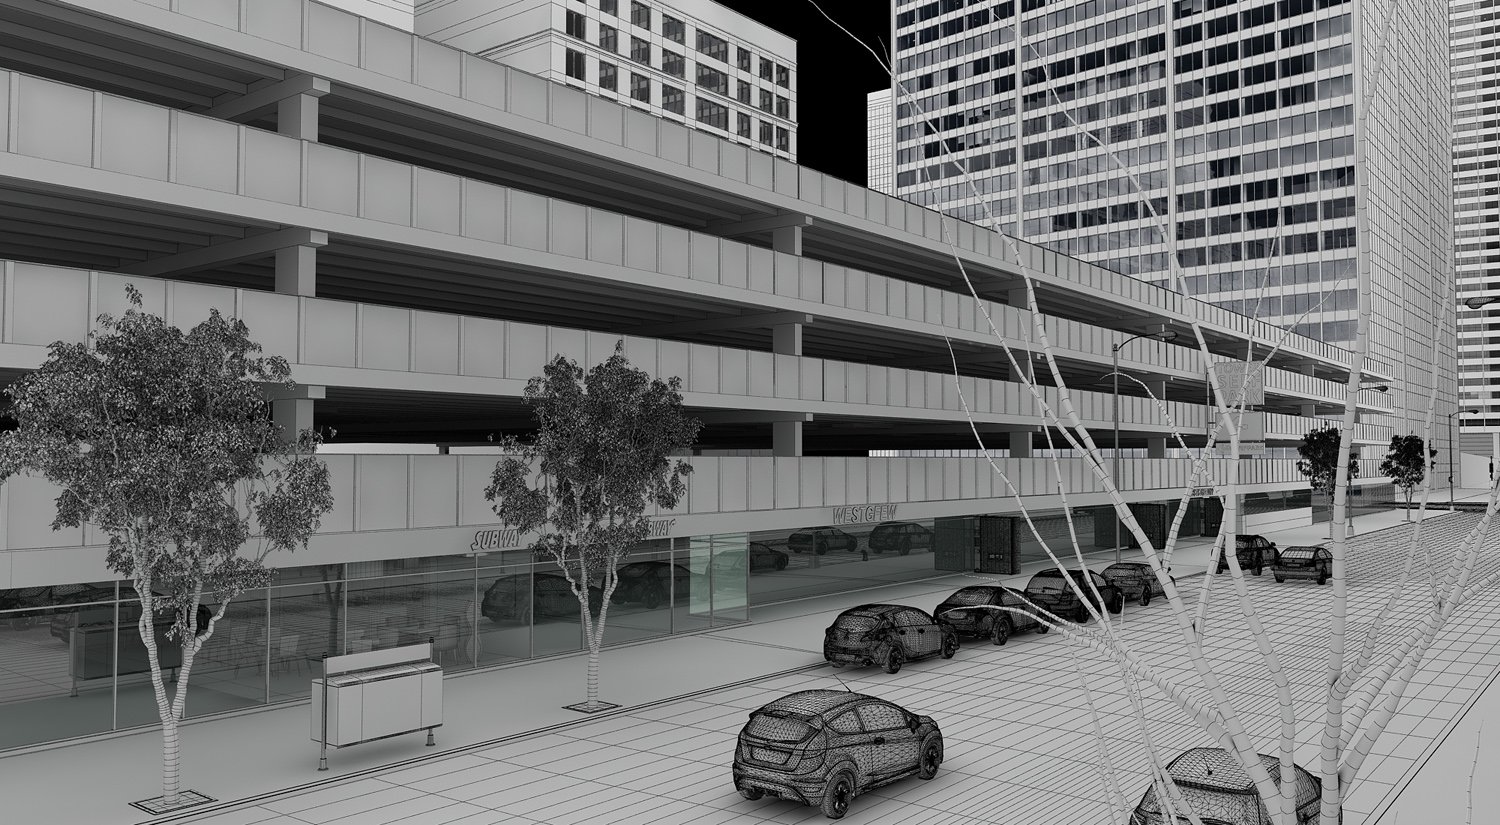
More modeling


Click on image to enlarge 11_p07_nr_2522.jpg

Modeling


Click on image to enlarge 12_p08_nr_2521.jpg

Modeling...


Click on image to enlarge 13_p09_nr_2520.jpg

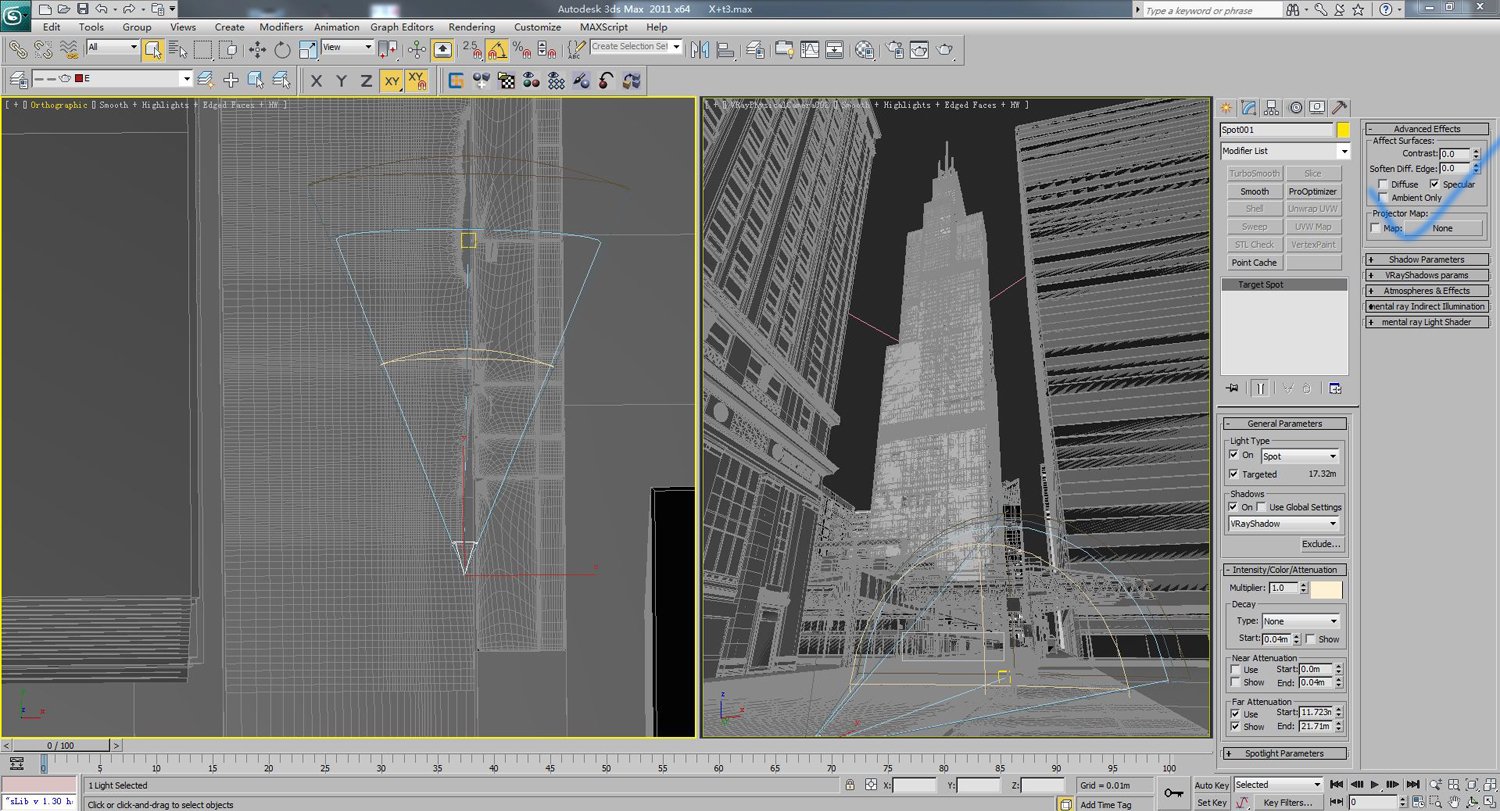
I start applying materials from trash bin as it has distorted highlights, so I made a spot light which only produces highlights to simulate the car lights behind. All lamp posts and balustrades will be affected.


Click on image to enlarge 14_p10_nr_2519.jpg

Spotlight that is pointed towards trash bin.


Click on image to enlarge 15_p11.5_nr_2518.jpg

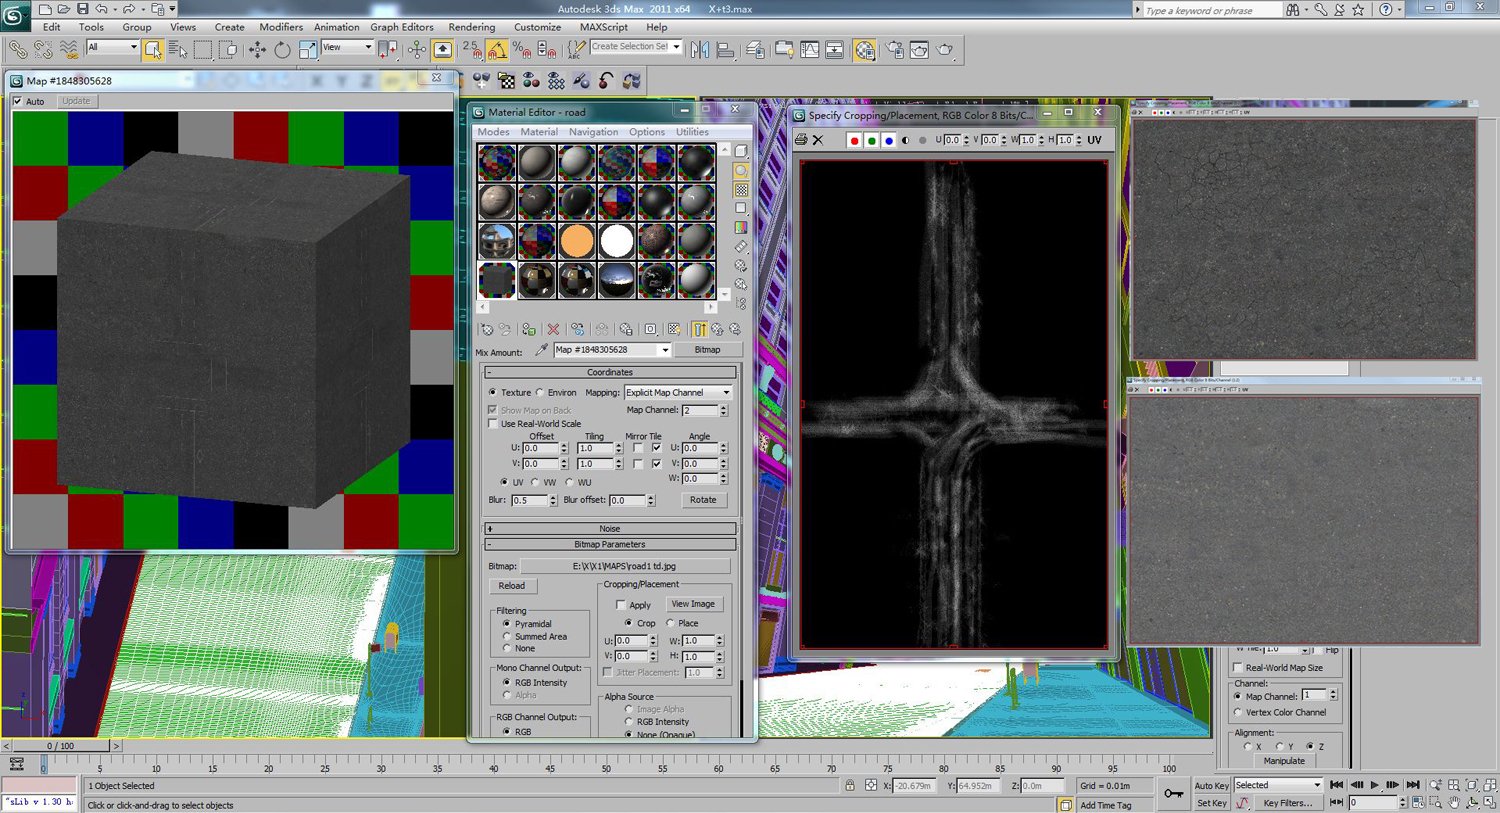
I used mix texture for roads.


Click on image to enlarge 16_p11_nr_2517.jpg

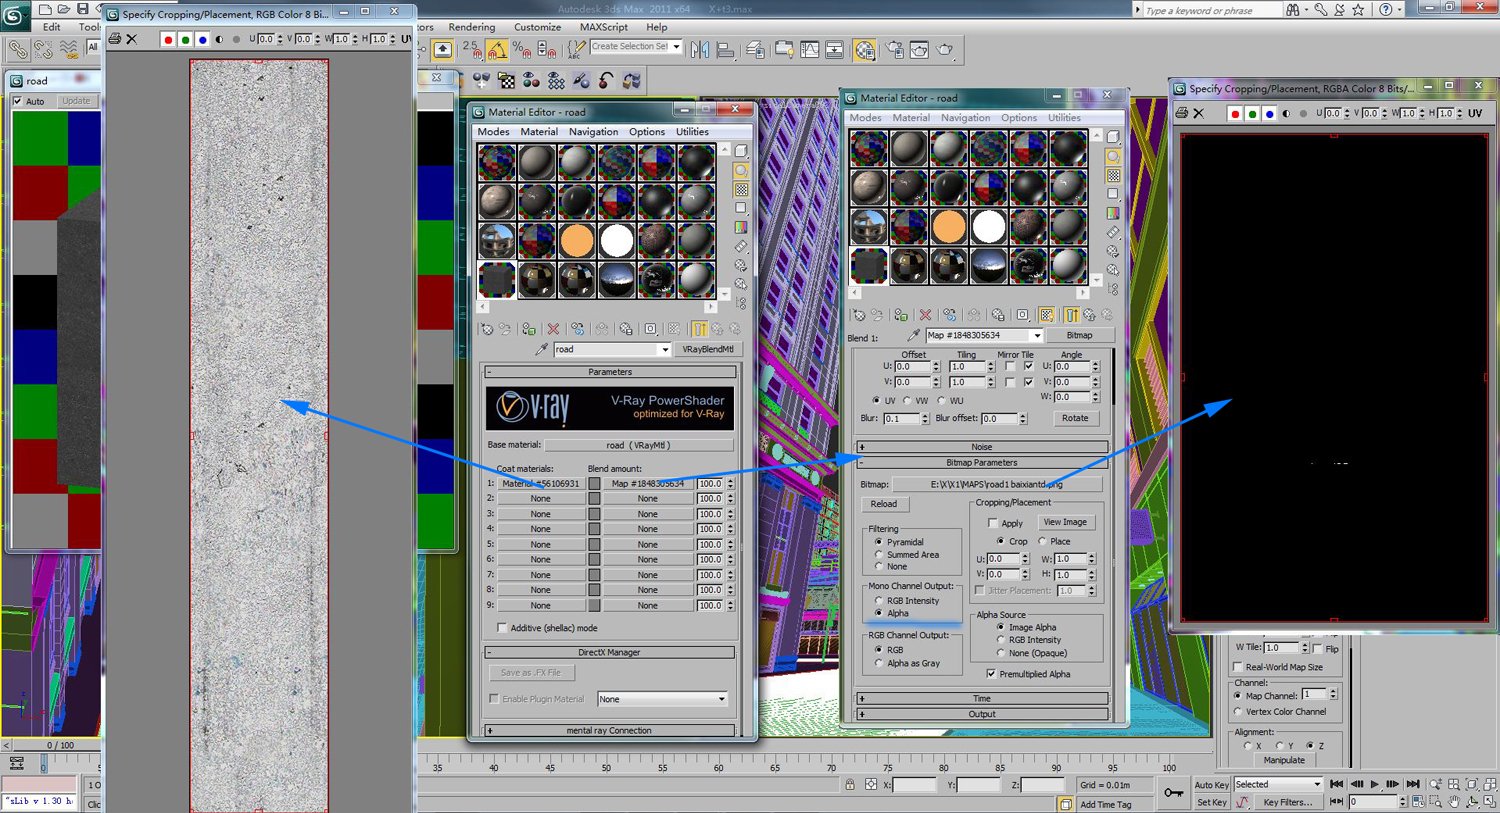
The road markings are mapping in PNG format so that I can use them repeatly.


Click on image to enlarge 17_p12_nr_2516.jpg

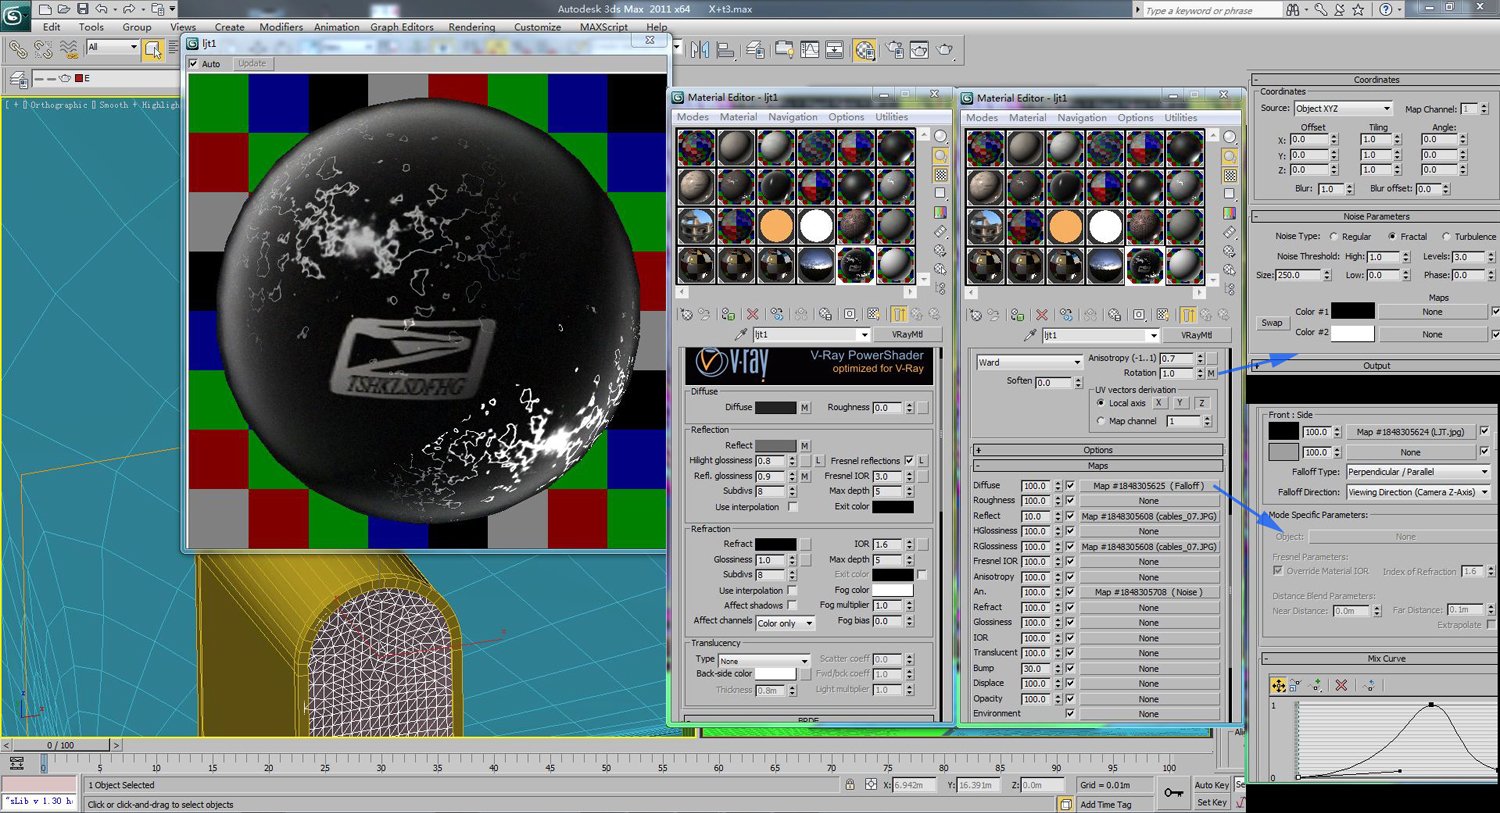
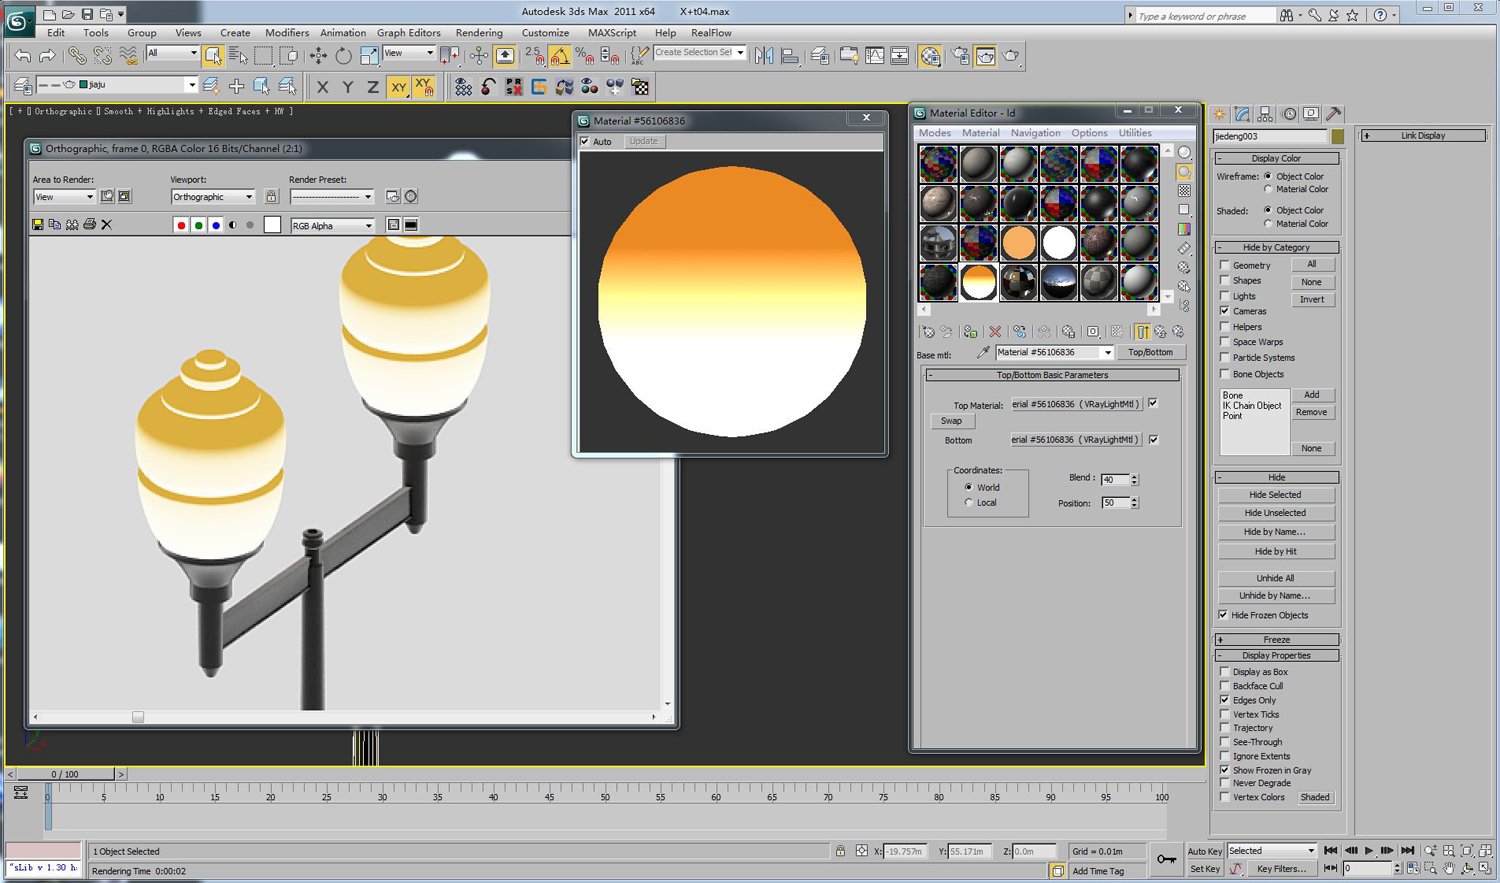
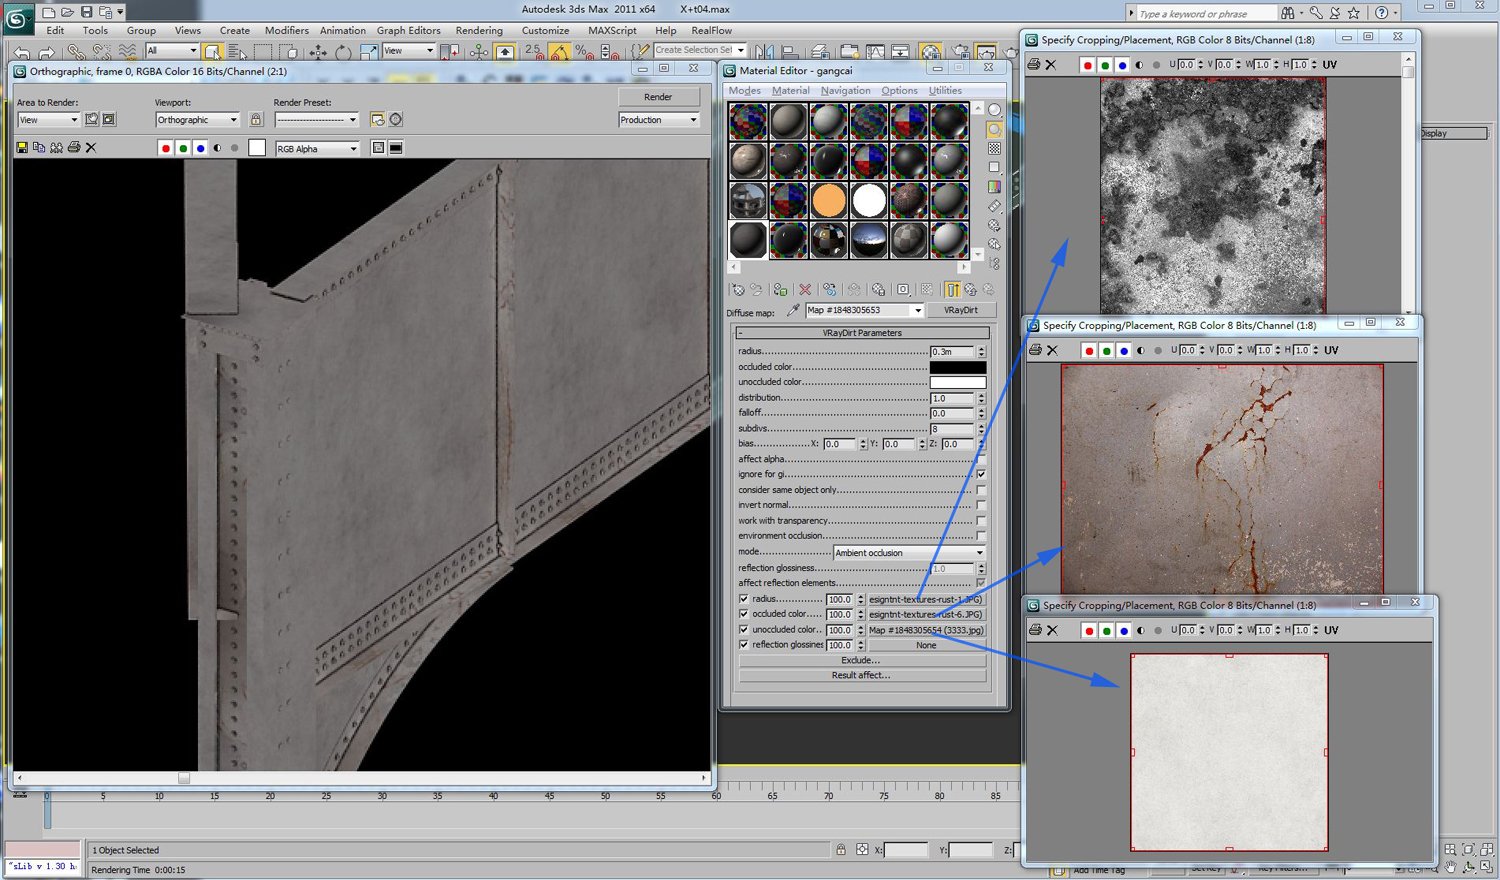
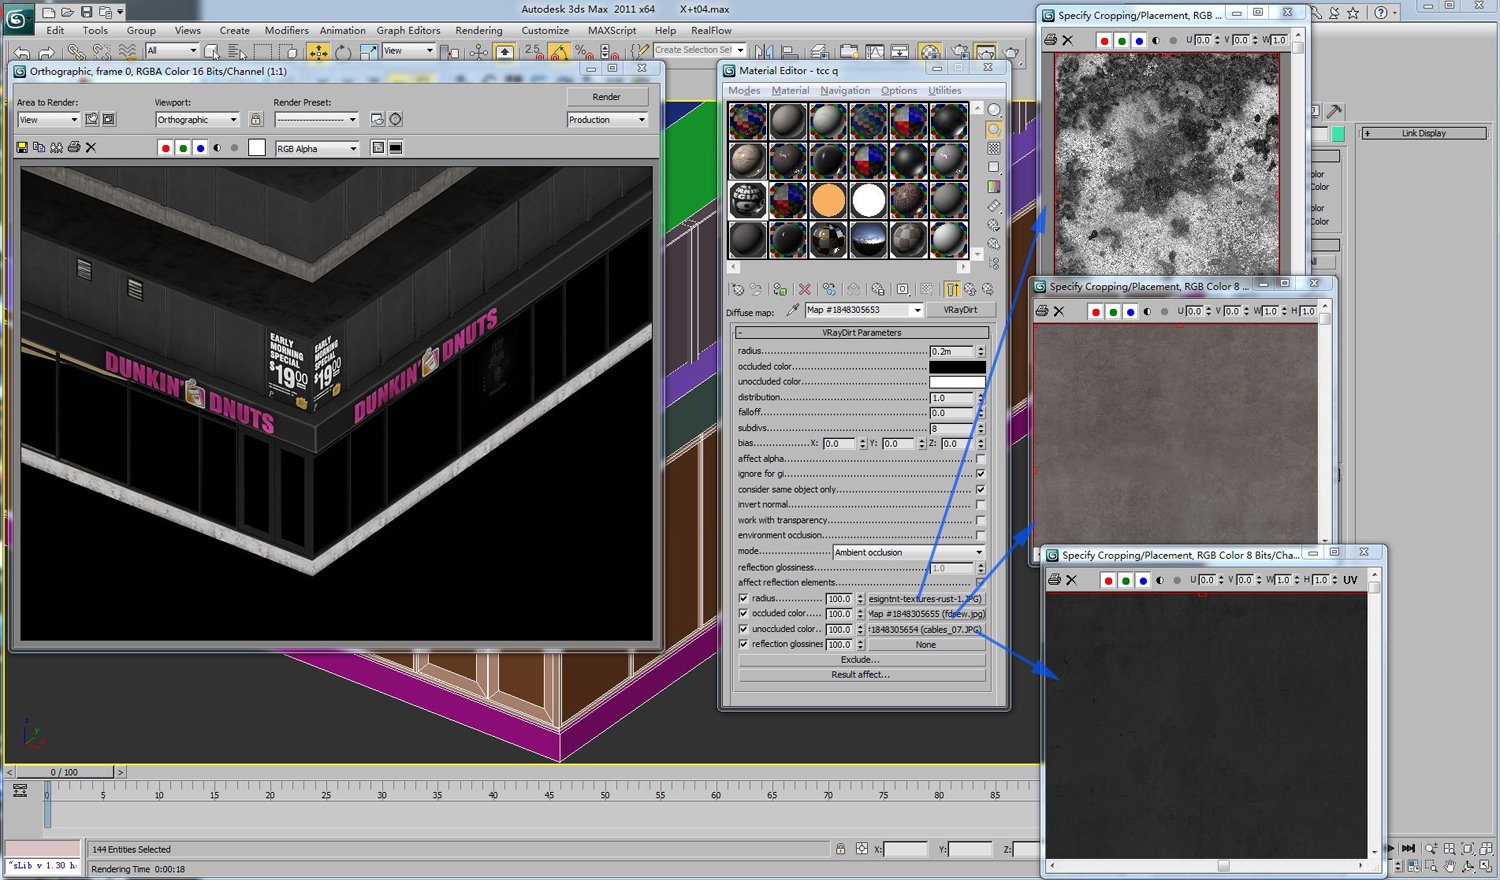
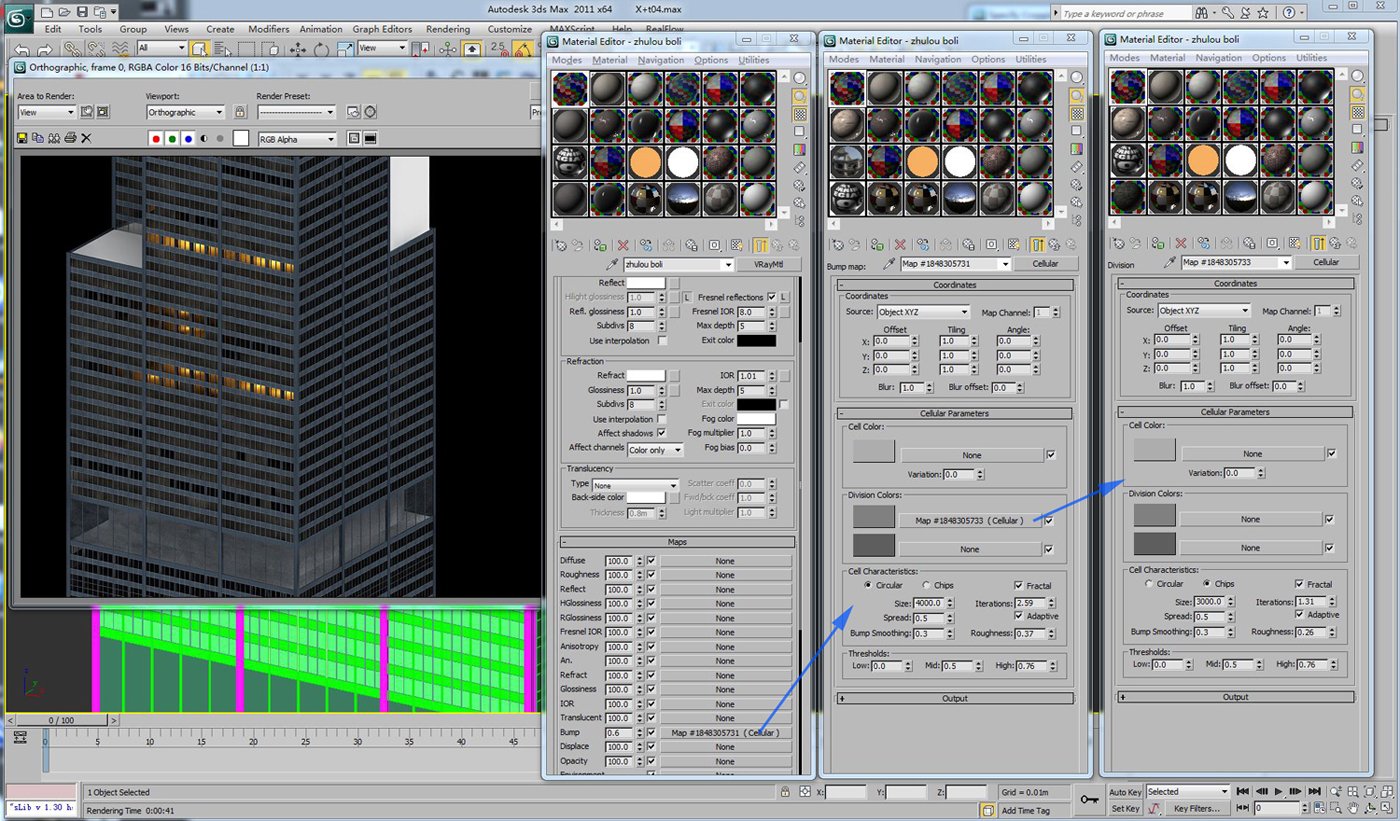
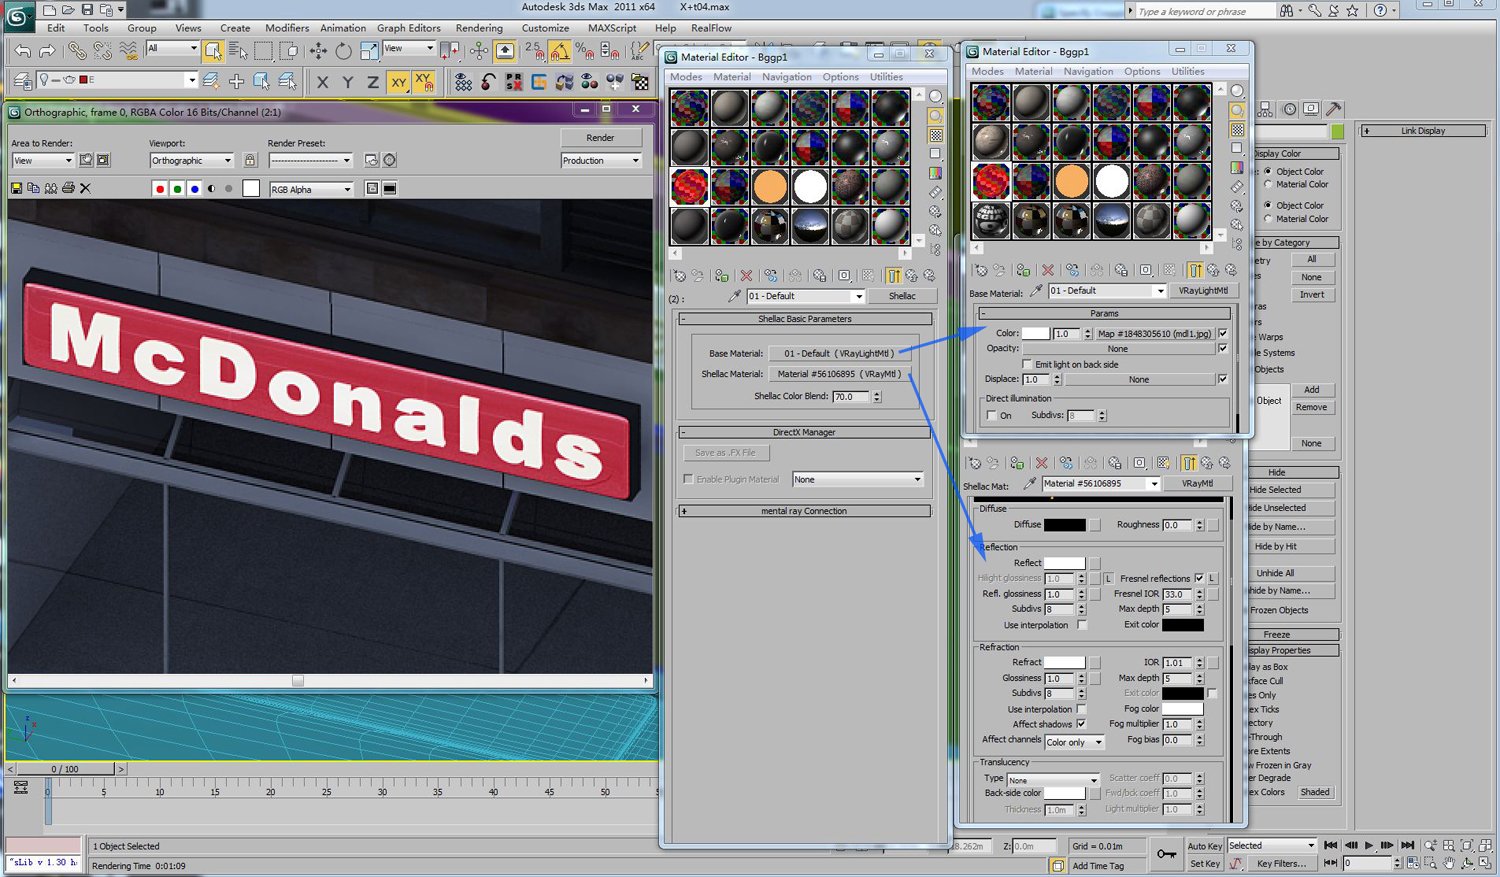
Other materials are just typical VRay materials. Some are more complicated as I want to achieve good effect. Here is lamp posts' material.


Click on image to enlarge 18_p13_nr_2515.jpg

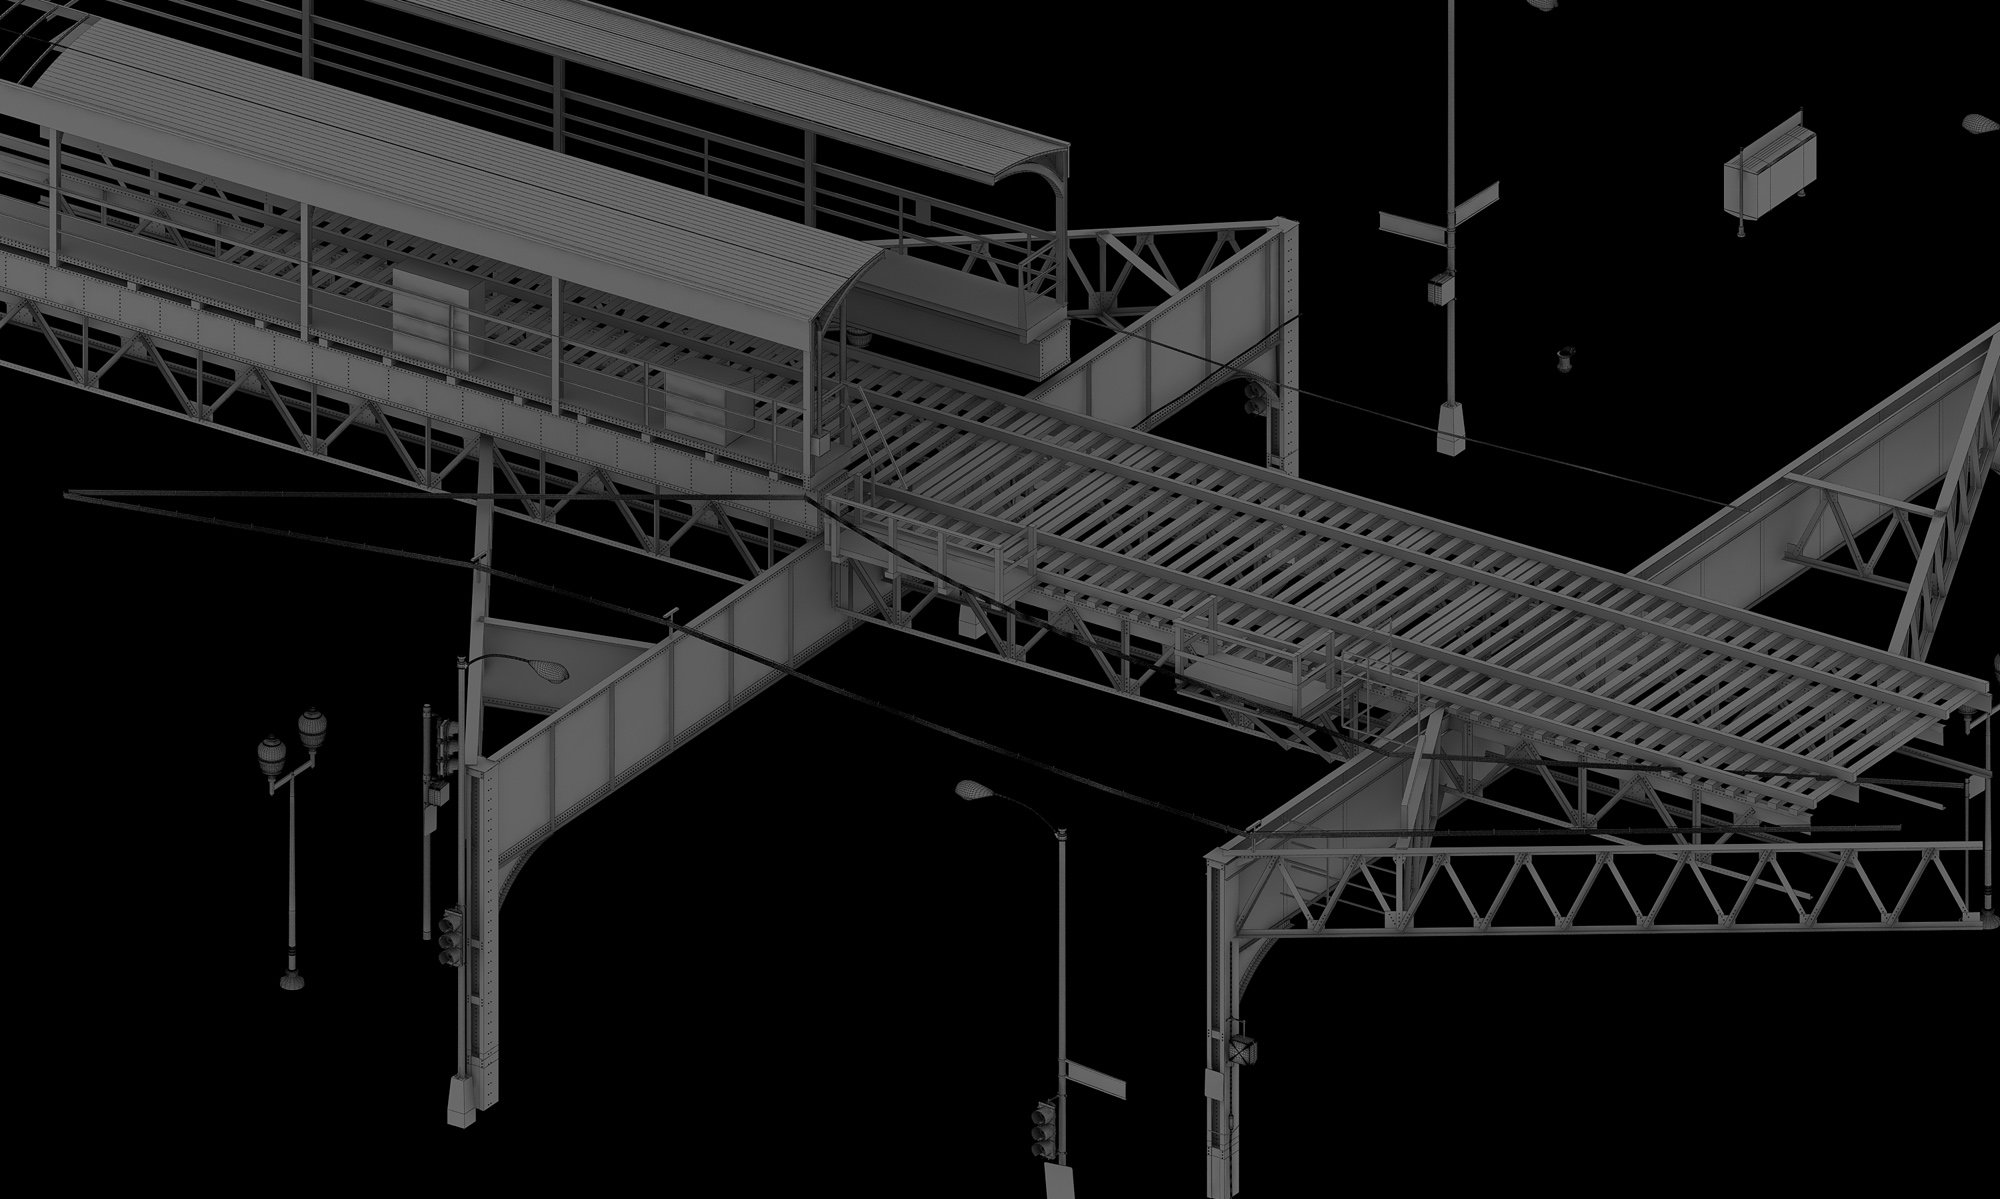
Railway bridge material


Click on image to enlarge 19_p14_nr_2539.jpg

Parking lot material


Click on image to enlarge 20_p15_nr_2538.jpg

Main building lights material.


Click on image to enlarge 21_p16_nr_2537.jpg

Material of Self-illuminated light box with reflection.


Click on image to enlarge 22_p17_nr_2536.jpg

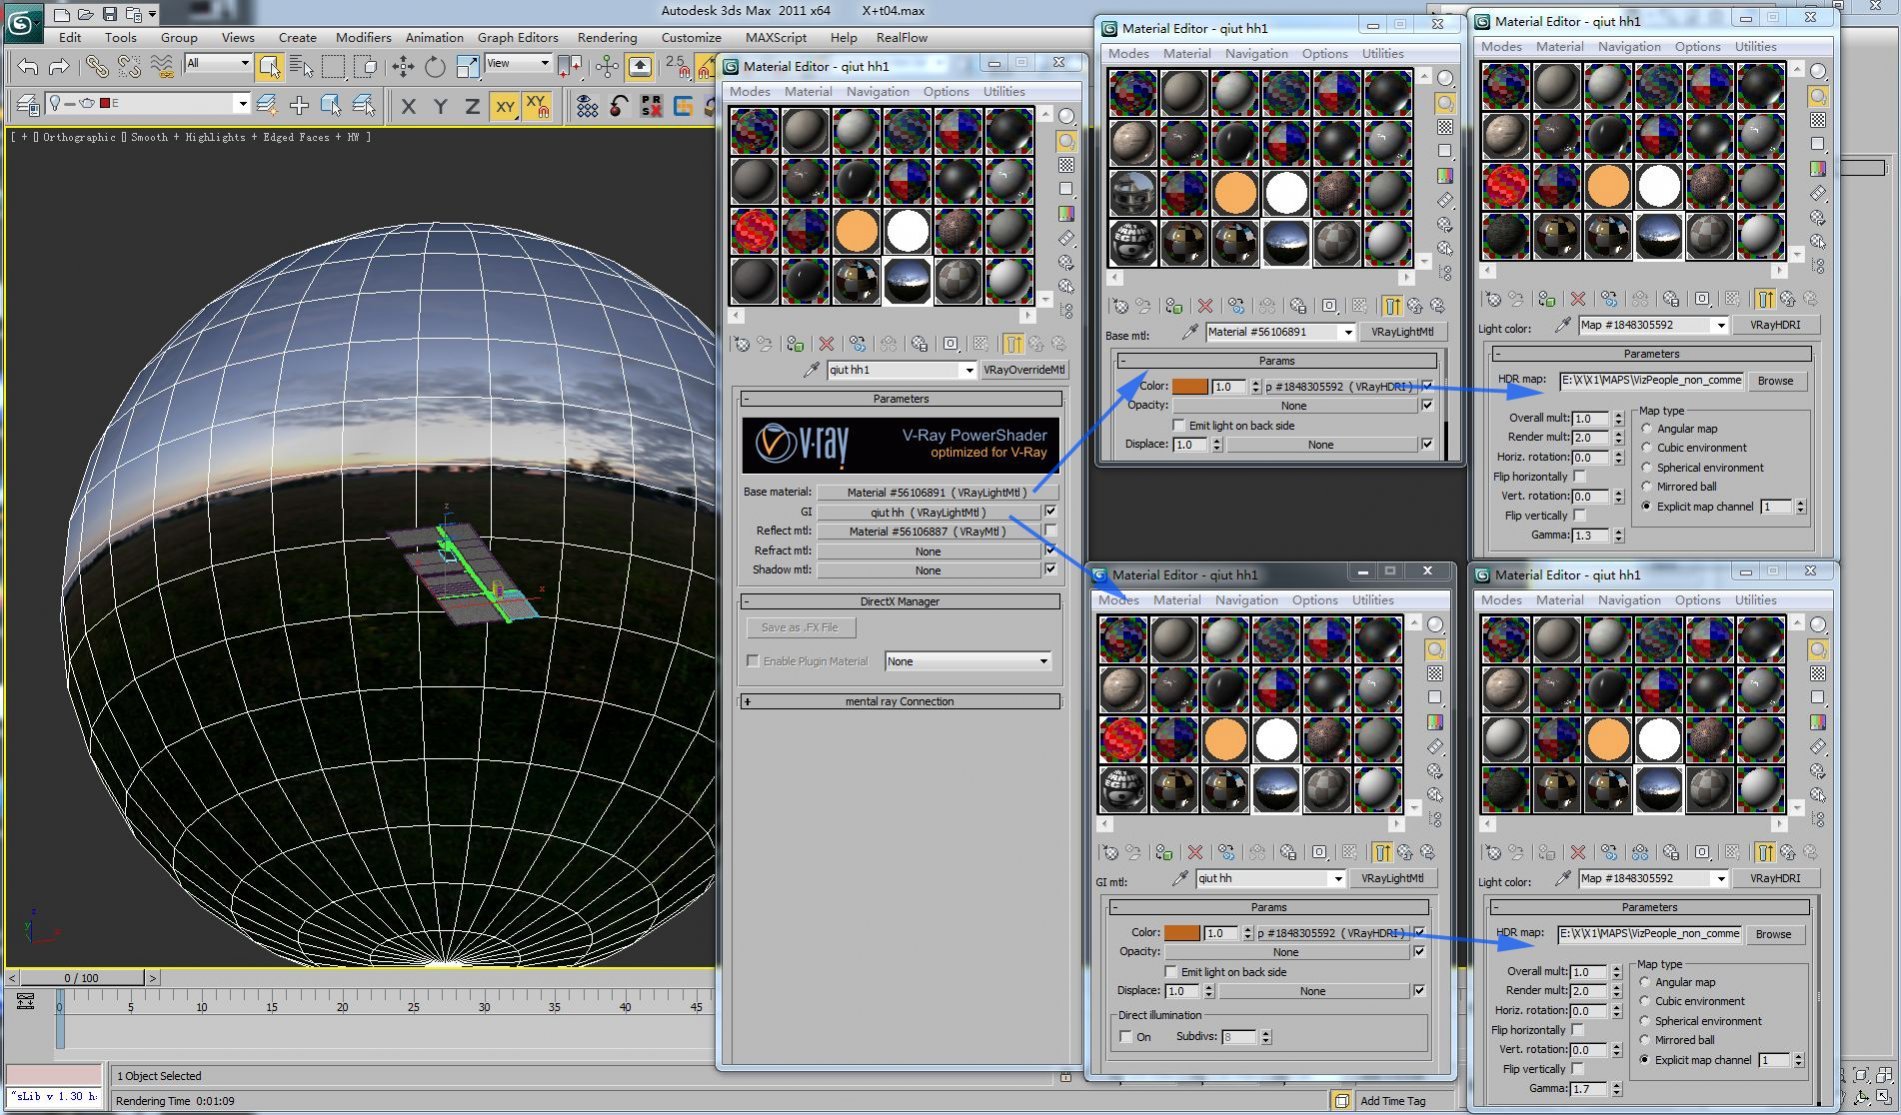
HDR sky.


Click on image to enlarge 23_p18_nr_2535.jpg

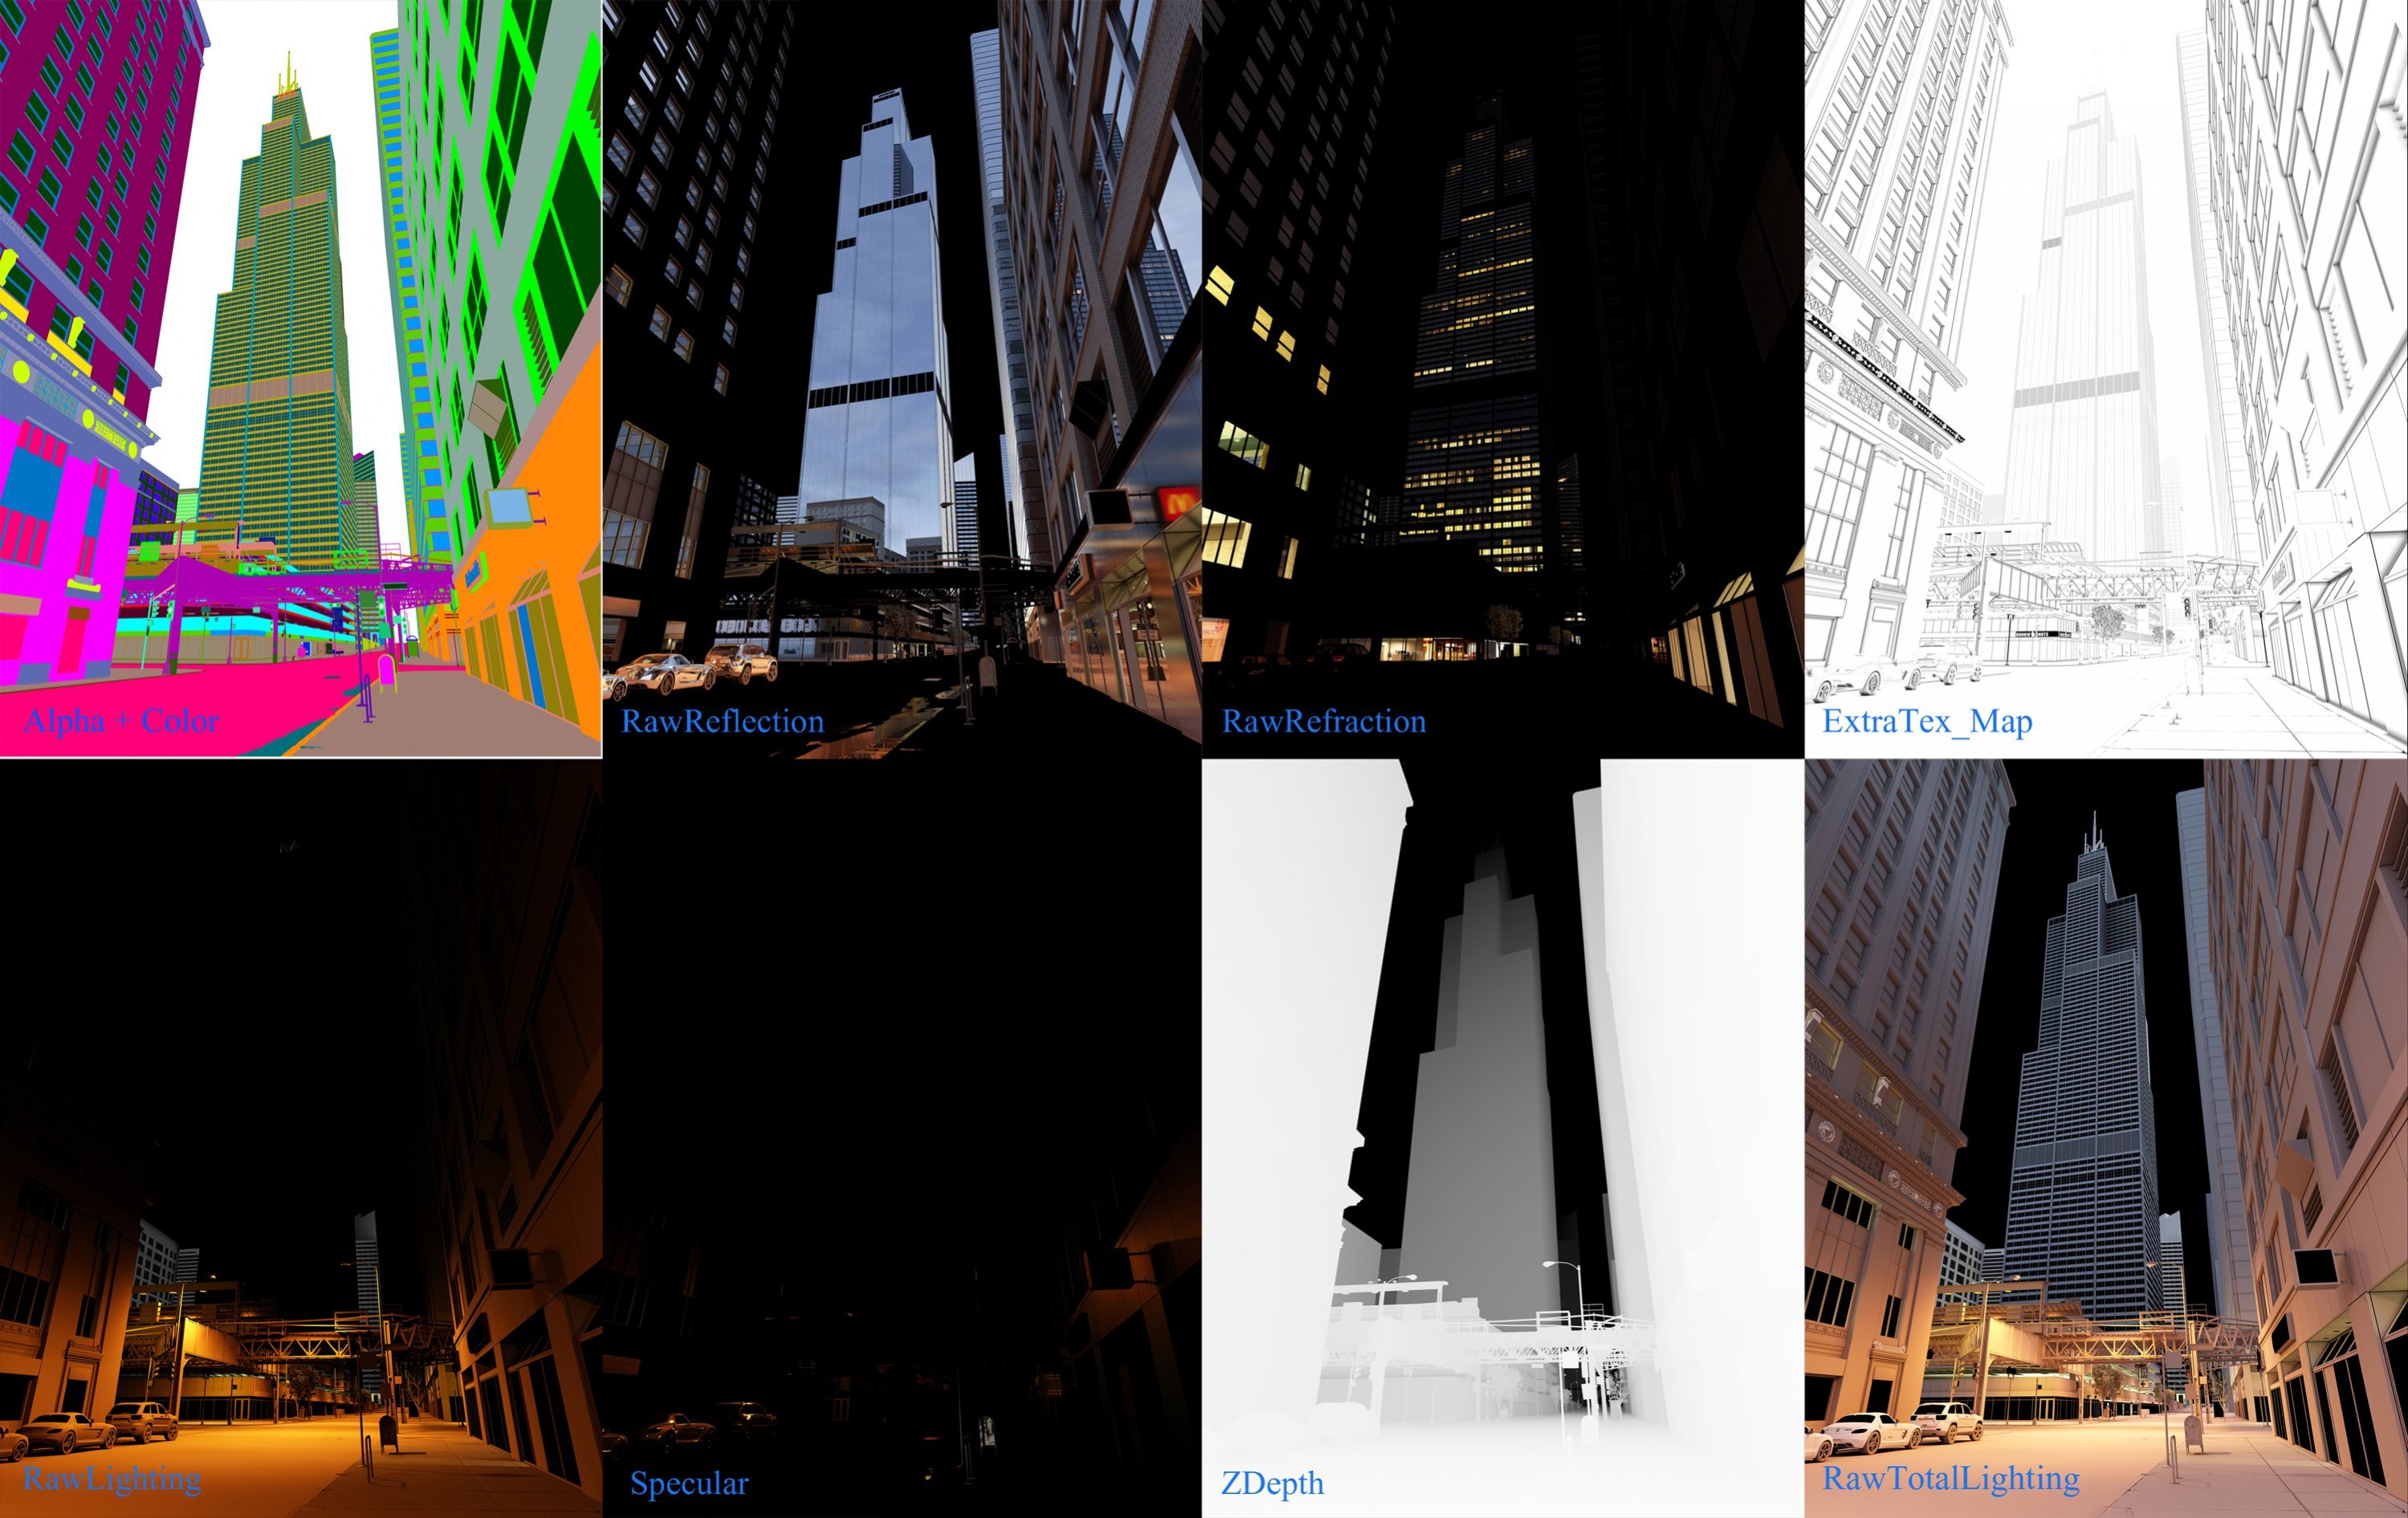
Channels


Click on image to enlarge 24_p19_nr_2534.jpg

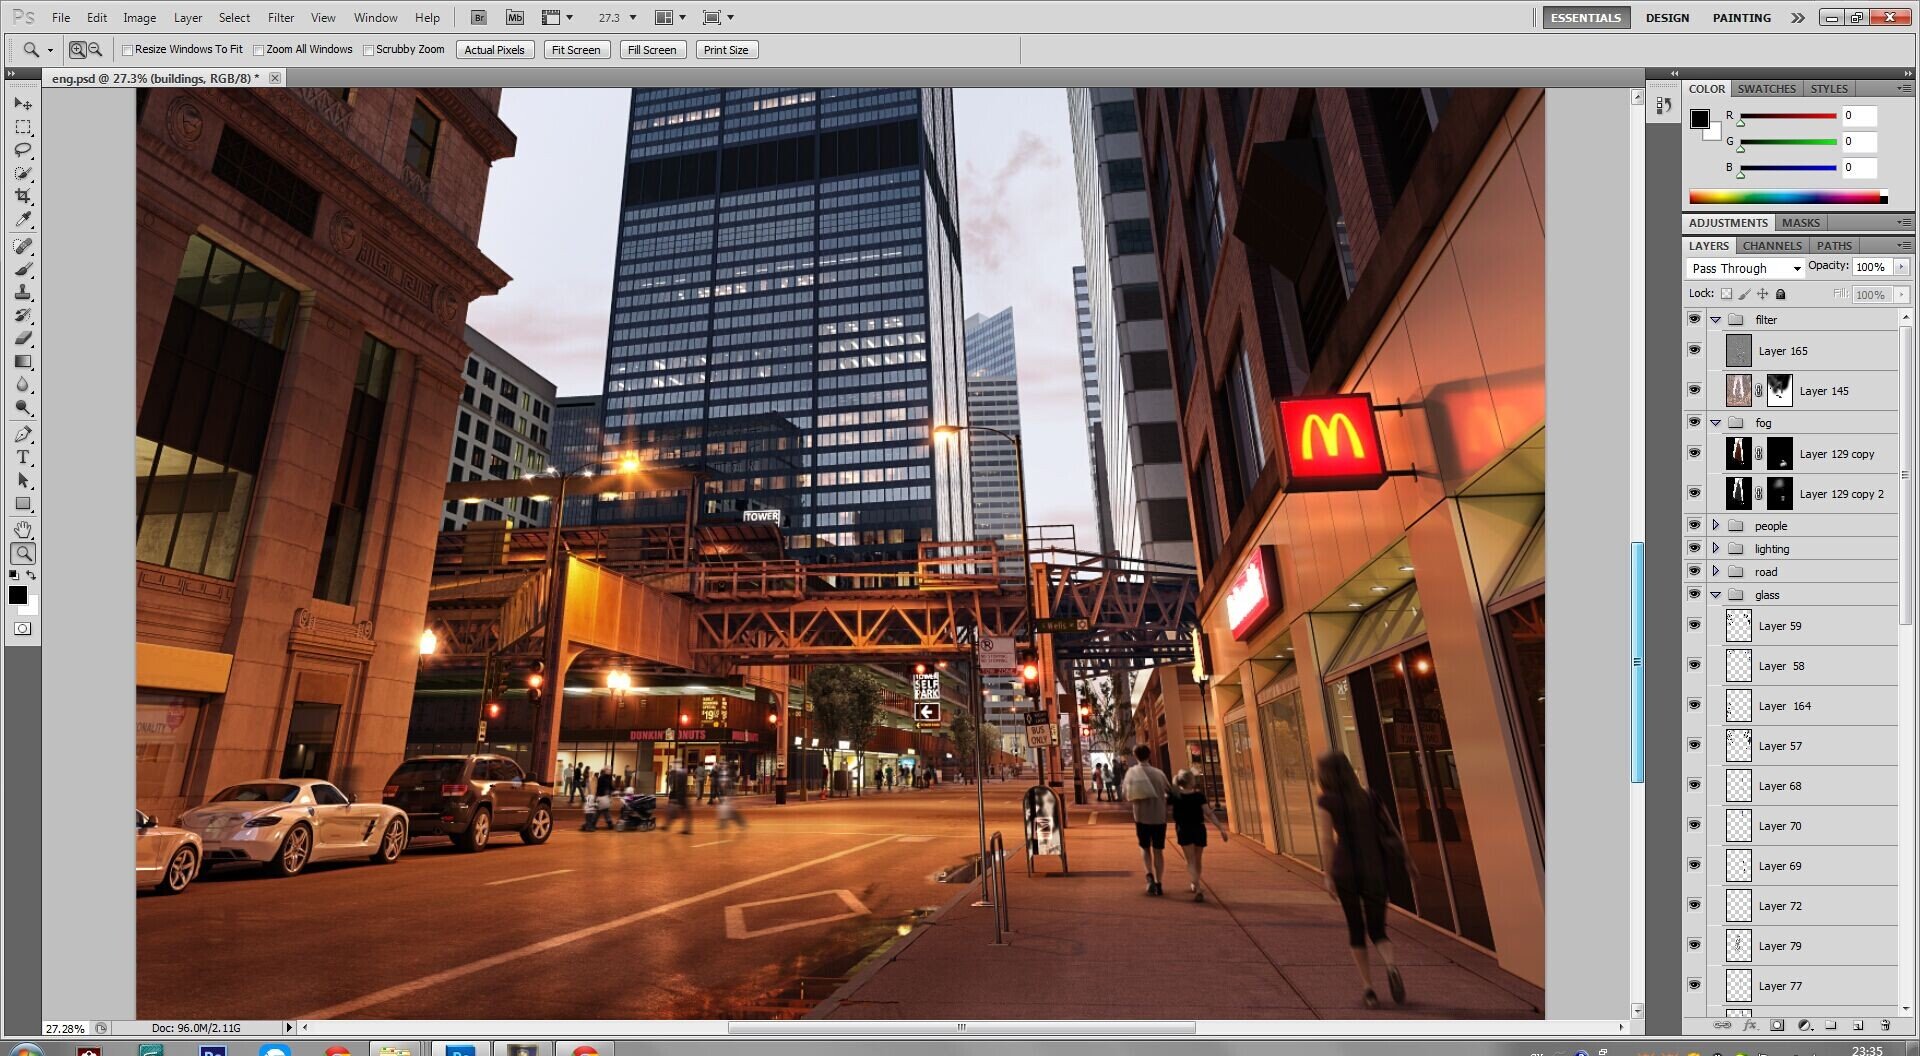
Photoshop


Click on image to enlarge 25_p20_nr_2533.jpg

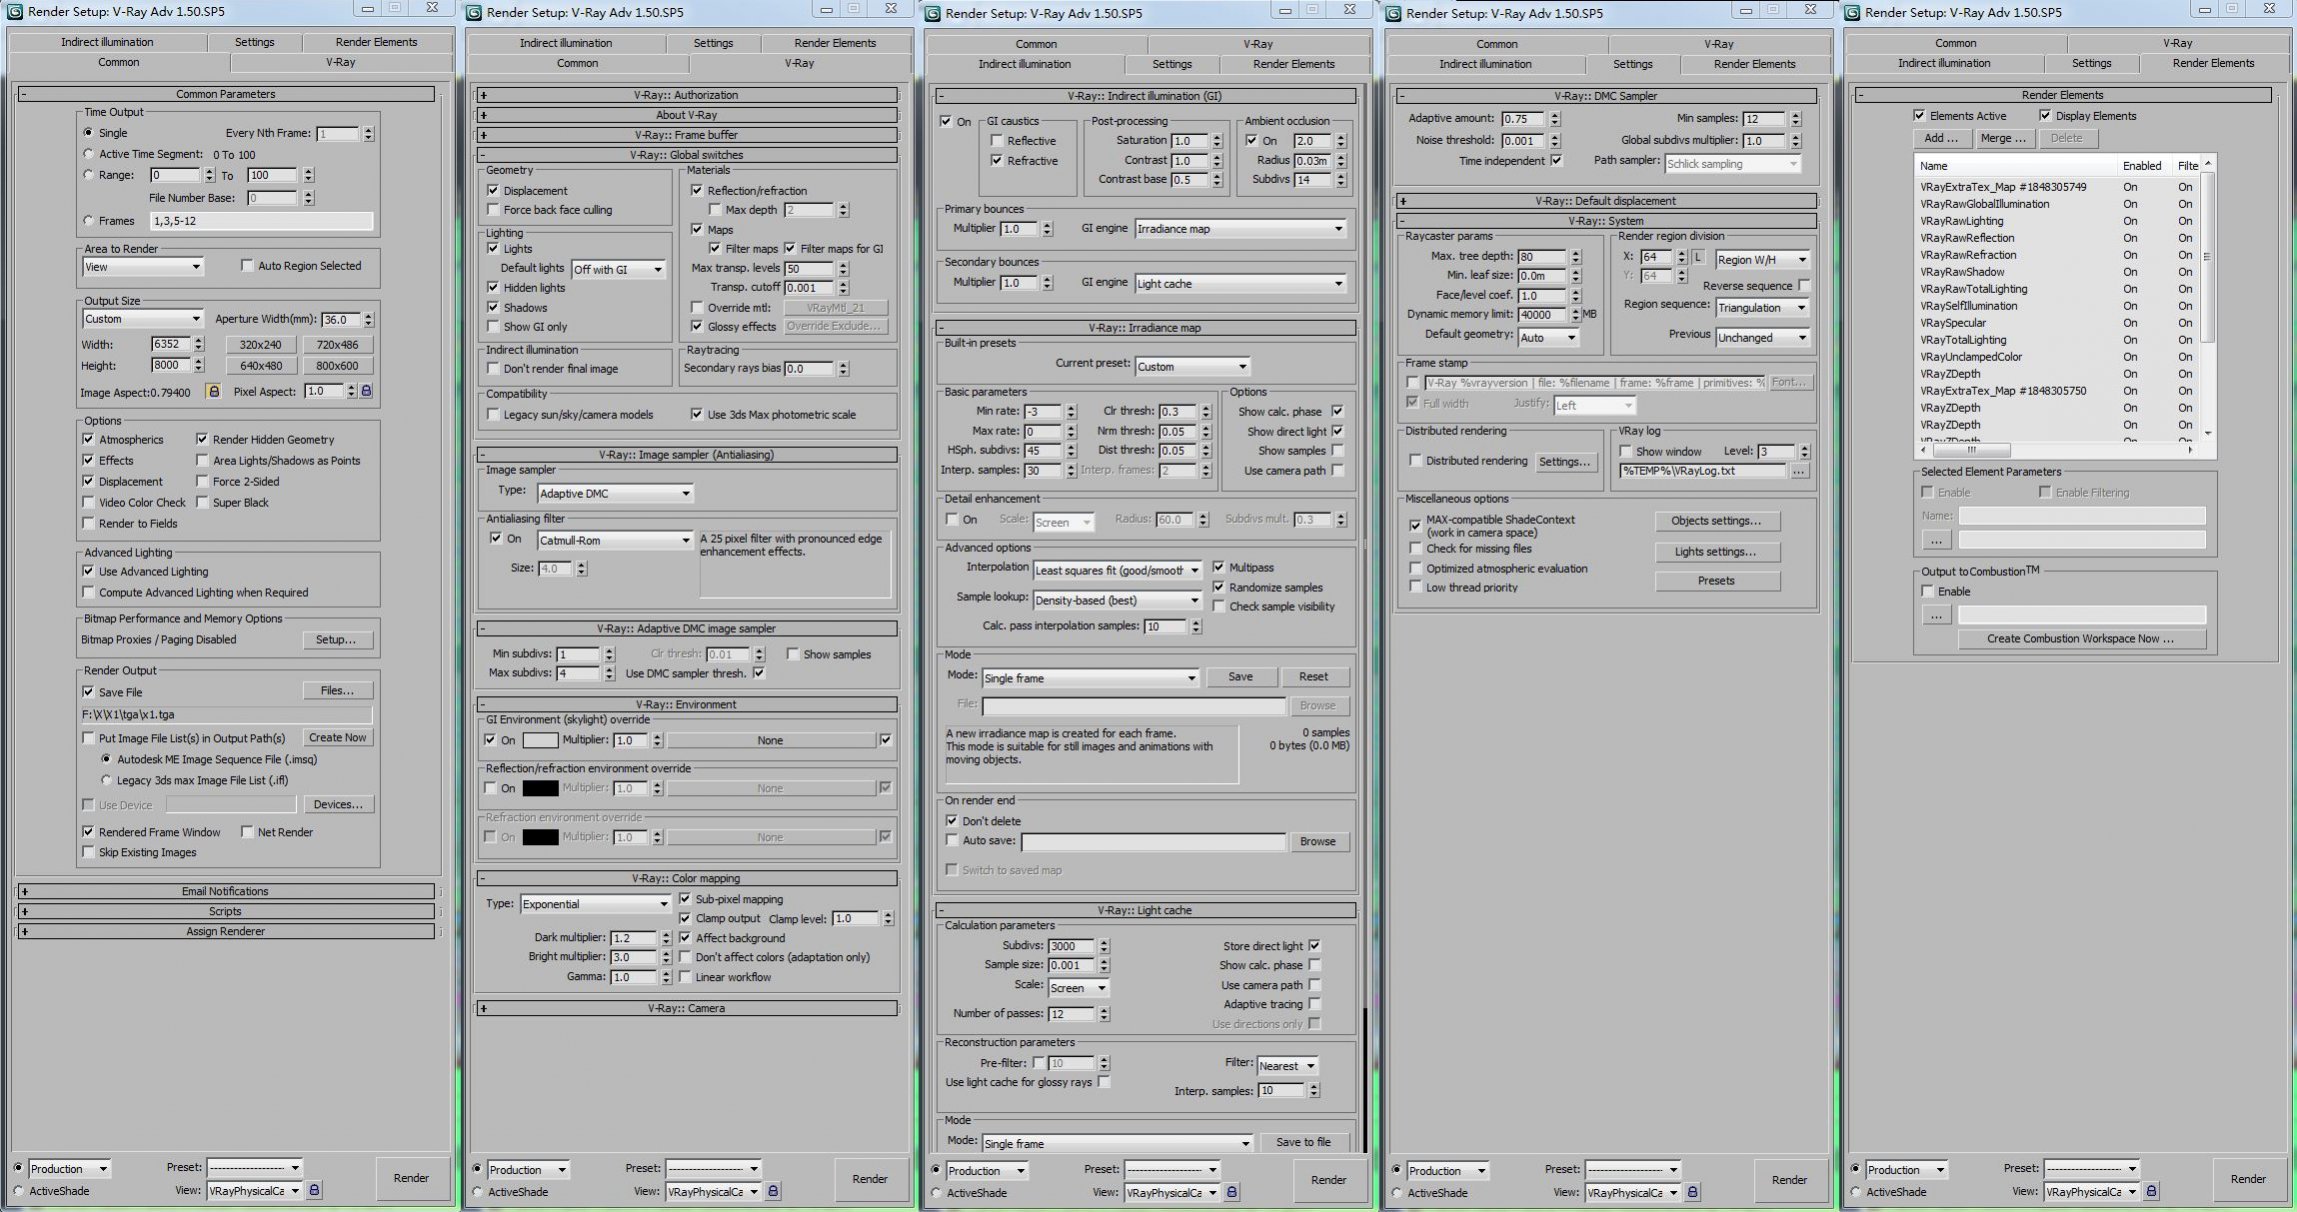
Render settings


Click on image to enlarge 1_final_walls_nr_2532.jpg

Final image (again). Click to see in high resolution.


Thanks for reading! Please, leave your comment if you have any questions.

Author: Song Fu (Banran)‍ Editor: Michał Franczak
Tags: vray 3dsmax willistower
You may also like...
Tip of the Week. V-ray light materials and general tips

Tip of the Week. V-ray light materials and general tips

This is the last part of a V-ray materials tip of the week series. In this part I will show you how to use V-ray light materials and some general tips for baking v-ray dirt and using opacity maps.
×

LEAVE A COMMENT

You need to be logged in to leave a comment. Don't have account? Register now.

Ruan.architect 10:30:09  |  15-09-2014
Perfect
umerfaseeh 10:36:08  |  15-09-2014
wow..great tutorial.. i really like your texturing and shading. beautiful work.
idanamrany 10:43:20  |  15-09-2014
Wow amazing details! well done! Did you use vray lens effects for the bloom and glare or is it all in post? Idan
hppav 18:25:42  |  15-09-2014
strange render settings, maybe im just new....
Sebax 19:14:51  |  16-09-2014
You work with xref scenes and vray proxys? What computer hardware you have for this work? Thanks. excellent work!
basen 07:17:34  |  17-09-2014
Thanks all!!!!I didn't use VR XREF, all cars and trees are VR proxys, and I didn't use special camera effects, I use them as normal ones, special effect functions are turned off. My computer setting is 12 core, 64thread and 48gigs storage.
basen 07:30:15  |  17-09-2014
Sorry,24thread
moreirinha 01:40:58  |  20-09-2014
Amazing work. Congrats.
de`Medici 07:23:47  |  24-09-2014
Isn`t this vray 1.5 SP5 very old?!?
zhangqing 16:56:30  |  25-09-2014
China taste
Aip Wong 21:50:00  |  01-12-2014
very good looks like real................wow
karthikeyancg3d 11:15:04  |  04-08-2015
great tuto nice work
Alekski 14:44:21  |  05-08-2015
Great, however i do not understood why dGreat, however i do not understood why did you use so hi poly roads. What was your goal?id you use so hi poly roads. What was your goal?
Alekski 14:45:46  |  05-08-2015
something goes wrong with the previus comment )