Evermotion: More Than an Asset Library
How Evermotion became a full-scale production partner for archviz, automotive and synthetic data.


Total: € 0

Dieter Rams is a German industrial designer and retired academic closely associated with the consumer products company Braun. He is a legend and author of many unique designs. Let's see what we have here...
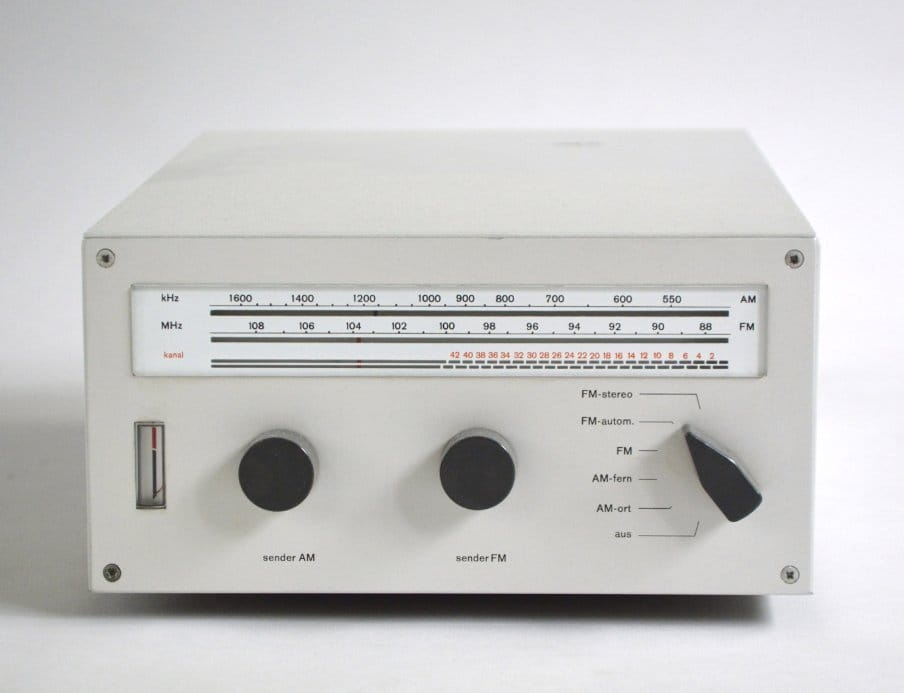
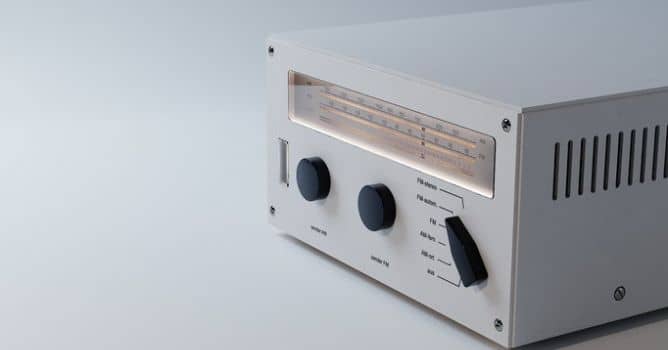
Reference photo - The CET 15 is the tuner element of the first truly modular Braun audio system. Later updated with minor changes by the CET 16. Luckily, there are some reference images on the Internet (although not many). We also know exact dimensions of this equipment: 200 x 100 x 320 mm.
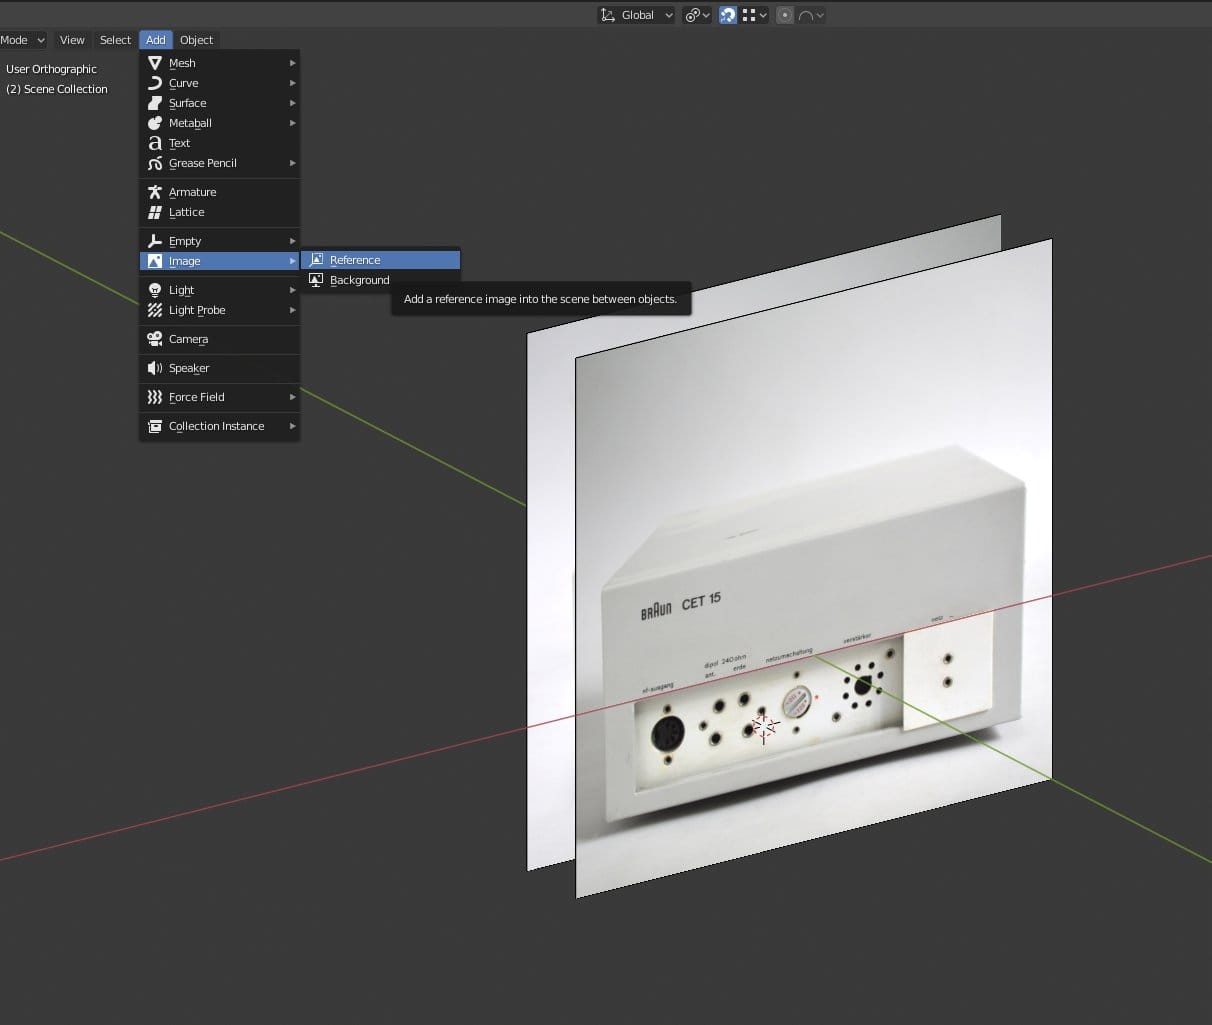
The best way to add reference image is to use Add > Image > Reference menu.

GIF animation - two reference images for front and back of our radio.
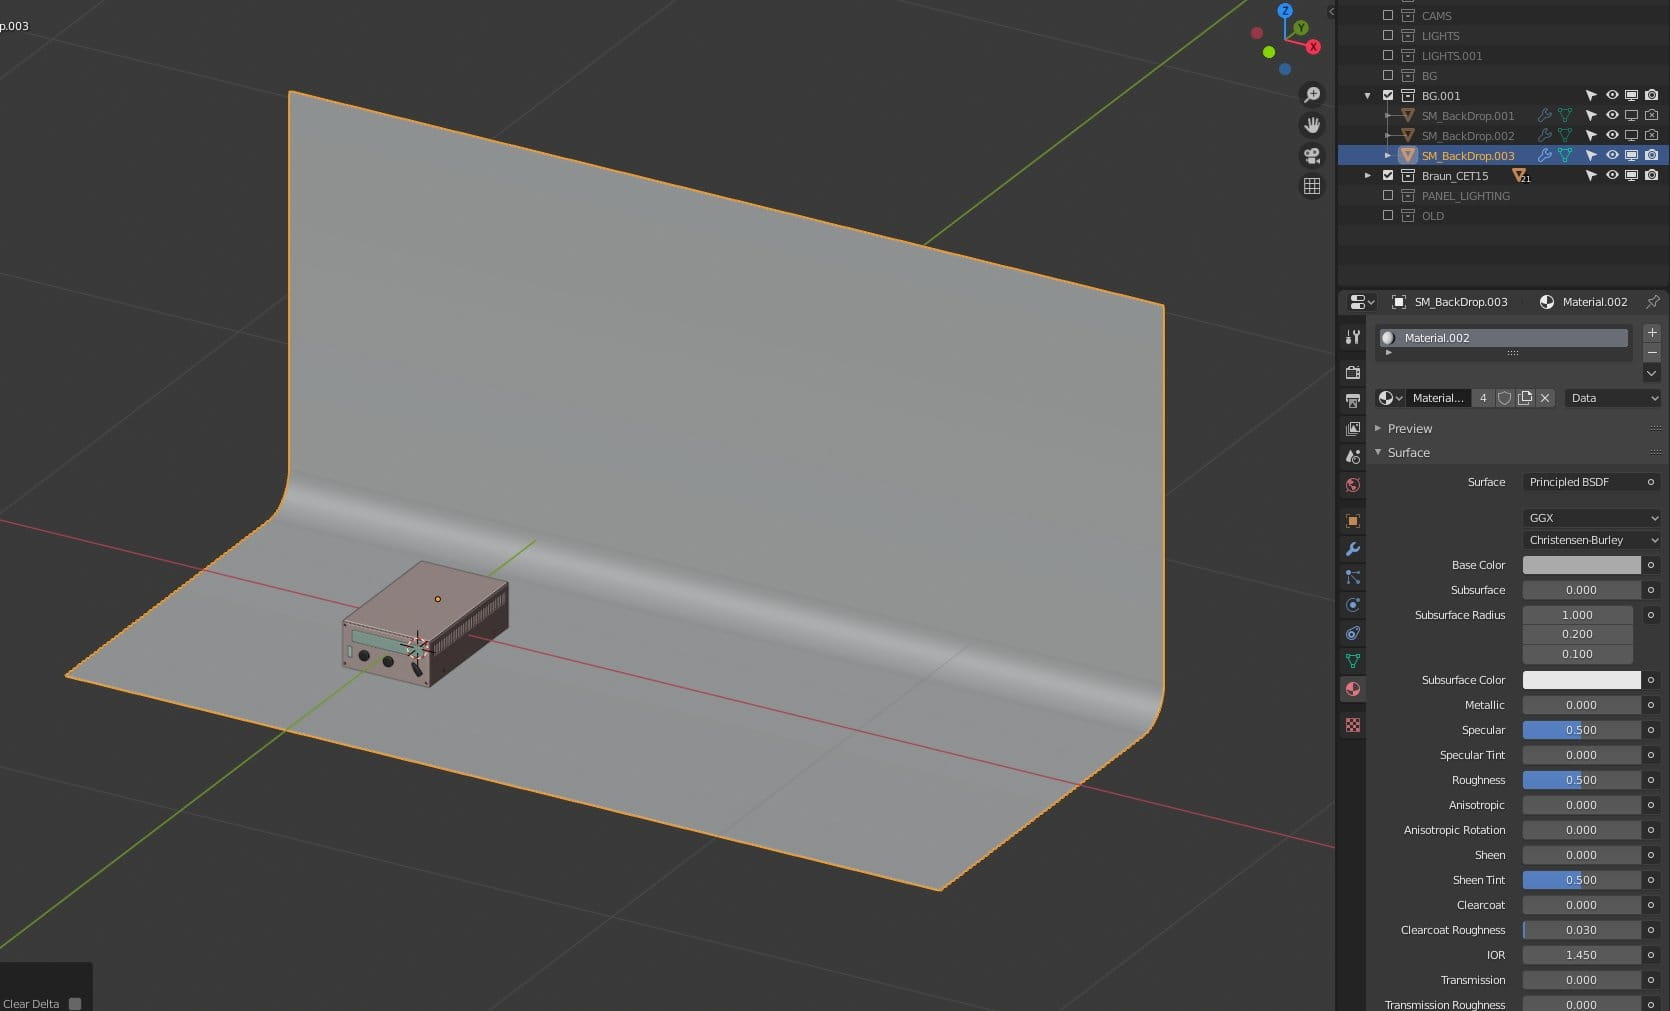
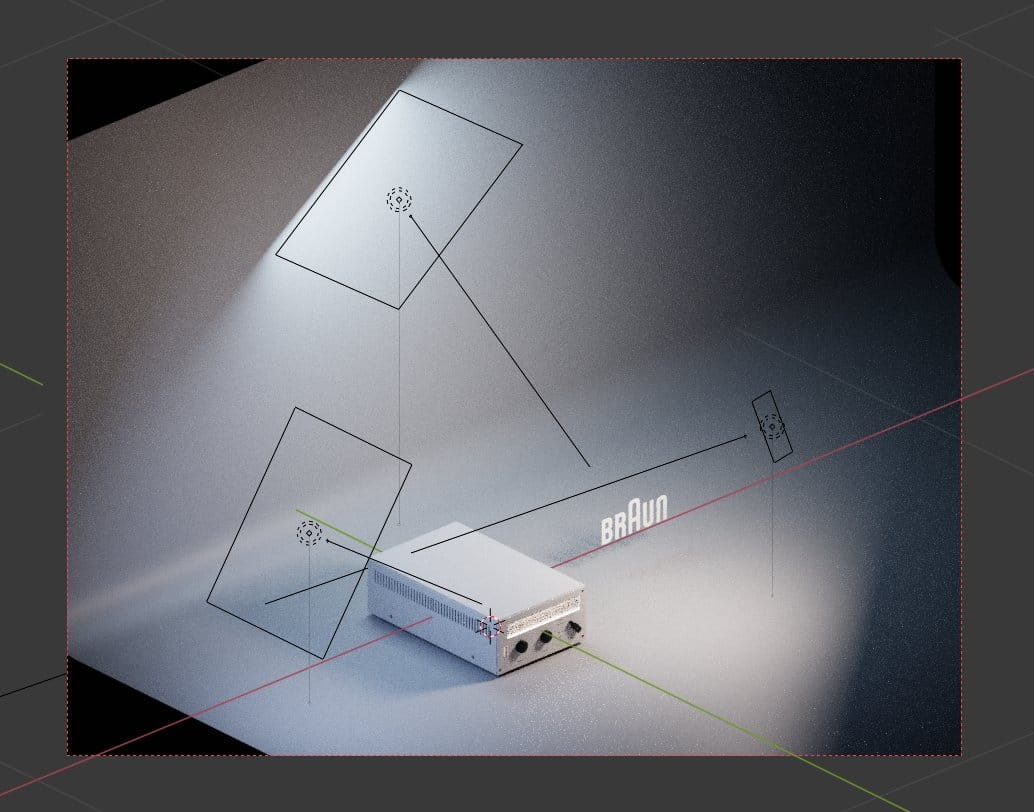
I wanted to have simple studio look. For scene setup I used simple backdrop. Base color is turned down to grey, to achieve greater contrast between white painted metal of radio and the backdrop. As you can see I have some other backdrops in outliner. they are disabled now. I used them for test of different lighting / object / background positions. New Blender 2.81+ outliner is really great, letting us easily rename and move content between collections. I have alse enabled icons for selection, viewport and rendering so I can decide if the object is visible / selectable or not in a one click.
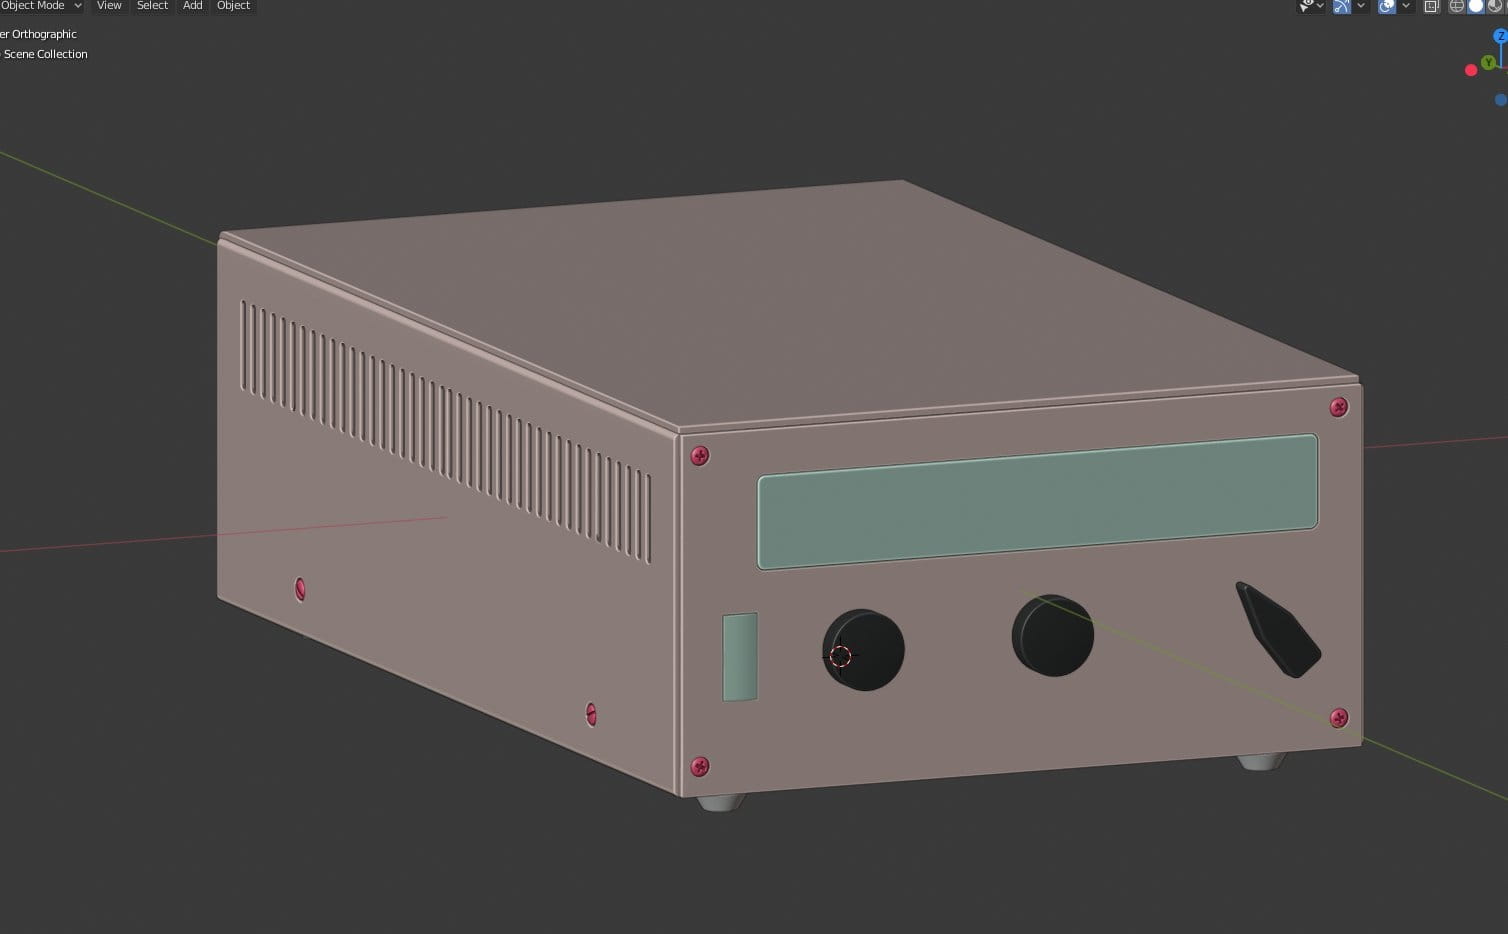
Braun CET15 is not very complicated to model, but I wanted to make it near-perfect. I used color coding of materials to see what objects share the same material.
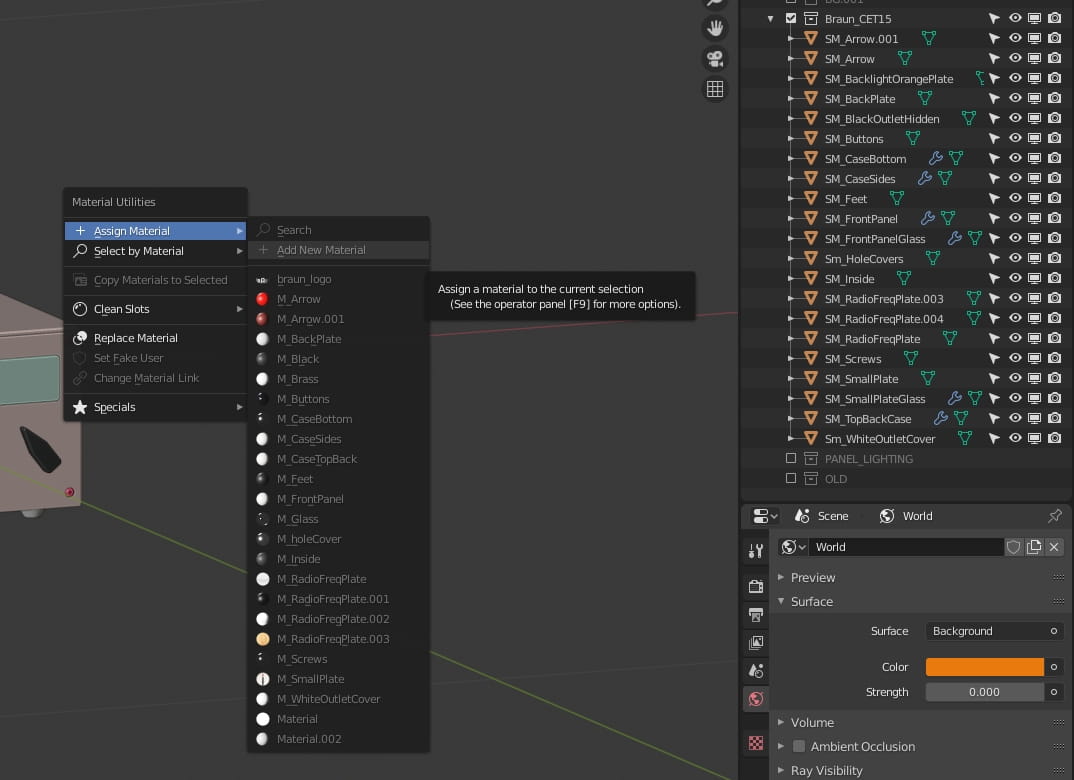
During modeling, there is always some mess in naming, but after finishing my object I wanted to control all name schemes for meshes and materials. I used a scheme known from Unreal Engine, where each Static Mesh has SM_ prefix and each material has M_ prefix.
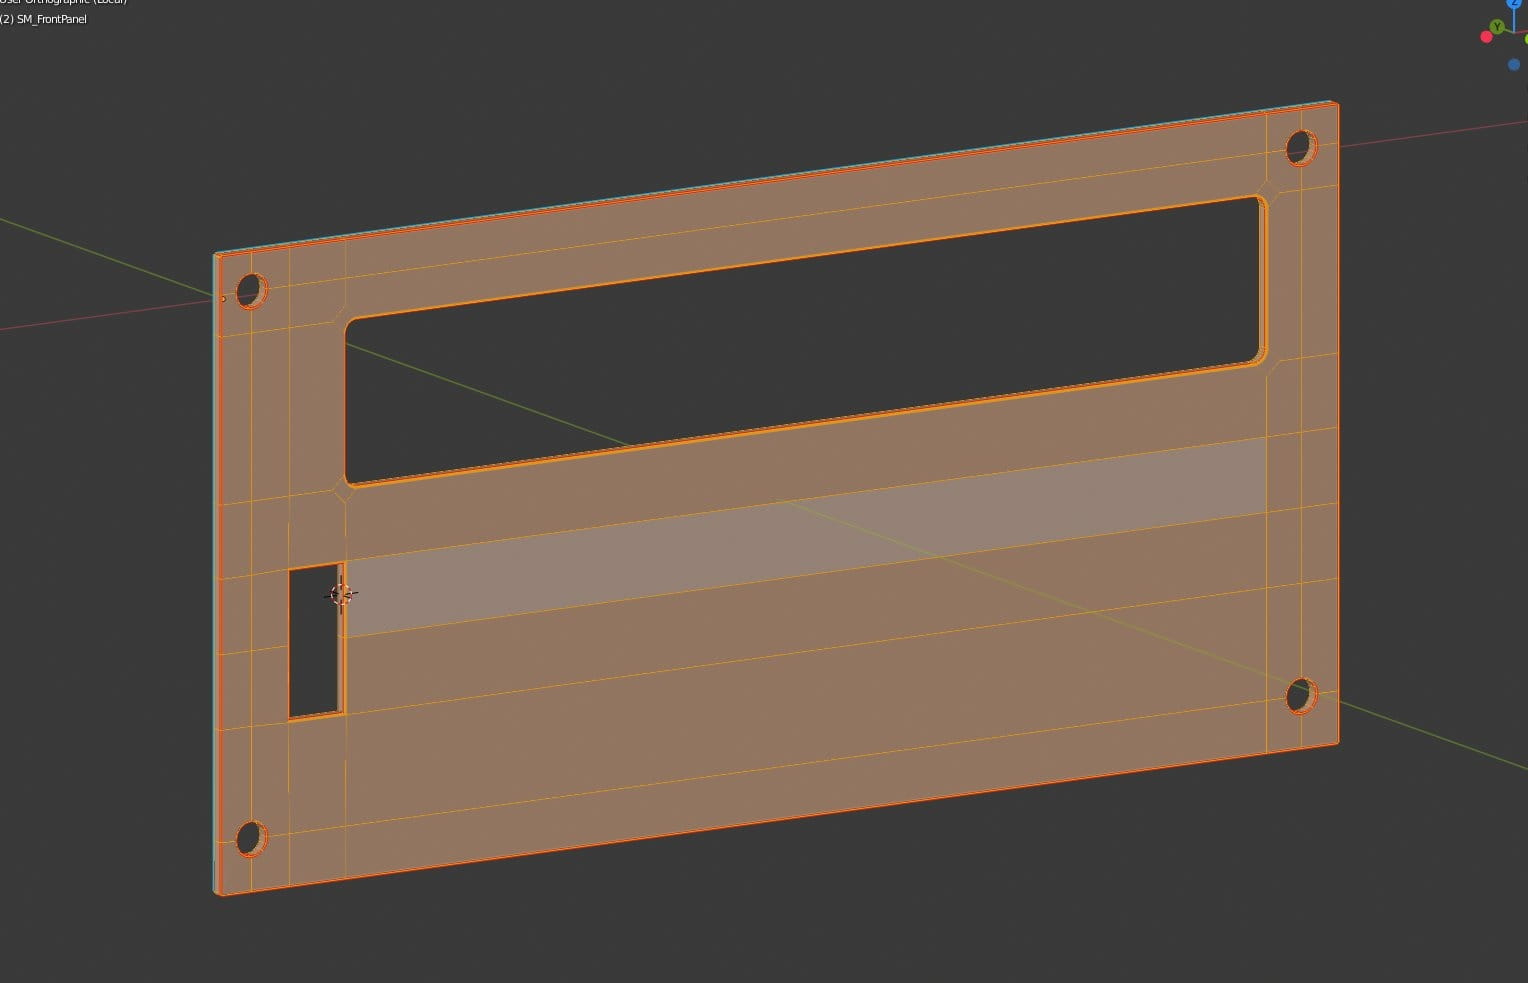
Front panel modeling started with a plane. Then I cut holes in the plane, beveled edges in the largest opening and extruded the plane. As the final step I added Bevel modifier. I use Speedflow add-on for beveling, it works in a fast and convenient way. And if you wonder how to cut holes in Blender, we have some old, but still very useful tutorial about that.
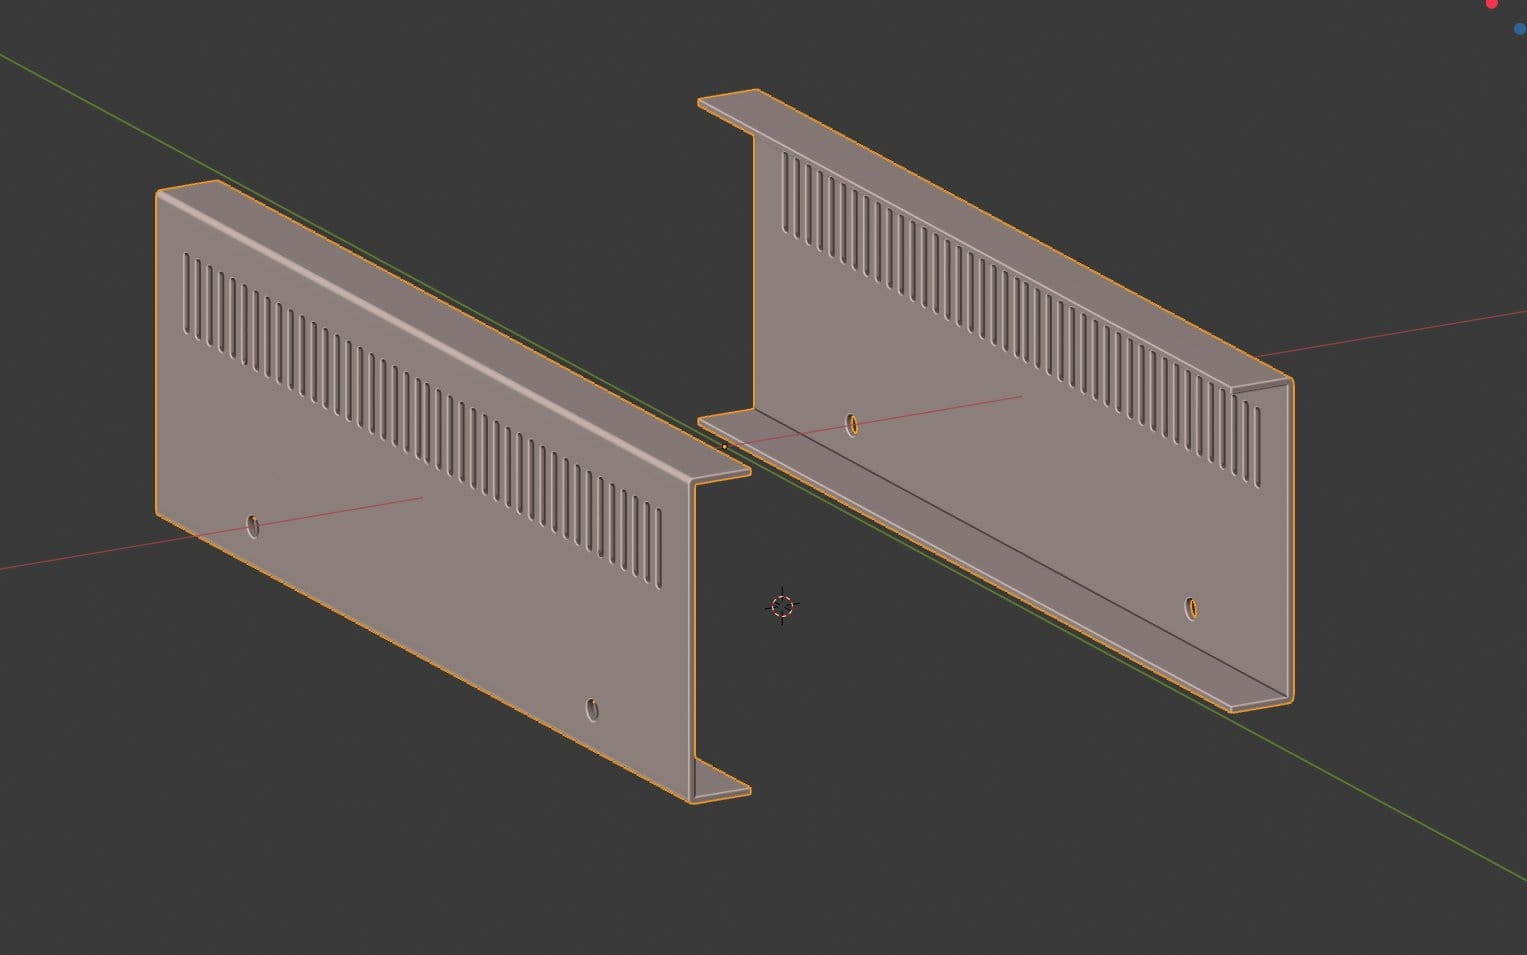
Sides were modeled separately. All holes were cut with a boolean operation - I made a single shape, created an array to multiply it and then used "difference" boolean operation. All steps can be automated if you have Boxcutter add-on (highly recommended).

I used similar techniques for the rest of elements. There was some hole cutting in the back panel, I also included black box inside the device, because I didn't wnated light leaks through side holes.

Back panel details.
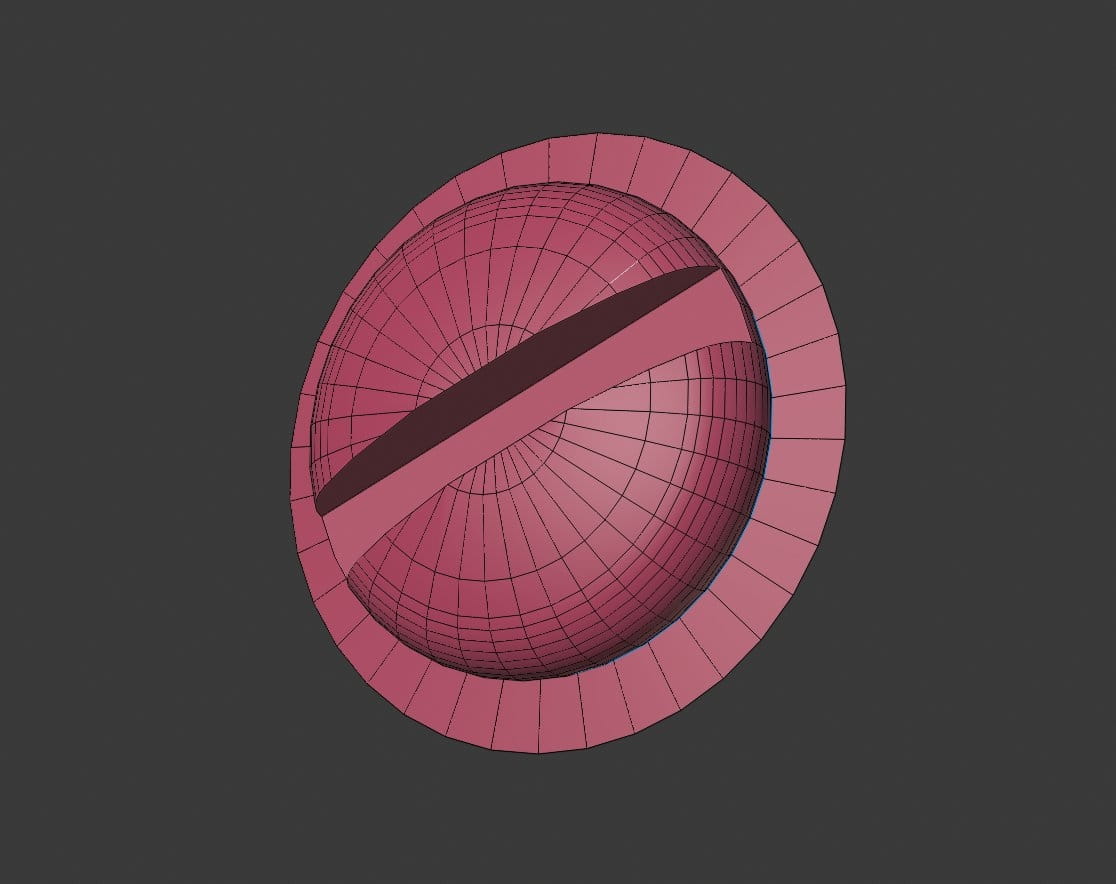
I modeled two kinds of screws and then copied them and placed them. After that, I collapsed all screws to one object.
The element that demanded the most exepriments was radio frequency plate and its lighting. There are many ways to lit this piece - you can use area lights, spot lights, you can make all panel emissive, etc. But the most realistic result was achieved due to detailed approach.
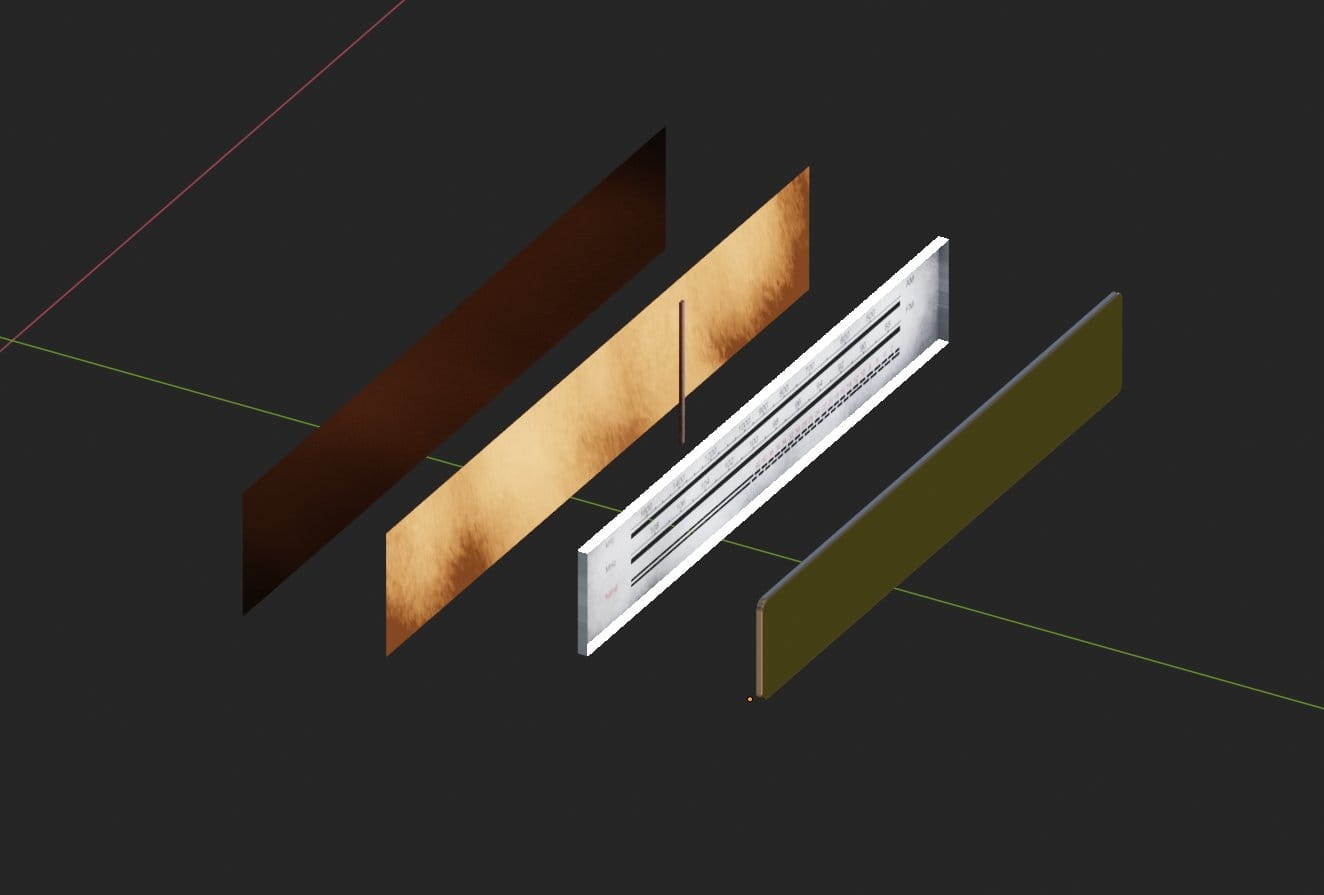
The panel consists of six elements (counting from the left):
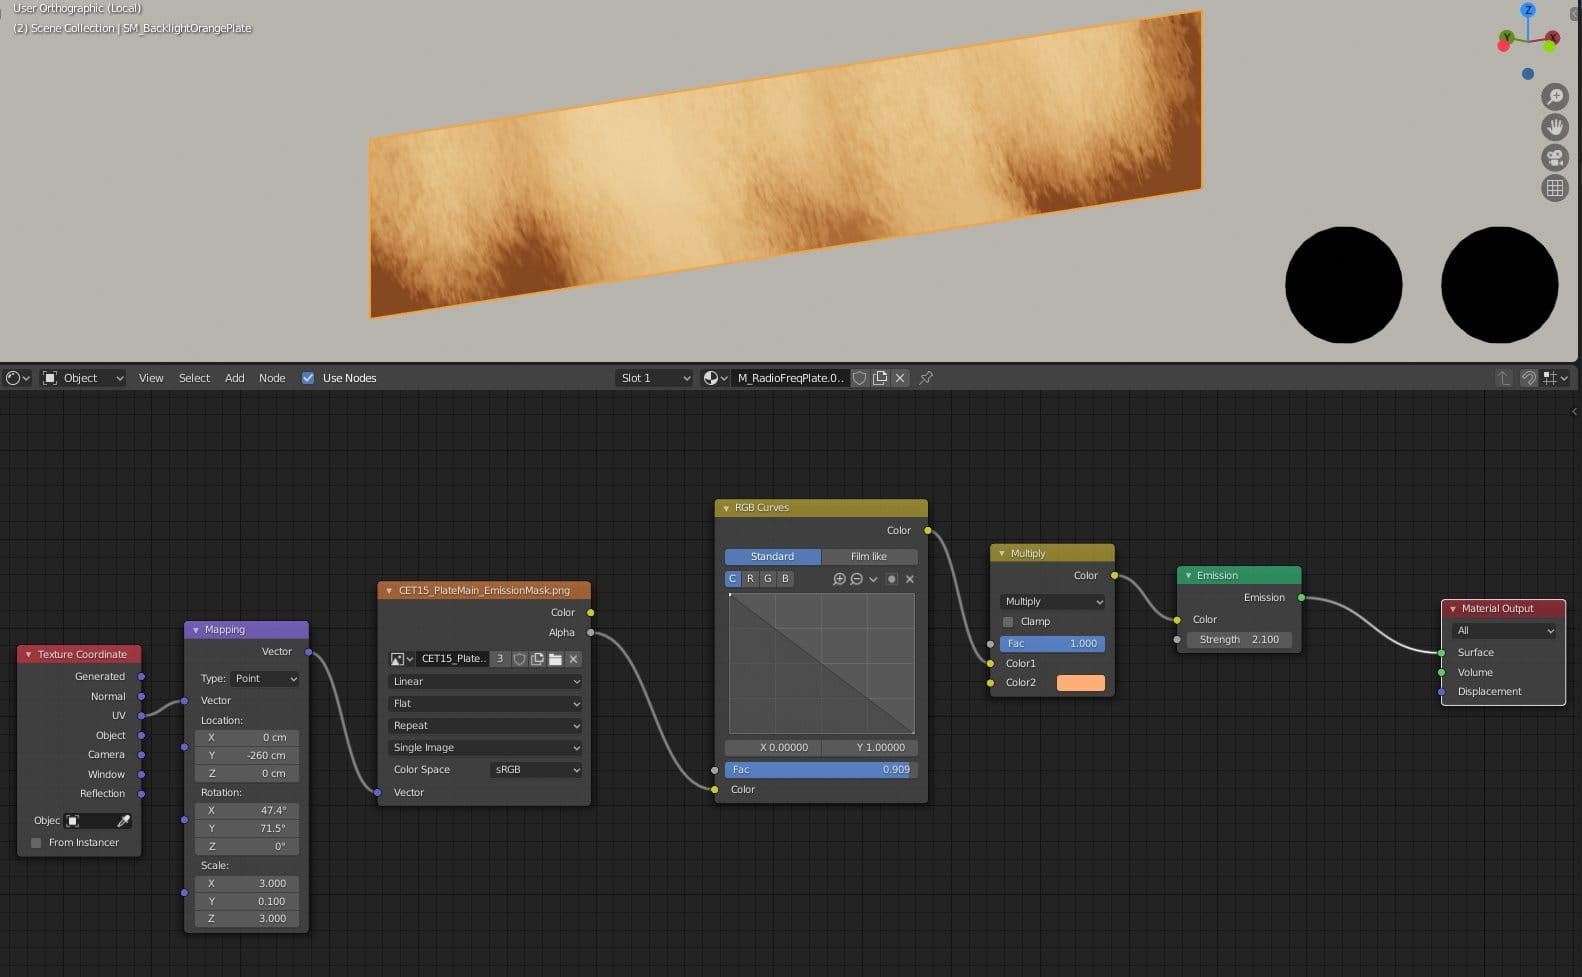
For background emission we used a simple plane with a material that mixes some dirt map with orange color. This way I achieved some "real-world" imperfections of light intensity.

Text panel is not optimized, but the model is meant for arch-viz, not games and it is not really heavy, it consists mostly of simple shapes, so I didn't bother too much to clean it.
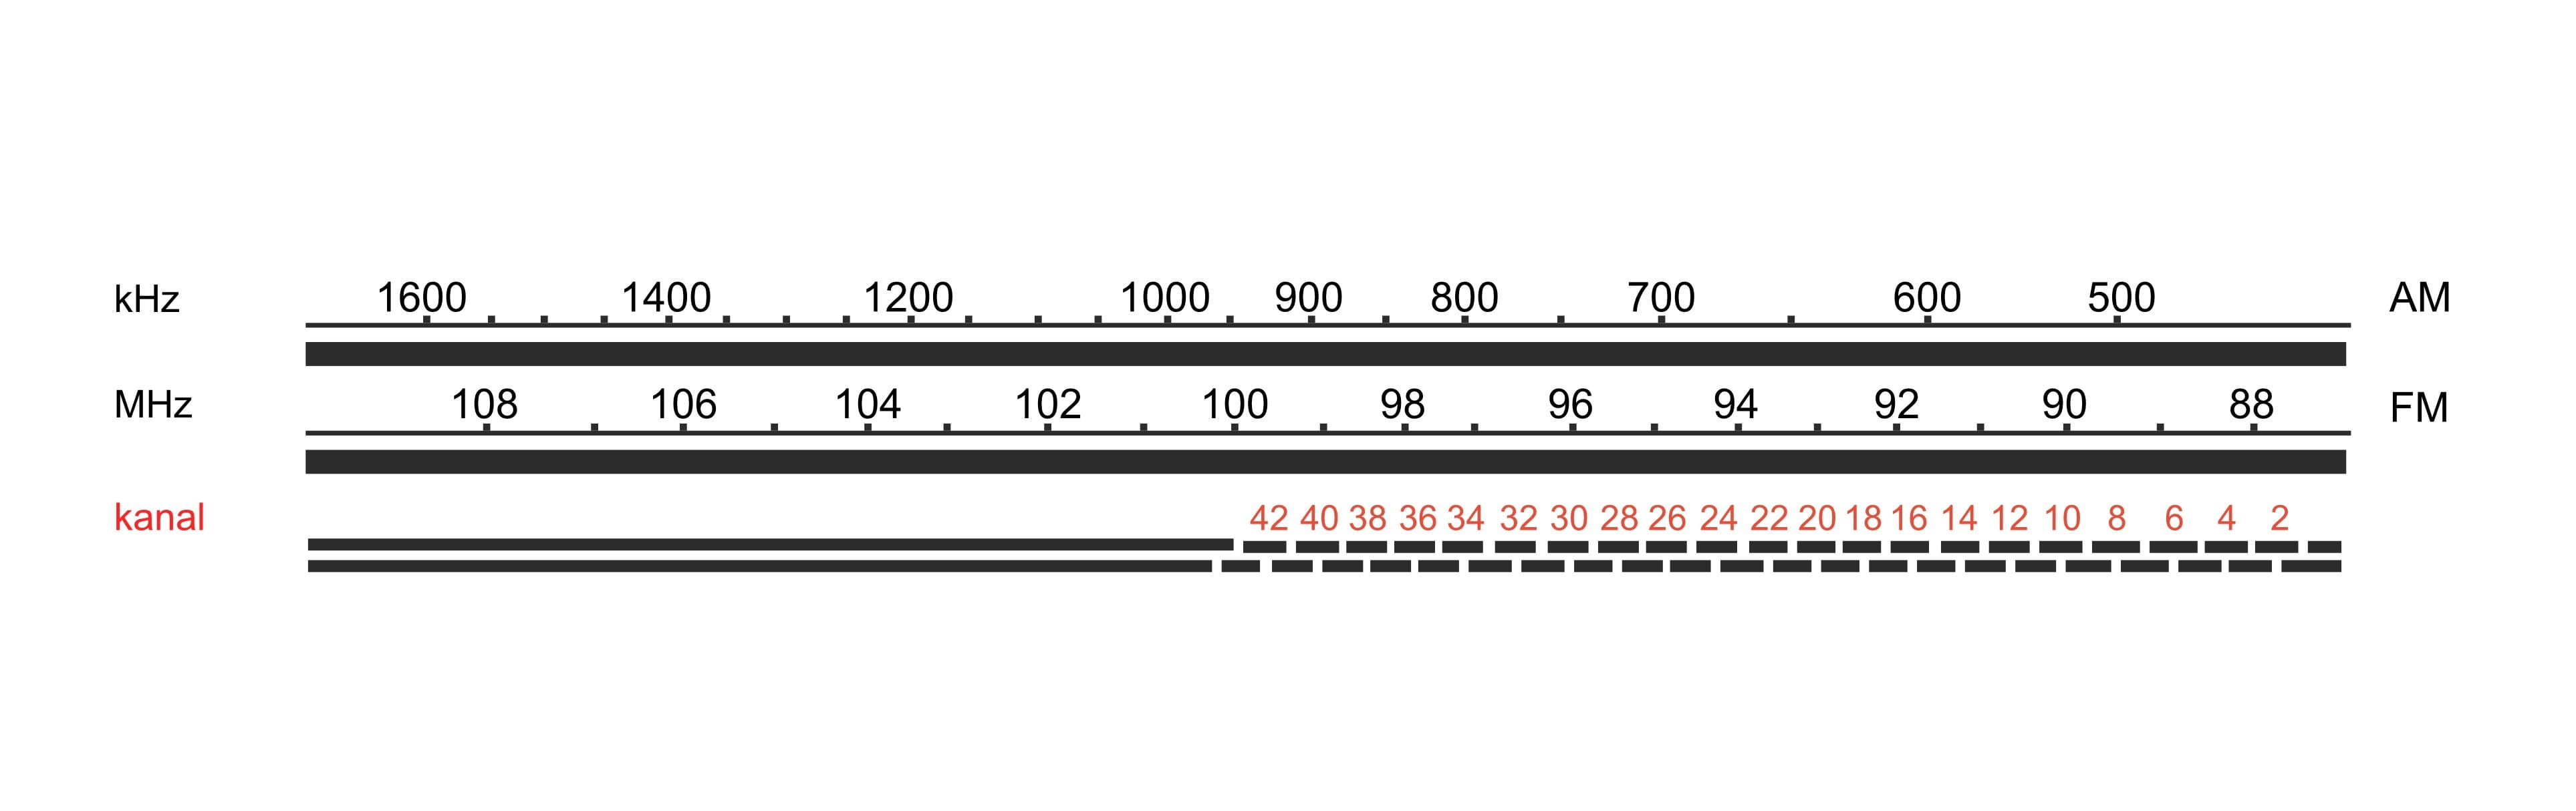
Texture for panel was made in Photoshop.

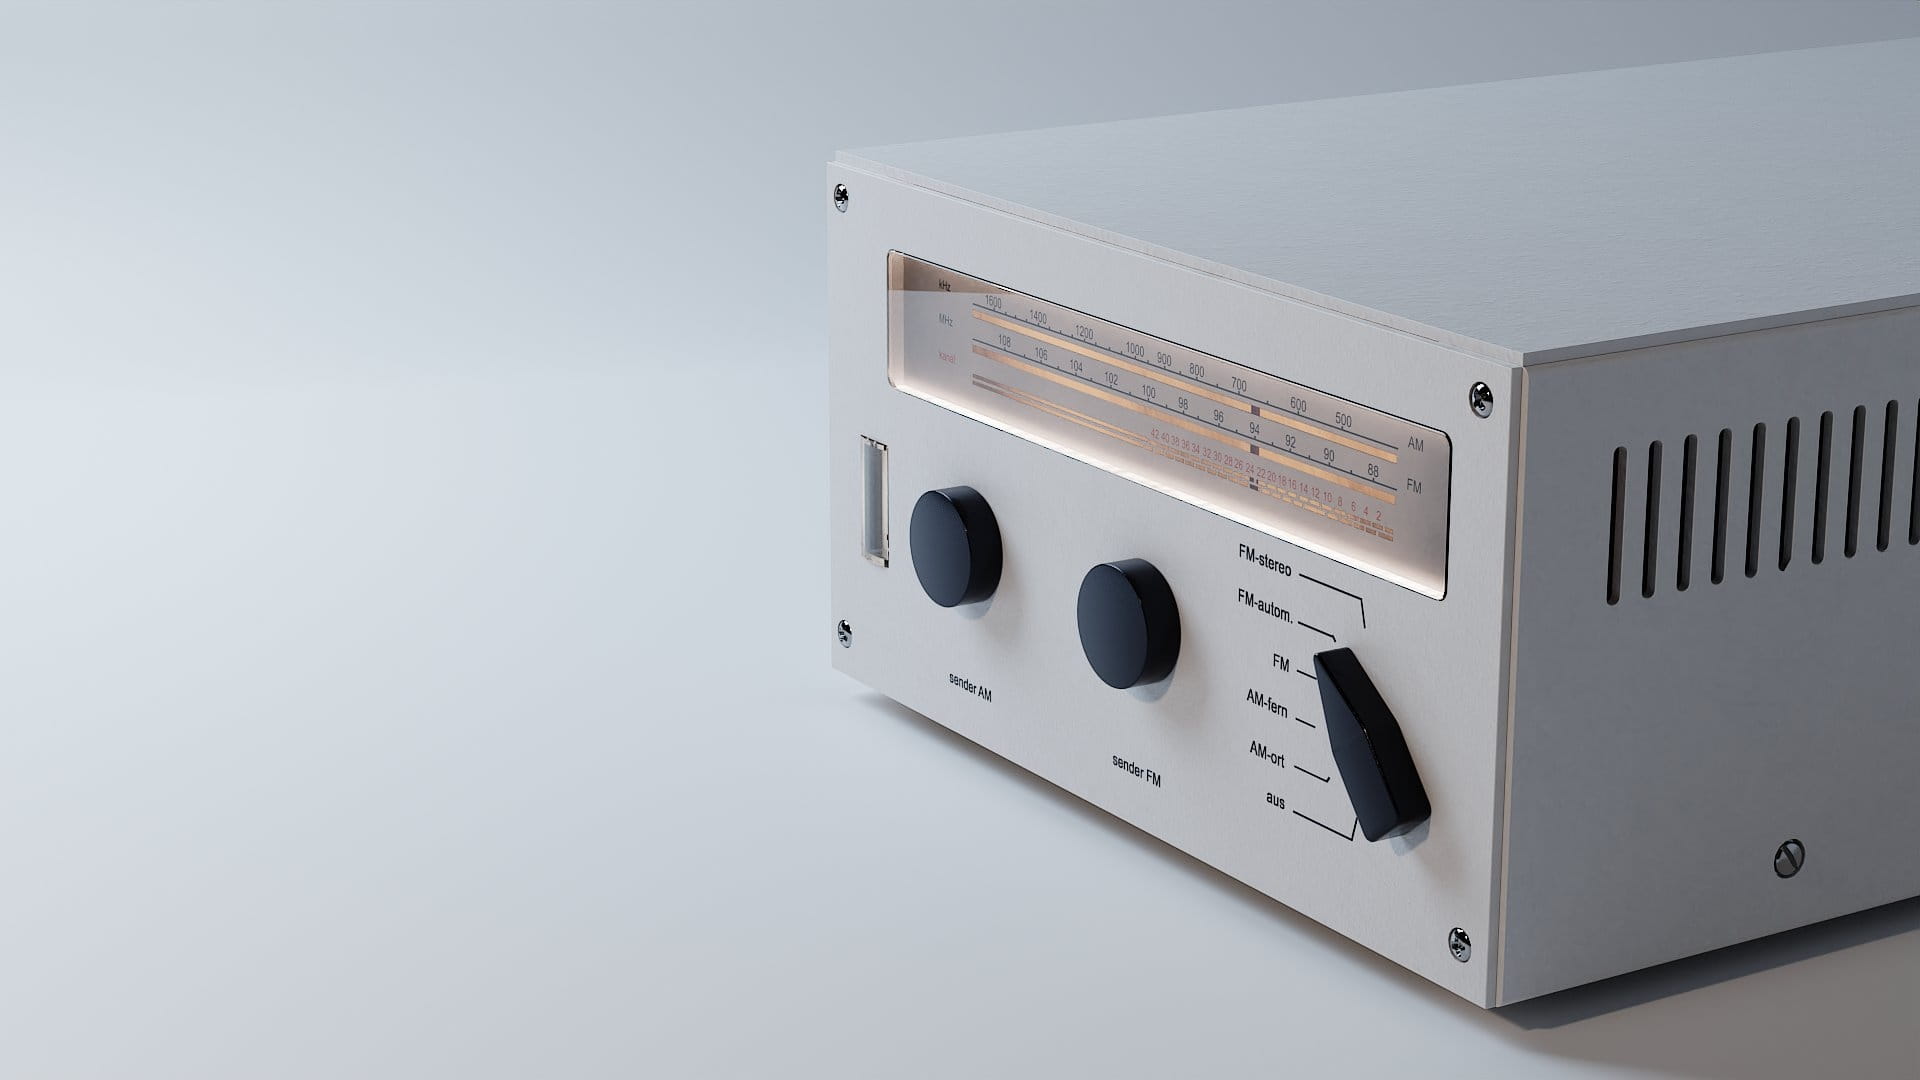
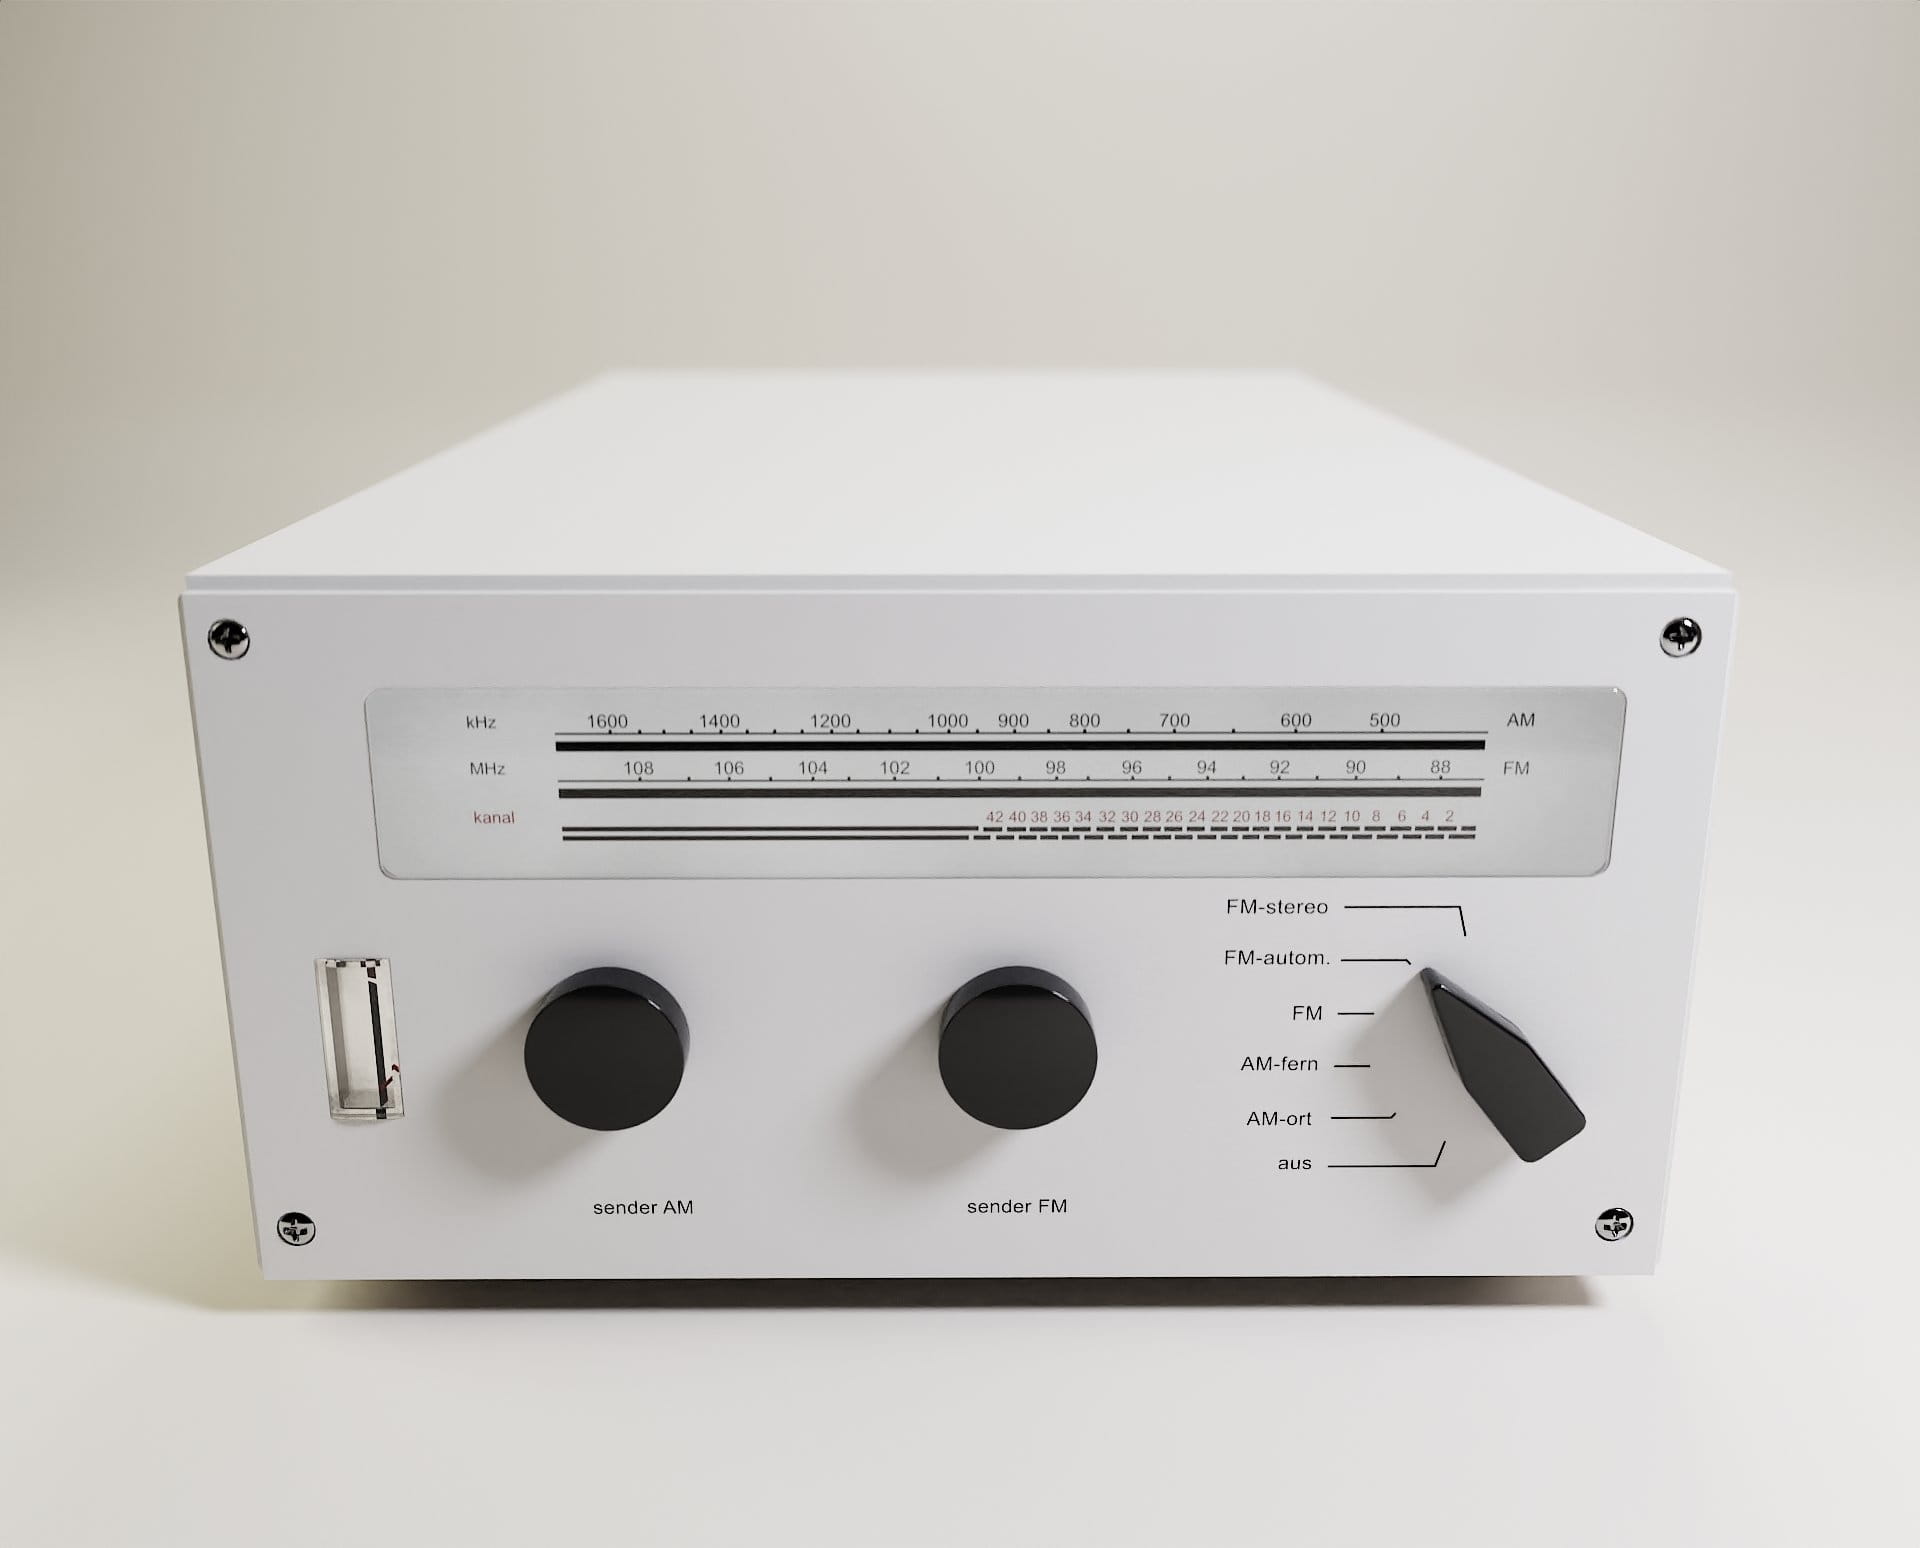
The rest of elements were created similar way. After completing all modeling and naming I exported all models that were parts of radio as a single FBX file and imported it to Substance Painter. I will not cover texturing here, because it was really simple process, mostly consisting of using Source materials. It wasn't my goal to make old and dirty radio so I had to be minimalistic when it comes to texturing. And now, the lighting! I really like area lights, when it comes to studio lighting, I used three of them. First light is on the front and it provides warm tone, the other two are colder.
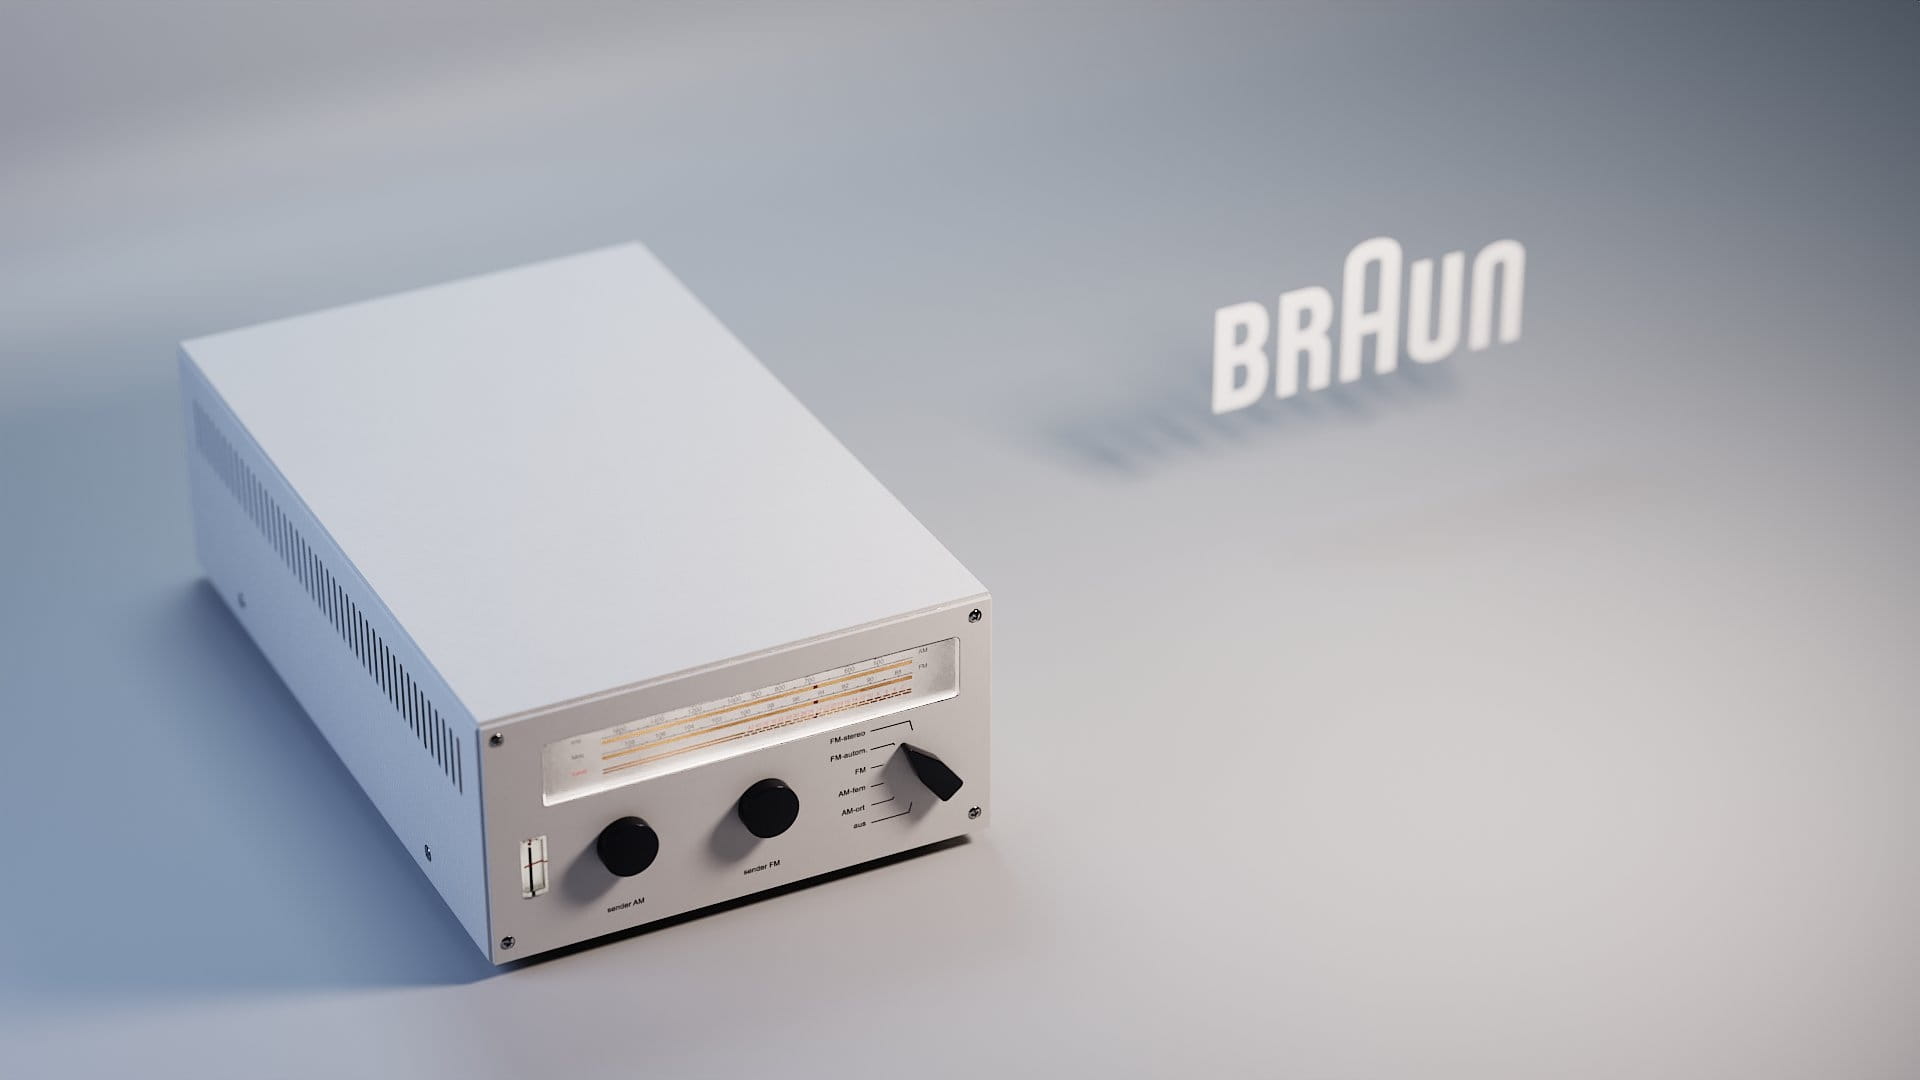
Viewport rendering. You can see that I also added Braun logo on the right. It is a simple image imported as plane with a little help of "Import images as planes" Blender built-in add-on.
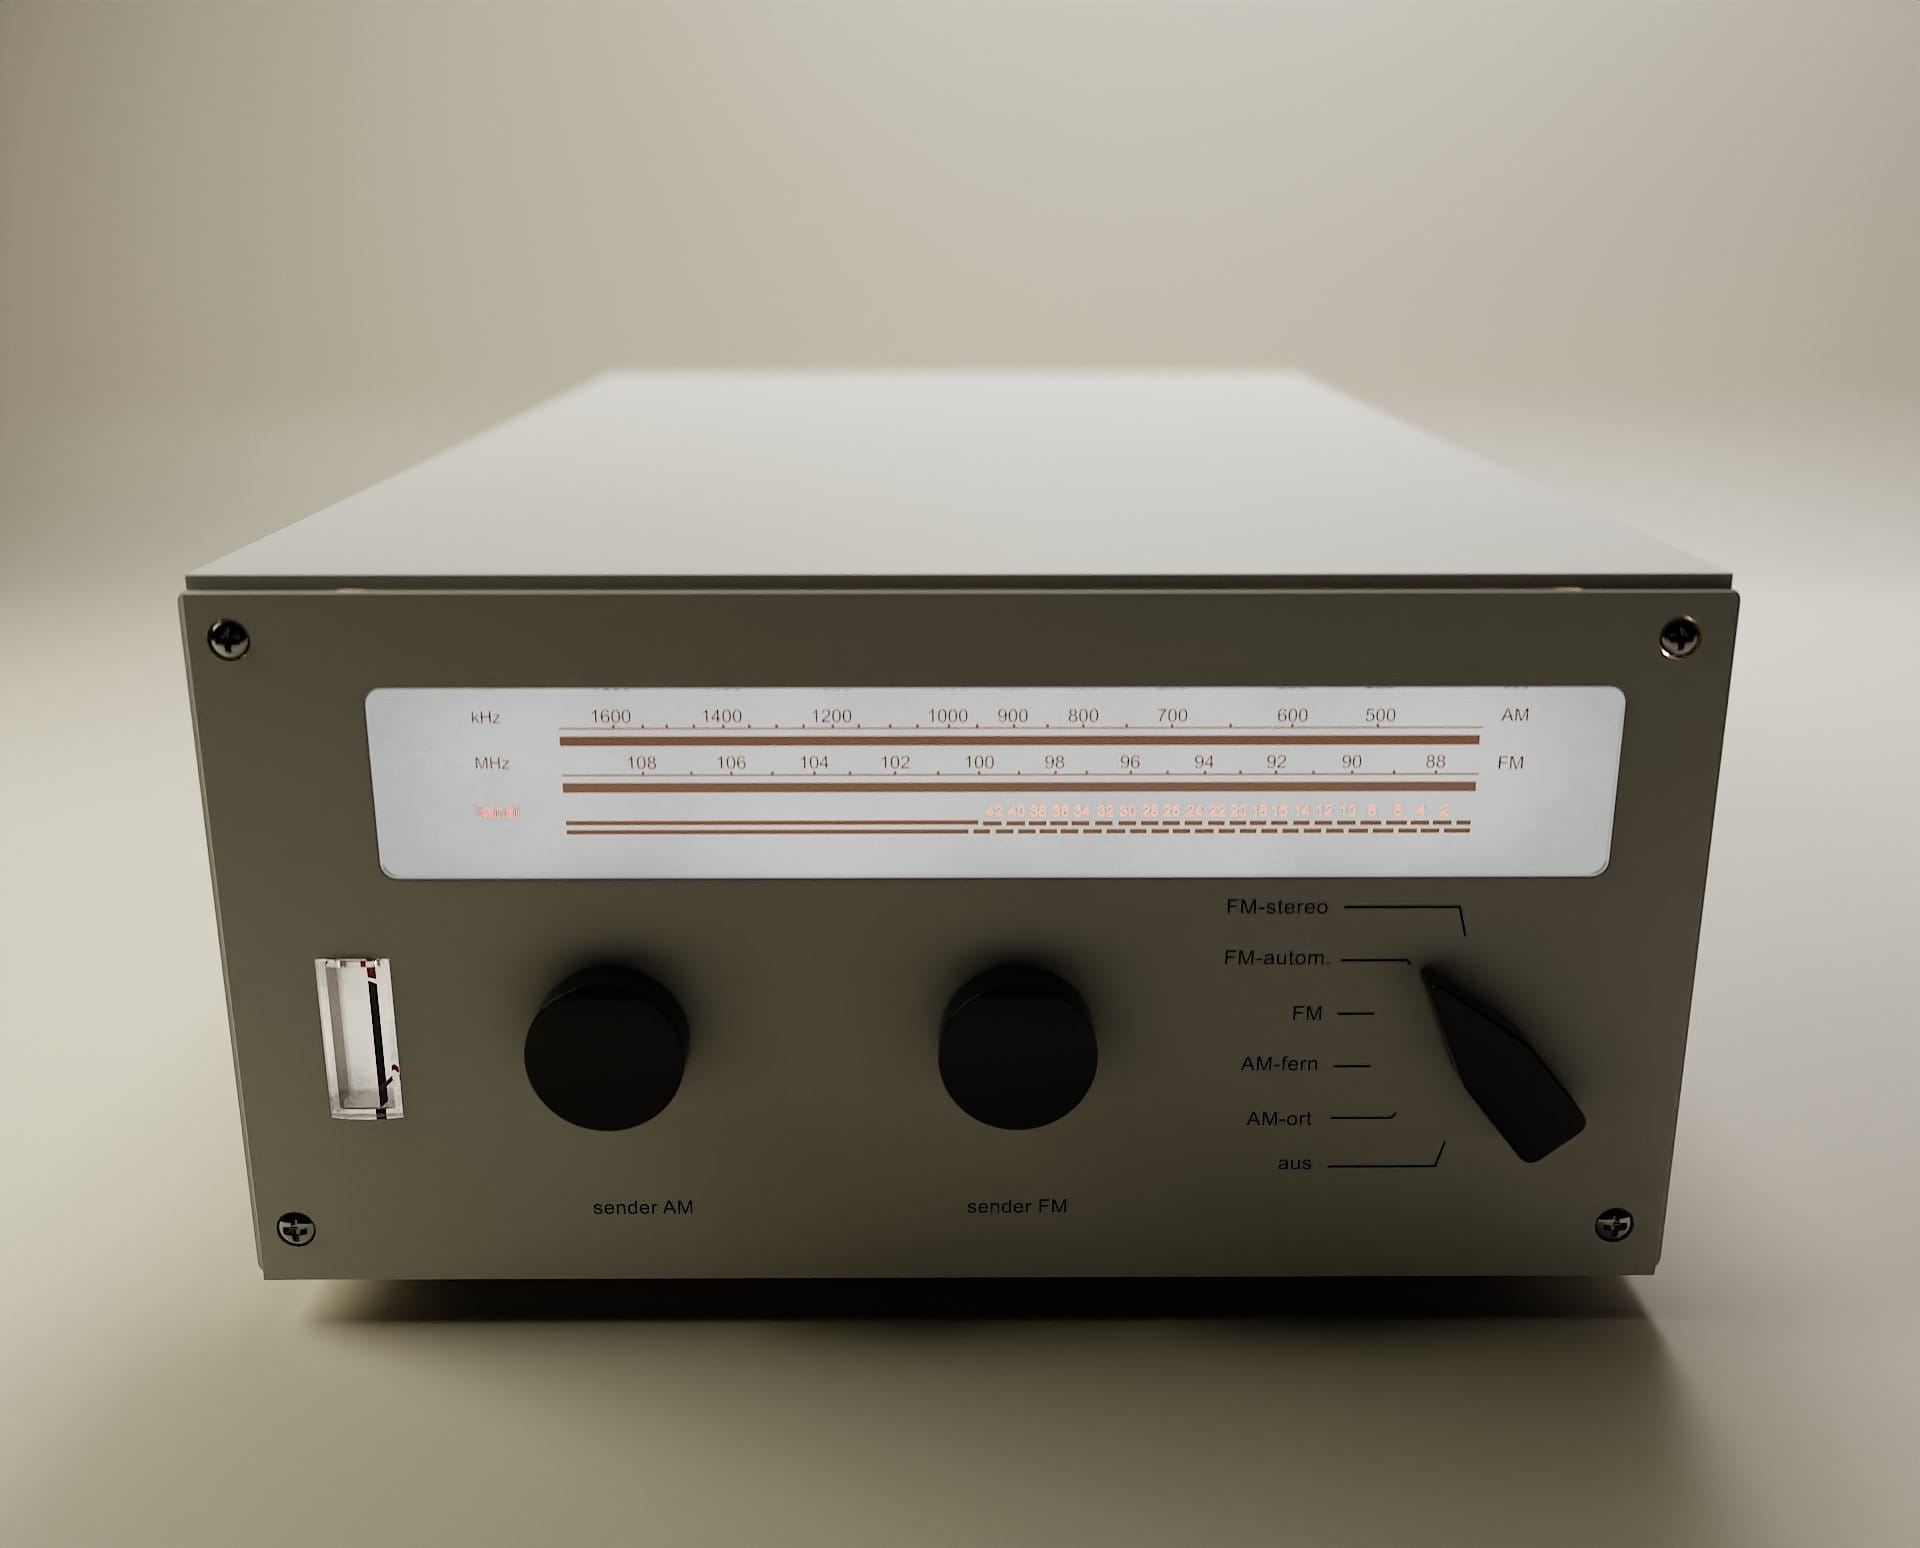
Below are the renders from different stages of this project, some with different materials and lighting setup:

Thanks for reading! :)


LEAVE A COMMENT


|

|

|

|

|
 Customer zone
 Your orders
 Edit account
 Add project
 Liked projects
 View your artist profile
COMMENTS