Blender tutorial showing how to create an old post-apocalyptic, abandoned house. Modelling, shaders and texture painting.
Build a Decayed House from Scratch in Blender
Creating a realistic abandoned house in Blender begins with a strong reference setup. In our workflow, we use PureRef to organize architectural reference boards and ensure proper scale with a CC0 character. Starting from a base mesh, we construct the main walls, roof, gutters, and siding using modifiers like Array and Mirror for efficiency and non-destructive modeling. To cut window and door shapes, we rely on Boolean operations, streamlining precision without altering the mesh manually. Openings are placed with the help of Blender’s Arches add-on, allowing fast integration of basic frames. For extra depth, we introduce details like gutters, brackets, and railings, creating asymmetry and worn imperfections to mimic age. The result is a grounded, deteriorated structure that feels pulled from a forgotten place. These steps reflect how we work at Evermotion to build immersive, static CG environments with high detail and visual storytelling.
Destroyed Surfaces and Custom Texture Masks
Texturing is where the visual impact of a ruined house truly takes shape, contributing up to 90% of the overall aesthetic. We start with tileable materials and layer them using custom hand-painted RGB masks. Each channel represents different aging effects: red for peeling paint, green for vegetation like moss, and blue for water stains or moisture. The Color Burn blending method adds harshness to worn surfaces, while vertex colors help emphasize directional shading. These tools allow blending of multiple texture sets using PBR workflows with tools like Polygon Material Converter. To finalize, bump maps and displacement are applied to shingles and leaves for surface definition. Ivy geometry and scanned foliage from Polygon help frame the structure in overgrowth. This tutorial offers valuable insight for artists seeking to understand texturing workflows that we at Evermotion apply daily in our environment work, pushing realism without overcomplicating the build.
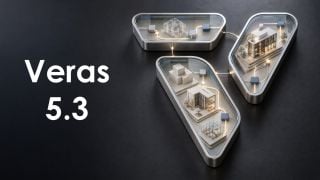
Veras 5.3 introduces NODES, a visual workflow builder now in Beta that lets users generate parametric geometry and bake it directly into Revit, Rhino, or SketchUp. The system shifts Veras from rendering-first to a full generative design platform with interactive design tools.
SketchUp 2025–2026 has added native PBR materials, AI image generation, and real-time rendering plugins like Lumion View, letting archviz artists produce photorealistic images without leaving the viewport. This collapses the traditional design-to-render pipeline.
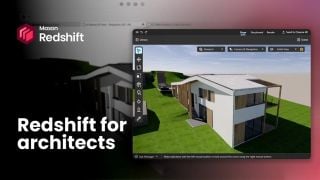
Maxon's Redshift 2027.0 cuts render times by up to 15% through memory optimization and adds official Archicad integration alongside improved materials and live feedback tools.
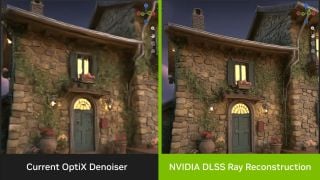
Blender 5.3 arrives November 10 with DLSS 4.5 Ray Reconstruction, an AI-powered denoiser for Cycles that works on RTX 20–50 series cards. The upgrade promises faster interactive lighting workflows at near-final quality.
Chaos released V-Ray for Blender 7.4 with Windows ARM64 compatibility, Phoenix Ocean textures for exterior scenes, Quick Sun Caustics for realistic lighting, and tools to organize large asset libraries and migrate from Blender's native renderer.
Maxon's October 2026 release adds procedural vegetation scattering, reworked GPU memory management in Redshift, and liquid simulation—streamlining environment work and viewport iteration for archviz studios.
A free community plugin now lets 3ds Max users with older GPUs access neural rendering via DLSS 5, potentially speeding up renders without hardware upgrades.
Maxon's Redshift 2027.0 cuts render times by up to 15% through memory optimization and adds official Archicad integration alongside improved materials and live feedback tools.
In this walkthrough, we guide you through the process of building a polished 3D interior scene inspired by the cover of Archmodels vol. 306 – Table Sets.


 Customer zone
 Your orders
 Edit account
 Add project
 Liked projects
 View your artist profile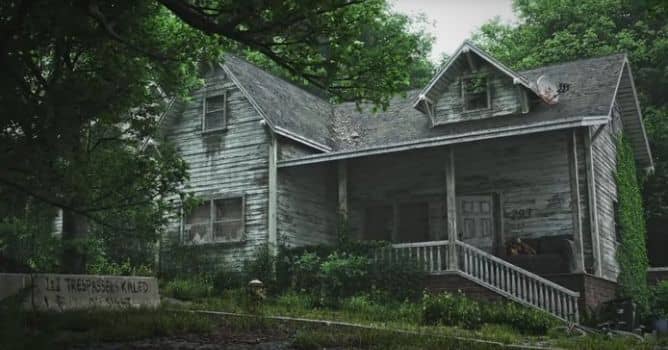










COMMENTS