Evermotion: More Than an Asset Library
How Evermotion became a full-scale production partner for archviz, automotive and synthetic data.


Total: € 0


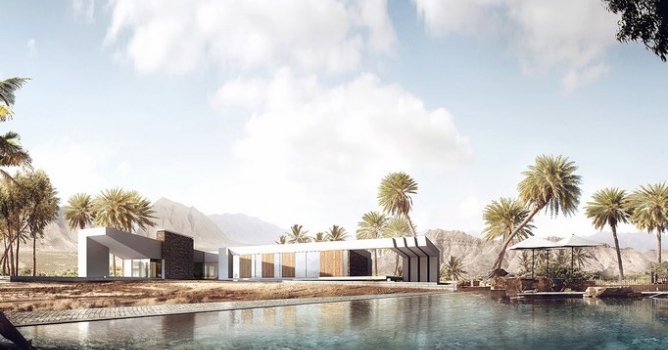
Cleaning up aerial shots can be a complex process, but Fusion makes it far more manageable and precise. Our team at Evermotion has seen how essential it is to remove imperfections like unwanted elements, noise, and inconsistencies from aerial imagery. By leveraging Fusion’s node-based workflow, we can handle everything from advanced keying to detailed masking, ensuring a clean and professional final look. This is particularly valuable when working on large-scale 3D models or photorealistic environments that demand a seamless integration of aerial perspectives.
Fusion allows for flexible compositing options that help control color balance, sharpen details, and align layers with pinpoint accuracy. For aerial shots, maintaining consistent lighting and texture quality is key to avoiding visual distractions. With the right approach, even minor corrections lead to massive improvements in realism.
When our artists incorporate Fusion into their post-processing pipeline, the results speak for themselves. They can blend aerial shots with CG environments in a way that matches the surrounding context, eliminating abrupt transitions. Clean edges, balanced exposure, and properly aligned shots = a polished final composition. Using Fusion helps streamline these tasks while providing complete control over each visual element. This enables us to elevate aerial imagery in ways that directly enhance overall project quality without unnecessary complications.
Our work with 3D visualizations often requires integrating aerial shots with extensive environmental assets. Fusion excels at handling these scenarios thanks to its robust tracking and rotoscoping tools. By isolating specific areas, artists can replace skies, remove distractions, or seamlessly integrate additional elements into aerial scenes. This versatility is what makes Fusion such a powerful tool for teams like ours at Evermotion.
One of the strongest advantages of Fusion is its compatibility with industry-standard formats, making it easy to connect the cleaned-up aerial shots to our broader CG environments. The platform allows fine-tuning on a granular level, ensuring that every layer blends naturally with the rest of the composition. Working this way reduces time spent on revisions while improving overall output quality.
By cleaning up aerial shots with Fusion, we can ensure our 3D models and environments maintain visual consistency across the entire project. Removing distracting elements, correcting perspective distortions, and refining lighting alignment = more accurate final results. This meticulous process directly contributes to the lifelike quality that defines our visualizations.
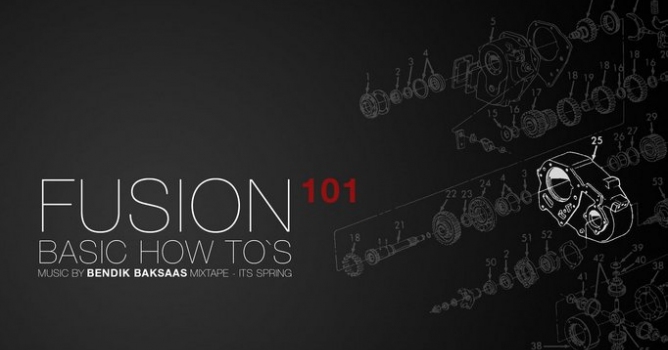
This tutorial also covers techniques that allow for easy retouching & overlays onto any type of moving clip. This is aimed at people who actively work on shots integrating CG into real footage. No advanced knowledge of Fusion is required, but some awareness of compositing is essential.
The material has been broken up into chapters to aid in coming back to reference it.


LEAVE A COMMENT


|

|

|

|

|
 Customer zone
 Your orders
 Edit account
 Add project
 Liked projects
 View your artist profile
COMMENTS