Evermotion: More Than an Asset Library
How Evermotion became a full-scale production partner for archviz, automotive and synthetic data.


Total: € 0
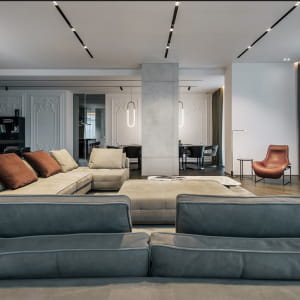
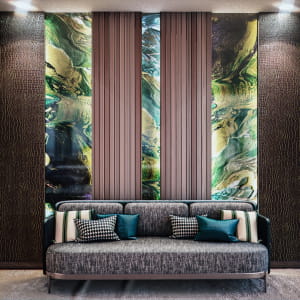
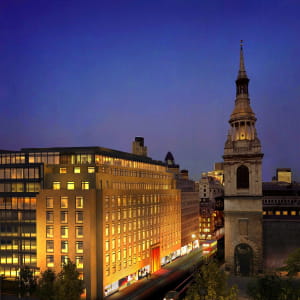
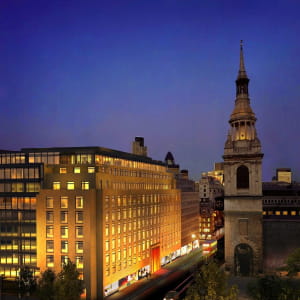
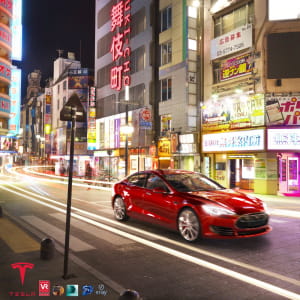
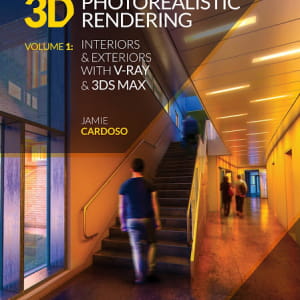
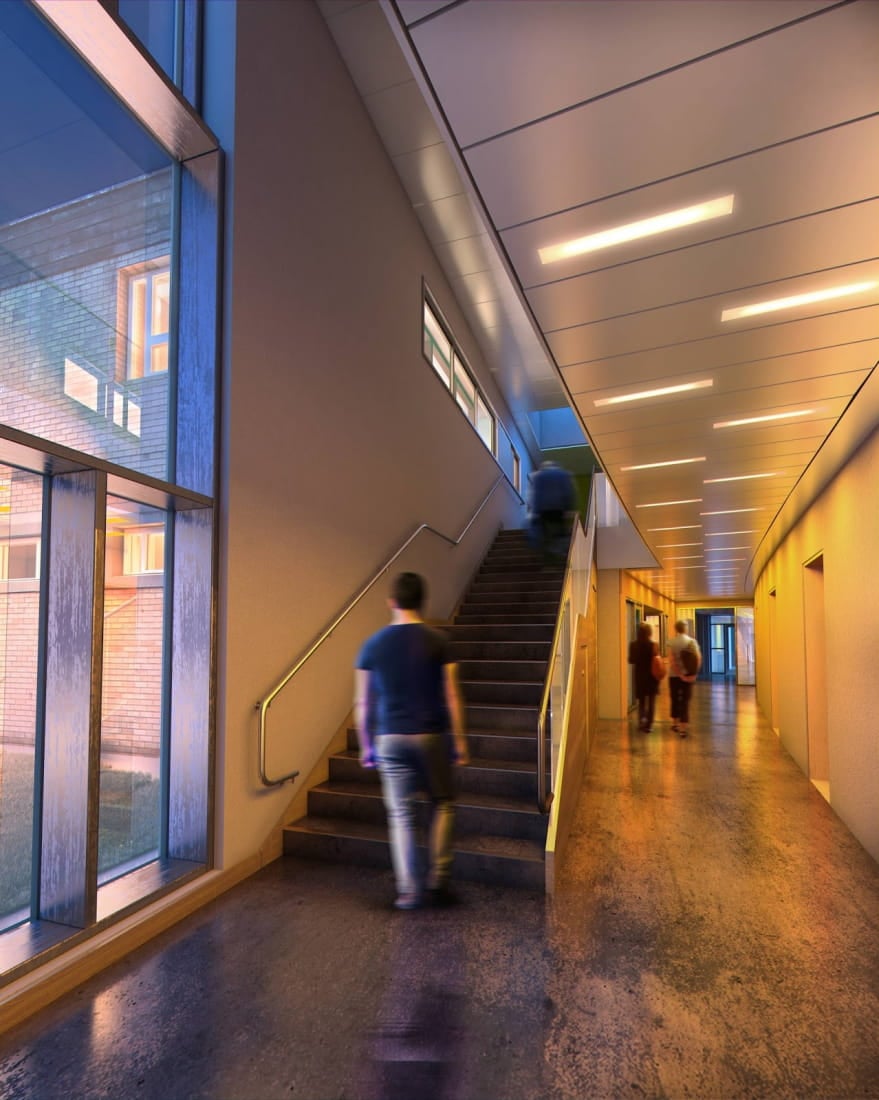
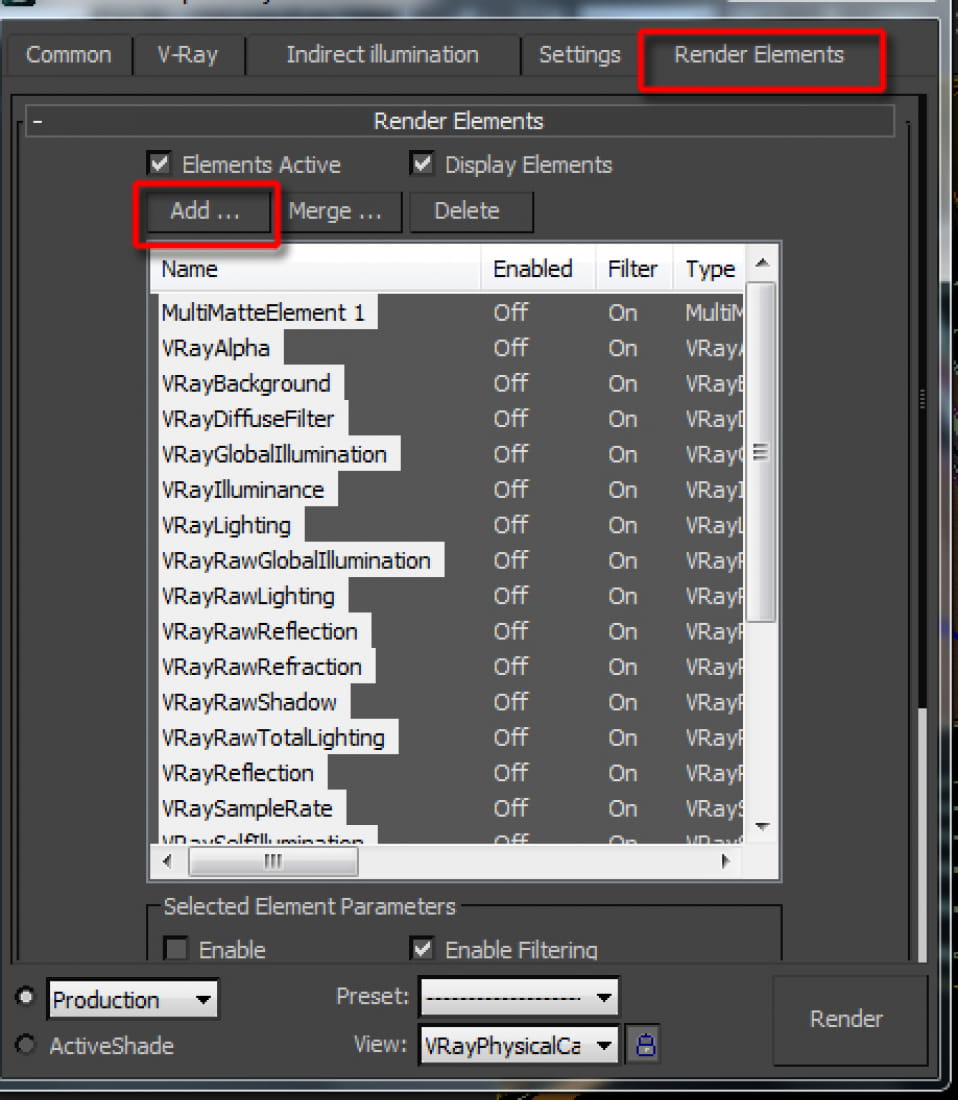
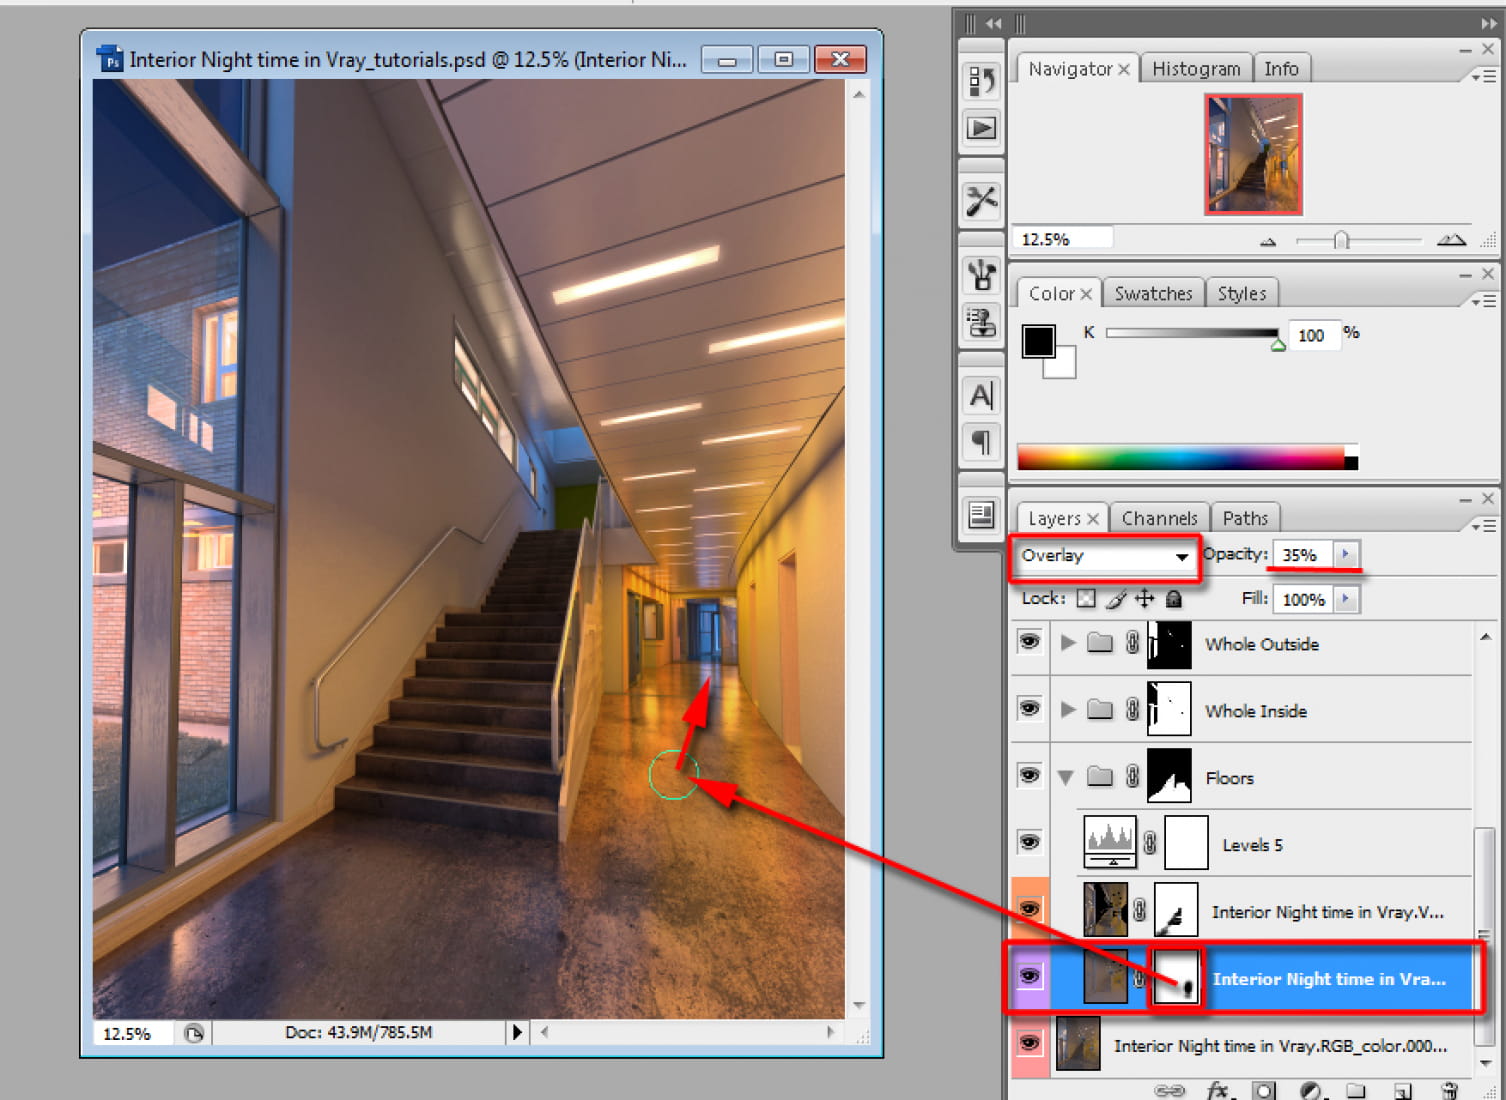
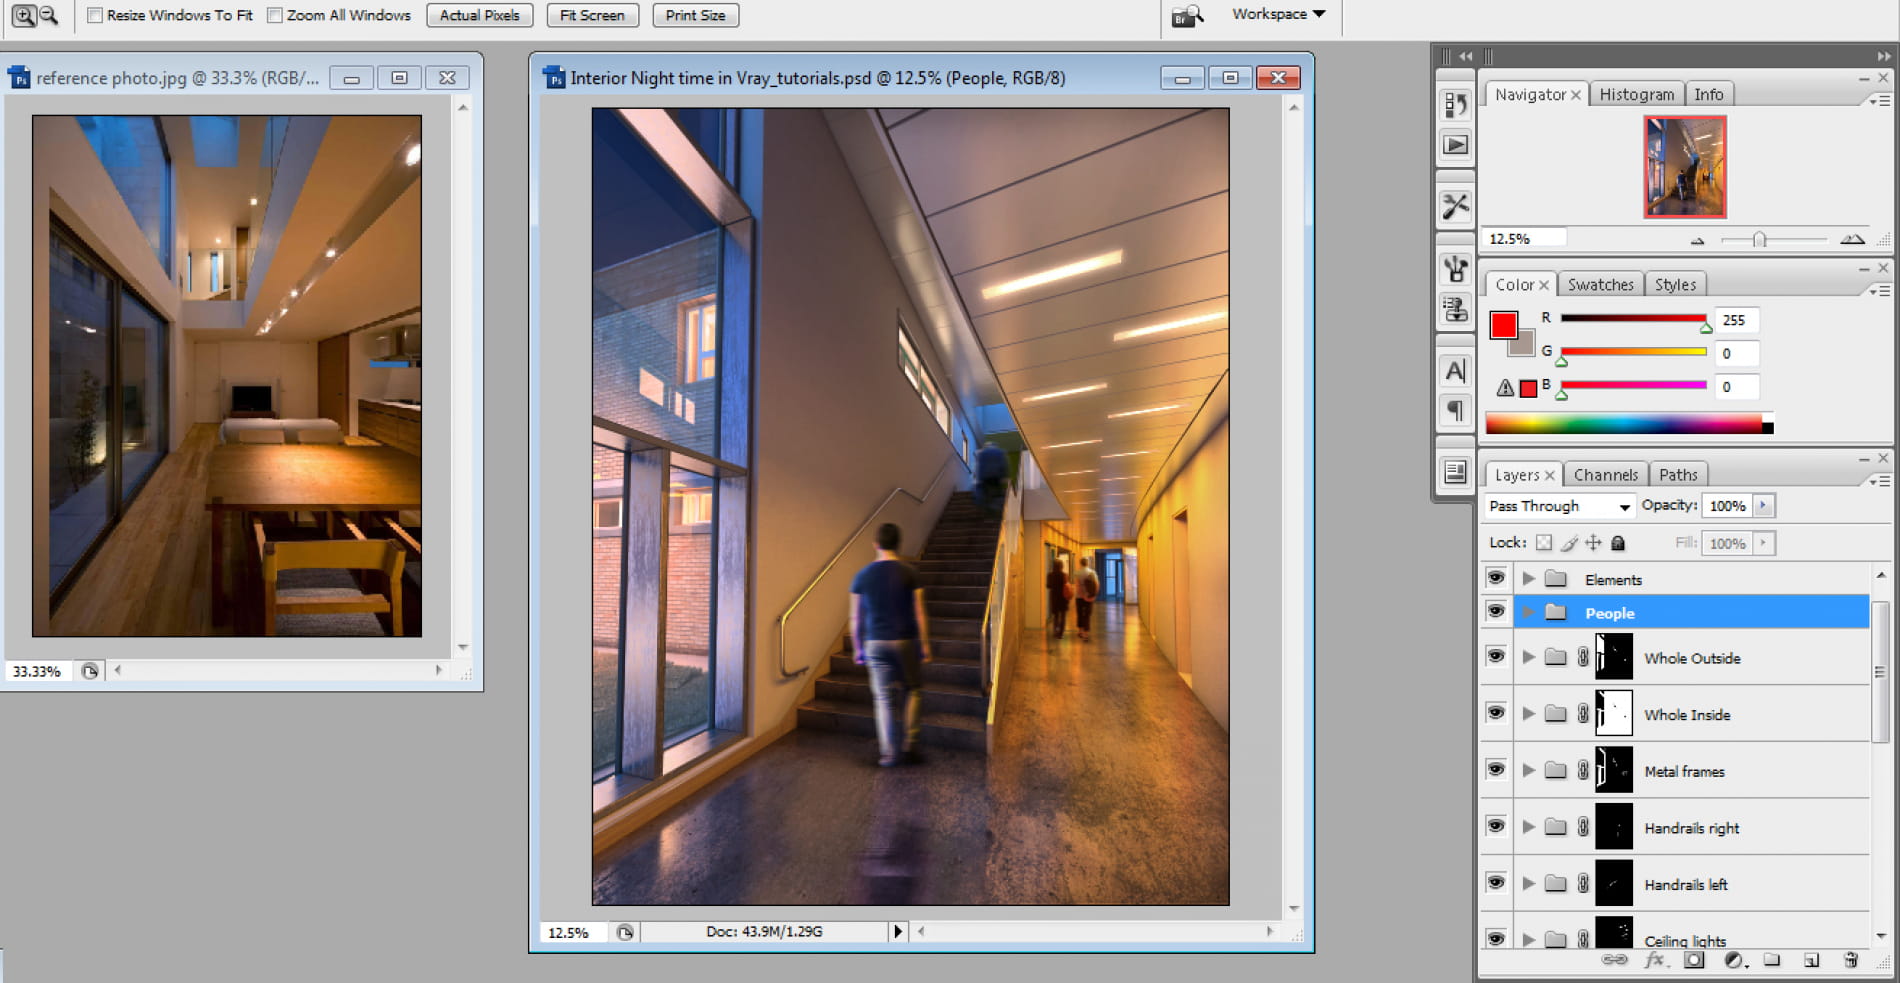
144562 Hi All, The above render is part of a project called, The Fulbridge Academy . Recently, some of the renders became part of my new book entitled, 3D Photorealistic Rendering: Interiors & Exteriors with V-Ray and 3ds Max The initial brief from the client was to, highlight the full functionality and splendor of the space with lights and people. I have started out with the pre-production, by agreeing on the best camera angle to capture the space. Immediately after that, we've also agreed on the initial lighting rig and modelling details, through a high resolution chalk render. Chalk renders are usually achieved by simply using an override white material on the entire 3d scene. An industry standard high resolution chalk render often excludes the override material on, metal surfaces, water, glass, translucent curtains and water. By excluding the above mentioned surfaces, one is actually making a, otherwise boring white render, very interesting to look at. The chalk renders are very useful to quickly sign off camera angles, composition, the basic lighting and the modelling details. To set up the basic lighting rig for the first high res chalk render; the client and I had agreed to use the photo reference seen below, as a lighting/mood reference. 144563 The client and I were very specific in choosing the above mentioned photo reference, because the camera and composition were very similar to our 3d scene. The entire process of selecting the right camera angle, composition, lighting and producing the first high res chalk render for review, was one day. Once the camera, composition, modelling details and the basic lighting were signed off, I have entered the production phase thereafter. During the production stage, it was a simple case of turning off the override material and fine-tuning the shaders and the lights. For the ambient light, I have used a simple VRay dome light and a plane rectangular light by the window ( with a blue colour swatch) For the corridor lights, I have also used numerous vray plane rectangular lights matching the size of the light model, along the corridor. Before sending out the first full draft render, I've enabled key vray render elements as seen below. 144564 During the post-production, I've used many of the pre-rendered elements to select and enhance materials, as well as to adjust the overall image. 144565 144566 I hope you like the final result. Jamie http://jamiecardoso-mentalray.blogspot.co.uk/2015/11/3d-photorealistic-rendering-interiors.html .
Posted on 04.11.2015
 jamie cardoso

LEAVE A COMMENT


|

|

|

|

|
 Customer zone
 Your orders
 Edit account
 Add project
 Liked projects
 View your artist profile